How Many Bags of Postcrete per Post Do You Need?

Most fence posts need one to two 20kg bags of Postcrete each. A 100mm (4") post in a 30cm wide, 60cm deep hole takes 2 bags, according to the manufacturer's own quantity table. A 75mm (3") post in a 25cm x 60cm hole takes 1 1/2 bags. Bigger holes, deeper holes and gate posts push the count up, so it's worth working it out before you load the car.
We sell the steel that goes in the hole, not the bags of mix, so we get asked this question a lot. Below you'll find a manufacturer's official figures, a quick way to size your hole, worked examples for a typical garden fence, and what changes when you set a concrete-in post support instead of a timber post.
How Many Bags of Postcrete per Post: The Short Answer
Postcrete is usually sold in 20kg bags. One UK post mix manufacturer's data sheet (December 2023) says to dig a hole three times wider than the post and as deep as one third of the fence height above ground. Follow that rule and the bag count lands here:
- 100mm (4") square post, 1.8m (6ft) fence: hole 30cm x 60cm, 2 bags.
- 75mm (3") square post, 1.8m fence: hole 25cm x 60cm, 1 1/2 bags.
- 100mm post, 1.2m (4ft) fence: hole 30cm x 45cm, 1 3/4 bags.
- Small round post, 50mm (2"): hole 15cm x 30cm, just 1/4 bag.
A bag yields roughly 0.018 cubic metres of set material, according to UK builders' merchant listings for the 20kg bag. That's handy when your hole doesn't match a row in the table.
Postcrete Quantity Table by Post and Hole Size
These figures come straight from that manufacturer's data sheet for a 20kg bag of post mix. Hole size is width x depth.
| Post size | Hole size (width x depth) | 20kg bags per post |
|---|---|---|
| Round 5cm (2") | 15cm x 30cm | 1/4 |
| Round 5cm (2") | 15cm x 60cm | 1/2 |
| Round 5cm (2") | 20cm x 60cm | 1 |
| Square 7.5cm (3") | 15cm x 60cm | 1/2 |
| Square 7.5cm (3") | 20cm x 75cm | 1 |
| Square 7.5cm (3") | 25cm x 60cm | 1 1/2 |
| Square 7.5cm (3") | 30cm x 75cm | 2 3/4 |
| Square 10cm (4") | 20cm x 60cm | 3/4 |
| Square 10cm (4") | 20cm x 75cm | 1 |
| Square 10cm (4") | 25cm x 75cm | 1 2/3 |
| Square 10cm (4") | 30cm x 45cm | 1 3/4 |
| Square 10cm (4") | 30cm x 60cm | 2 |
| Square 10cm (4") | 30cm x 75cm | 2 1/2 |
Source: manufacturer's product data sheet for a 20kg UK post mix, December 2023. The full sheet lists a few more in-between sizes.
How to Size the Hole Before You Count Bags
The bag count is only as good as the hole. The manufacturer's rule of thumb is simple: width three times the post, depth one third of the height above ground. A 1.8m fence therefore wants holes about 60cm deep. Our guide on how deep a fence post should be set goes further into soil type, exposed sites and gate posts.
Two things trip people up. First, holes dug with a spade usually end up wider at the top than at the bottom, so you'll use more mix than the table suggests. Second, the table assumes a round-ish hole. A square hole of the same width holds about a quarter more. If your hole is oversized, size it by volume instead:
- Work out the hole volume in cubic metres. For a round hole that's 3.14 x radius x radius x depth.
- Subtract the part of the post that sits in the hole (width x width x depth).
- Divide by 0.018 and round up.
Example: a 30cm round hole, 60cm deep, is 3.14 x 0.15 x 0.15 x 0.6 = 0.042 m³. Take off a 100mm post (0.1 x 0.1 x 0.6 = 0.006 m³) and you're left with 0.036 m³. That's just over 2 bags, which lines up with the table's figure of 2.
Worked Example: Bags for a Whole Fence Run
Say you're putting up ten metres of 1.8m close board or panel fencing with 100mm posts. Standard UK panels are 1.83m wide, so ten metres needs six panels and seven posts (one more post than panels).
| Item | Figure | Where it comes from |
|---|---|---|
| Posts | 7 | 6 panels + 1 |
| Hole per post | 30cm x 60cm | 3 x post width, 1/3 of 1.8m |
| Bags per post | 2 | Manufacturer's table |
| Bags for the run | 14 | 7 x 2 |
| Spare bags | 2 | Over-dug holes and corner posts |
So you'd buy 16 bags. Two spares cost little compared with a second trip when the last hole turns out wider than the rest. Corner and end posts take the most load, so we'd give those the full depth and never skimp on them.
Postcrete With a Concrete-In Post Support
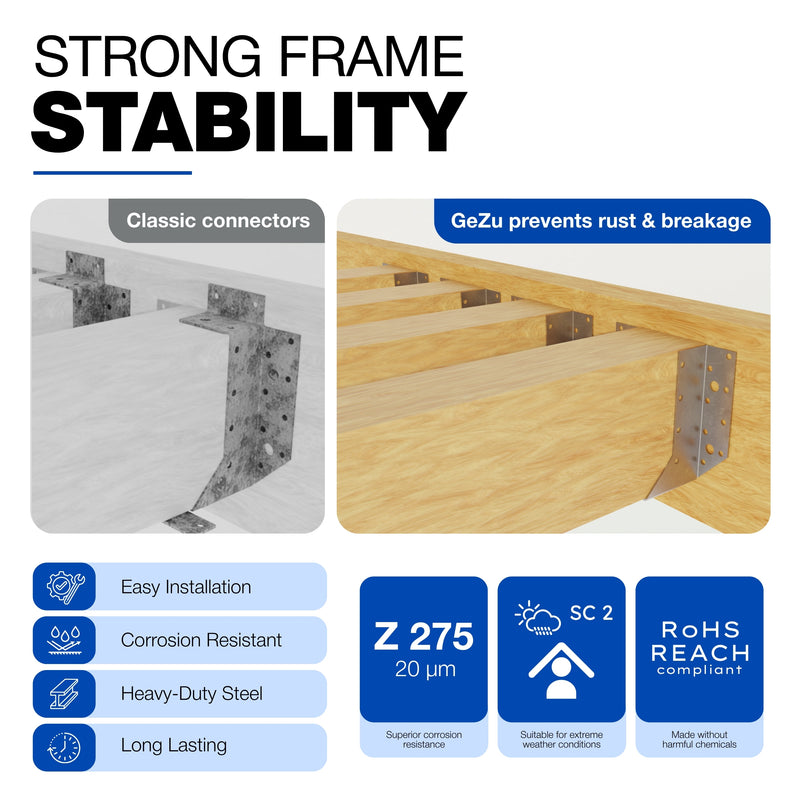
Plenty of our customers don't sink the timber into the ground at all. They concrete a steel support into the hole and bolt the post into it above ground, which keeps the end grain out of wet soil. Our comparison of bolt down and concrete-in post supports covers when each one makes sense.
With a support, the hole holds mix plus a thin steel rod, so the post itself doesn't take up any room. Use the hole-volume method above without the post subtraction. A 20cm round hole, 45cm deep, works out at about 0.014 m³, so just under one bag. Most people round that up to one bag per support.

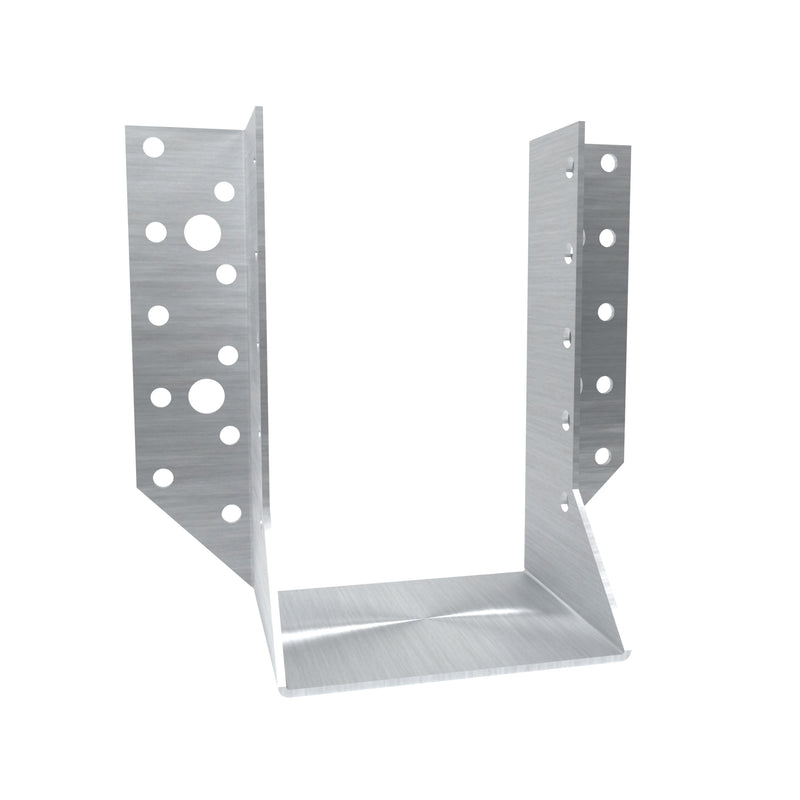
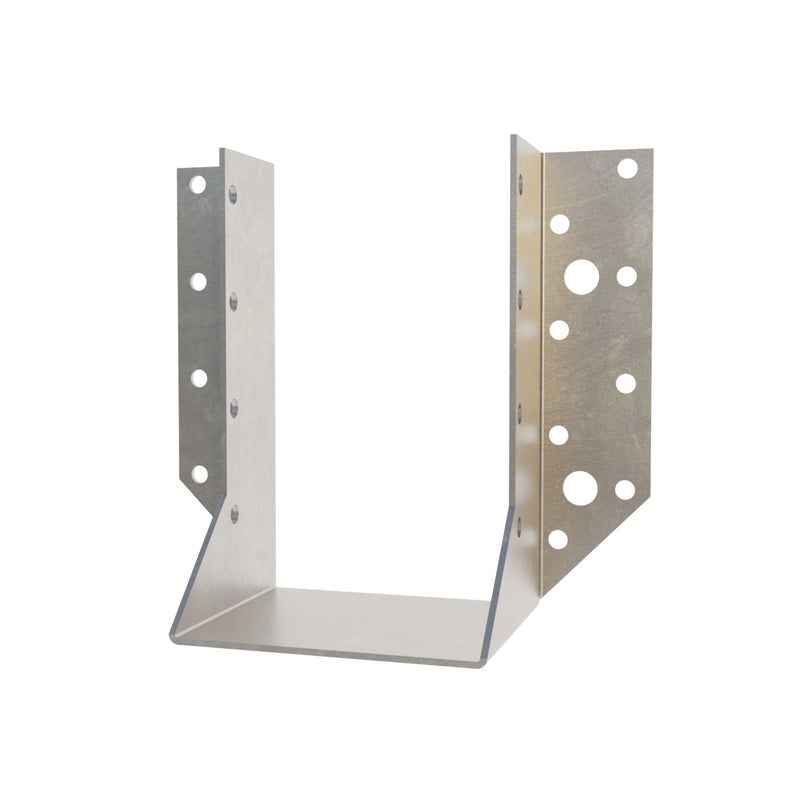
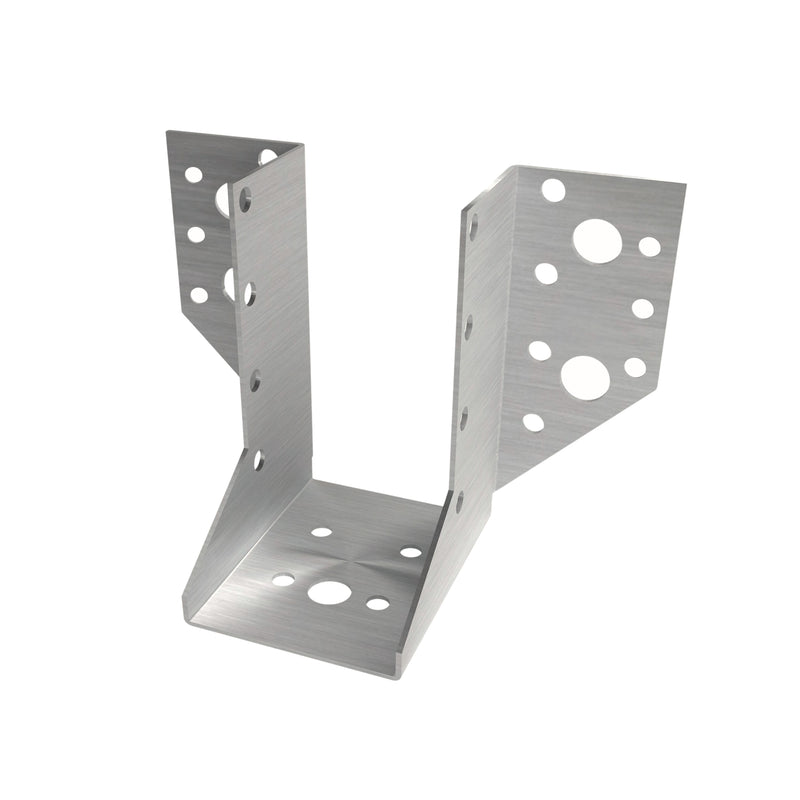
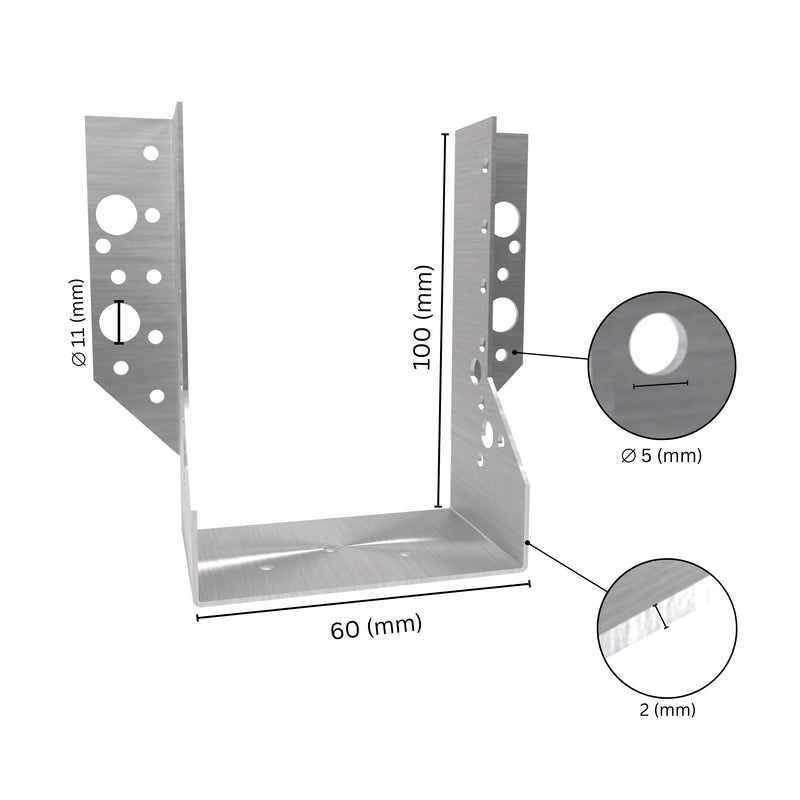
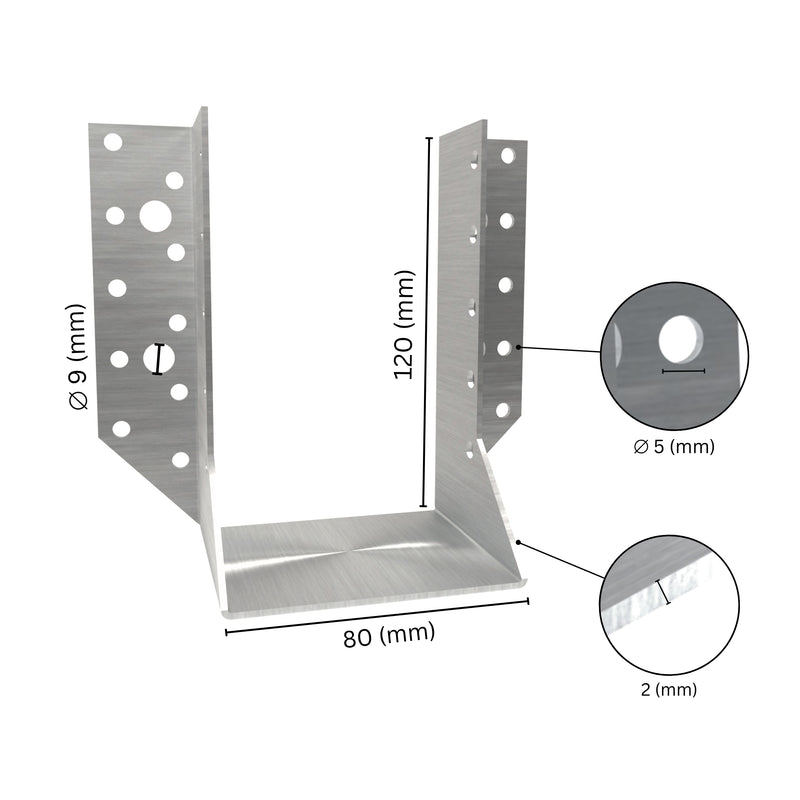
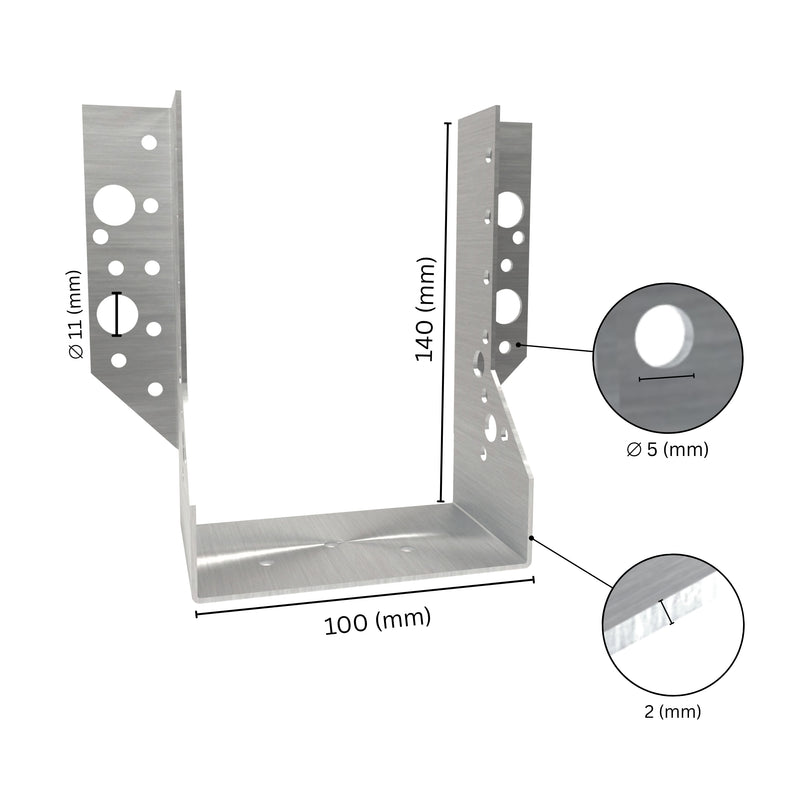
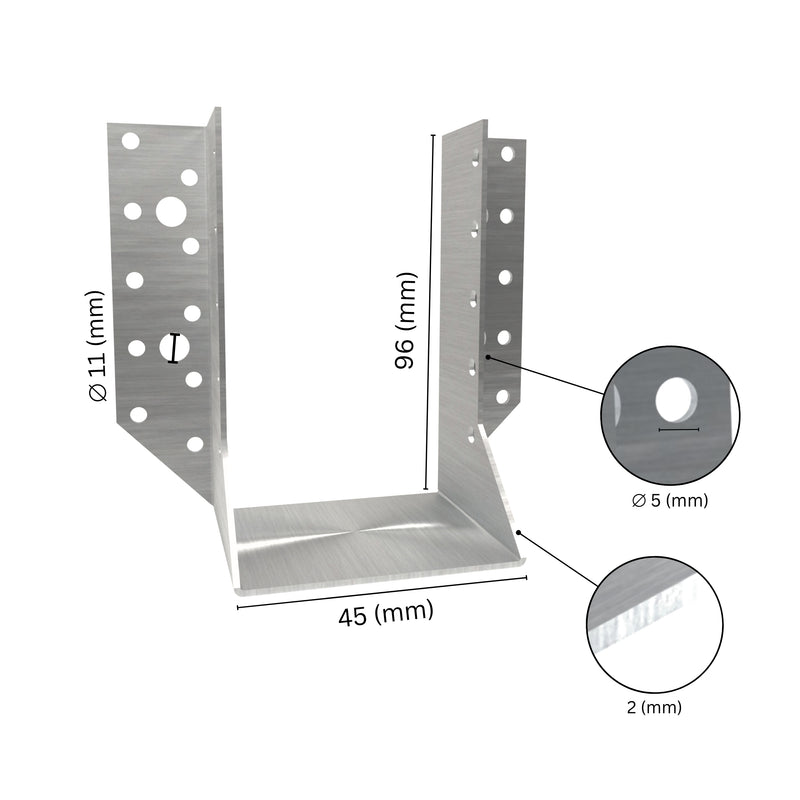
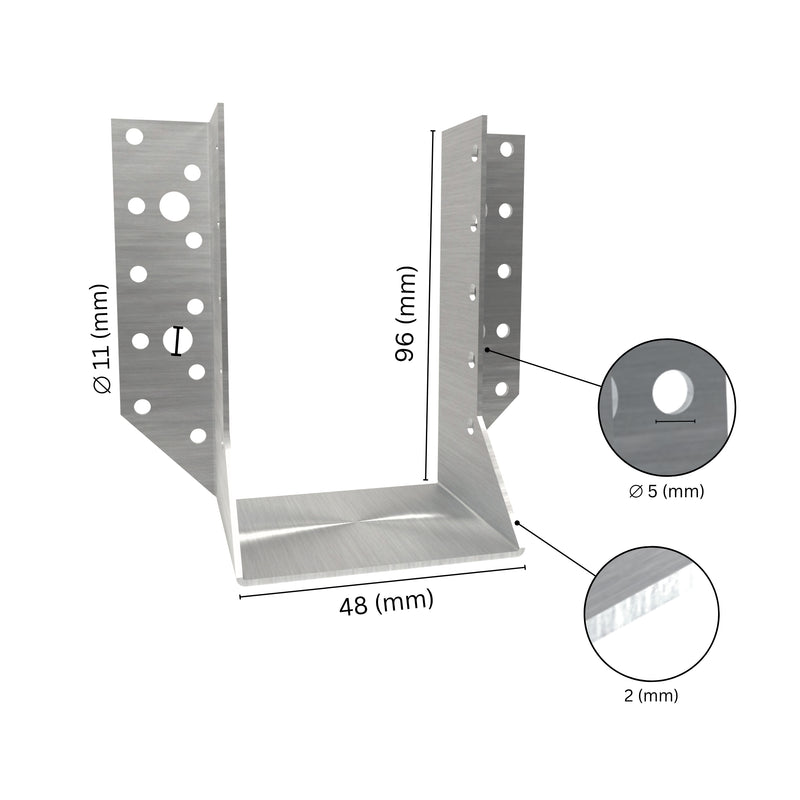
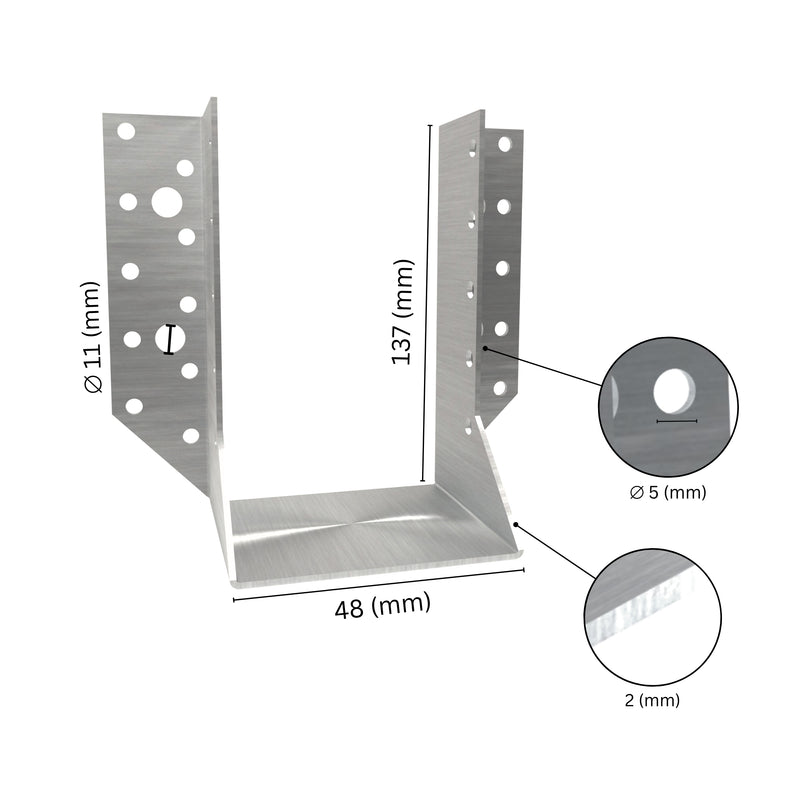
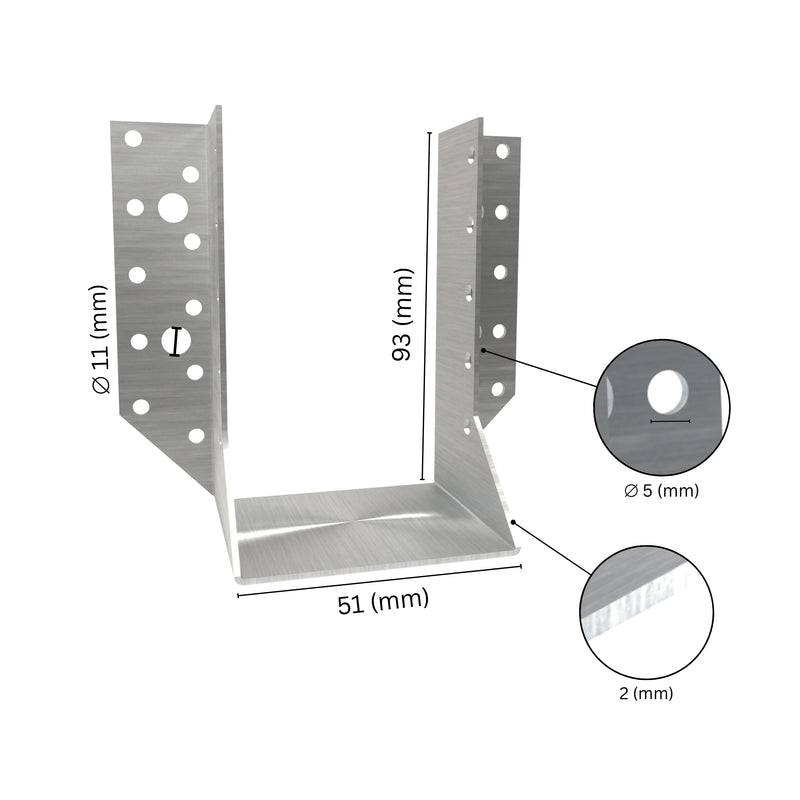
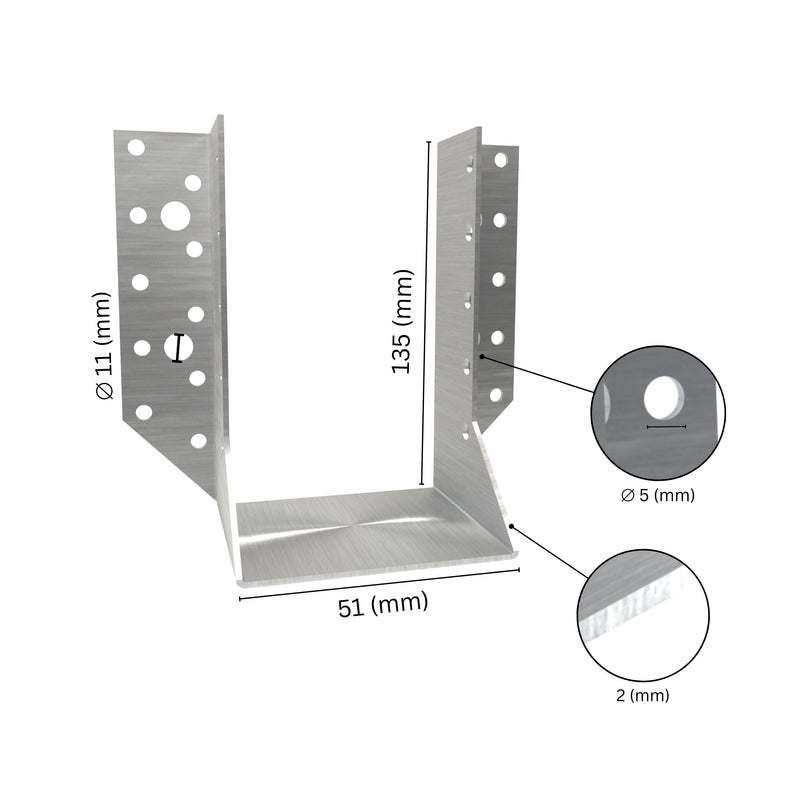
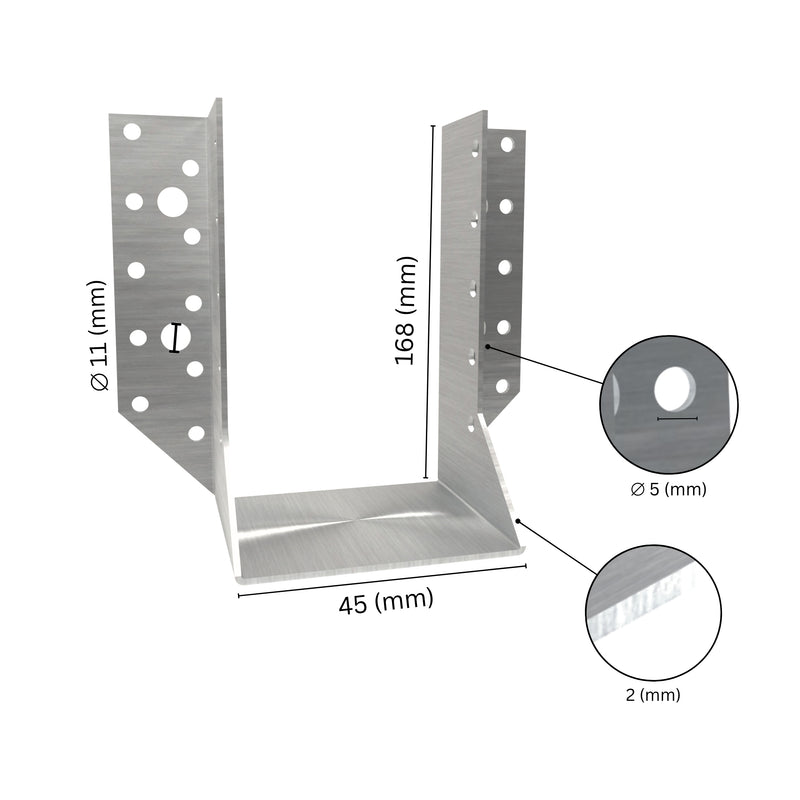
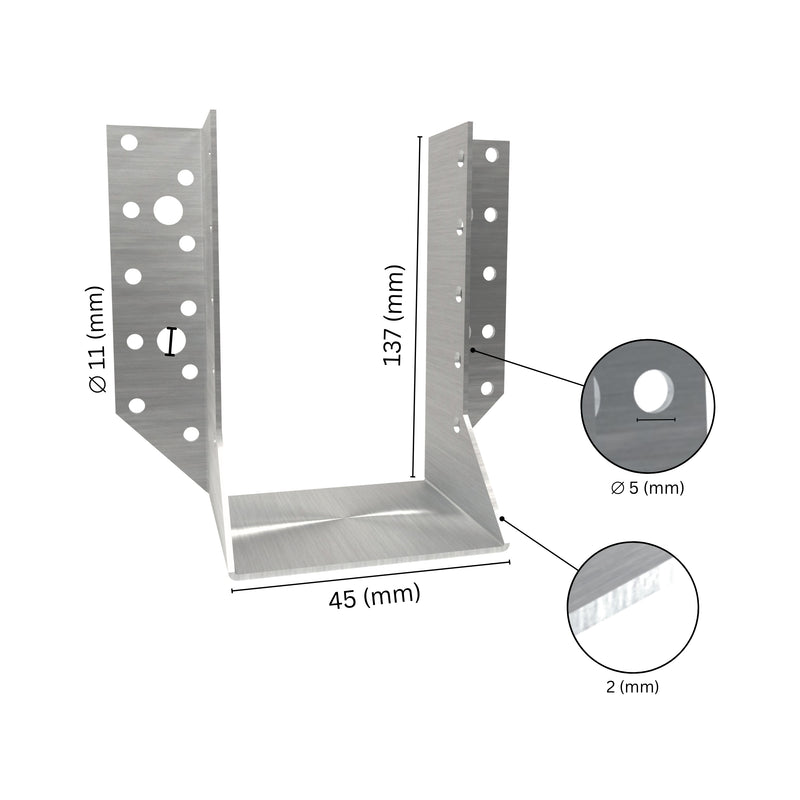
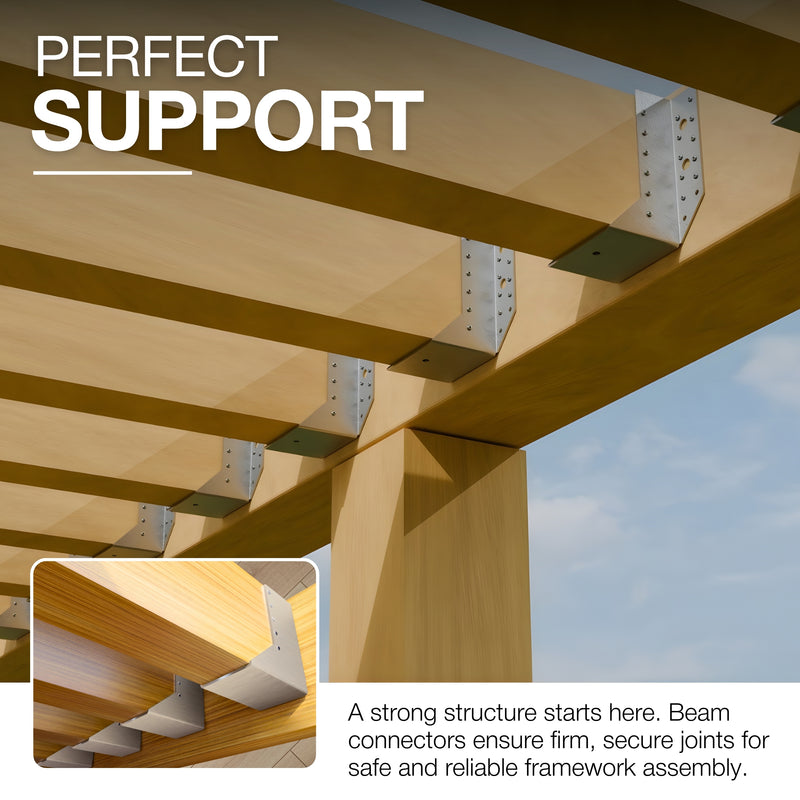
Concrete In U Shape Post Support
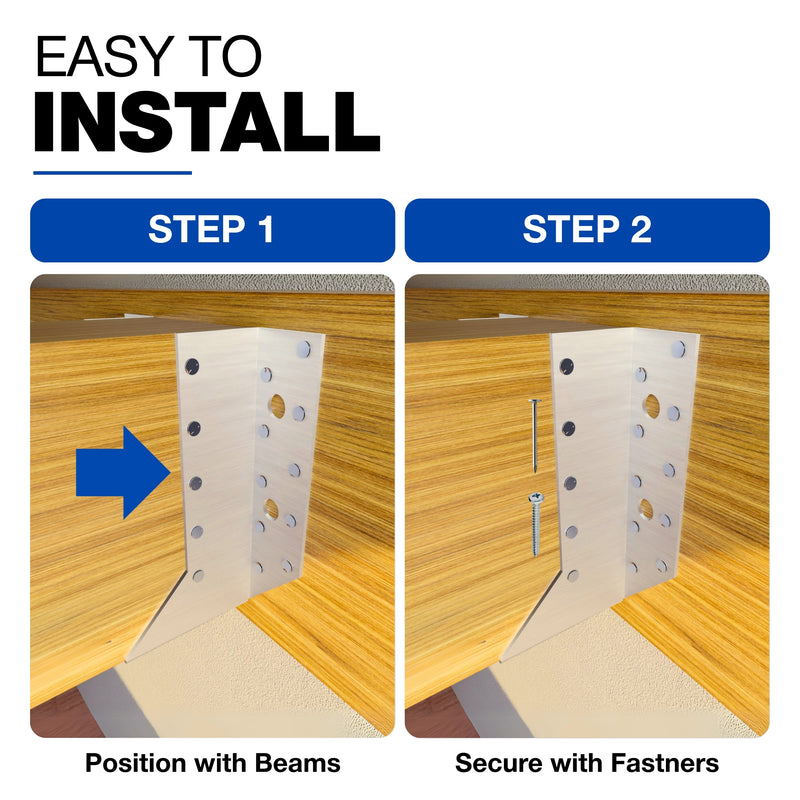
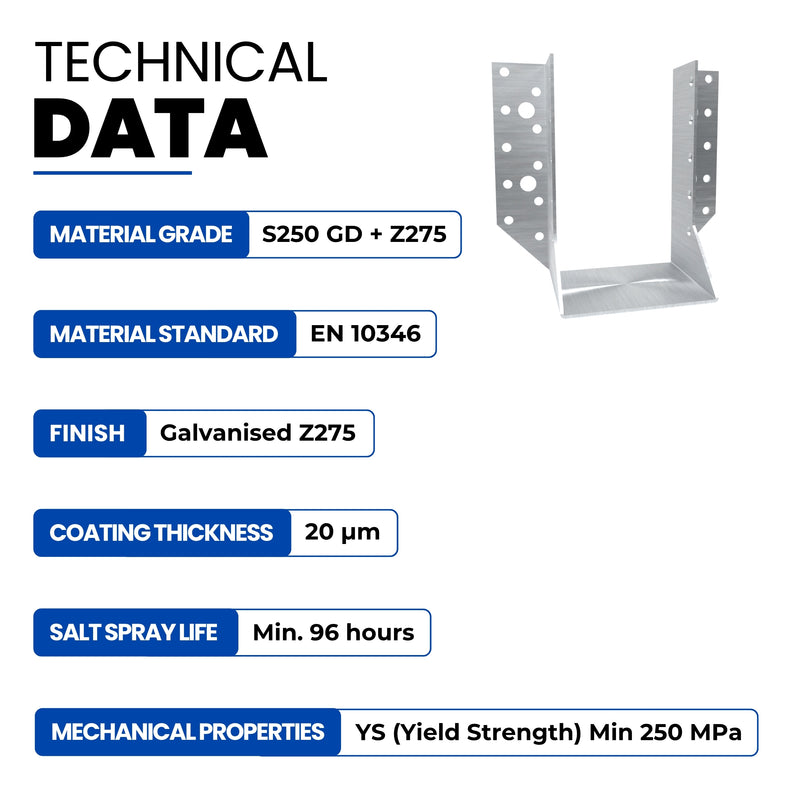
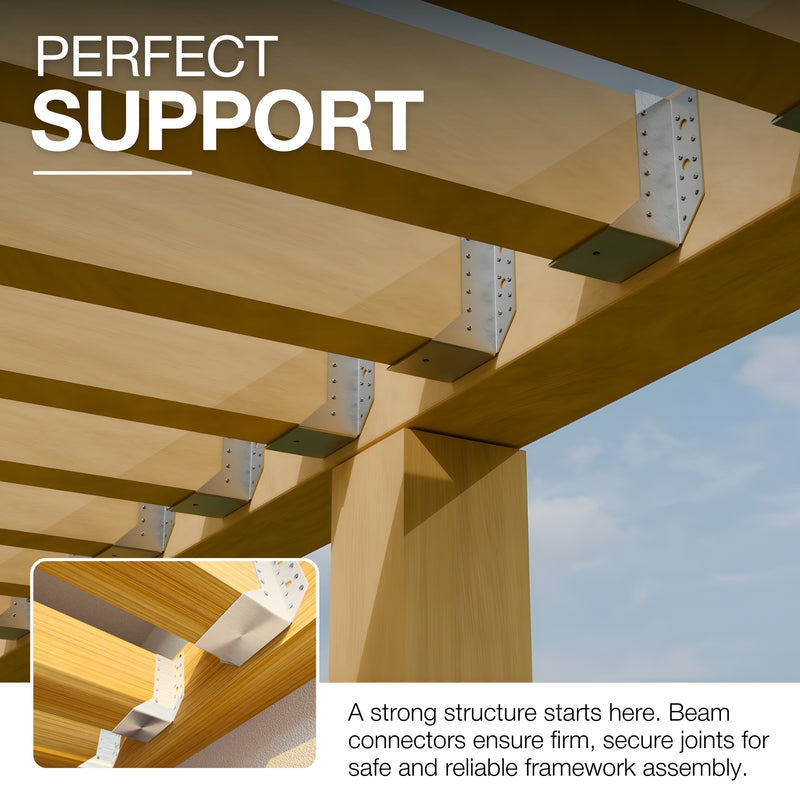
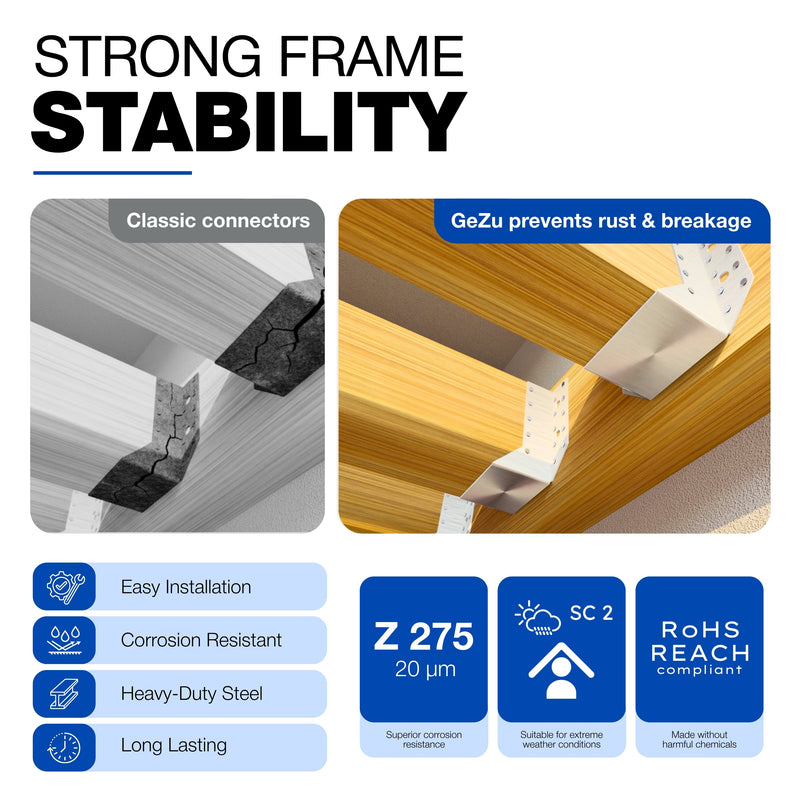
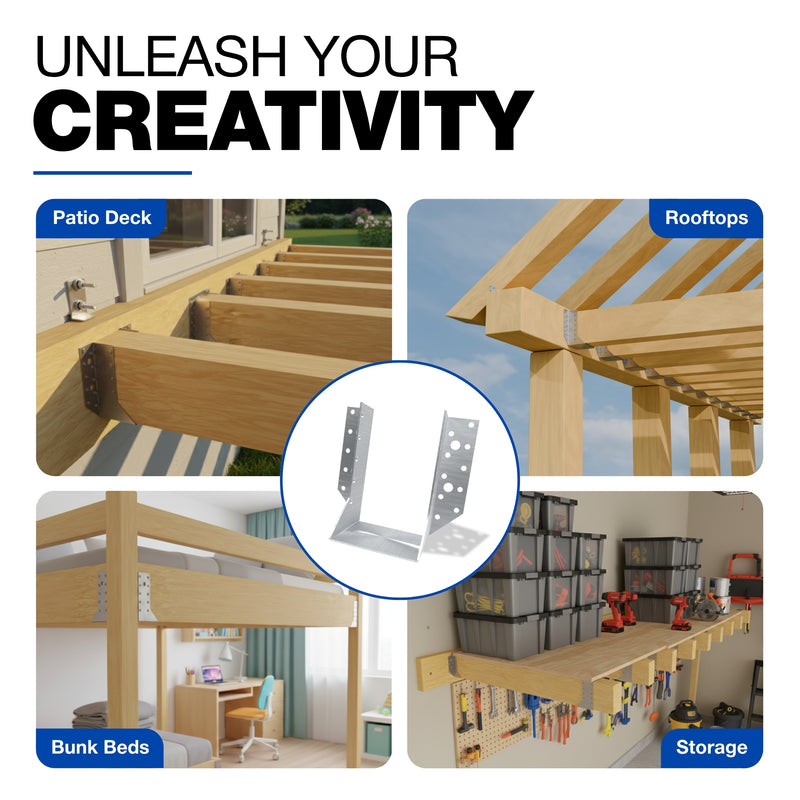
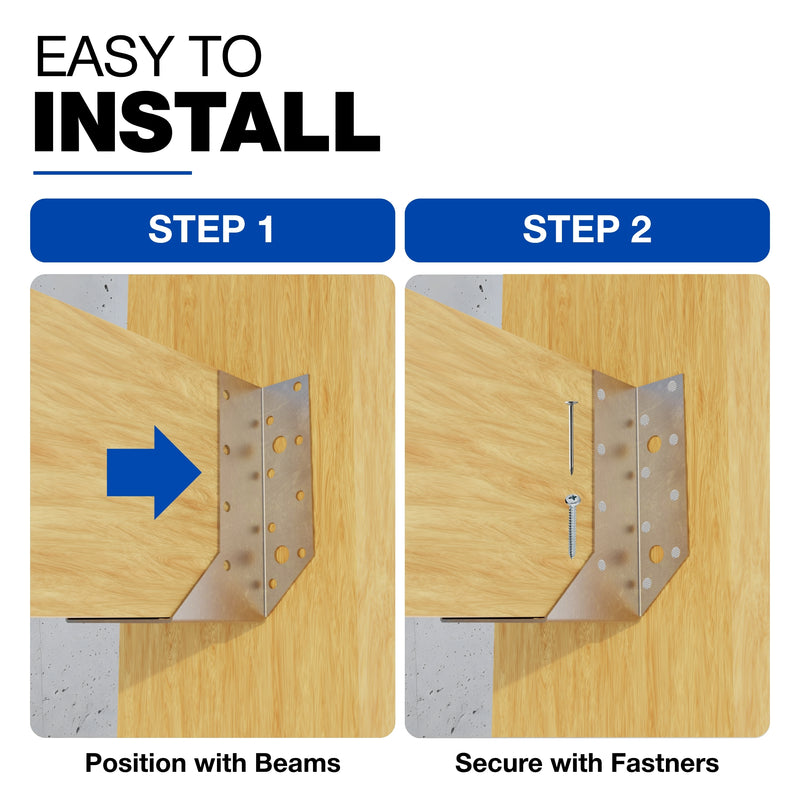
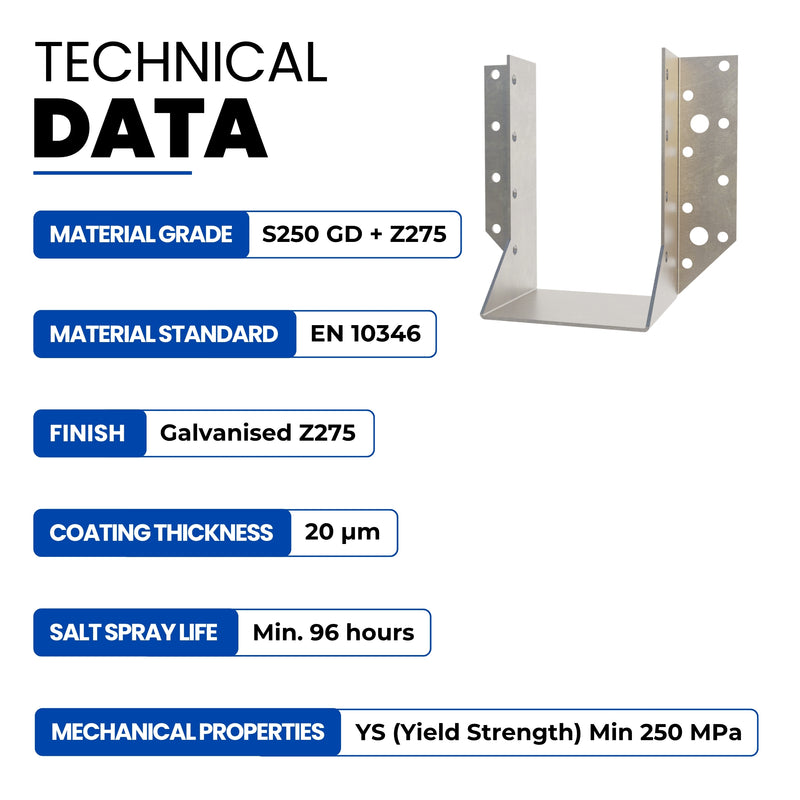
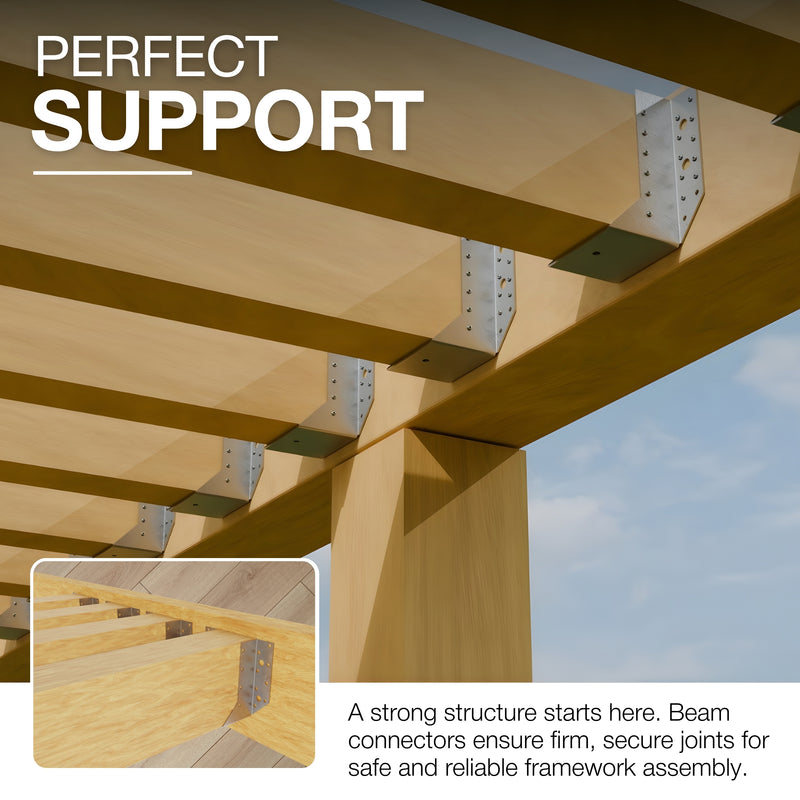
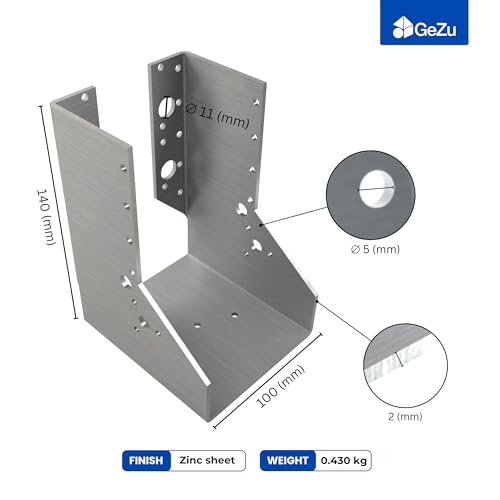
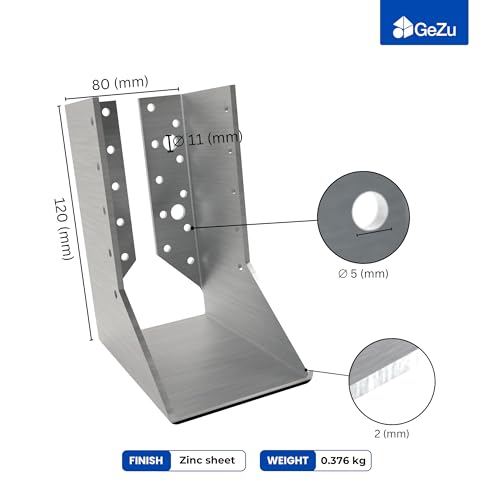
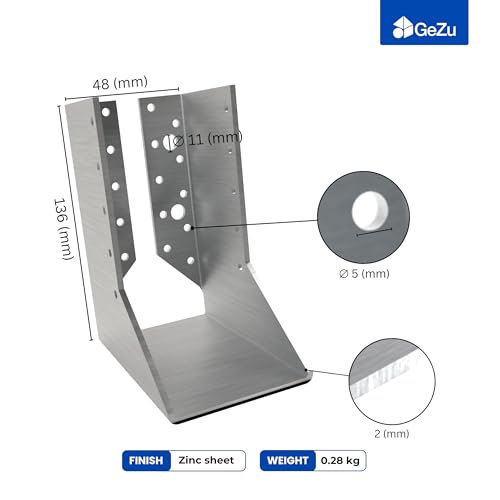
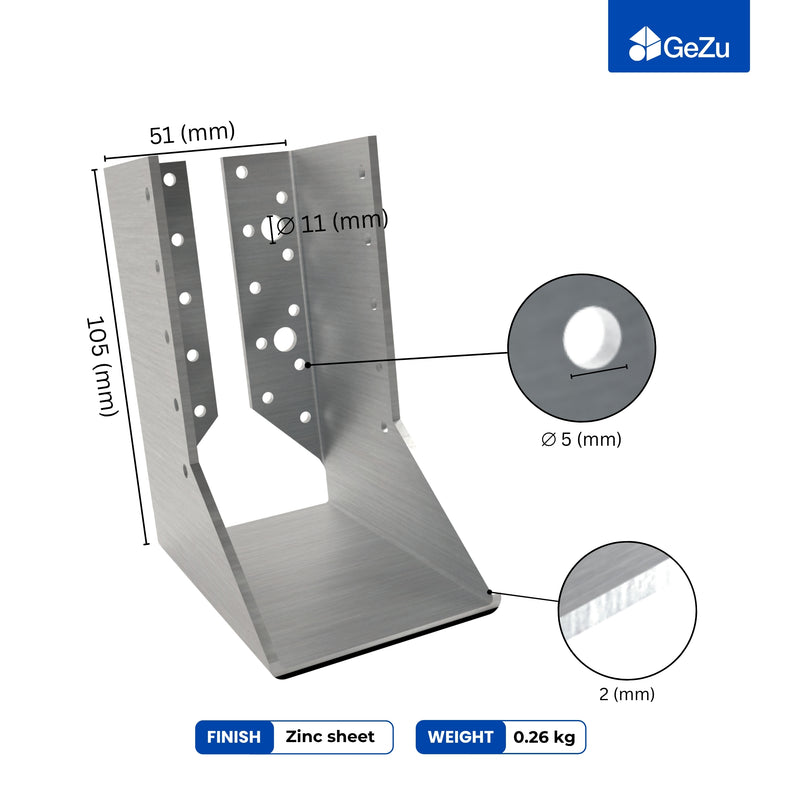
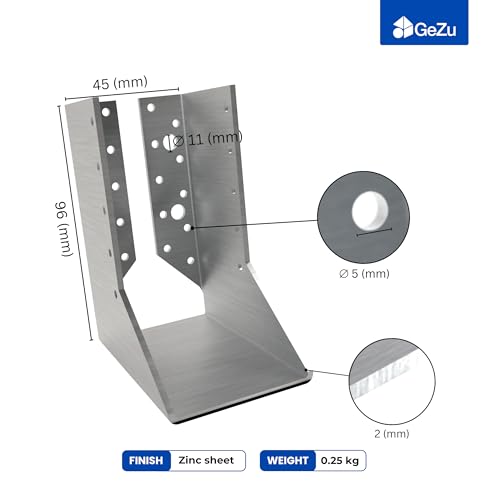
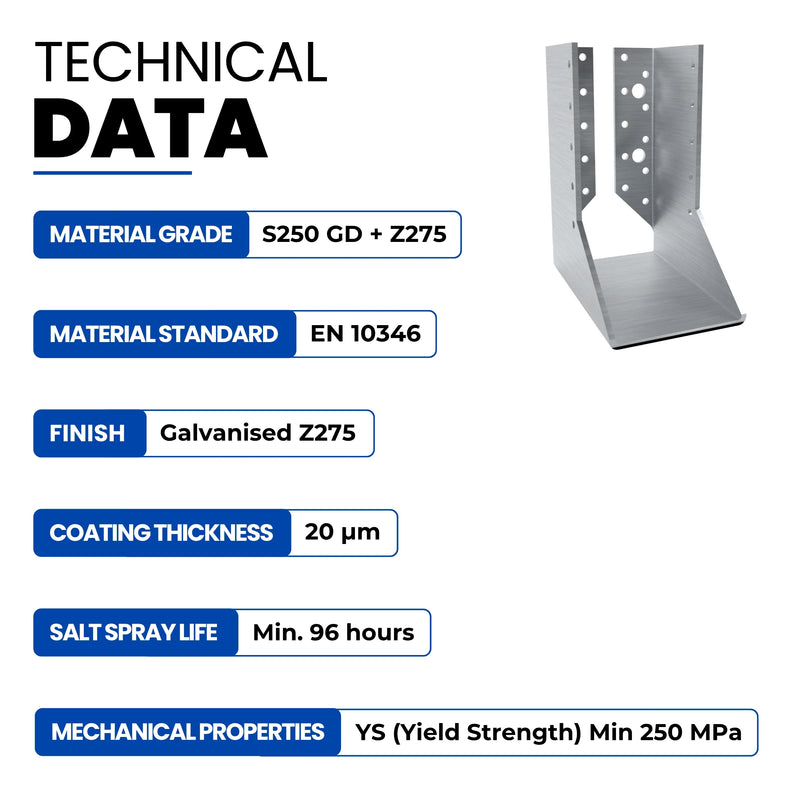
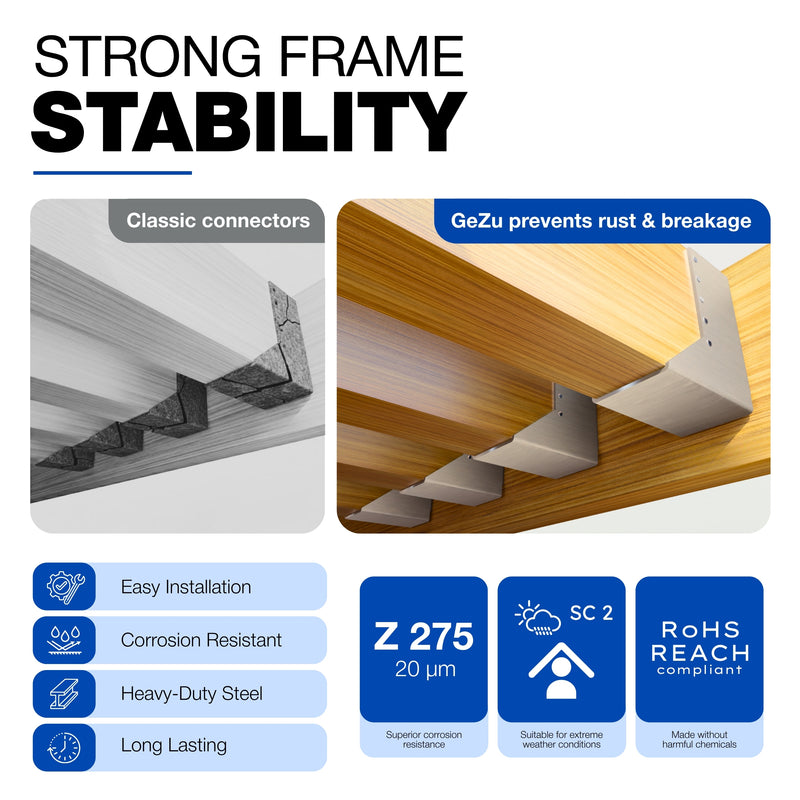
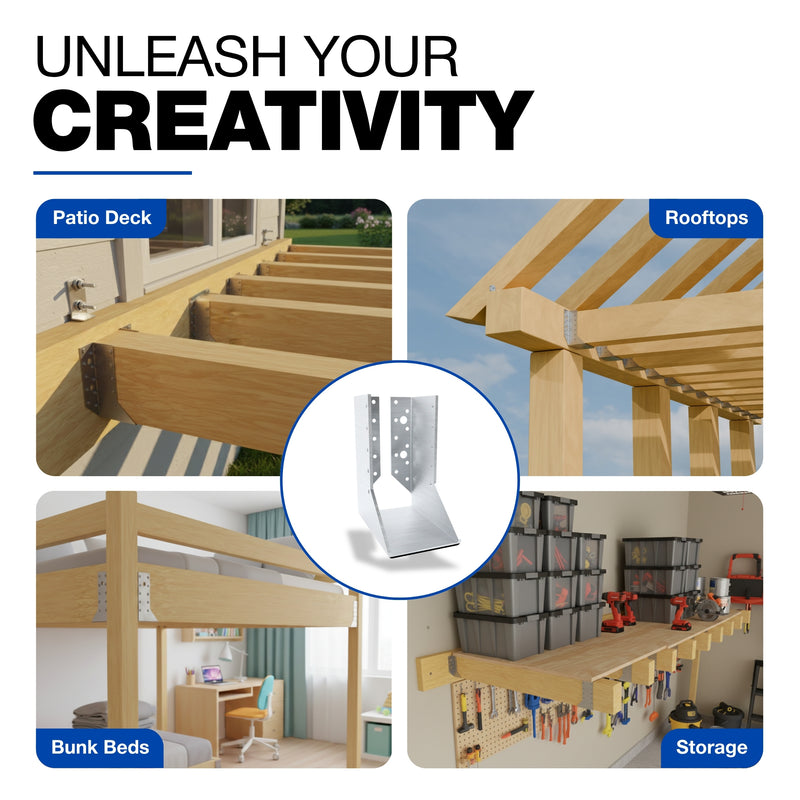
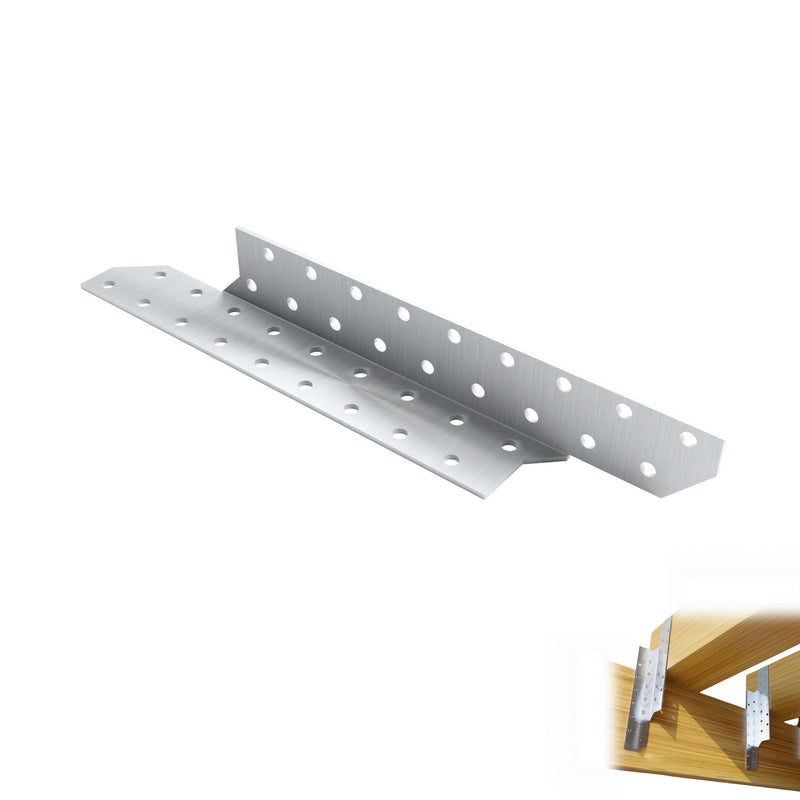
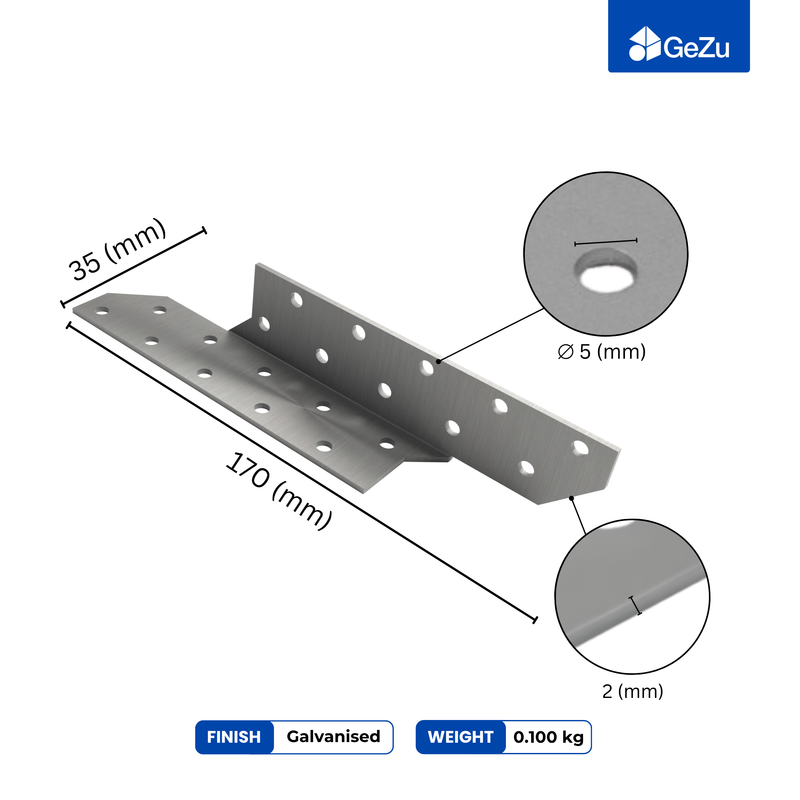
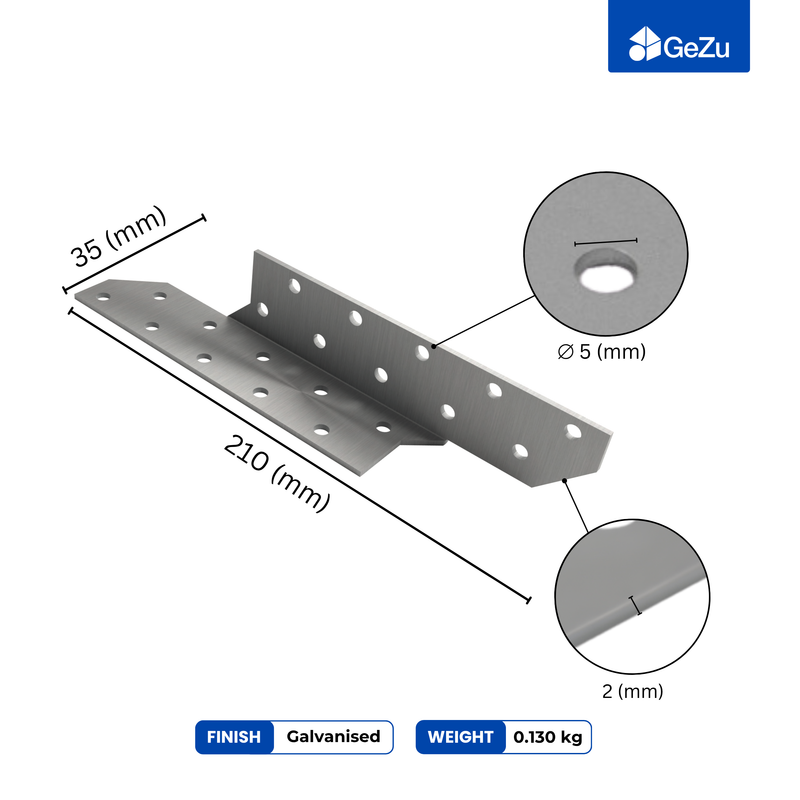
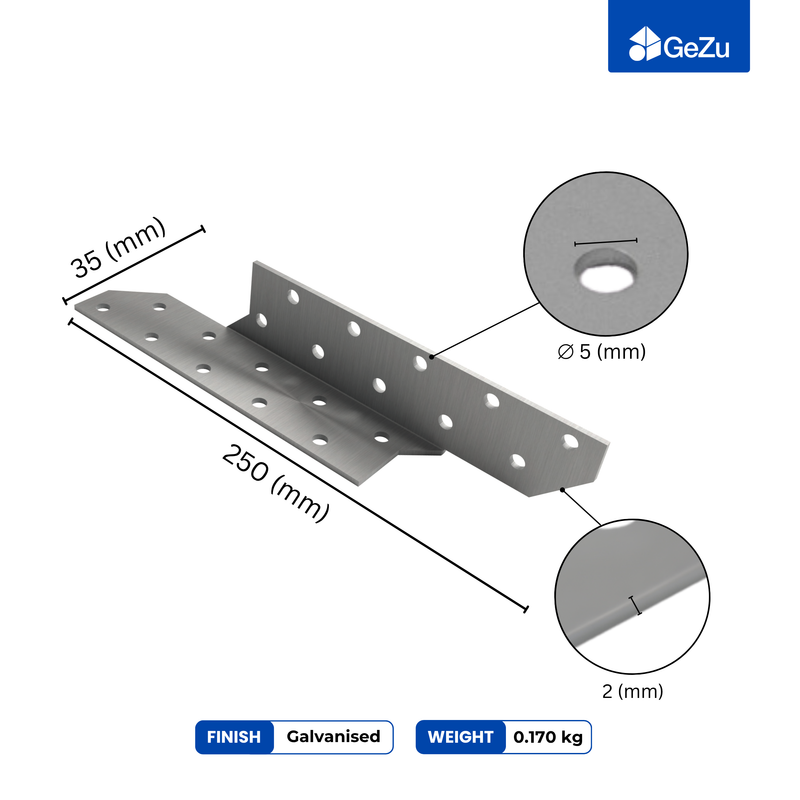
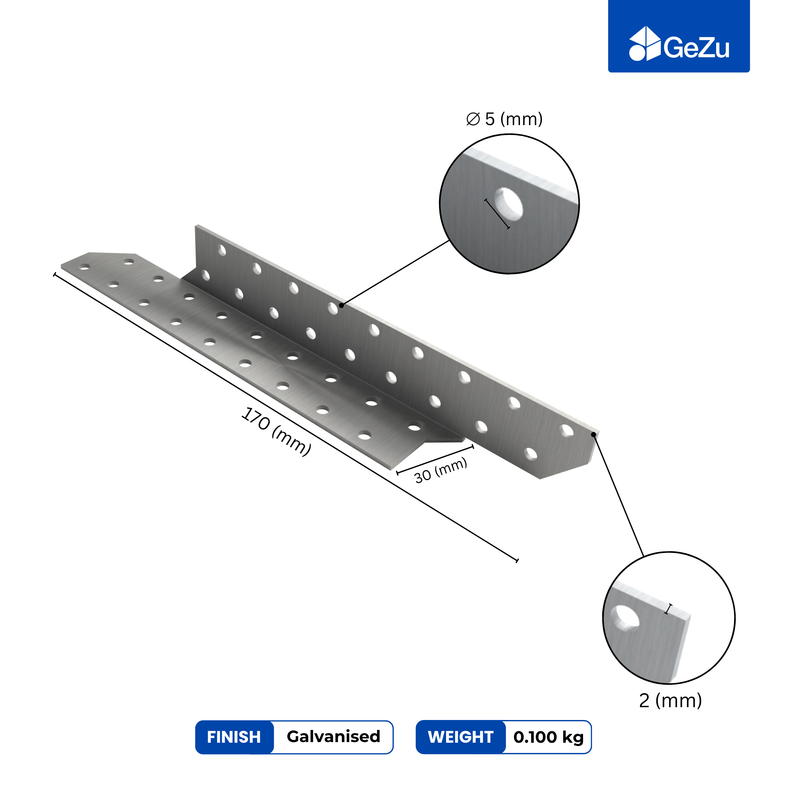
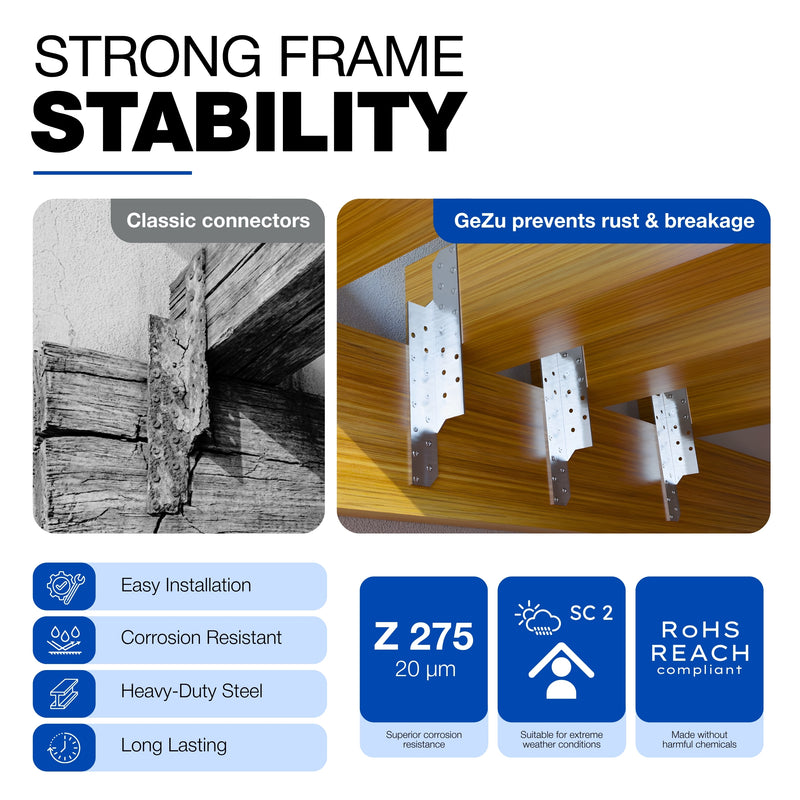
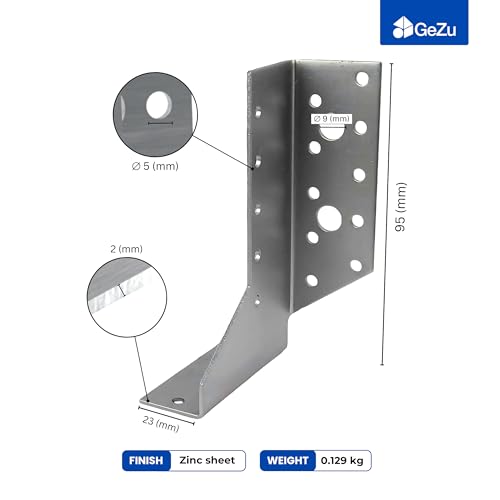
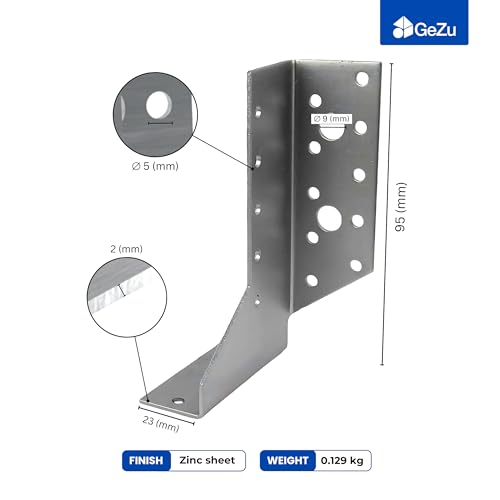
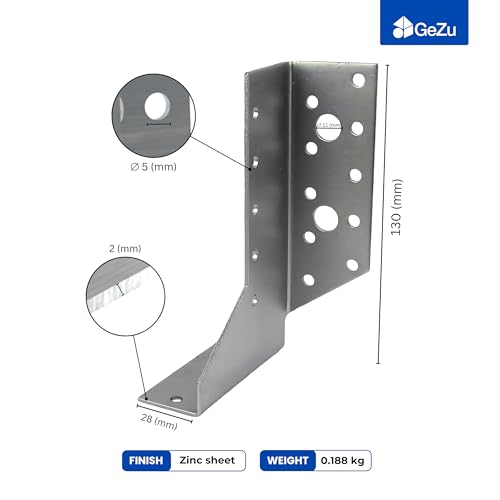
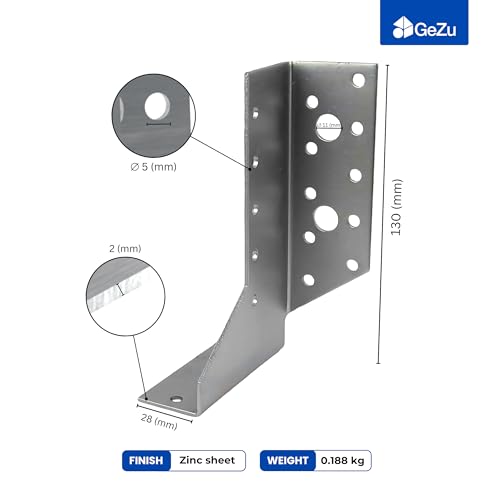
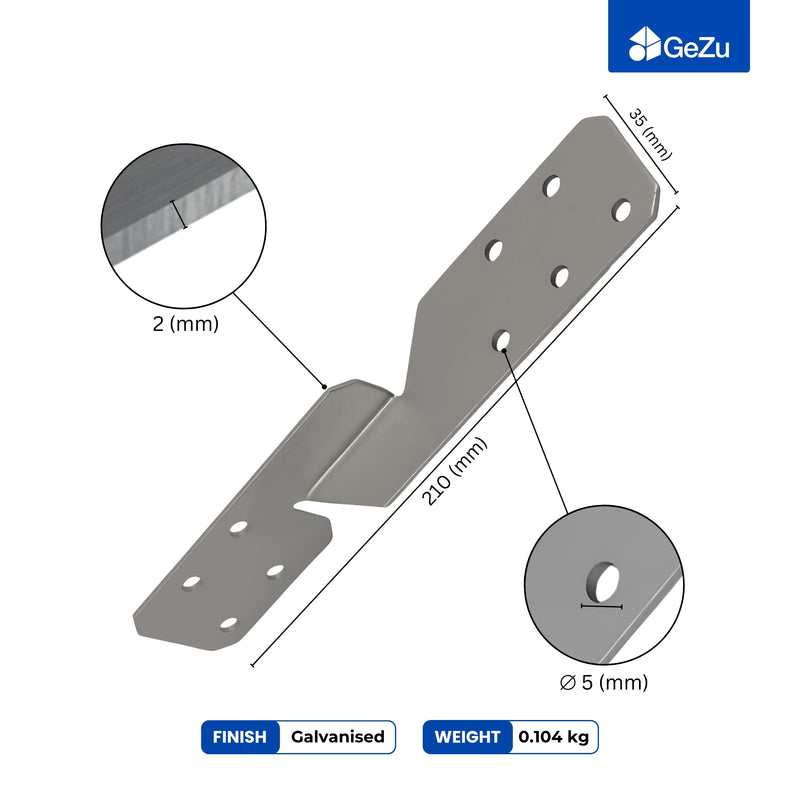
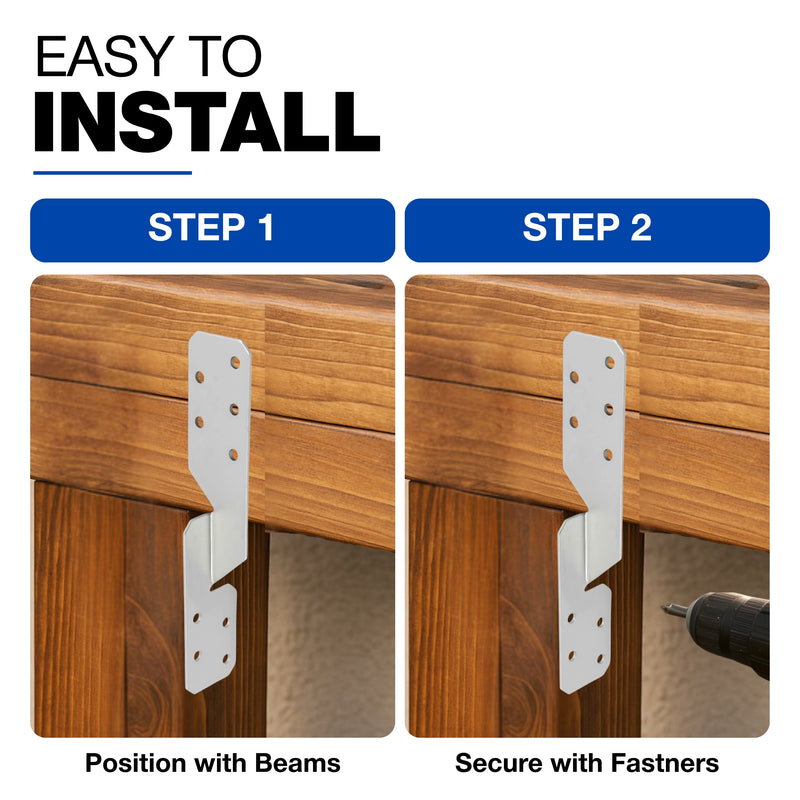
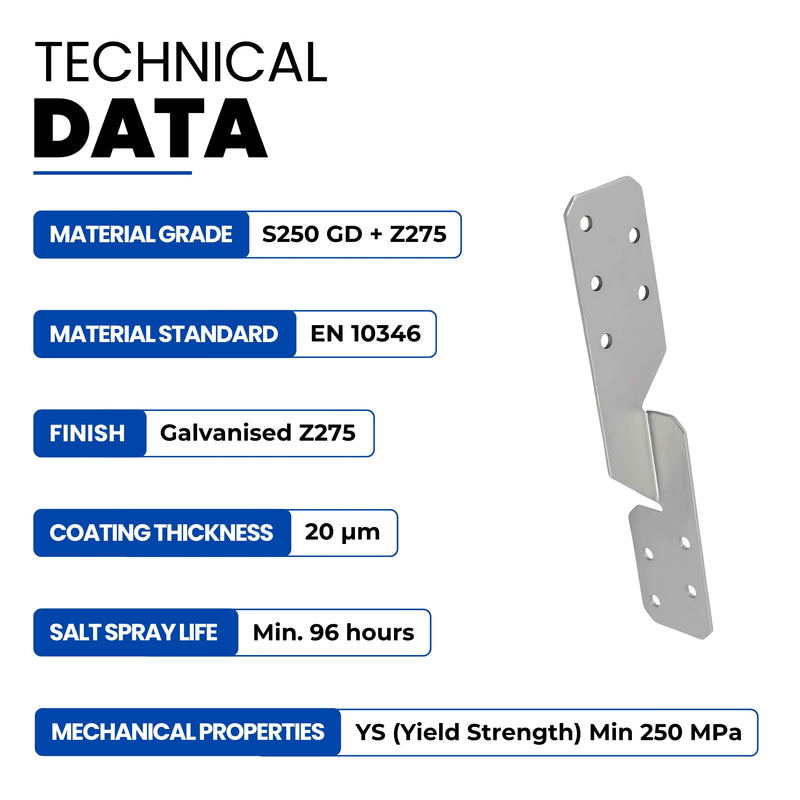
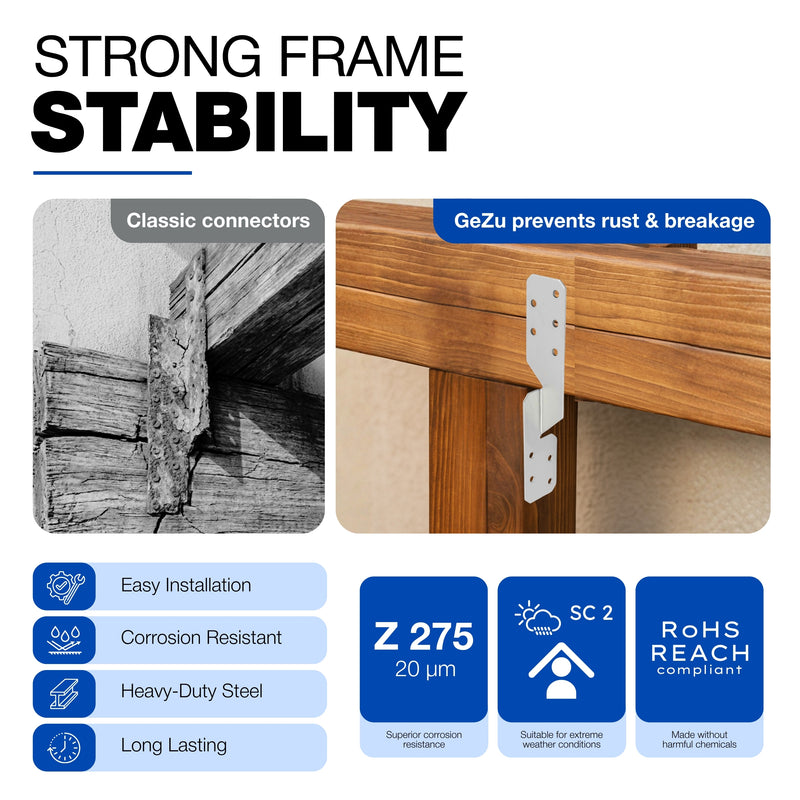
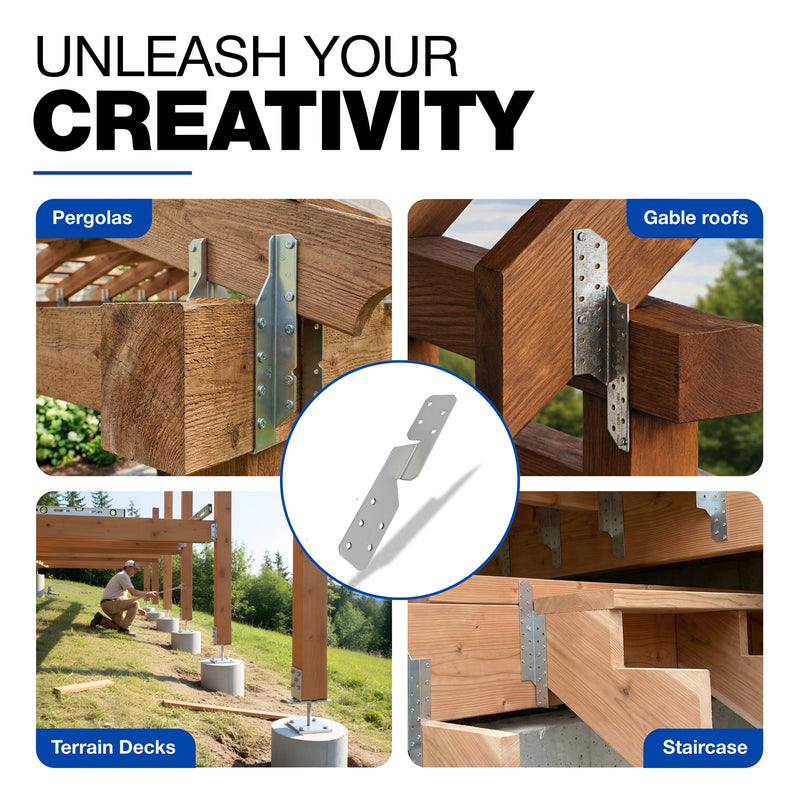
The concrete-in U shape post support is a hot-dip galvanised U bracket on a ribbed rod. You set the rod in post mix, drop the timber into the U and fix it through the pre-drilled side plates. It's built for fences, pergolas and decks where you want a solid base that lifts the post clear of the ground. It's made from 4mm steel, with U widths of 71, 101, 111, 116, 121 and 141mm to suit common post sizes. The ribbed rod gives the mix something to grip, and the galvanised finish stands up to wet soil. Packs of four are available for full fence runs.
Adjustable T Post Support for Concrete
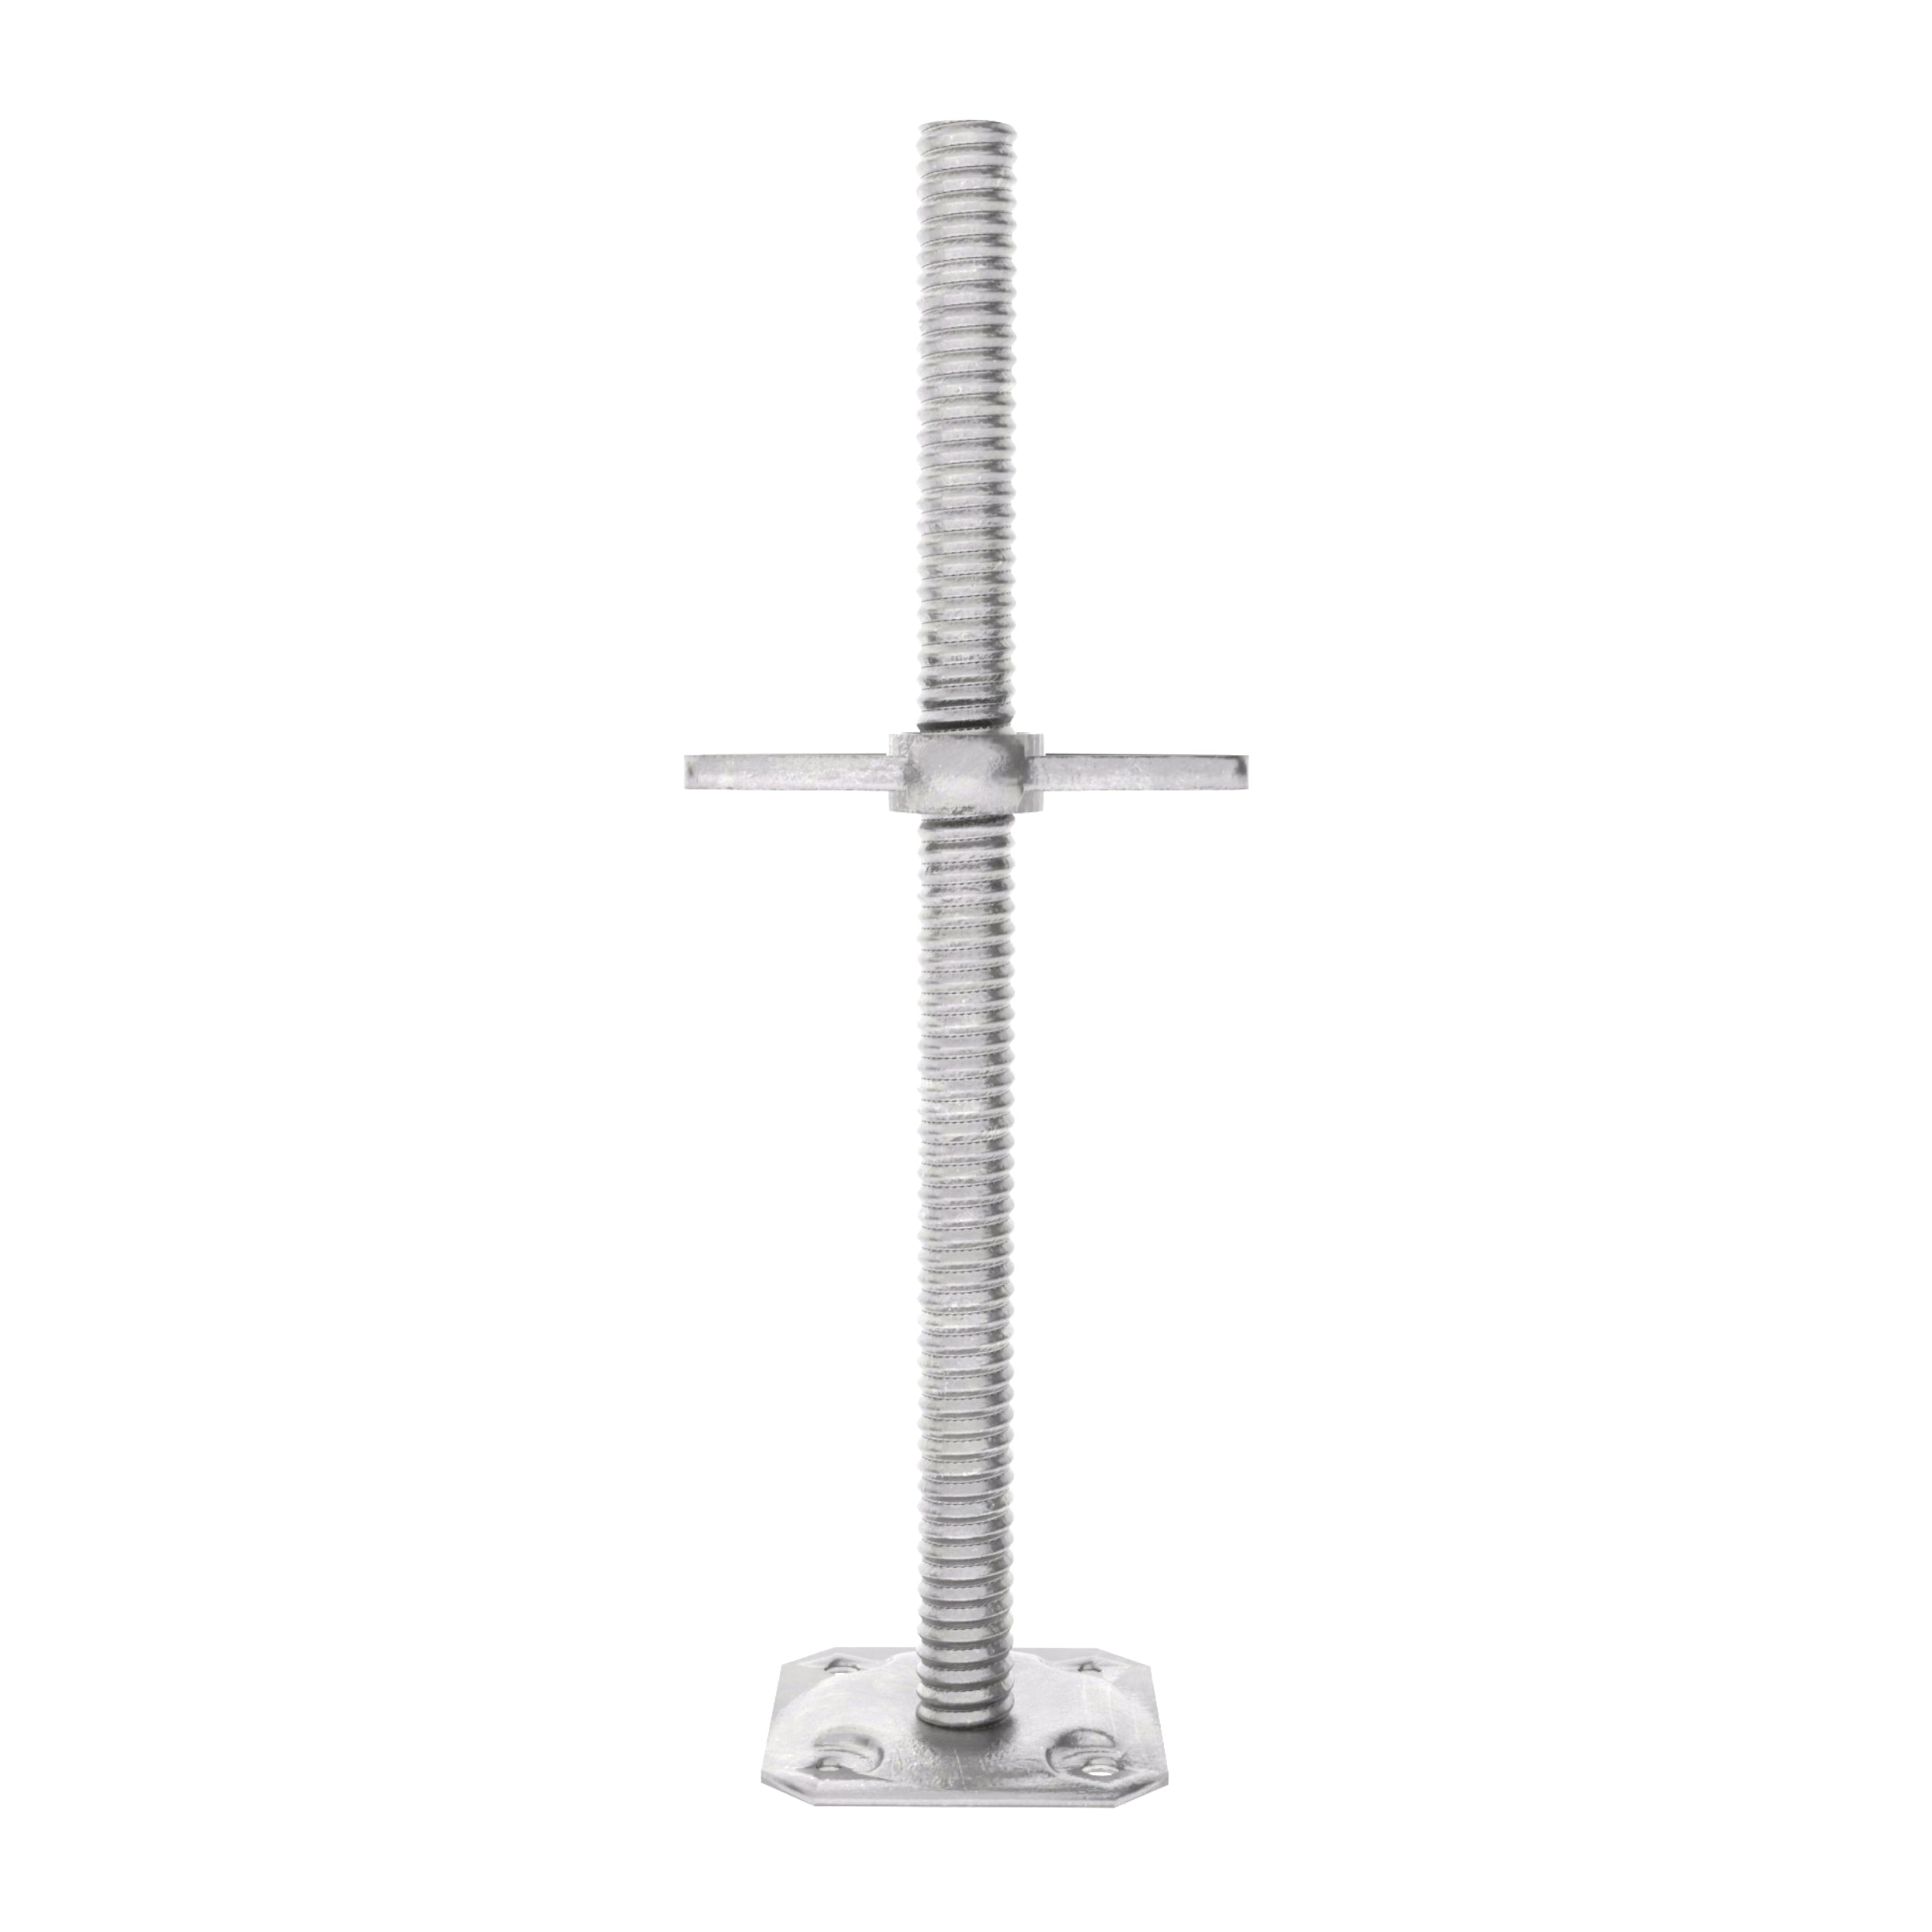
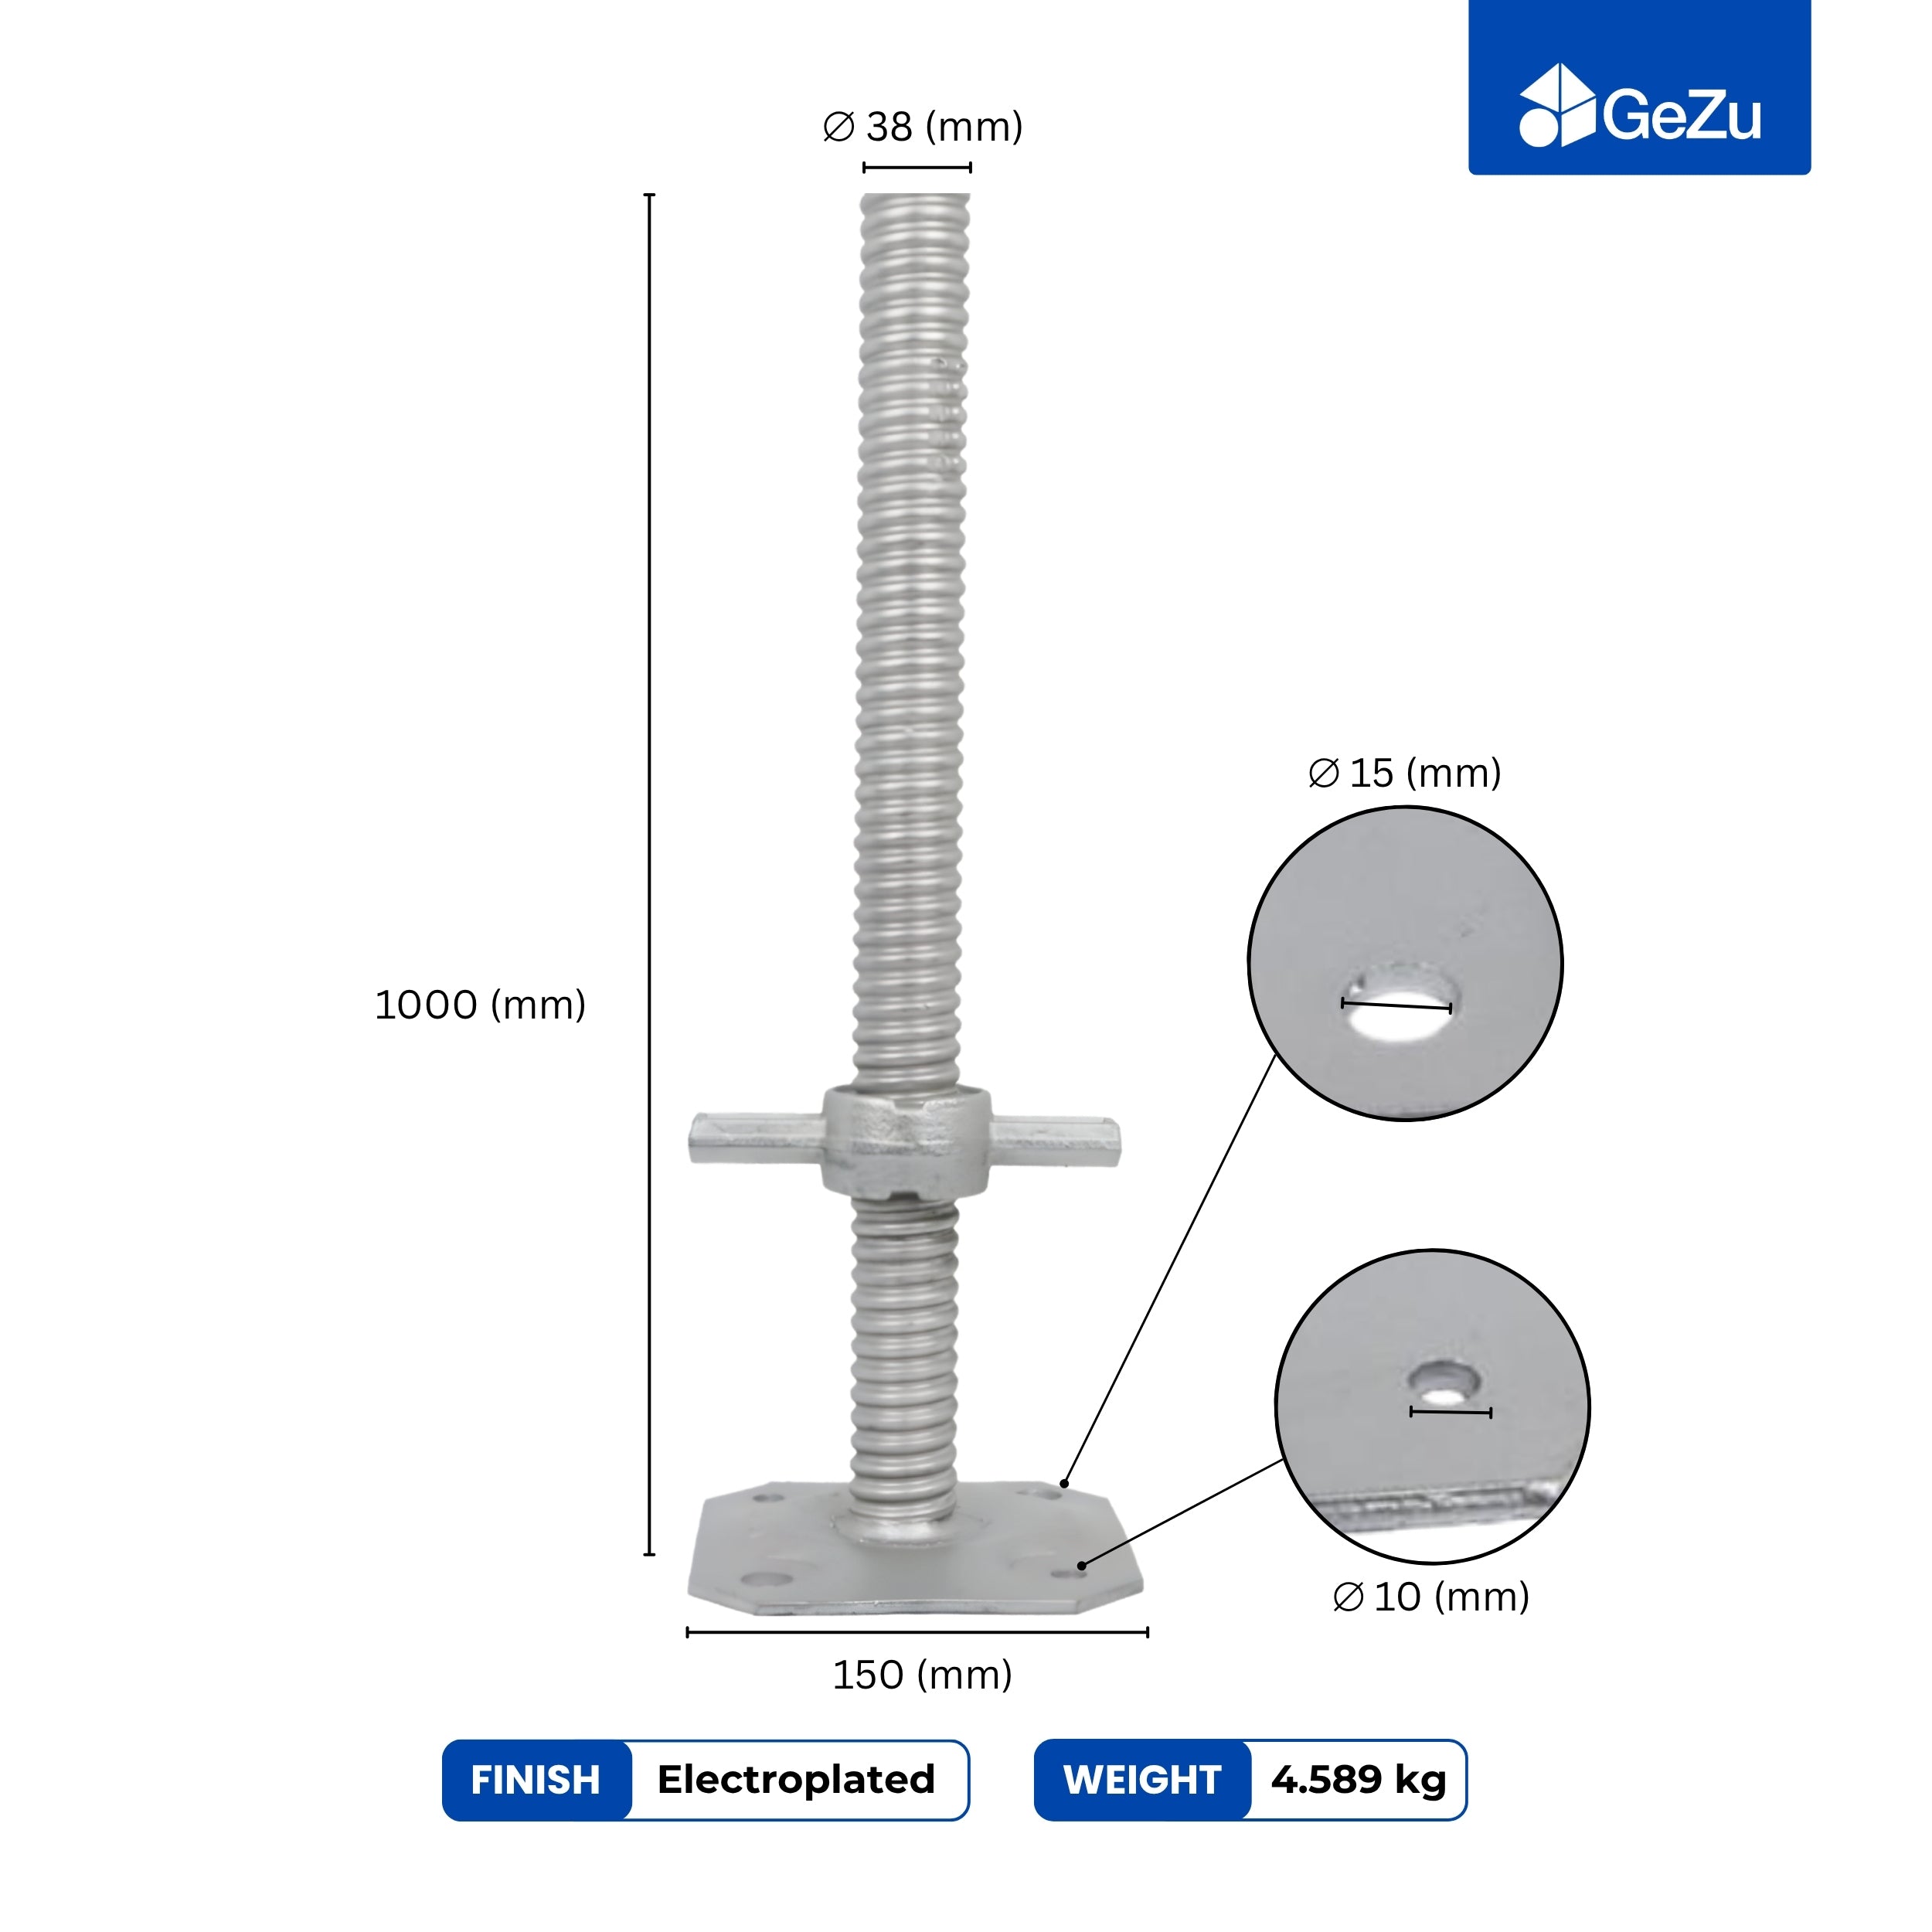
The adjustable T post support has a flat top plate on a threaded rod. Once the rod is set in concrete, you can still wind the plate up or down to level the post, which saves a lot of fiddling on sloping ground. It suits pergola and carport posts that need to sit at an exact height. Top plates come in 80 x 80mm and 100 x 100mm, hot-dip galvanised, with a lock nut so the plate doesn't turn under load.
Swift Clamp Concrete-In Post Support
Where the ground is too stony for a drive-in spike, the Swift Clamp concrete-in socket is set in mix instead and clamps a 75 x 75mm post with an adjustable clamping system. It's finished in brown powder coat. If you're torn between spikes and concrete in the first place, read fence post spikes vs concrete-in supports first.
How to Use Postcrete Step by Step
Postcrete isn't mixed in a barrow. The manufacturer's site instructions run like this:
- Dig the hole to size: three times the post width, a third of the fence height deep.
- Fill the hole with water to a third of its depth.
- Pour the Postcrete evenly around the post until no standing water shows, then sprinkle a little water on top.
- Position and level the post. It sets in 5 to 10 minutes, so have your level and a temporary brace ready before you pour.
- Once set, cover the top with soil or turf.
Pour in stages if you're using more than one bag per hole. A forum tip we agree with: don't dump two bags in at once, or the water may not reach the bottom of the powder. Water, a bag, a little more water, then the next bag. If the post wanders while you work, our guide on how to brace a fence post shows quick temporary braces.
When Postcrete Isn't the Right Mix
The manufacturer's own conditions of use are worth reading before you buy a pallet. The data sheet says Postcrete is for domestic posts, decking posts, rotary washing lines and small to medium gateposts, meaning gates under 1.0m wide. It shouldn't be used for general concreting, and it shouldn't be used where a specified compressive strength is required.
So for a wide driveway gate, a heavy carport or anything an engineer has specified, use a proper concrete mix to that spec. Postcrete also needs a minimum working temperature of 3°C, which matters at this time of year.
On timing, the data sheet says you can fix fence panels after the initial 10 minutes of setting. Some fencing suppliers advise waiting at least 4 hours before loading their post mixes. On a windy day or with a heavy gate, waiting the extra hours costs you nothing.
Quick Checklist Before You Buy
- Count posts: panels + 1, plus any gate posts.
- Pick a hole size from the post size and fence height.
- Read the bag count from the table, or work it out by volume.
- Add one or two spare bags.
- Choose your fixing: timber straight in the hole, or a U-type post support that keeps the post off the ground.