How to Install Fence Post Spikes

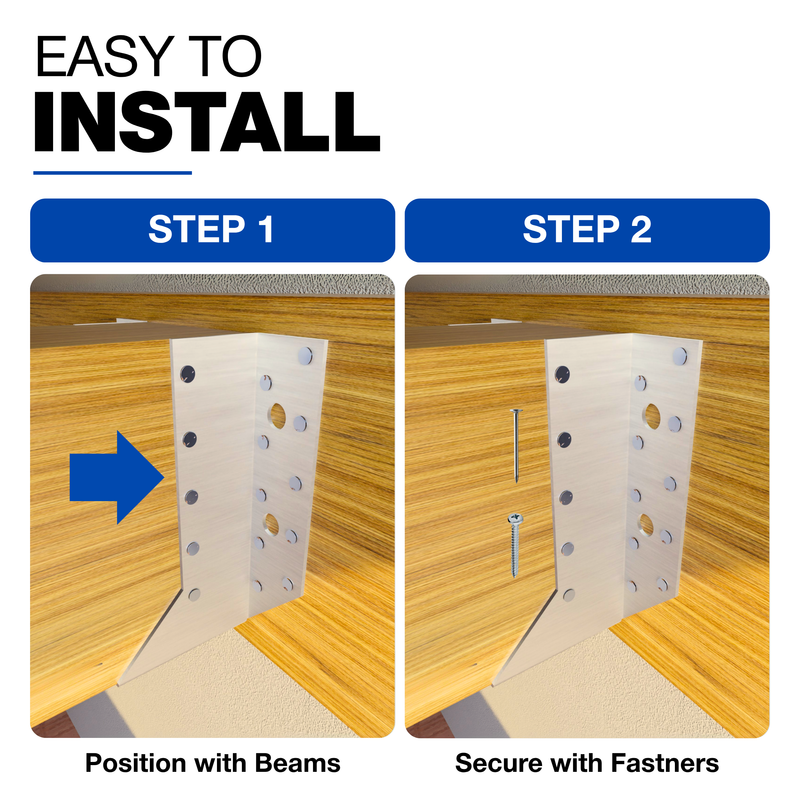
To install a fence post spike, mark the post positions on a string line, test each spot with a steel bar, start the spike upright by hand, then drive it with a sledgehammer onto a driving block or timber offcut sitting in the socket, checking plumb on two faces every few blows. Stop when the bottom of the socket sits at ground level, drop the post in and tighten the clamping bolts. In firm soil that's ten to fifteen minutes a post, with no digging and no concrete.
That's how to install fence post spikes in one paragraph. The rest of this guide is the detail we give customers by email: the tools that make it easy, the soil test that saves you a crooked spike, and what to do when the spike hits a stone halfway down.
Before You Start: Check the Spike and the Ground
Two decisions come before the first hammer blow. First, the socket has to match the post you've actually got, measured with a tape rather than read off the timber label, and the spike length has to suit the fence height. We've covered that properly in our fence post spike size chart, so we won't repeat it here.
Second, the ground has to suit a spike at all. Push a long screwdriver or a steel bar into each post position. If it meets steady resistance and goes in straight, you're in spike country. If it stops dead at 200 mm, grates on stones or sinks in with no effort, that position wants a different fixing. A spike holds only as well as the soil gripping it, and if you're still weighing that up, our comparison of post spikes against concrete-in supports sets out where each one wins.
And check for buried services. Garden cable runs, irrigation pipes and drains often sit within the top half metre, right where a 750 mm spike is heading.
Tools You'll Need
| Tool | What it's for |
|---|---|
| Sledgehammer (around 3 kg) | Driving the spike; a club hammer works for 600 mm spikes in soft ground |
| Driving block, or a 30 cm offcut of your post | Sits in the socket and takes the blows so the box doesn't distort |
| Spirit level (a post level is easiest) | Checking plumb on two adjacent faces as you drive |
| String line and two pegs | Keeping every spike on the same line |
| Tape measure | Spacing posts to suit your panels |
| Steel bar or long screwdriver | Testing the ground and making a pilot hole |
| Spanner or socket set | Tightening the clamping bolts |
How to Install Fence Post Spikes Step by Step

- Set out the line. Stretch a string line between two pegs at the height of the socket tops, about 10 cm off the ground. Every spike should touch the line at the same point, so the posts finish in a straight run.
- Mark the first post position. Start at a fixed end, against a wall or an existing post. Measure the next positions from there to suit your panel width plus the post. For standard 1.83 m panels, that's usually a post every 1.9 m or so; measure your own panels and posts rather than trusting the label.
- Make a pilot hole. Drive a steel bar down 200 to 300 mm at the mark and lever it gently round. It gives the spike tip a straight start and tells you straight away if there's a stone there.
- Start the spike by hand. Push the tip into the pilot hole and stand the spike upright. Check plumb by eye from two directions before the first blow; this is the cheapest correction you'll ever make.
- Drive it with a block, never on the box. Drop the driving block or post offcut into the socket and strike that, not the steel. A distorted socket won't take a post, and a mushroomed rim can't be fixed.
- Check plumb every few blows. Hold the level on two adjacent faces of the socket. If it's drifting, pull the top back with your hand and keep driving; a lean of a couple of degrees can still be corrected in the first 150 mm, but not once the spike is half in.
- Stop at ground level. Drive until the bottom of the socket meets the soil. Leave the box sitting proud and the spike has less steel in the ground to resist leverage; drive it lower and the post end sits in wet grass.
- Fit the post and tighten. Drop the post in, check it's plumb once more, and tighten the clamping bolts evenly so the box grips the timber on all sides.
- Use the panel to mark the next spike. Offer up the panel, rest it against the first post and mark where the second spike goes. It's the most reliable way to stop the spacing creeping along the run.
What to Do When a Spike Hits a Stone
You'll know straight away: the spike stops going down, the hammer bounces, or the socket suddenly kicks sideways. Stop hitting it. Pulling harder on the hammer won't push through a stone, it just steers the spike off it, and a spike that's crooked at depth gives you a crooked post for the life of the fence.
Pull the spike back out, lever with the bar if you have to, and probe the hole. A small stone can often be broken up or levered aside with the bar. If not, move 50 to 100 mm along the line if your panel spacing allows, or trim a panel to suit. If the whole run is stony, that's the ground telling you to use a different fixing for those posts.
Which Fence Post Spike to Use
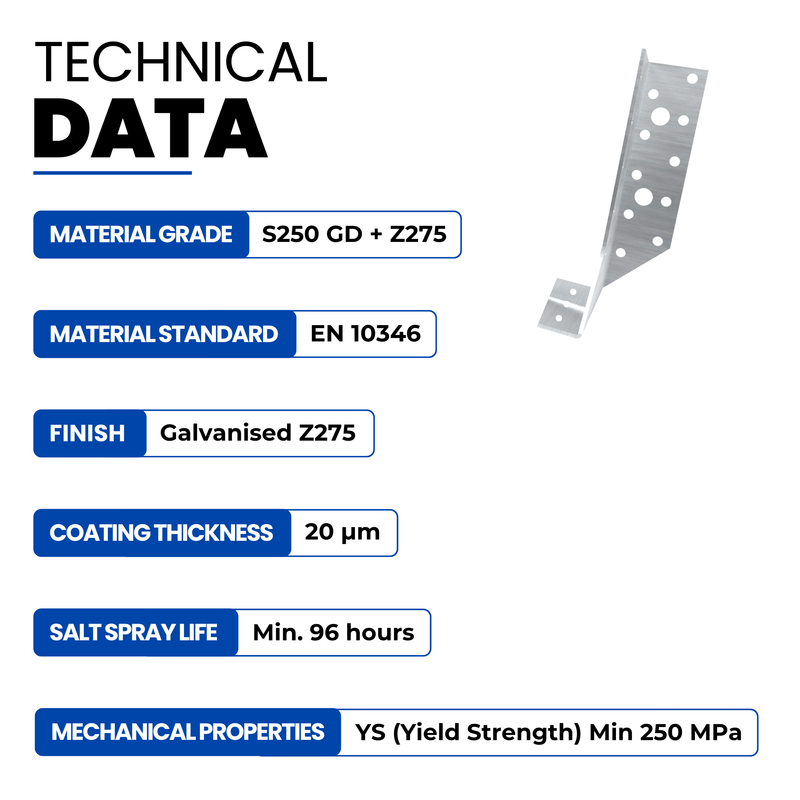
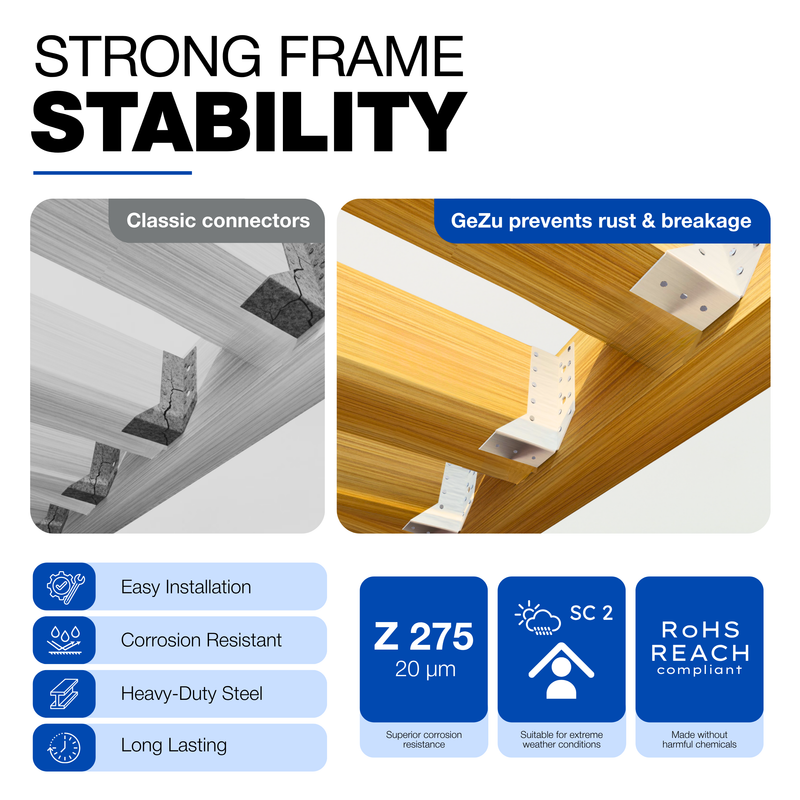
Every spike we stock is hot-dip galvanised, which means the finished steel is dipped in molten zinc for a thick, matte grey coating that stands up to wet soil far better than paint or a thin electroplated finish.
Drive-In Fence Post Spike

Our standard drive-in fence post spike is a square socket welded to a long, pointed four-fin shaft. You drive it in, drop a square timber post into the socket and bolt it tight. It's the everyday choice for garden fences, screens, pergola legs and letterbox posts in firm soil. Sockets run from 81 × 81 to 141 × 141 mm, in 750 mm and, for some sizes, 900 mm lengths, from about €5 to just under €10 each. The benefit over a dug footing is simple: no hole, no mixing, and the post stands clear of the soil so the end grain stays dry.
Swift Clamp Drive-In Post Spike

The swift clamp post spike has a split socket that's squeezed onto the post by two bolts, so it grips the timber across its face rather than just at a couple of points. That's what you want when your posts are a shade under size, which planed timber usually is. It comes in 75 × 75 × 600 mm and 100 × 100 × 750 mm, in plain galvanised or a brown powder-coated finish for fences where you'd rather the steel didn't show, from €9.75 to €11.99.
Adjustable Width Post Spike
If you've got 70 mm intermediate posts and a chunkier gate post, or you simply don't want to measure, the adjustable width post spike closes around any square post from 70 to 140 mm. One model covers the whole fence line, at €9.99 each. It drives in exactly the same way as a fixed spike.
Round Drive-In Post Spike
For round rustic posts, post-and-rail and border fencing, our round drive-in post spike has a round cup in 81 or 101 mm on a 600 mm shaft, from €9.96 to €11.63. Being shorter, it suits low fences up to about 1.2 m.
Doing a whole run? The same spikes come in 4-pack bundles across most sizes, which brings the cost per post down.
After Installation: Keeping Spiked Posts Upright
Give the fence its first proper wind and recheck the bolts; timber settles in the socket over the first few weeks. After the first winter, walk the line and check each post with a level. In clay that swells and shrinks, a spike can loosen slightly, and re-tamping the soil around the shaft firms it up again.
If a post does start to lean on an exposed run, you don't have to pull the whole fence. A brace or an angle bracket at the base will usually hold it, and we've covered the options in how to brace a fence post.
Fence Post Spike Installation Mistakes We See Most
- Hammering the socket directly. The box splays, and no post fits it again.
- Checking plumb only at the end. By then it's too late; check from the first few blows.
- Buying a socket a size up "to be safe". A loose post rattles, and a rattling post works the spike loose.
- Forcing a spike past a stone. It goes in crooked and stays crooked.
- Spikes under tall solid fencing on an exposed site. That's a job for a dug footing or a ground screw. We've compared ground screws and concrete bases if you're deciding between the two.
Fence Post Spikes: Your Questions Answered
Do Fence Post Spikes Work?
Yes, in firm, undisturbed soil and on fences up to around 1.8 m in sheltered spots. The failures people report almost always come down to soft or stony ground, a spike that went in crooked, or a tall solid fence catching the wind on an open site.
Can You Concrete In Fence Post Spikes?
You can pour concrete around a spike in loose ground, but at that point you've done the digging anyway, and a concrete-in post support is made for that job with a ribbed anchor that grips the concrete. We'd use the right fixing rather than turn a spike into one.
Do You Need a Pilot Hole for a Fence Post Spike?
It isn't essential in soft soil, but it helps. A pilot hole made with a steel bar gives the tip a straight start and finds any stones before the spike does.
How Do You Get a Fence Post Spike Out?
Take the post out, then lever the spike up with a long bar through the socket, rocking it as you lift. In firm ground it can take some effort, but the spike comes out whole and can usually be driven again elsewhere.
Ready to Put the First Post In
String line, pilot hole, block in the socket, level on two faces, and stop at ground level: that's the whole method, and it's the difference between a fence that stays straight and one you're bracing next spring. Every spike above, single or in packs, is in our post support range, shipped from our Eindhoven warehouse across Europe. Send us your post size and a photo of the ground and we'll tell you which one we'd drive.