How to Install Base Jacks For Scaffolding (Without Failure)
You know the headache of trying to level scaffolding if you have ever worked on a construction site with uneven ground. A base jack solves this problem by keeping your scaffold stable and level, even when the ground is not cooperating.
I can’t count how many times I’ve seen scaffolding shake because someone skipped proper base jack installation or did not adjust it correctly. It is one of those foundational steps that separates safe job sites from dangerous ones.
So, in this guide, I will share how to install base jacks for scaffolding the right way, so you can avoid common mistakes and structural failures. Before installing scaffold screw jacks, it’s important to know what a base jack is and its purpose. This will help you understand the process better. Without further ado, let's learn the steps one by one.
How to Install Scaffold Base Jacks on Uneven Ground?
Follow the steps mentioned below properly to install screw jacks for scaffolding without any failure.
Step 1: Check the Ground
First things first, before you set a scaffold jack, never just assume the ground can handle it. Take a moment to check for soft patches or hidden rocks. Fix any issues and press down the soil so the jack sits solidly.
Also, think ahead. Make sure no digging will be needed near that spot later, or you could undo all your hard work and risk instability. If the surface is concrete and even, no need to worry at all. Just remove the water or sand and you are ready to go on next step.
But if the ground is uneven, try to make it even by removing pebbles or other material. For any ground that isn't solid concrete, you may need sole boards (also called mud sills or base plates). These distribute the scaffold's weight and prevent sinking. (but this is optional)
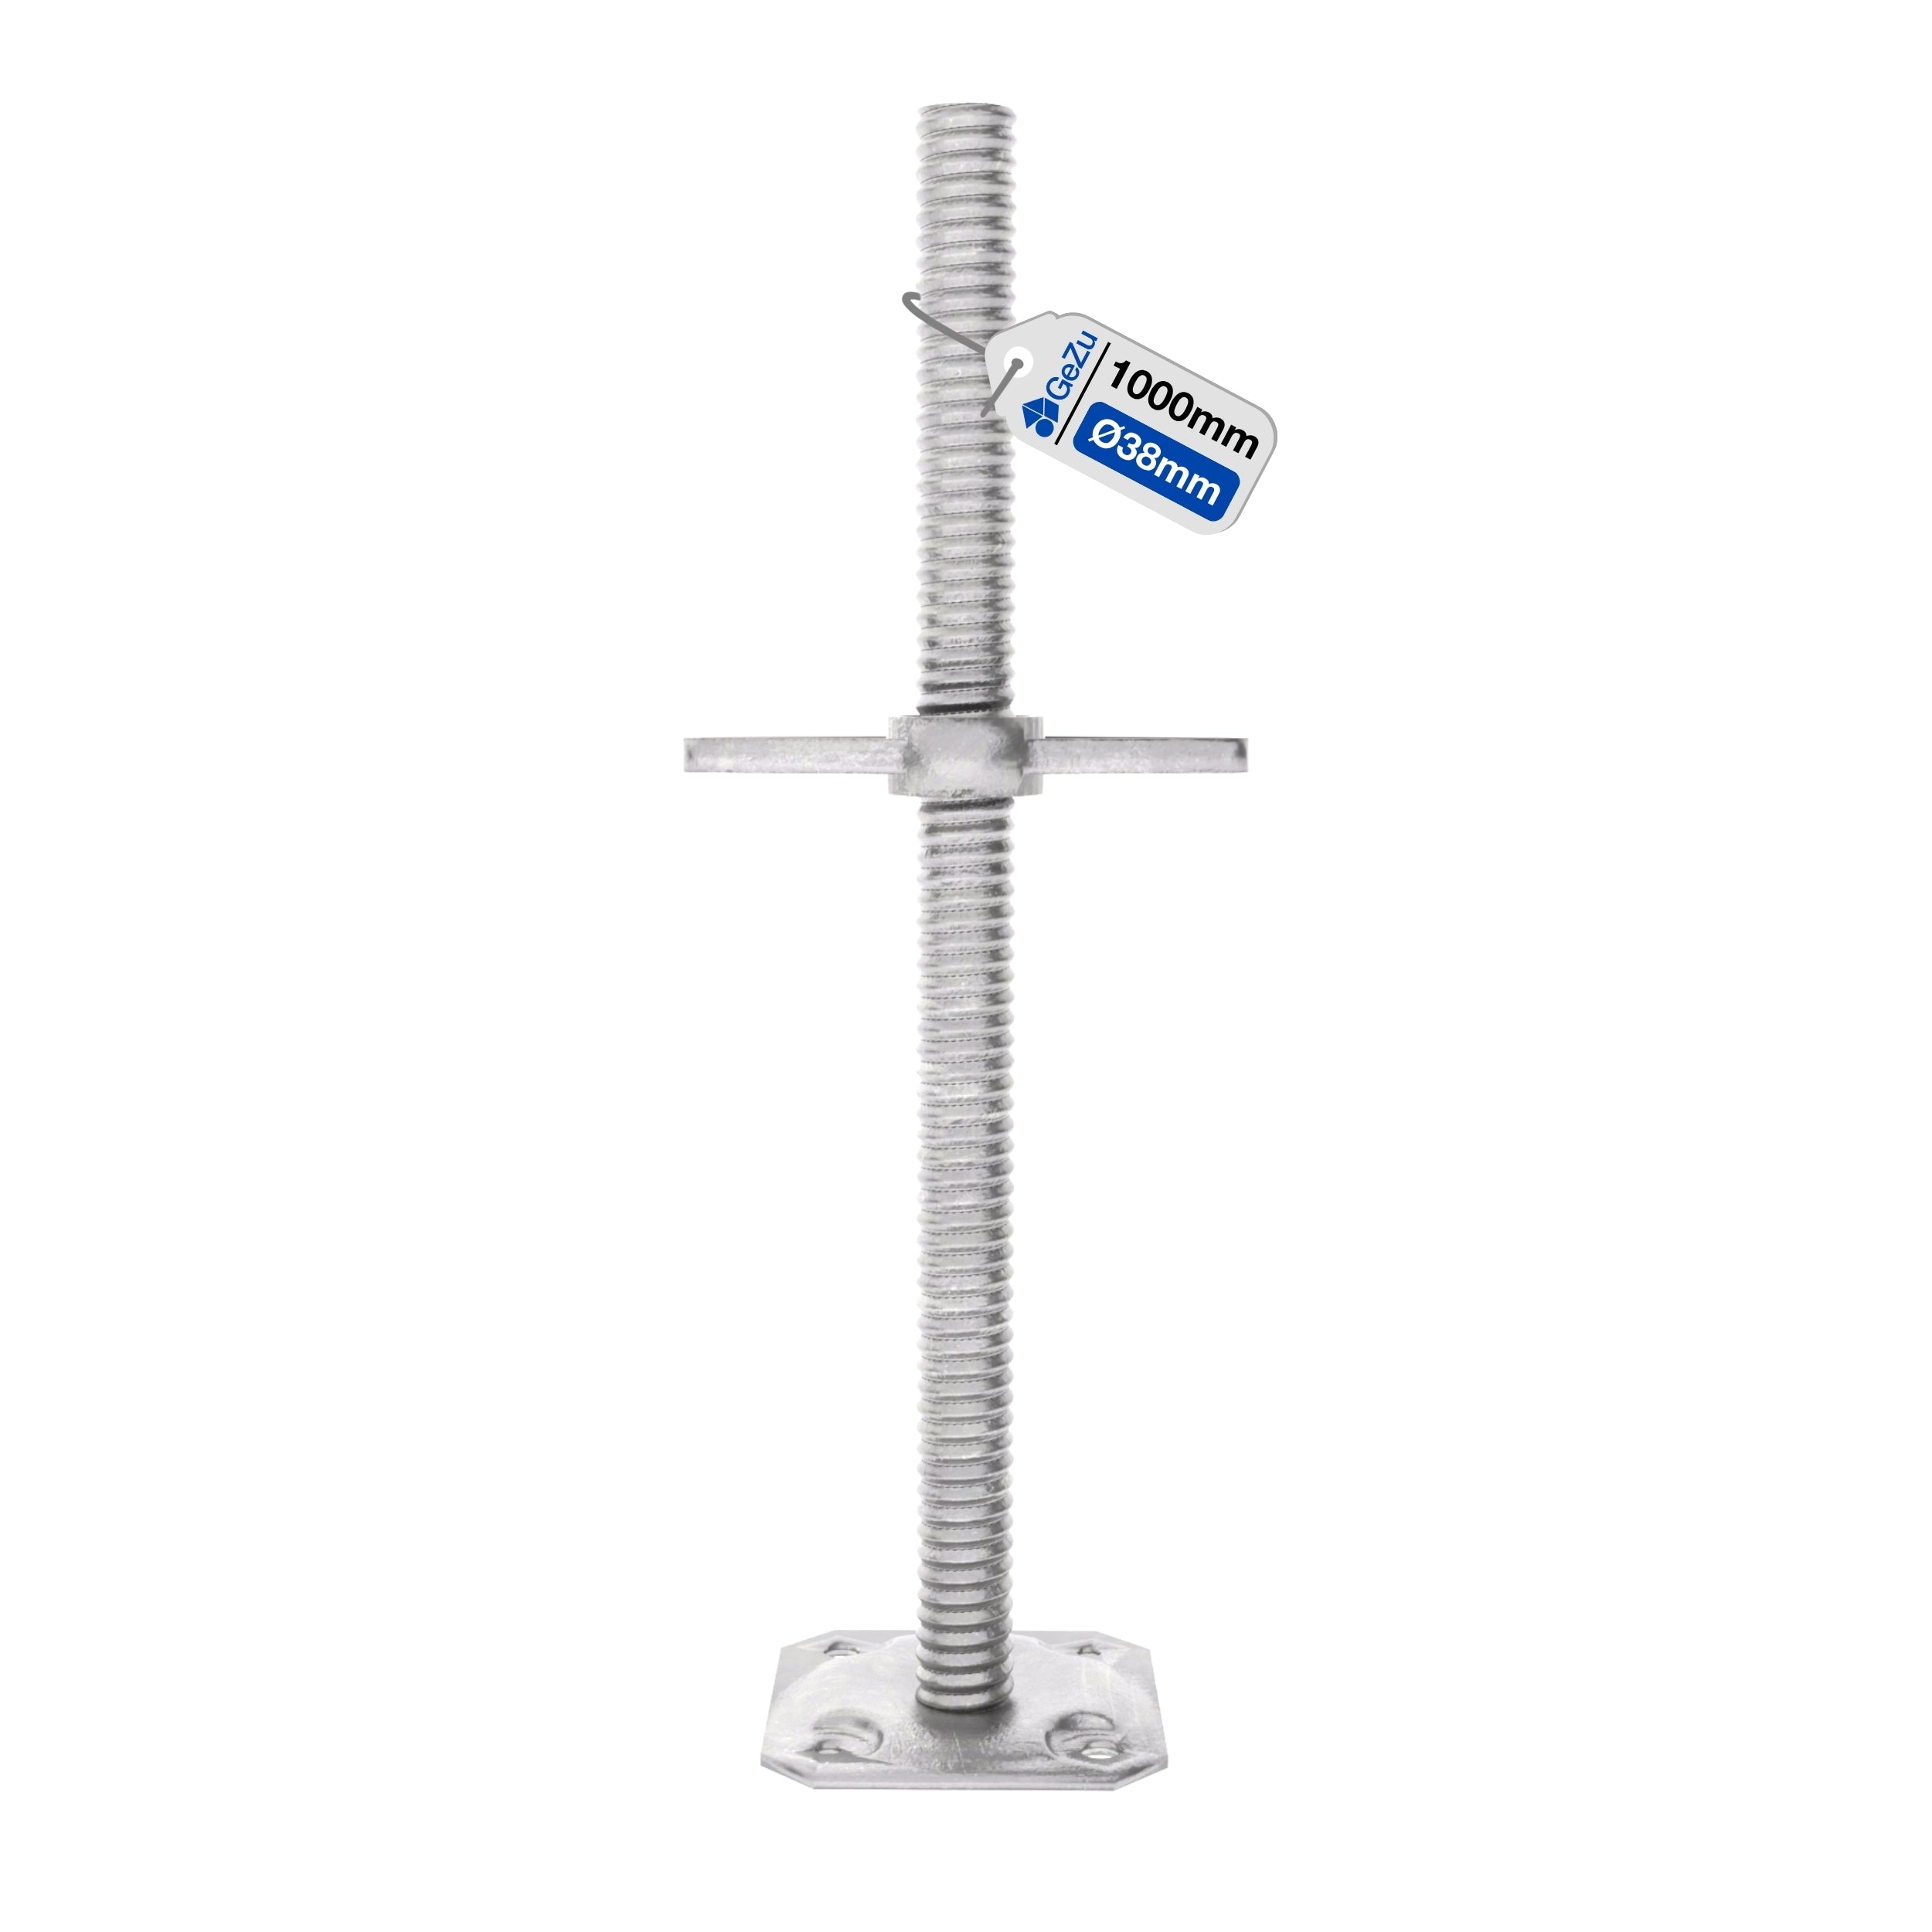
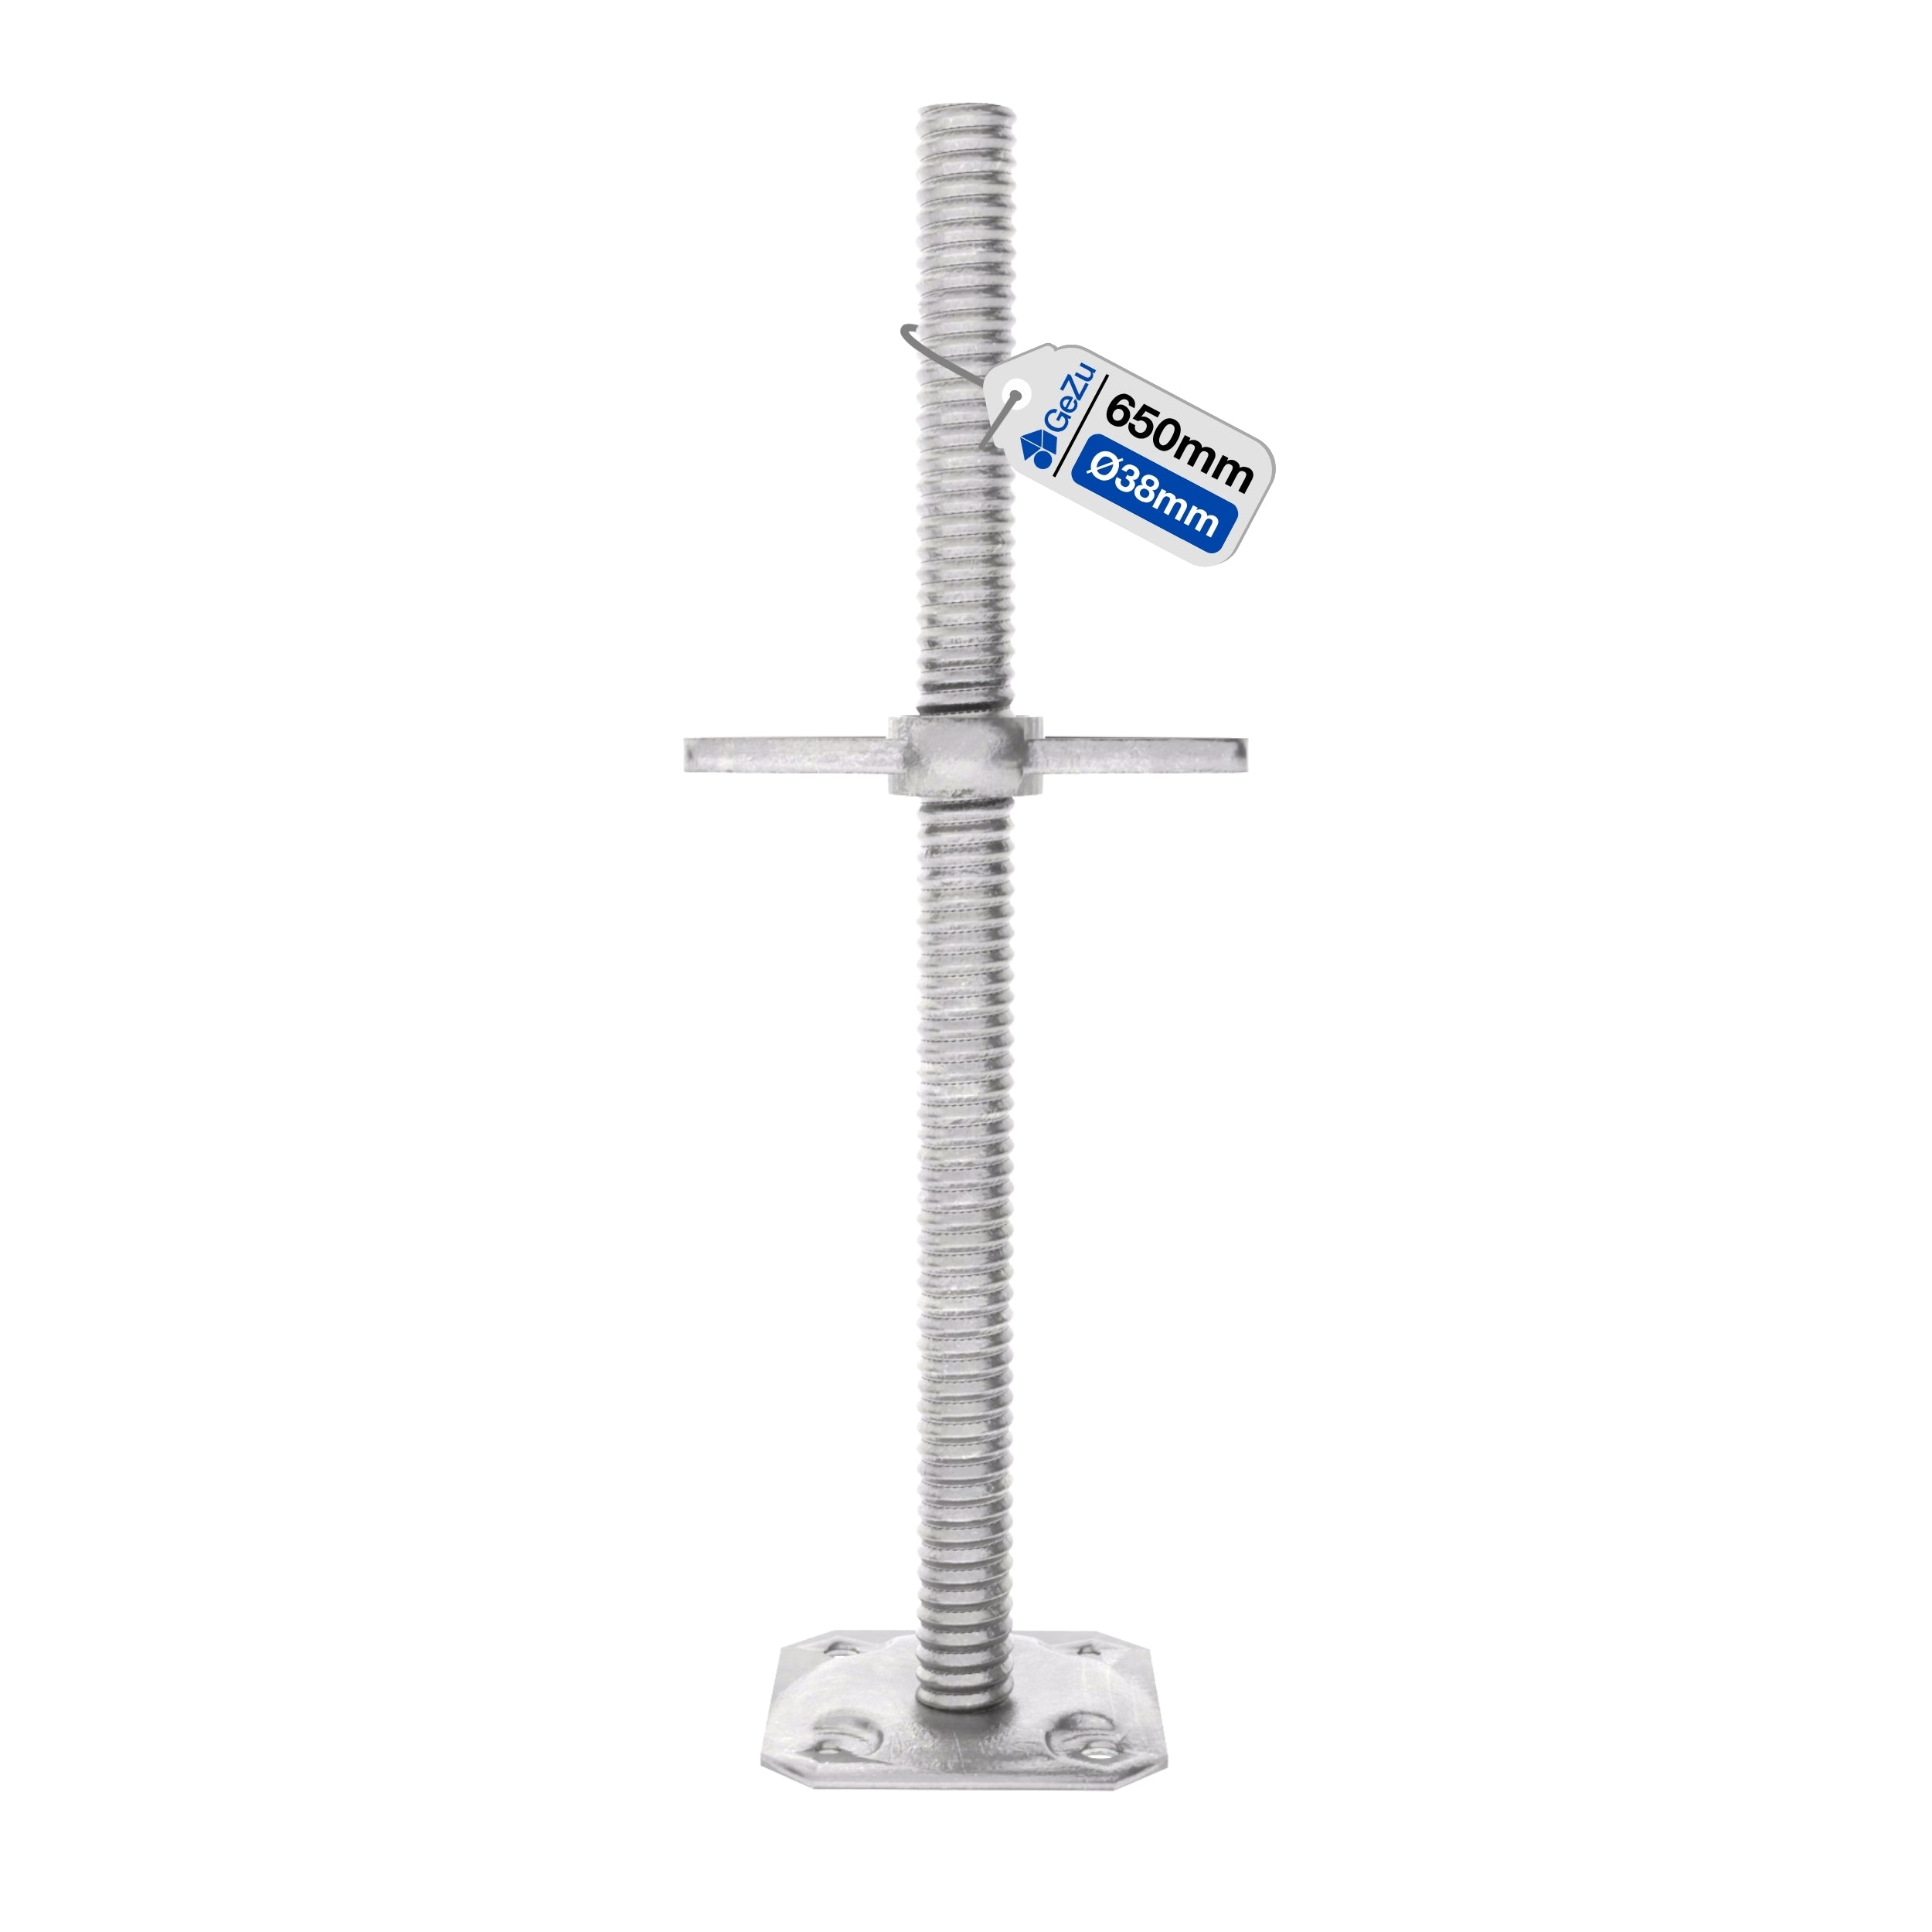
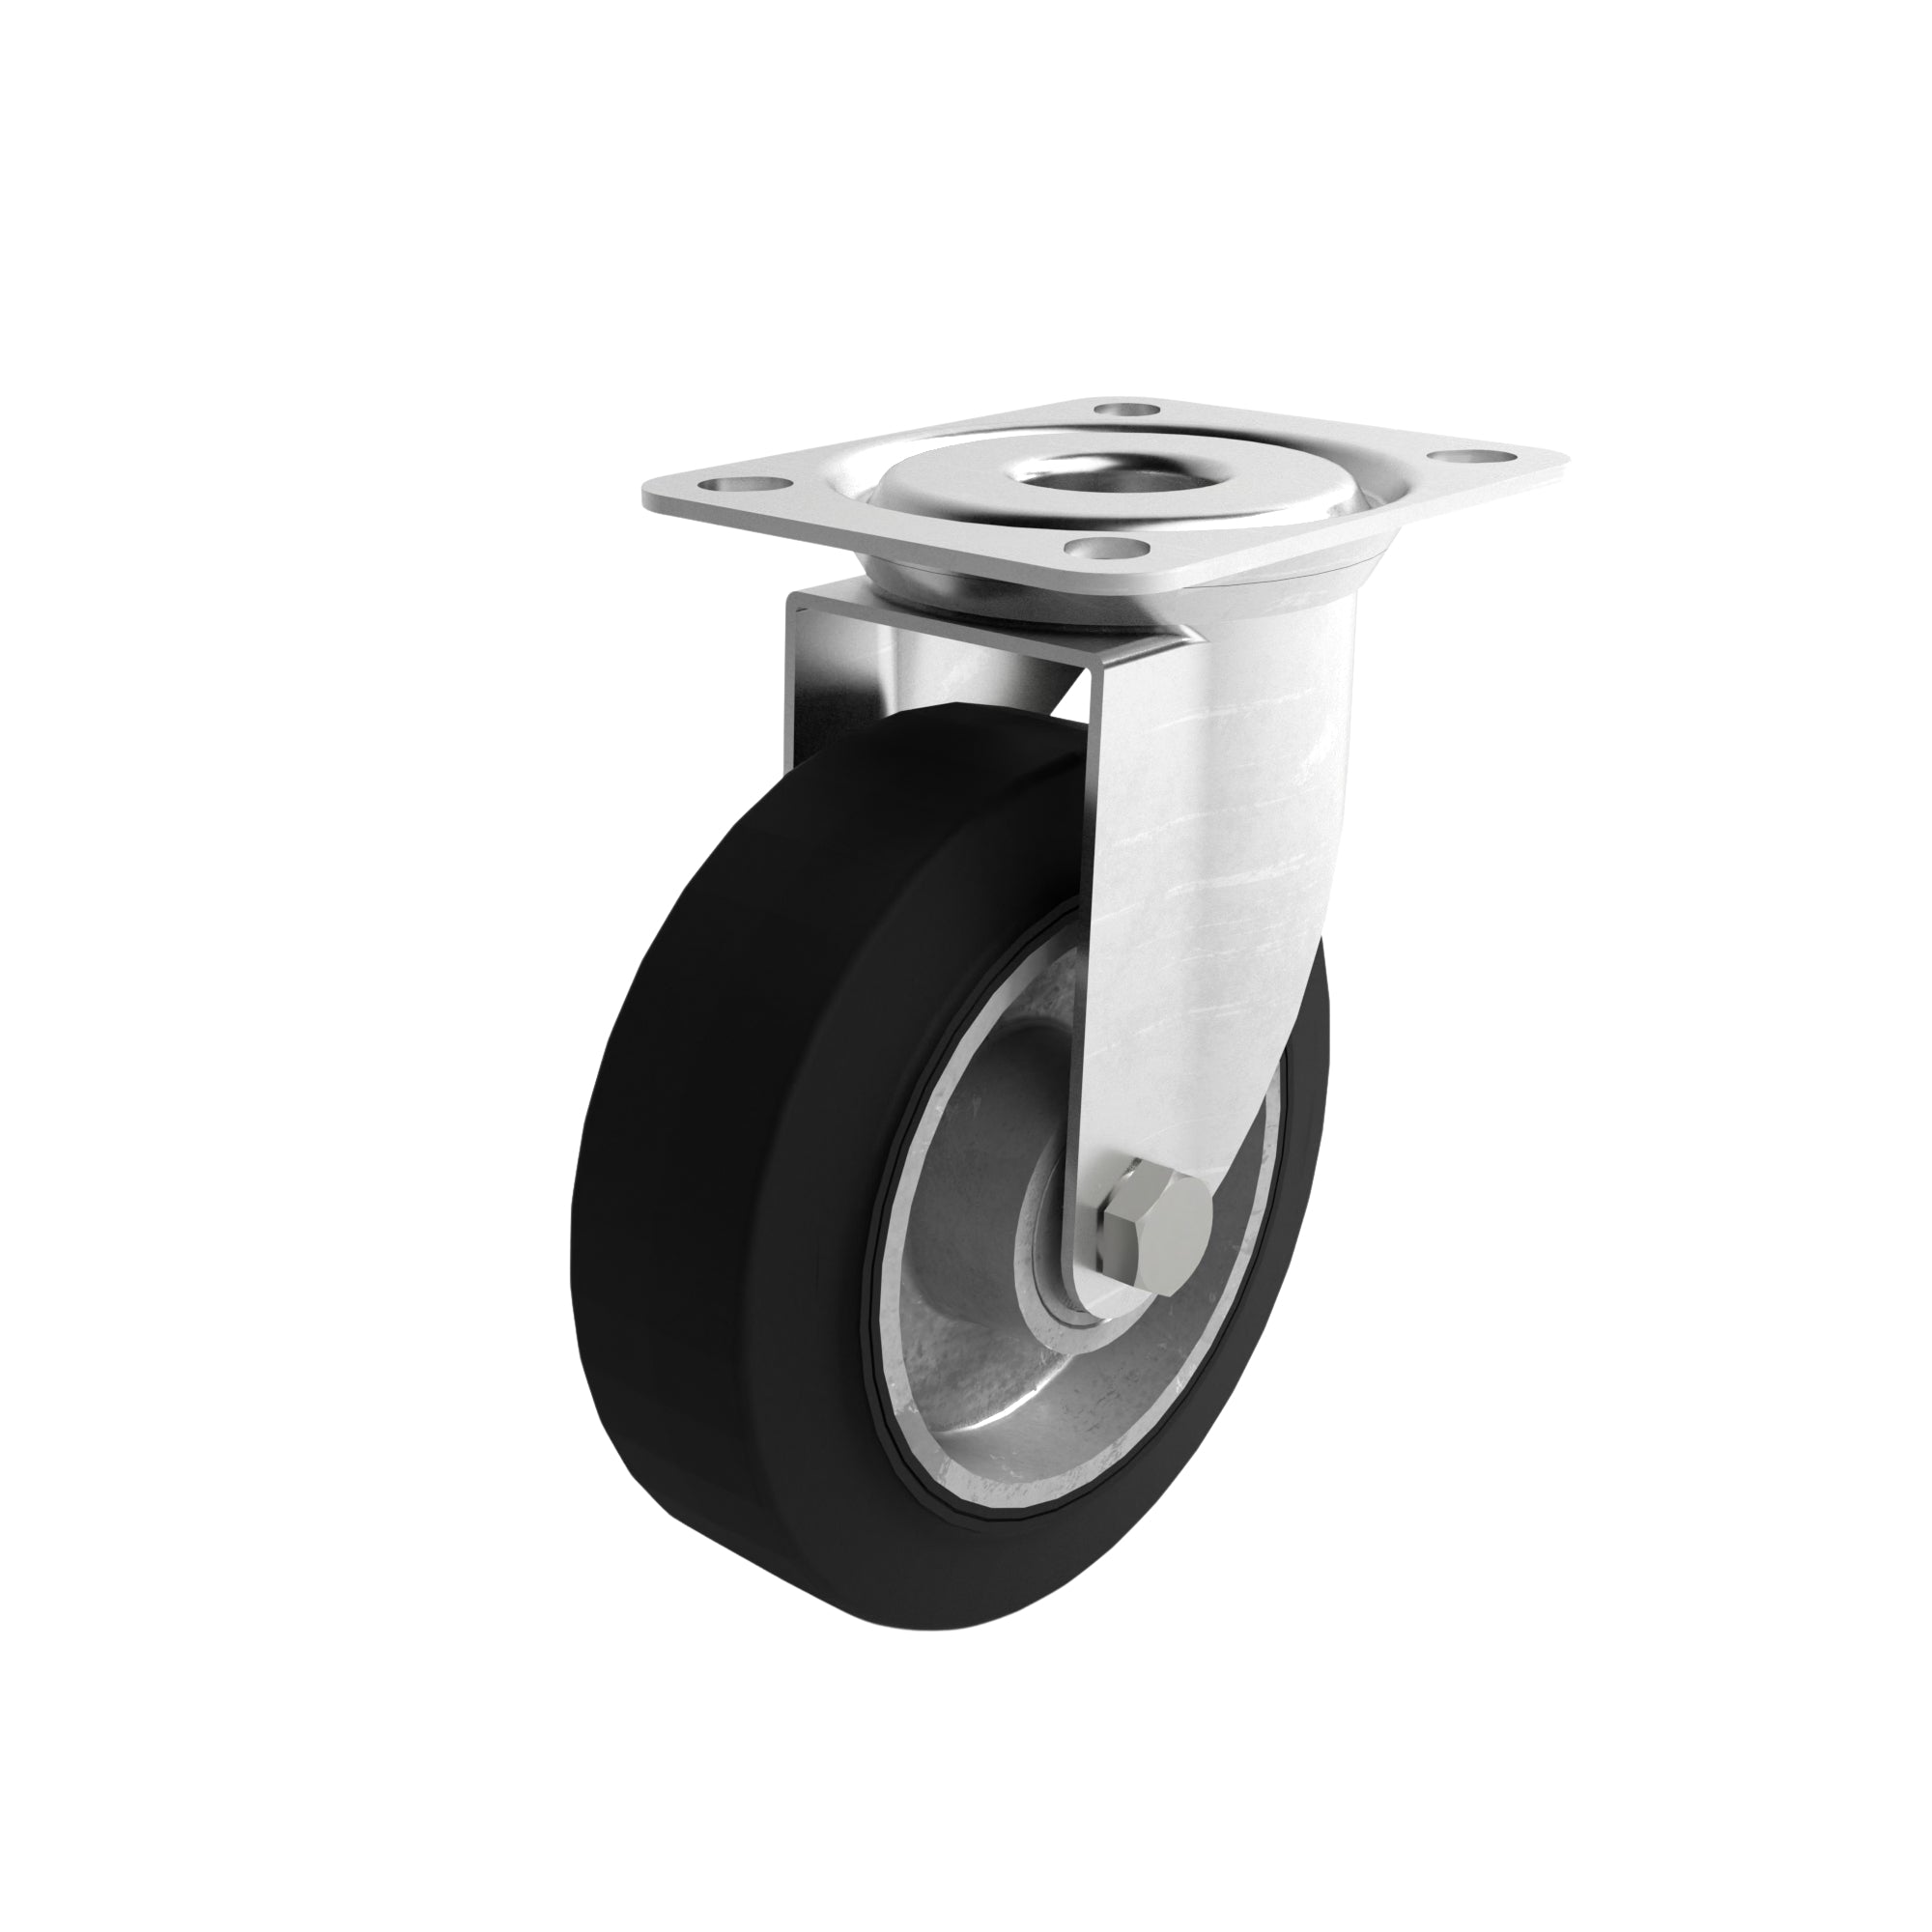
Step 2: Select Base Jack Type
Most people make a mistake here. They select scaffolding base jacks before inspecting the ground. That is the wrong move. Since there are various types of base jacks, you need to know which type works best for your ground and scaffolding.
If the ground is solid and the scaffolding is heavy-duty, you need a solid screw jack. But if the ground is sloped, you may need a swivel base jack. Because an adjustable screw jack for scaffolding can tilt up to 180 degrees, you can use it to level your scaffold structure without extra support.
So, it all depends on the ground and the scaffolding structure. Measure or estimate the height difference from the highest to the lowest point. This will help you determine whether a solid base jack adjustment alone is sufficient or if you need a swivel screw base.
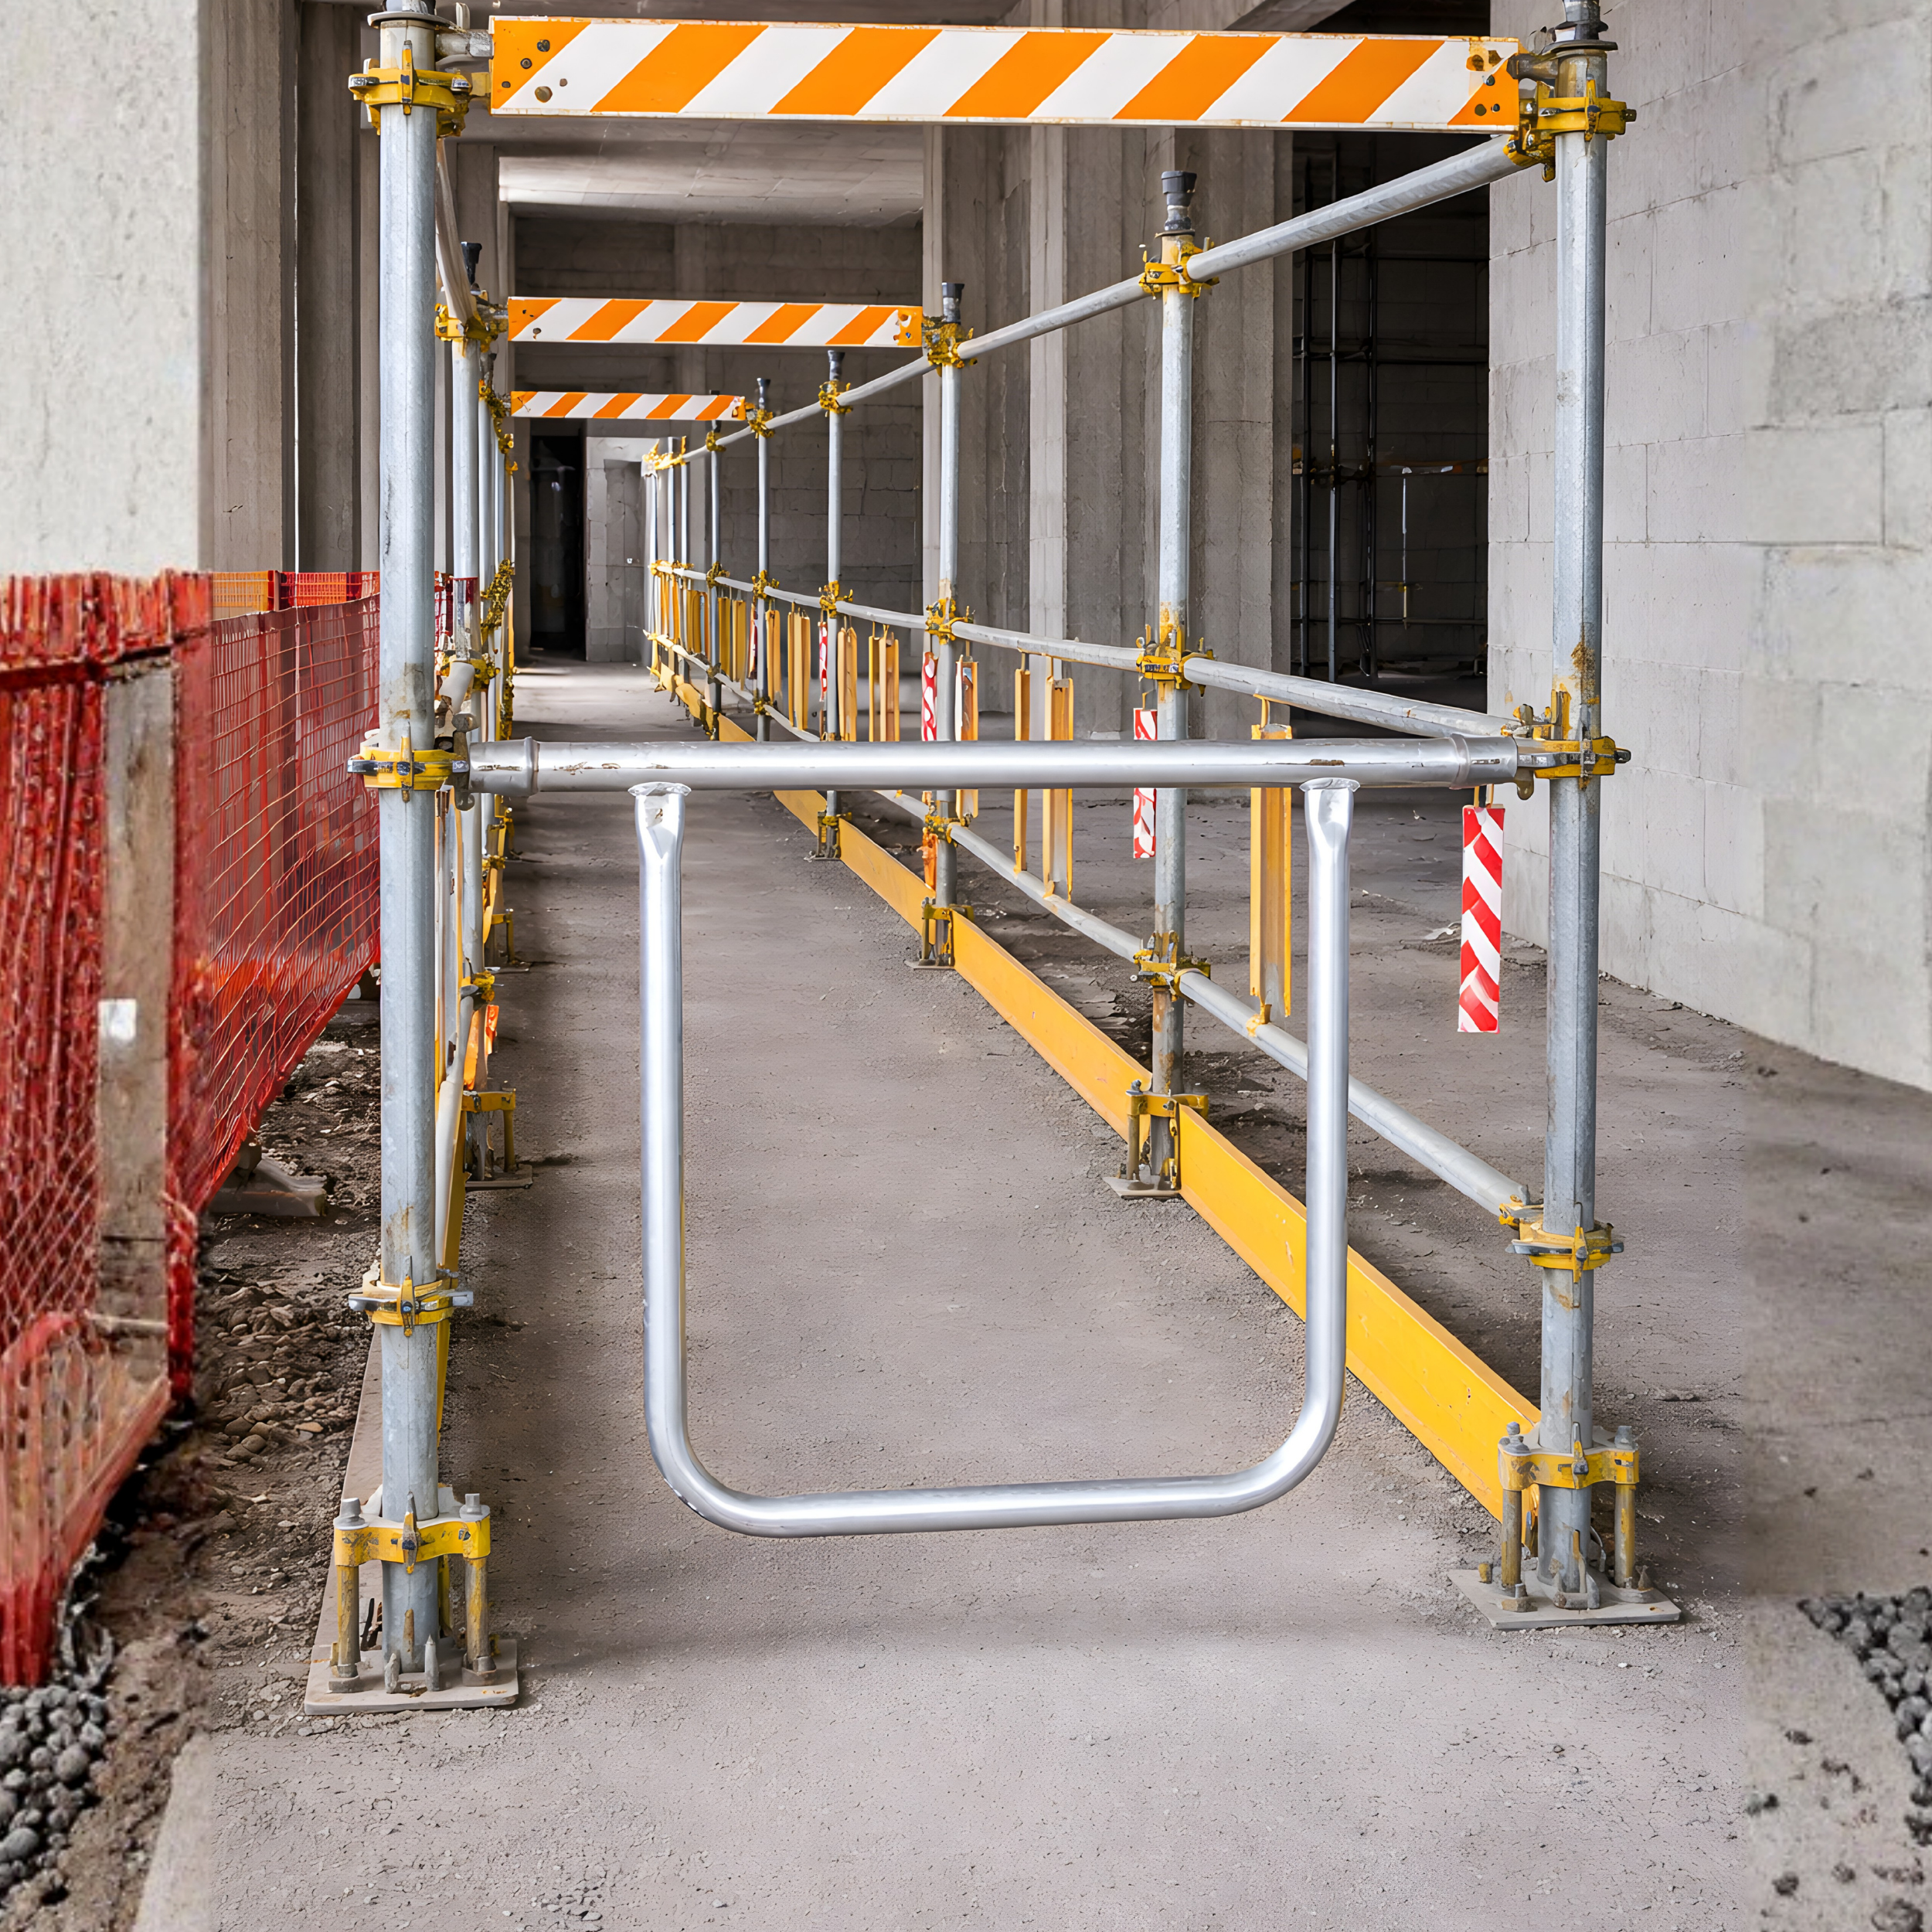
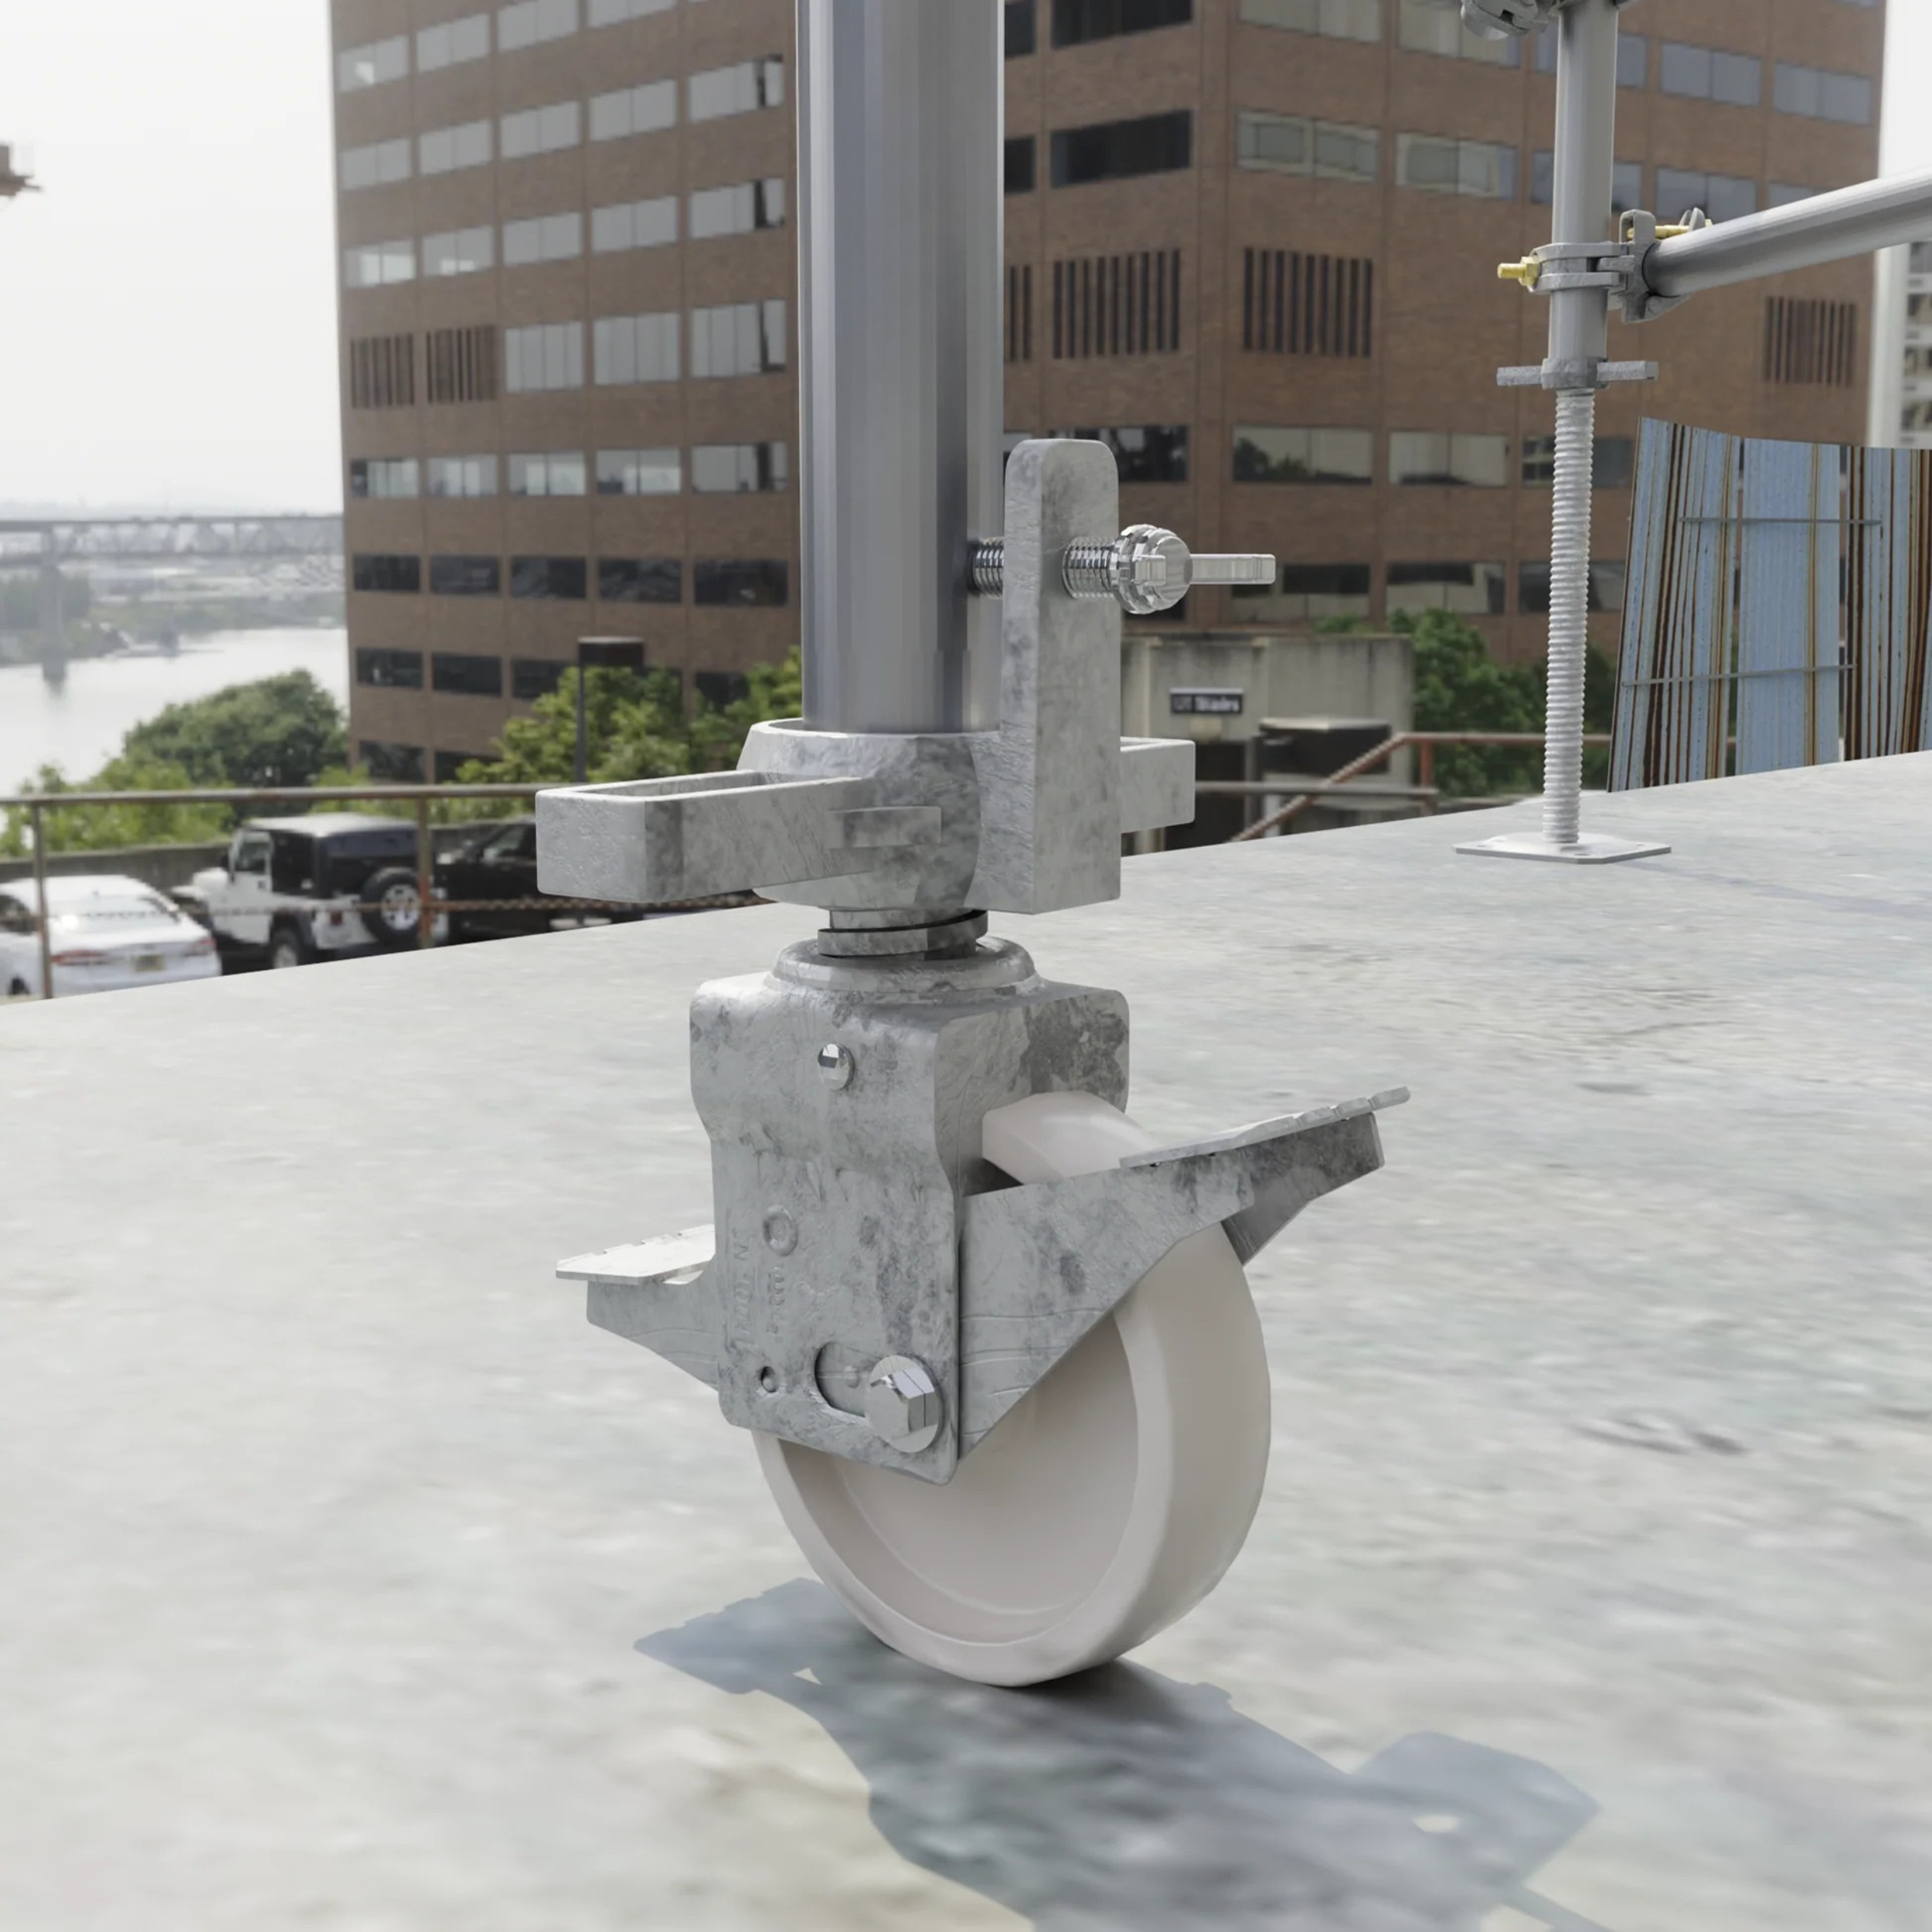
Step 3: Position the Base Jack
Now that you’ve picked the right type of base jack and prepared the ground, it’s time to place it correctly. And this step is more important than it looks. The base jack is the foundation of your entire scaffold, so it needs to sit flat and stable.
On the ground, position the base jack directly under where the vertical scaffold tube will stand. Follow the spacing rules in your scaffolding design to make sure everything lines up properly. Using the predrilled holes in the base plate, attach it to the ground.
Double-check the placement so that each jack lines up with where the scaffold posts will go. A slightly off placement now can make the scaffold tilt dangerously later, so take your time. After all the jacks are positioned and stable, you’re ready to move on to inserting the vertical scaffold tubes.
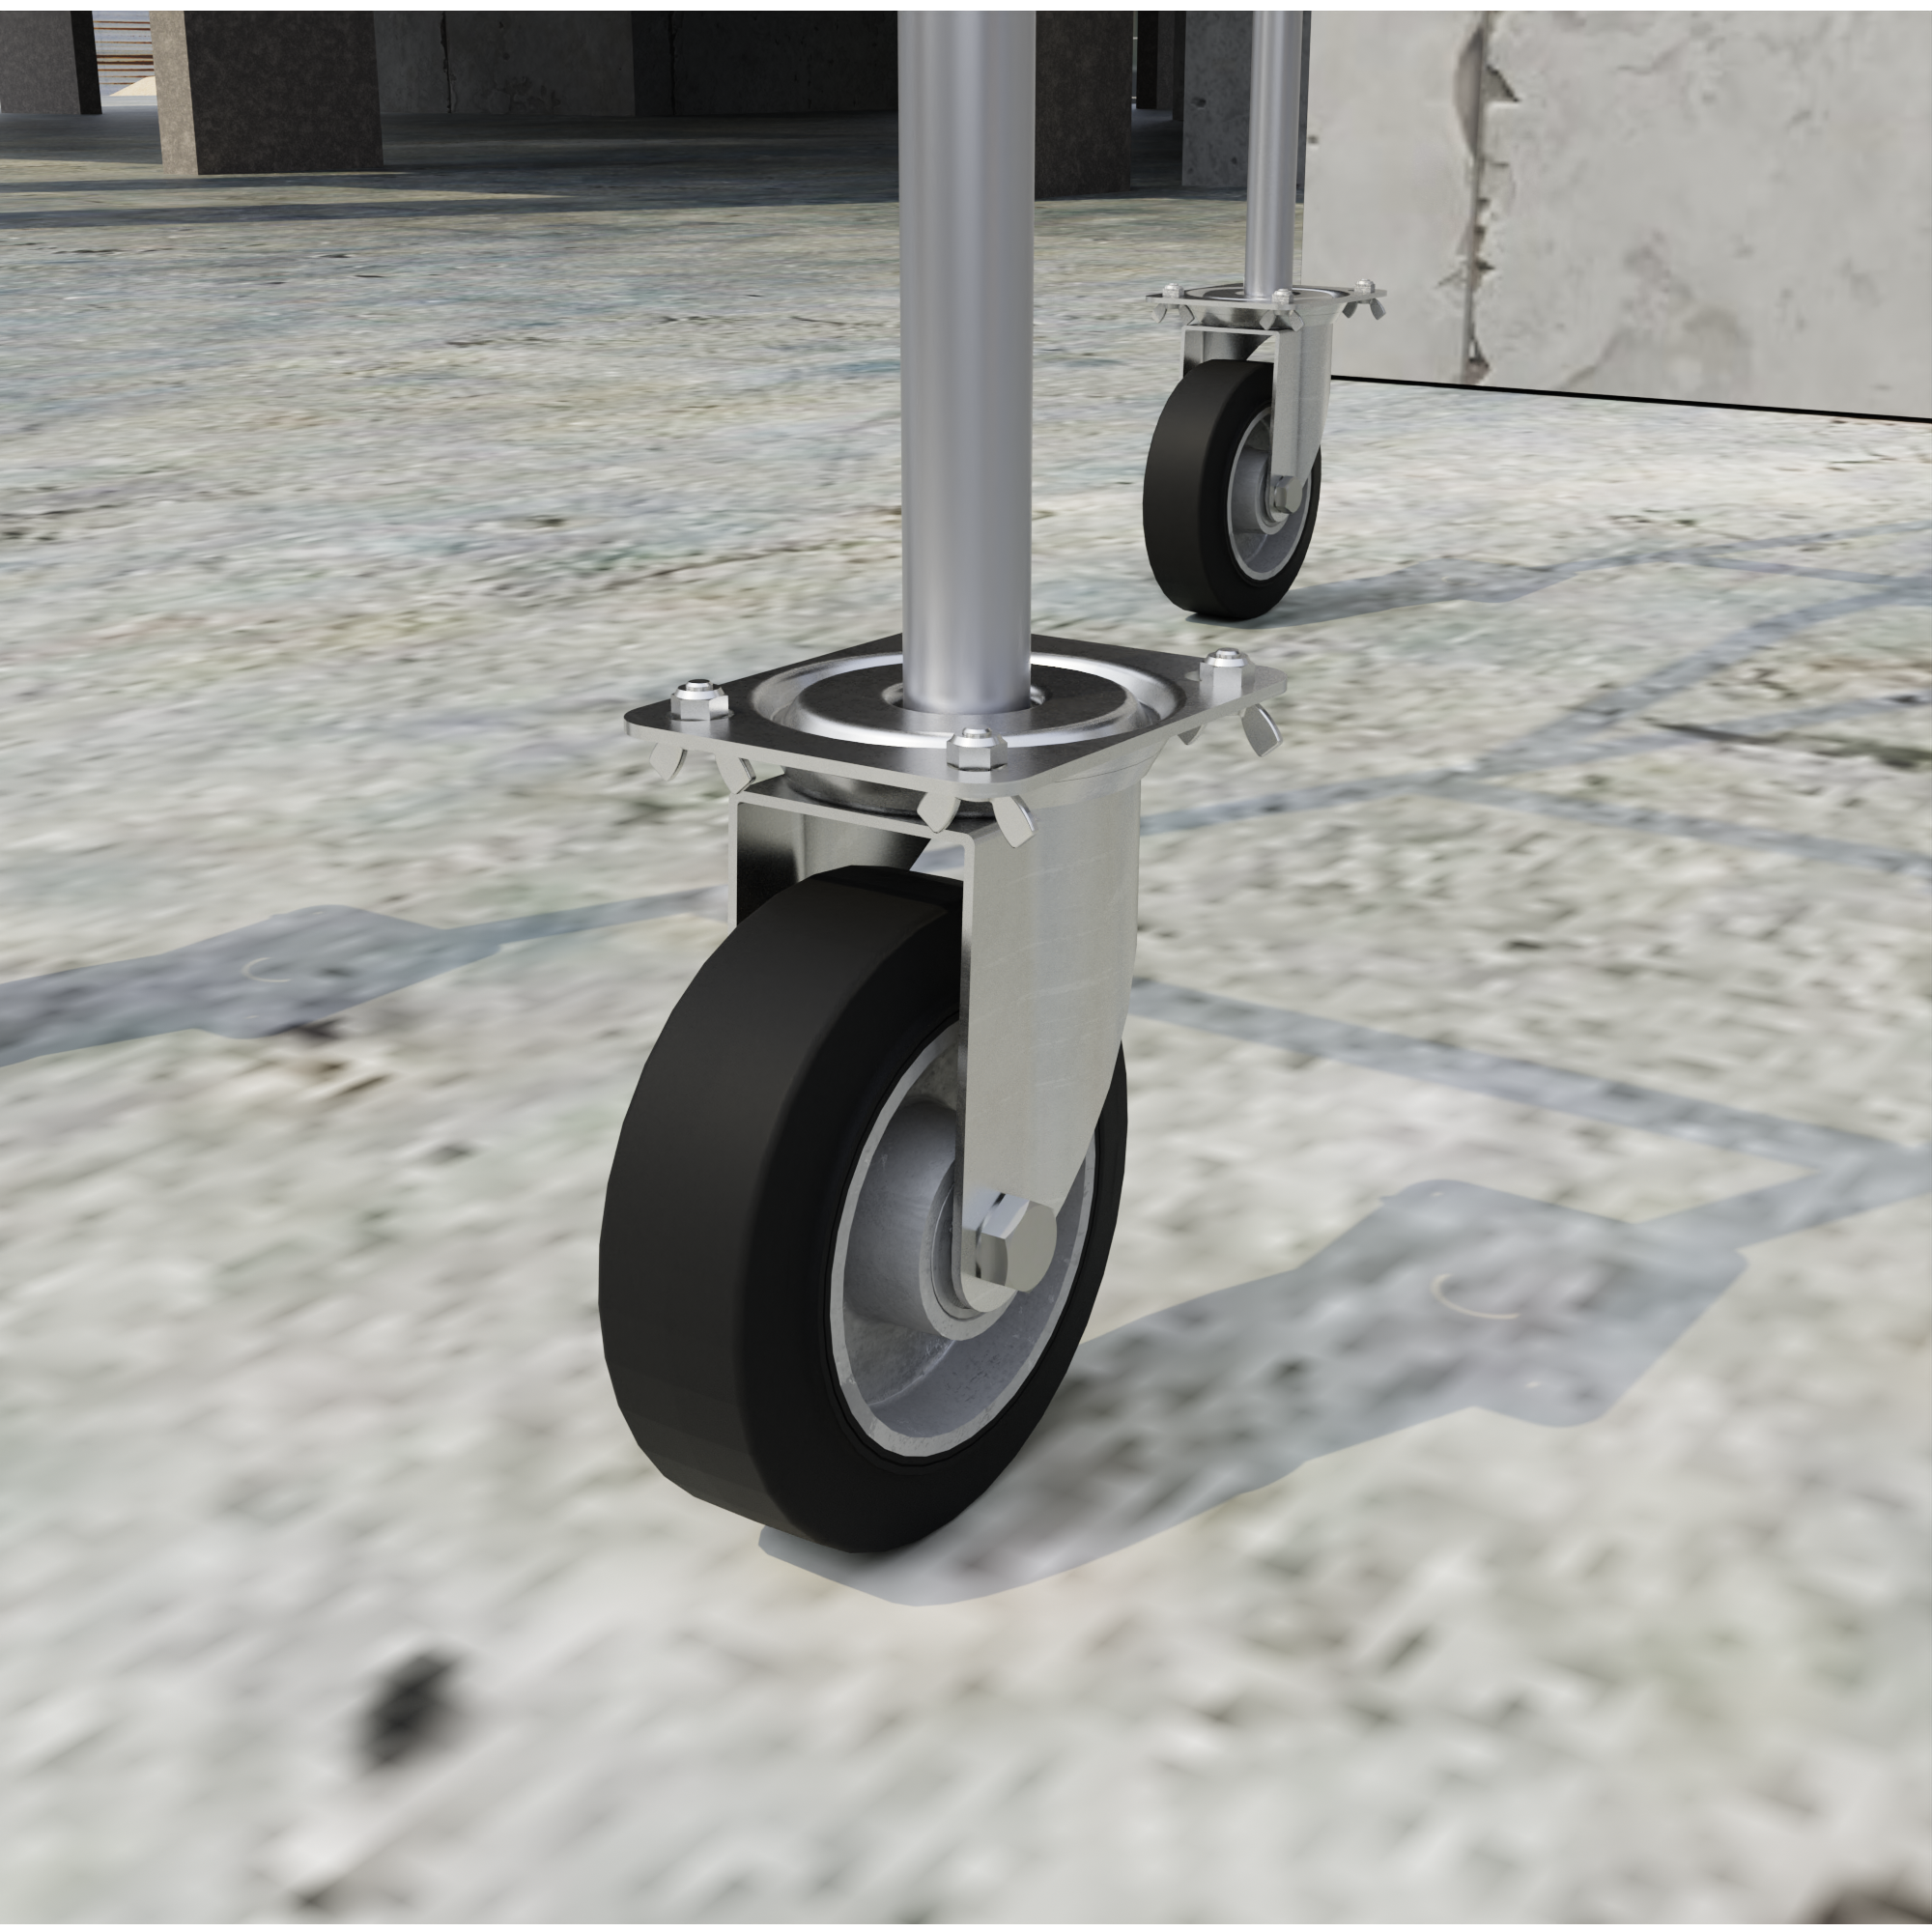
Step 4: Insert the Scaffold Tube
It’s time to add the vertical scaffold tubes. Carefully lift a scaffold tube and align it directly over the base jack. Slowly slide the bottom of the tube into the threaded stem of each screw jack. Once it’s in place, give it a gentle push or slight twist to ensure it’s seated securely.
Don’t rush this step; an improperly seated tube can make the entire scaffold unstable. Repeat this for all scaffold tubes, double-checking that each one is straight and properly aligned with the base jacks.
Step 5: Adjust the Height
With the scaffold tubes in place, it’s time to manage height differences using the height adjustment mechanism on the base jacks. Turn the jack nut clockwise to raise and counterclockwise to lower, until the tubes are level.
You can adjust the height by 12 to 24 inches, depending on the base jack size. At the low end, use full-height standards. At the high end, use shorter starter sections. The goal is to keep all base jacks within their safe extension range.
On uneven ground, you may need to adjust each jack differently to match the slope. Once you have adjusted all the tube heights, lock them in place. A well-level base makes the entire scaffold safer and easier to build higher.
Step 6: Connect the Frame
Now that the base jacks and vertical tubes are set, it’s time to connect the scaffold frame. This means adding the horizontal and diagonal braces that hold the vertical tubes together. Start at the bottom and work your way up.
Slide each brace into place and lock it with pins or clips. Make sure every connection fits tightly. Taking your time here makes a big difference in the overall stability of the scaffold. Check after connecting frames.
Once all the braces are in place, step back and inspect the whole frame. Check from different angles to ensure everything is straight and locked. A properly connected frame keeps the scaffold strong, balanced and safe for workers to use.
Step 7: Final Safety Checklist
Before using the scaffolding, double-check everything:
-
Base jacks are flat and secure
-
Ground is firm and supported
-
Scaffolding is level on all sides
-
Braces and frames are properly installed
-
Load limits are not exceeded
What are the Common Mistakes to Avoid When Installing Scaffold Screw Jacks?
Here are the common mistakes that cause the most problems:
Mistake 1: Over-Extending Base Jacks
This is the big one. When people need extra height to reach level, they just keep cranking the spindle out. When a spindle is over-extended, the connection between it and the base becomes a lever arm. It's unsafe. So, a 150 mm length of the spindle must not be used for security.
Mistake 2: Skipping Sole Boards
Saying "The ground looks pretty firm" isn’t enough for safety. Unless you're on a concrete or asphalt surface that's been tested, use sole boards. Period. Even ground that looks solid can let scaffold legs sink six inches after rain. The cost and effort of using sole boards is tiny compared to fixing a scaffold or dealing with a collapse.
Mistake 3: Not Locking the Adjustment
After getting everything level, you must engage the locking mechanism on your base jacks. The collar, ring, or pin that prevents the spindle from turning isn't optional. Scaffolds vibrate during use. Workers climb up and down, tools get dropped and wind pushes against the structure. All of this can cause an unlocked base jack to slowly turn, changing your level. By the time you notice, you might be dealing with a serious problem.
Mistake 4: Using Damaged Equipment
A bent spindle, cracked base plate, or stripped threads means that the piece of equipment is done. Don't try to "make it work" or plan to replace it later. Damaged screw jacks fail unpredictably. The cost of replacement is minimal compared to accident costs, both human and financial.
Mistake 5: Ignoring Settlement
Even properly installed base jacks can settle, especially in the first few days. New ground compresses under load. Temperature changes cause expansion and contraction. Wet-dry cycles affect soil stability. Check level daily for the first week, then at least weekly after that. It takes two minutes and could prevent an accident.
Mistake 6: Mixing Incompatible Components
Not all scaffold systems are interchangeable. A base jack from one brand might fit with another brand’s standards, but that doesn’t mean it’s safe or can hold the right weight. Always use parts from the same system and manufacturer whenever possible.
Mistake 7: Poor Ground Preparation
Placing sole boards directly on grass, rocks, or loose topsoil isn't preparation. Strip away organic material down to firm subsoil. On really soft ground, add and compact a gravel base before placing sole boards. Organic material compresses and decomposes. It's not a stable base for anything supporting thousands of pounds.
Mistake 8: Rushing the Leveling Process
Getting that first level perfect takes time. Making tiny adjustments, checking, rechecking, it feels tedious when you're anxious to get the scaffold up and working. But rushing this step means you'll either have an unlevel scaffold (dangerous and hard to work on) or you'll spend twice as long trying to fix it later when there's weight and height involved.
Mistake 9: Forgetting to Account for Load Position
Where you'll be placing materials and workers matters. If you're going to load one side of the scaffold heavily, that side will settle more. Plan for this in your initial setup, perhaps by setting that side slightly high or by using extra sole board support.
Mistake 10: Not Training Everyone
On a busy site, multiple people might need to adjust or check the scaffold. If only one person knows the proper procedures, you're creating a single point of failure. Make sure everyone working with the scaffold understands base jack installation, adjustment limits and daily check requirements.
Final Thought: Installing Base Jacks for Scaffolding Must Be Done Carefully!
Installing base jacks for scaffolding is all about doing things step by step. Never rush, never guess and never skip safety checks. A strong base means safe work above. If the bottom is solid, the rest will follow.
Screw jack installation might seem like basic work, but it's the foundation of everything else you'll do on that scaffold. So, take your time with the initial setup. Get things level before you build high.
And always, always follow manufacturer specifications for extension limits and weight capacities. The 15 minutes you spend properly installing and leveling base jacks could prevent a collapse or an injury. In construction, there's no such thing as being too careful with the basics.