How to Brace a Fence Post: Temporary and Permanent Methods

To brace a fence post, push it plumb, then fix a timber strut from high on the post down to a stake driven into the ground about a metre away. Use one strut per side for a temporary brace while concrete sets, or a permanent diagonal or H-brace for corner, end and gate posts that carry pull from rails, wire or a swinging gate. That's the short answer. Below we walk through when each brace makes sense, how to fit it properly and which fixings hold the joints together.
We get asked about fence post bracing a lot, usually after a windy week. Most jobs need nothing more than offcut timber, a level, screws and a couple of galvanised brackets. The trick is knowing whether you need a short-term prop or a brace that stays for the life of the fence.
Temporary or Permanent: Which Fence Post Brace Do You Need?
Before you cut any timber, decide what the brace is for. The two jobs look similar but they're built differently.
| Situation | Brace type | How long it stays | Typical materials |
|---|---|---|---|
| New post set in concrete or postcrete | Temporary, two struts at 90 degrees | Until the mix has set (check the bag) | Timber offcuts, pegs, screws |
| Leaning post you're about to repair | Temporary, one or two struts | Until the repair is done | Timber offcuts, pegs, screws |
| Corner or end post on a wire or post-and-rail fence | Permanent diagonal or H-brace | Life of the fence | Treated timber, galvanised brackets |
| Gate post | Permanent diagonal strut or knee brace | Life of the gate | Treated timber, galvanised brackets |
| Panel fence that flexes in wind | Permanent back brace on key posts | Life of the fence | Treated timber, angle brackets |
If the post is already leaning because it has rotted or the footing has cracked, a brace only buys you time. Fix the cause first using our guide on sorting out a leaning fence post for good, then brace it while the repair cures.
What You Need to Brace a Fence Post
- Two lengths of sawn or treated timber for struts (offcuts of 38 x 50 mm or 50 x 75 mm work for temporary braces)
- Two short wooden pegs or stakes, sharpened at one end
- A spirit level, ideally a post level that straps to two faces at once
- Exterior screws and a drill driver
- A club hammer or sledge for driving pegs
- Galvanised angle brackets for permanent joints
How to Brace a Fence Post Temporarily (Step by Step)
This is the brace you'll use most. It holds a new or repaired post dead upright while concrete, postcrete or compacted hardcore does its job.
- Plumb the post on two faces. Hold the level on the front face, then on the side. A post can look straight from the path and still lean towards the neighbour's garden.
- Drive the first peg. Stand side-on to the fence line and knock a peg in roughly a metre away from the post. Further out gives a flatter, stronger angle.
- Fix the strut to the post first. Put one screw through the strut into the post, high up, about two thirds of the way up the exposed post. One screw lets it pivot while you adjust.
- Check plumb again, then fix the strut to the peg. With the post level, screw the bottom of the strut to the side of the peg.
- Repeat on the second face. Fit the second strut at 90 degrees to the first so the post can't move in either direction. On a fence line you'll usually brace along the line and across it.
- Fill and leave it alone. Pour your concrete or postcrete, slope the top away from the timber so water runs off, and don't remove the braces until the mix has set fully. Every product gives its own setting time on the bag, so follow that rather than a rule of thumb.
Setting depth matters as much as the brace. If your post goes in too shallow, no brace will save it once it's removed. Our article on how deep a fence post should go covers the numbers for different fence heights.
How to Brace Corner and End Fence Posts Permanently
Corner and end posts take the pull of the whole fence run. On wire, mesh or post-and-rail fences that pull never stops, so these posts need a brace that stays put. There are two common designs.
Diagonal Brace (Strut Brace)
A single timber strut runs from high on the corner post down to the ground, on the inside of the fence line, pushing against the direction of pull. The foot of the strut sits on a flat stone, a concrete pad or a short buried block so it can't sink. Make the strut as long as you practically can. A long, shallow strut pushes the post sideways; a short, steep one tends to lever it out of the ground.
H-Brace
For longer wire runs, an H-brace spreads the load across two posts. You set a second post in line, about two to three metres from the corner, and join the two with a horizontal timber rail near the top. On farm fences, a tensioned wire running diagonally from the top of one post to the bottom of the other completes the brace. In gardens, a horizontal rail fixed with strong brackets is often enough for a short post-and-rail section.
The joint between the rail and each post is where most H-braces fail. Nails loosen as the timber dries and swells, so we fit a galvanised bracket on each side of the joint.
How to Brace a Fence Post Against Wind
Panel fences act like a sail. If a run of close-board or lap panels rocks every time the wind picks up, the posts are flexing at ground level. Bracing helps, but check these first:
- Is the post loose in its footing? Rock it by hand. If the concrete moves with it, the footing has failed and needs resetting.
- Is the post rotten at ground level? Push a screwdriver into the timber just above the soil. If it sinks in, bracing won't help for long.
- Are the panels rattling in their brackets? Loose panels make a fence feel weaker than it is. The right fence bracket for your panel style often fixes the noise.
Where the post itself is sound, a permanent back brace on the garden side of the fence, at every second or third post, stiffens the whole run. Fix the top of the strut to the post with a galvanised bracket and set the bottom on a buried block or a short concrete-in support so it doesn't rot in the soil.
The Brackets We Use for Brace Joints
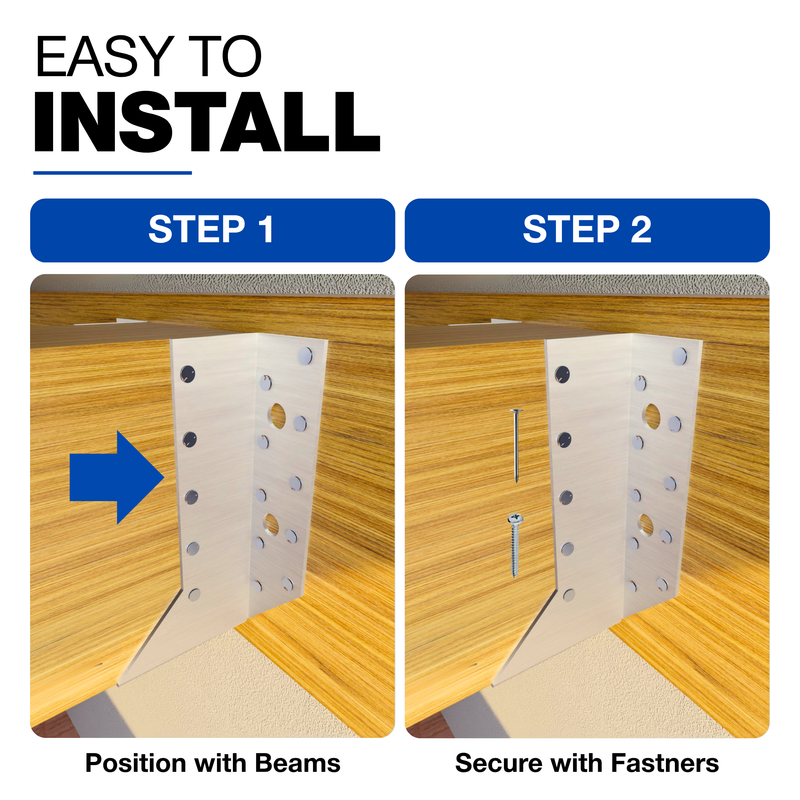
Screws on their own work for a temporary brace. For anything permanent, a galvanised steel bracket at each joint takes the shear load off the screws and stops the timber splitting. These are the two we reach for.
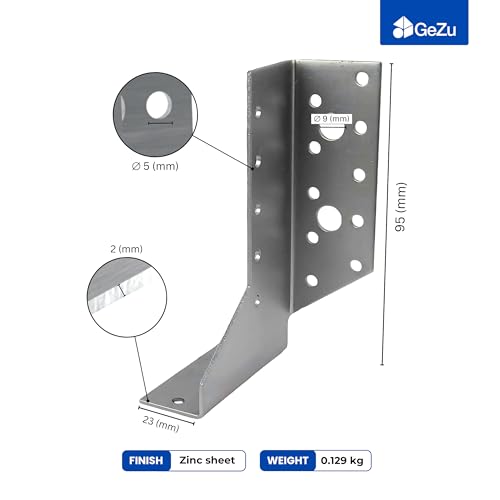
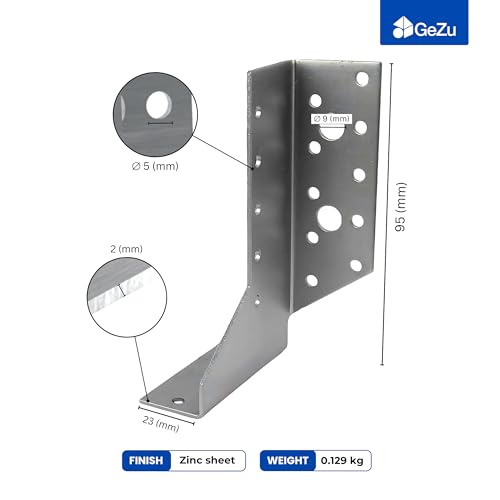
Perforated Reinforced Angle Bracket

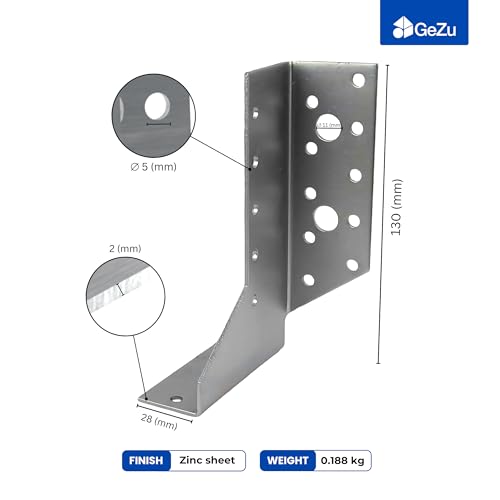
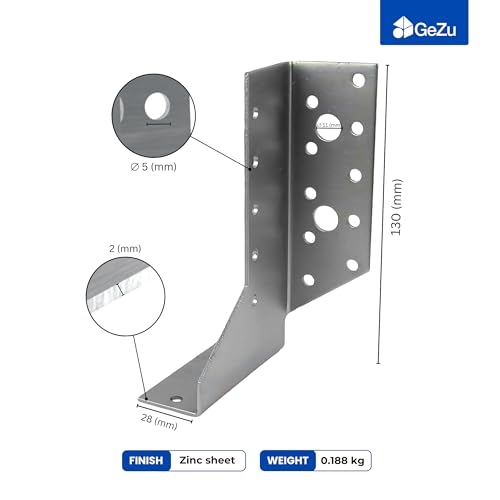
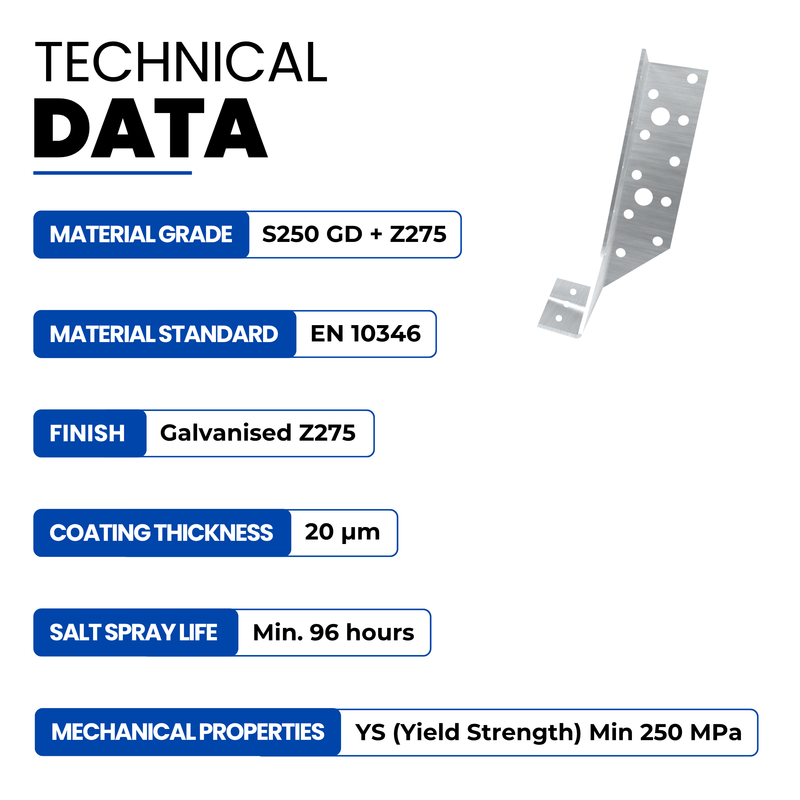
Our reinforced angle bracket is a galvanised steel L-bracket with a pressed stiffening rib across the bend. The rib stops the bracket opening up under load, which is exactly what happens at an H-brace rail or a back-brace joint when the fence is pushed by wind.
- What it's for: joining two timbers at 90 degrees where the joint takes real force.
- Use: horizontal H-brace rails to posts, back-brace rails, gate frame corners, timber framing repairs.
- Features: galvanised finish for outdoor use, perforated legs so you can place screws where the timber is sound, reinforcing rib.
- Benefits: keeps the joint square and tight as timber moves with the seasons, so the brace keeps working.
- Sizes: listed in several sizes from 70 x 70 x 55 mm up to 125 x 125 x 55 mm; the 83 x 62 x 40 x 2 mm size is in stock as we write this, so check the product page for current availability.
Adjustable Angle Bracket

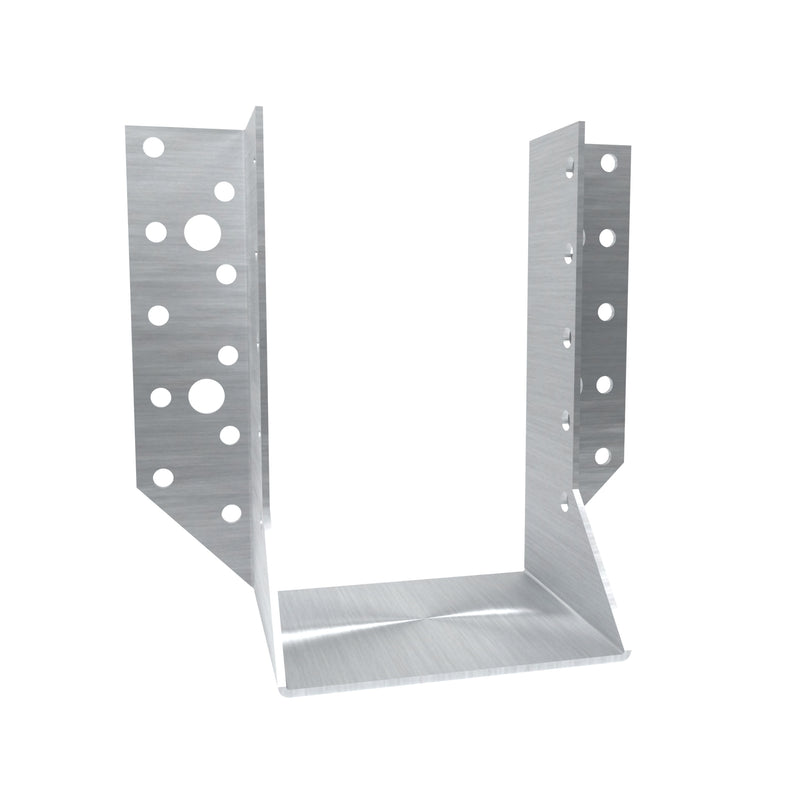
The galvanised adjustable angle bracket has slotted holes, so you can slide the brace rail up or down a few millimetres before you tighten the final screws.
- What it's for: 90 degree timber joints where you need to fine-tune the position.
- Use: fitting a brace rail to a post that isn't perfectly square, or re-fixing an old brace where the original holes are chewed out.
- Features: galvanised steel, multiple adjustment slots.
- Benefits: less fiddling on site and an easier way to get the rail level first time.
- Sizes: 60 x 30 x 60 mm (in stock) and 80 x 50 x 30 mm.
Not sure which bracket shape suits your joint? Our guide to angle bracket types and sizes lays out every common style side by side.
Bracing Gate Posts
A gate post gets twisted every time the gate swings, and if it moves even a few millimetres the latch stops lining up. Set gate posts deeper than fence posts, and on heavy gates add a permanent diagonal strut on the hinge side running back along the fence line.
When Bracing Isn't the Answer
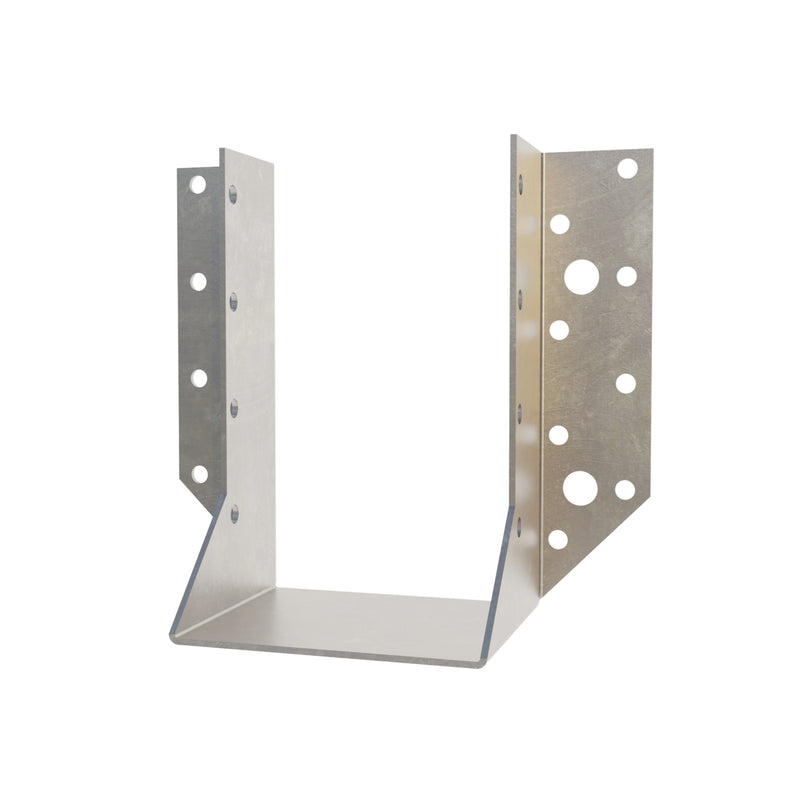
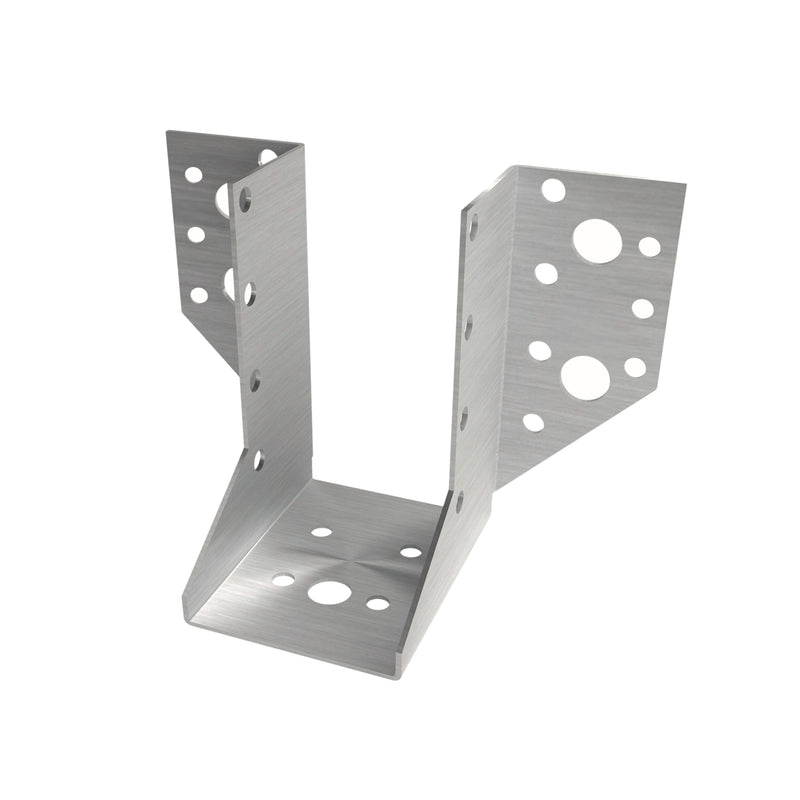
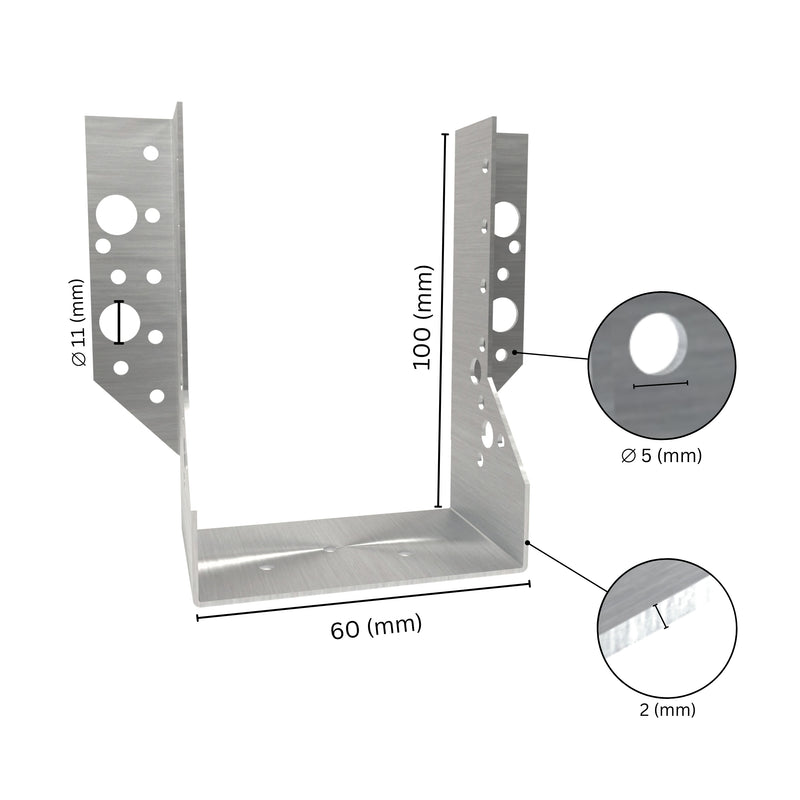
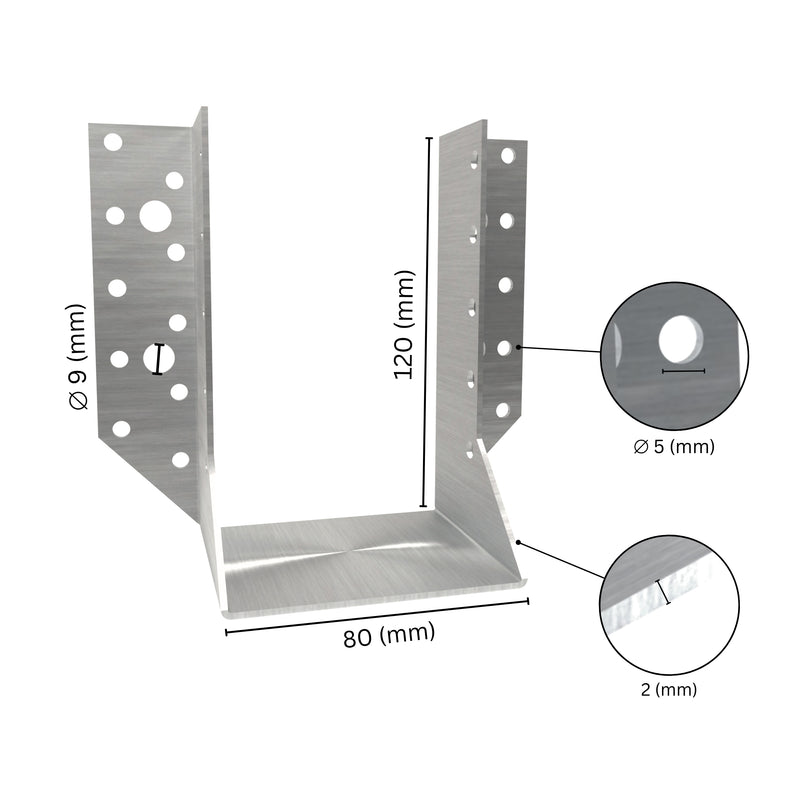
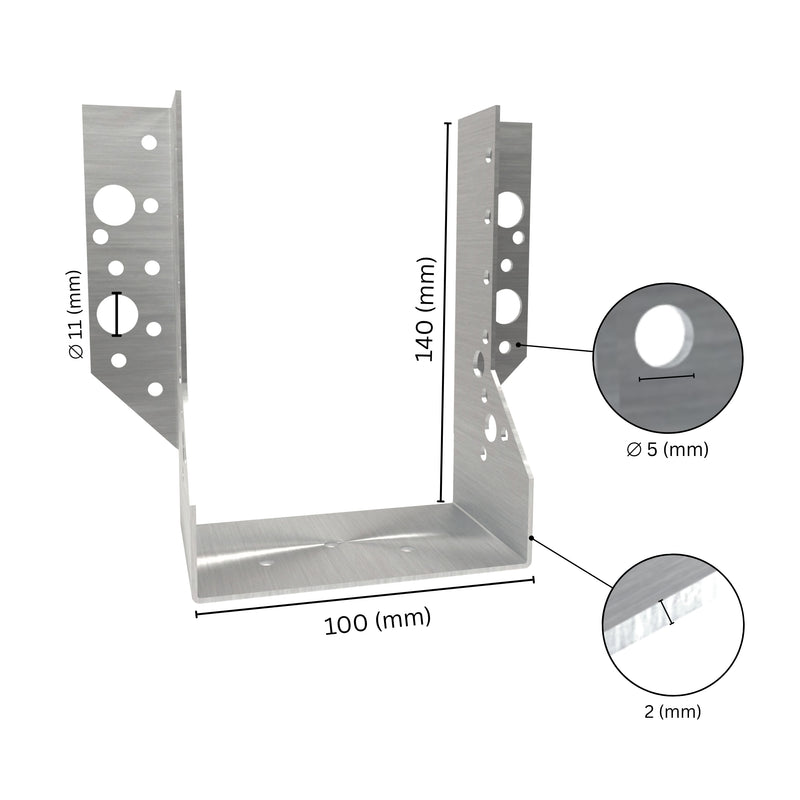
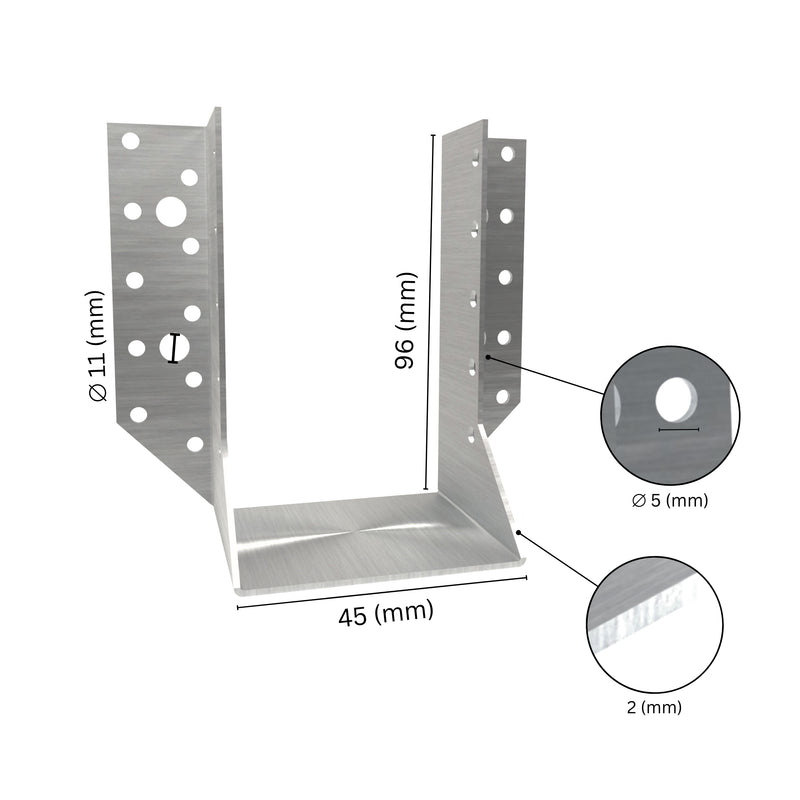
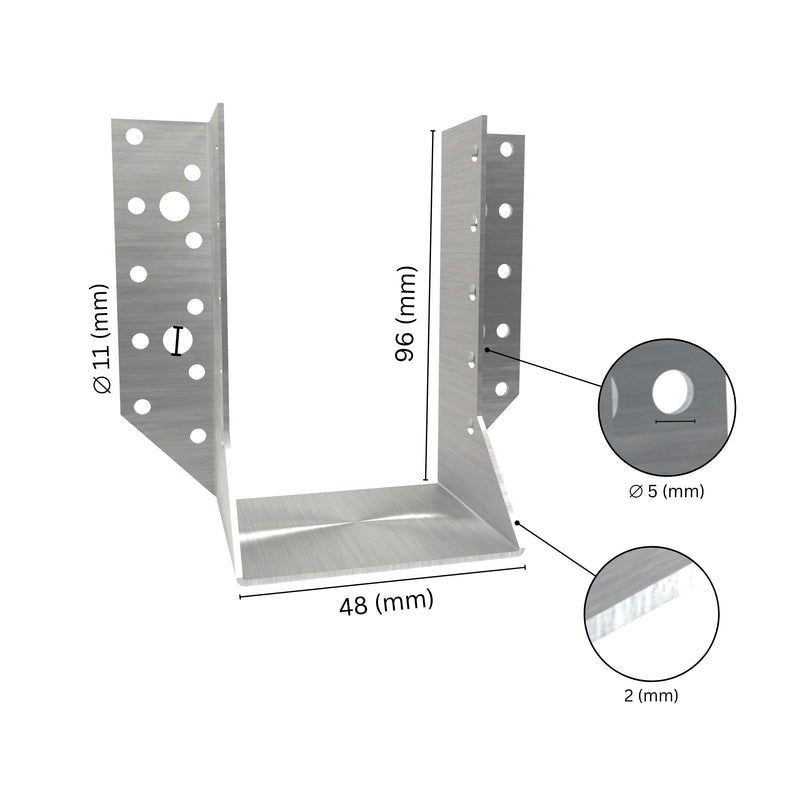
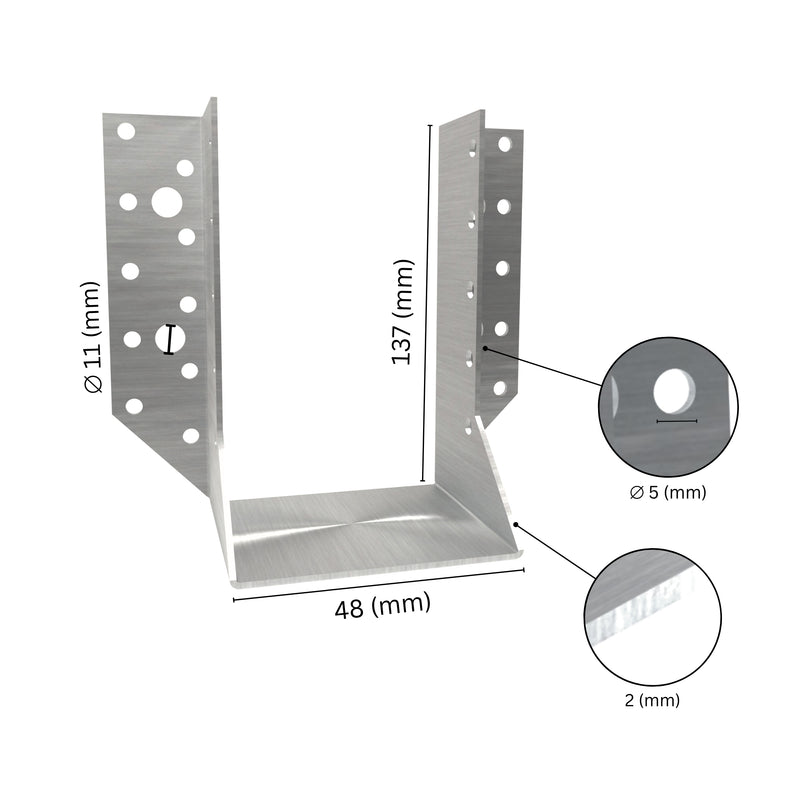
If the post is rotten below ground, a brace is a short-term fix. The lasting options are a new post on a metal support, so the timber never touches soil, or a new post set in concrete with drainage underneath. If you're weighing those options, our comparison of drive-in spikes and concrete-in post supports explains which base holds up best in different soils, and our range of U-type post supports covers the common post sizes.
Fence Post Brace FAQs
How long should I leave a temporary brace on a fence post?
Leave it until the concrete or postcrete has fully set, then a bit longer if the panels are going on straight away. Each product states its own setting time on the bag. If the post is set in compacted hardcore instead, the brace can come off once the fill is firmly tamped.
What angle should a fence post brace be?
Aim for a long, fairly shallow strut rather than a short steep one. A peg about a metre from the post with the strut fixed high on the post gives a good angle for a garden fence. Steep braces tend to push the post up and out of the ground.
Can you brace a fence post without concrete?
Yes. Temporary braces work just as well with compacted hardcore or a metal post spike. For permanent bracing, the foot of the strut should sit on something solid such as a flat stone or a buried block.
How do you brace a 4x4 fence post?
The same way as any other square post: plumb it on two faces, then fix a strut to each face and down to a peg. For a 4x4 (roughly 100 x 100 mm) post, 38 x 50 mm timber is usually plenty for a temporary brace. For permanent braces, match the strut to the post size and use a galvanised angle bracket at the joint.
Do corner fence posts need bracing?
On wire, mesh and post-and-rail fences, yes. They carry the pull of the whole run. On a panel fence, a well-set corner post often copes without a brace, but a back brace helps in exposed spots.
Got a bracing job that doesn't fit any of the above? Send us a photo and we'll suggest the right bracket or support.