Pergola brackets for landscaping companies: 2026 guide

Pergola brackets for landscaping companies are galvanised timber connectors that let a crew frame a pergola on site without notching, mortising or welding. A landscaping company does not build one pergola in 2026 — it builds the same structure shape across a season of client jobs, and the jointing method is priced twice: once in crew time, once in warranty callbacks.
- L-shaped post connectors cover the most common pergola joint: post-to-beam corners.
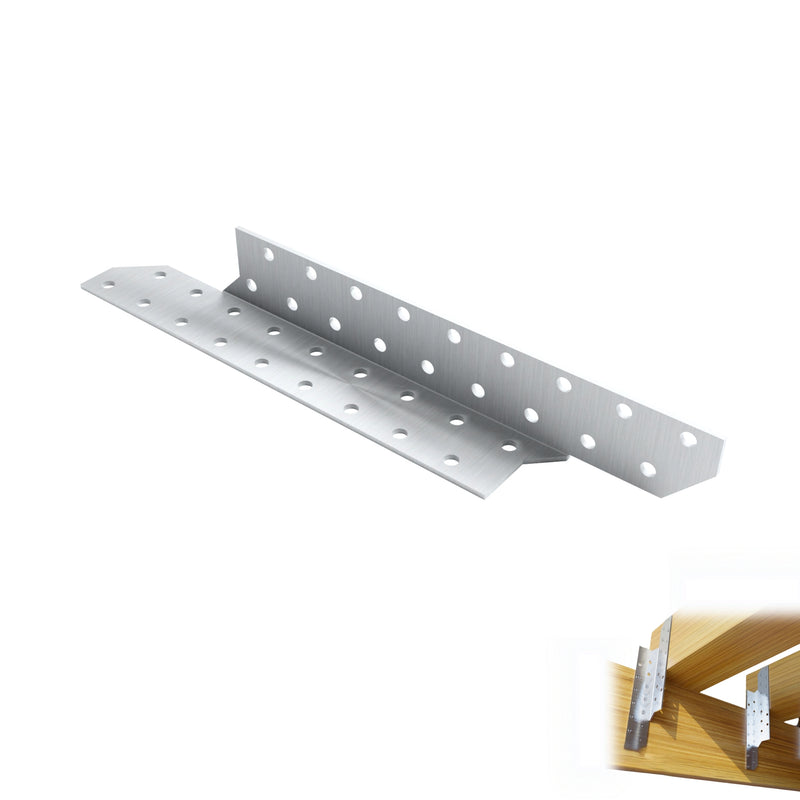
- Y-shaped connectors join three members at one node — two rafters meeting a post head.
- Bolt-down post supports keep post ends off wet ground, the main cause of pergola rot.
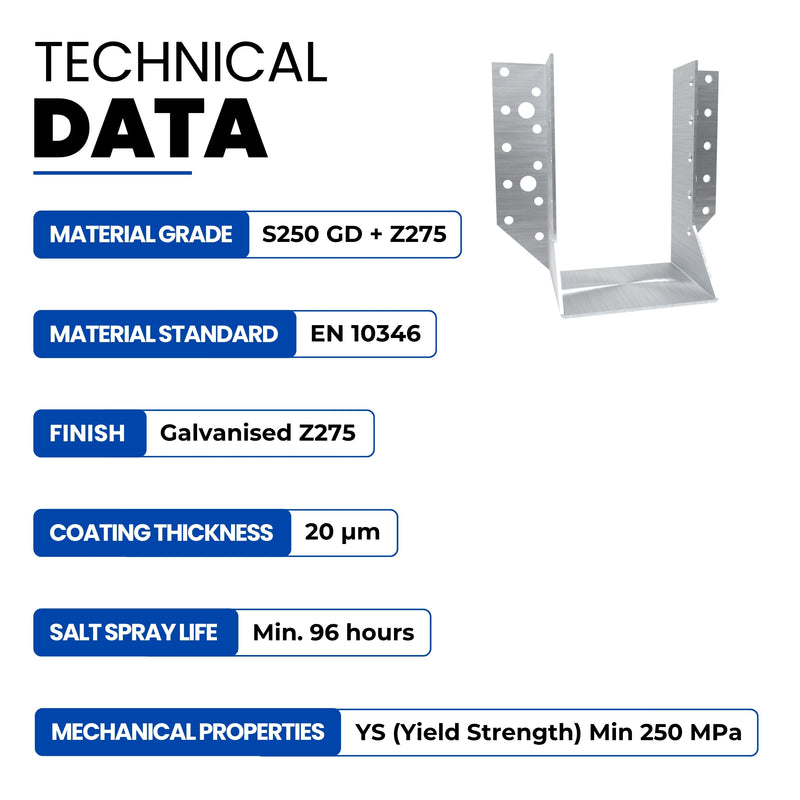
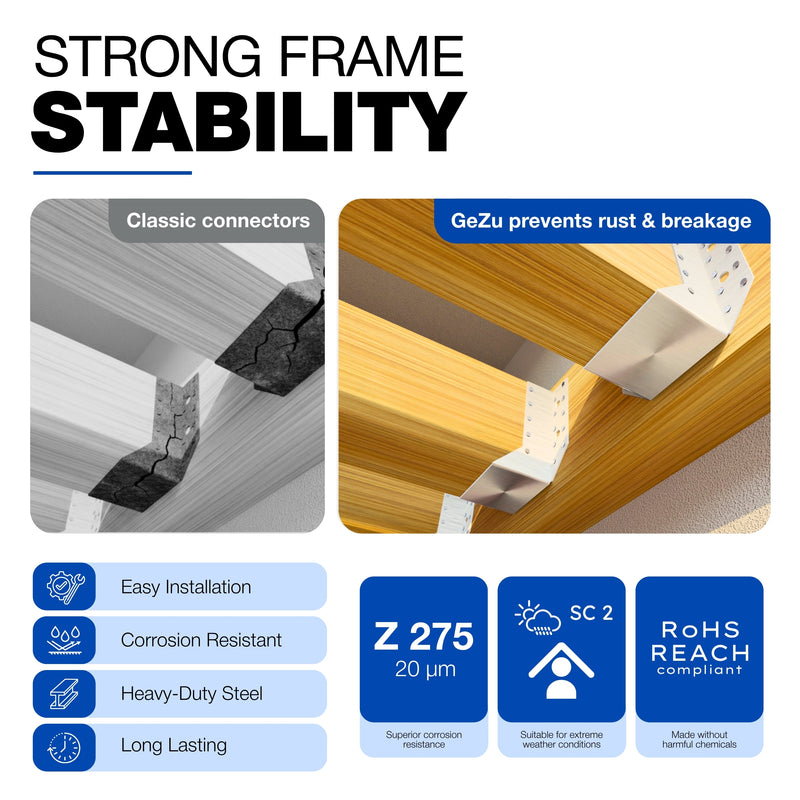
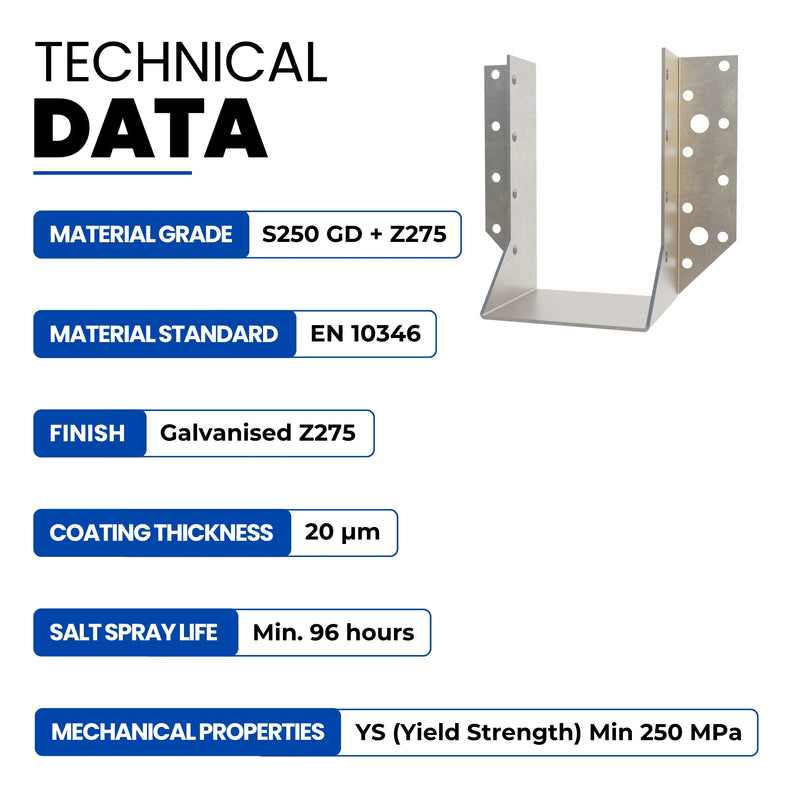
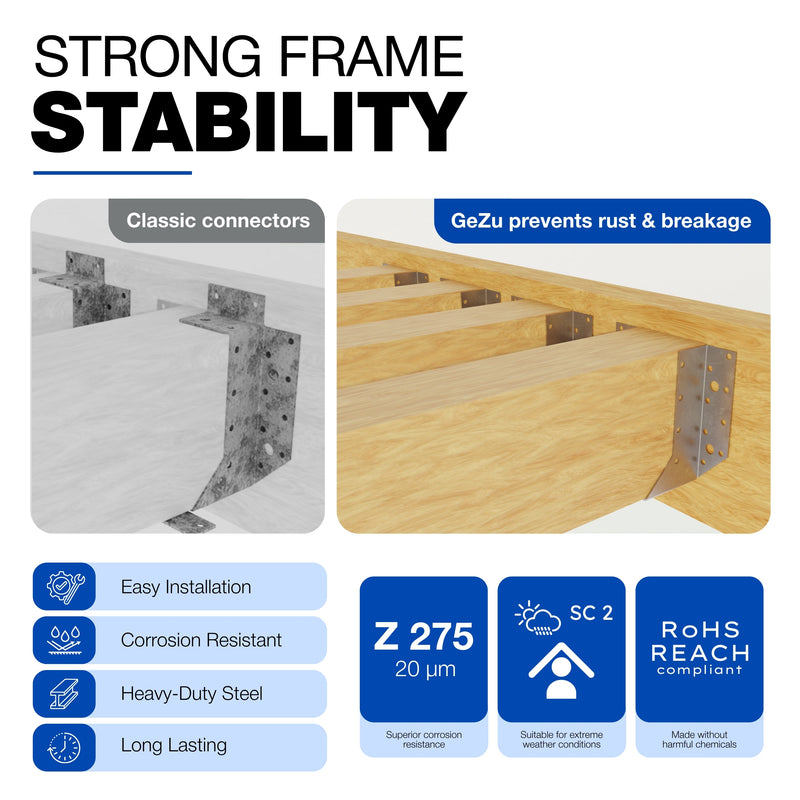
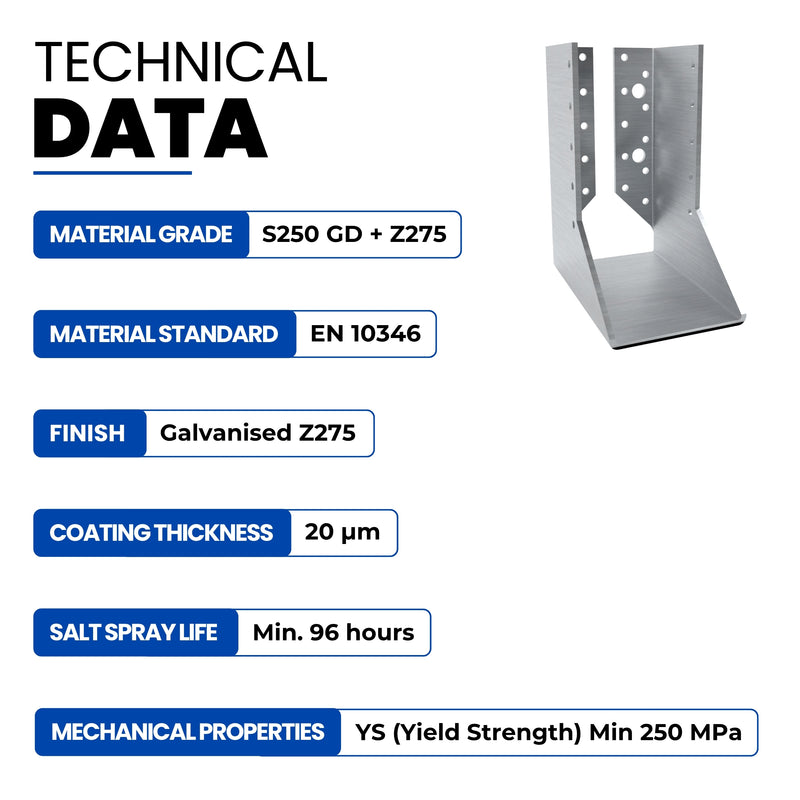
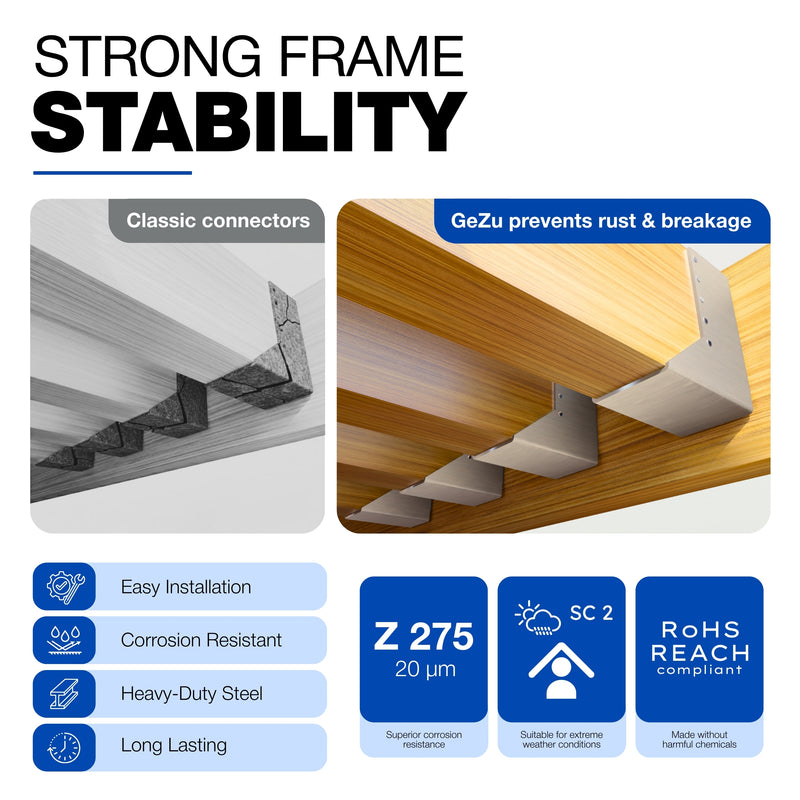
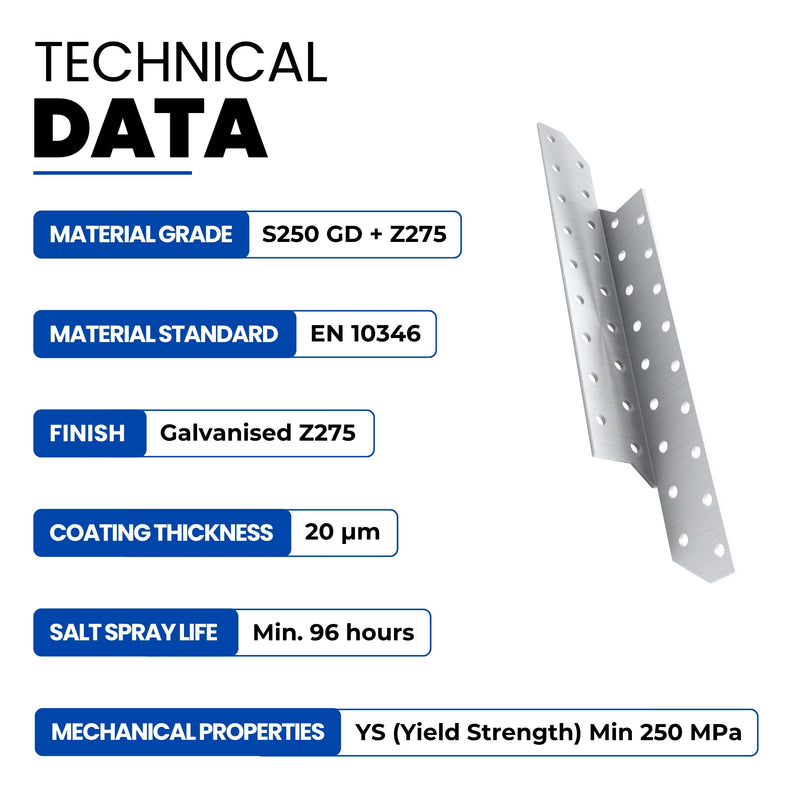
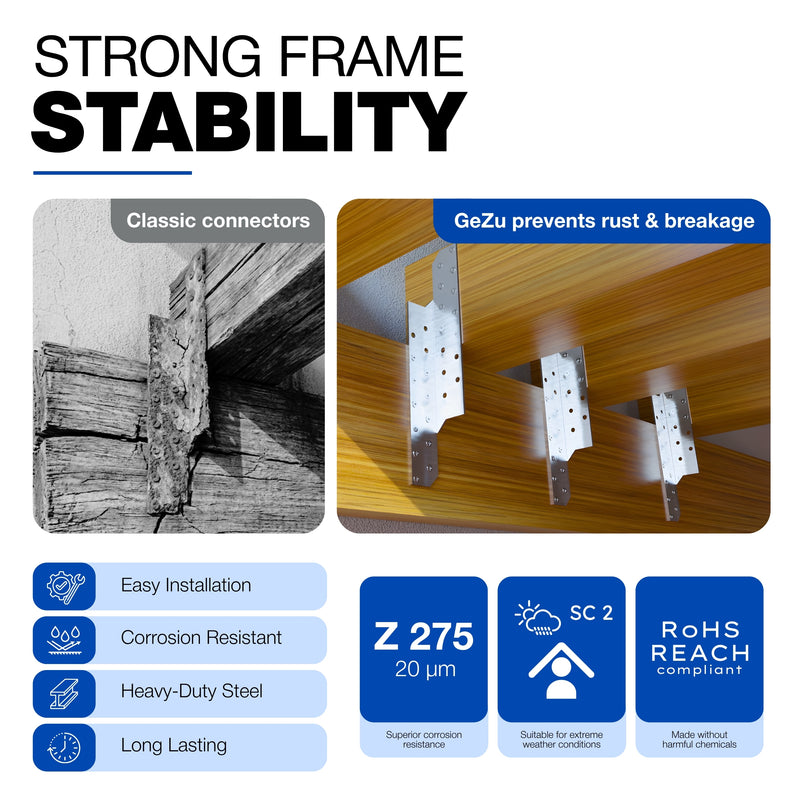
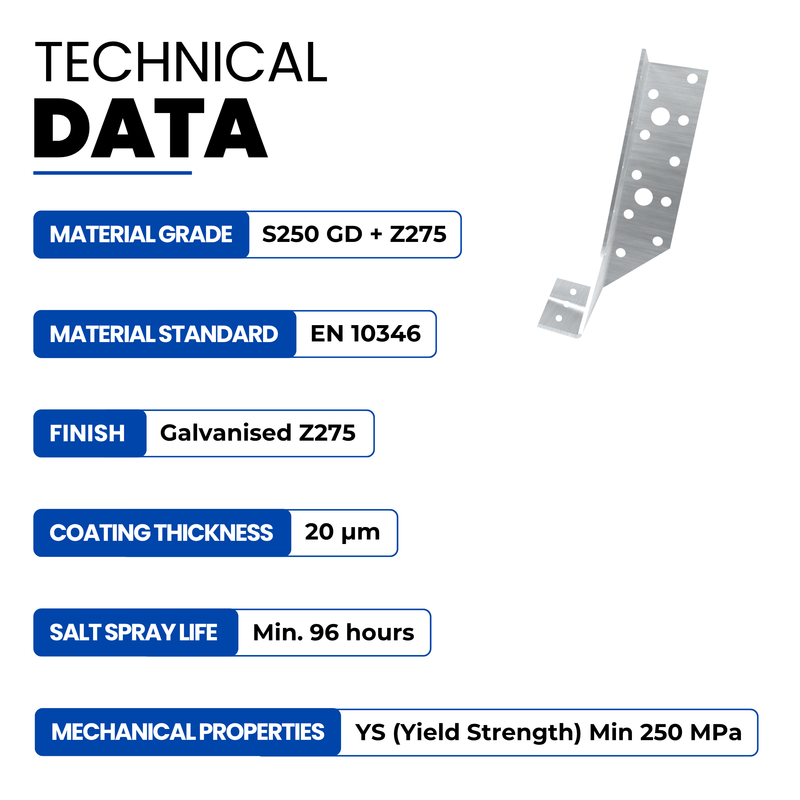
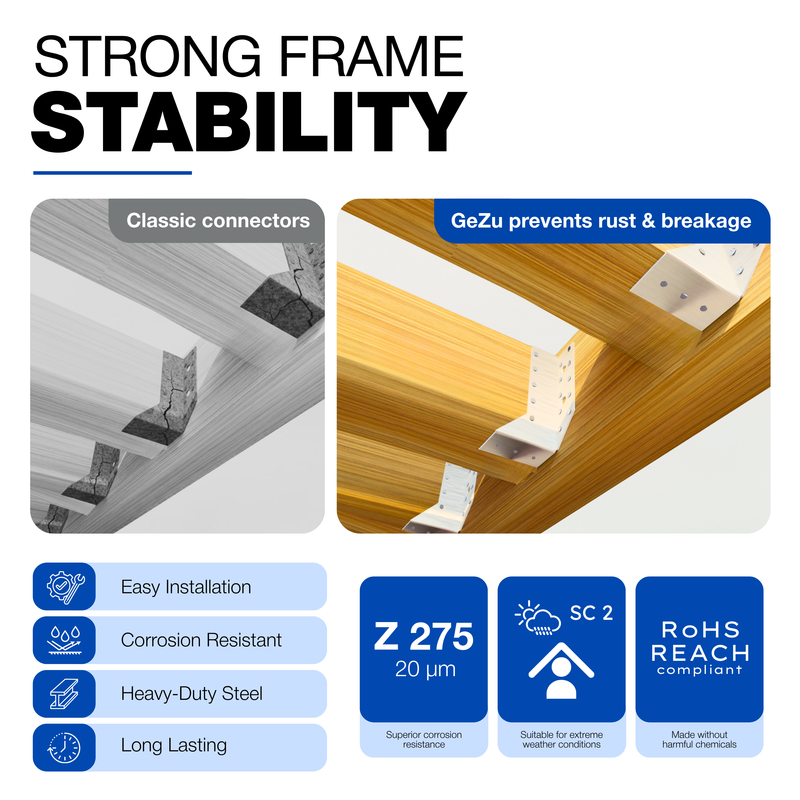
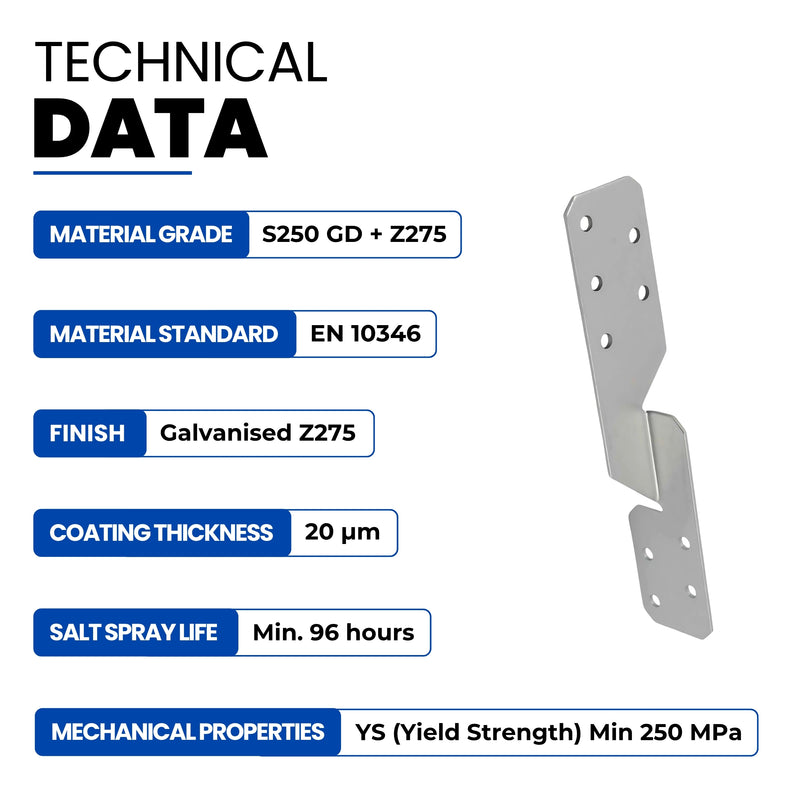
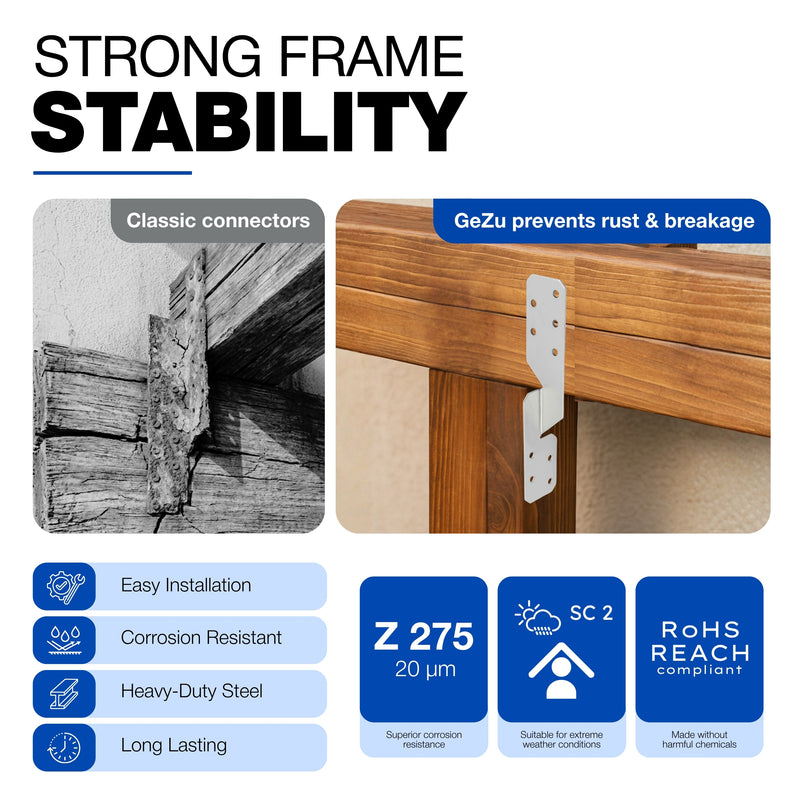
- Hot-dip galvanised steel is the standard coating for outdoor pergola hardware in 2026.
- GeZu Impex stocks galvanised pergola brackets and post supports for trade landscaping crews.
Why pergola brackets matter for landscaping companies
Traditional pergola framing relies on mortise-and-tenon or half-lap joints. Those joints hold well when cut by a joiner with a workshop bench. On a client's lawn they cost time: every notch is measuring, sawing, chiselling and a chance to weaken the post. A bracketed joint replaces all of that with a pre-formed galvanised plate and a drill driver.
The commercial case for a landscaping company is direct:
- Crew time. A bolted bracket joint takes minutes; a hand-cut joint takes tens of minutes per corner.
- Consistency across crews. The same bracket on every job produces the same fit, whoever holds the drill.
- Timber protection. Post supports lift the end grain off damp ground and out of standing water.
- Priced, repeatable quotes. Known brackets and fixings turn a pergola from an open-ended joinery job into a product you can quote in 2026.
How to frame a client pergola with brackets
1. Survey the site and set the footprint
Mark the pergola corners with string lines and check both diagonals before anything is ordered or fixed. Ground type decides the anchor family: a paved patio usually suits bolt-down bases, while open soil needs concrete-in supports cast into footings.
- Measure both diagonals — a footprint that is out of square fights every later step.
- Check for buried services before any ground fixing.
- Set post centres; 1800–2400 mm is a common span range for garden pergolas in 2026.
2. Match a bracket to each joint
A pergola is only four joint types: post to ground, post to beam, rafter to beam, and brace to post. Matching each to a bracket family is what makes the build repeatable.
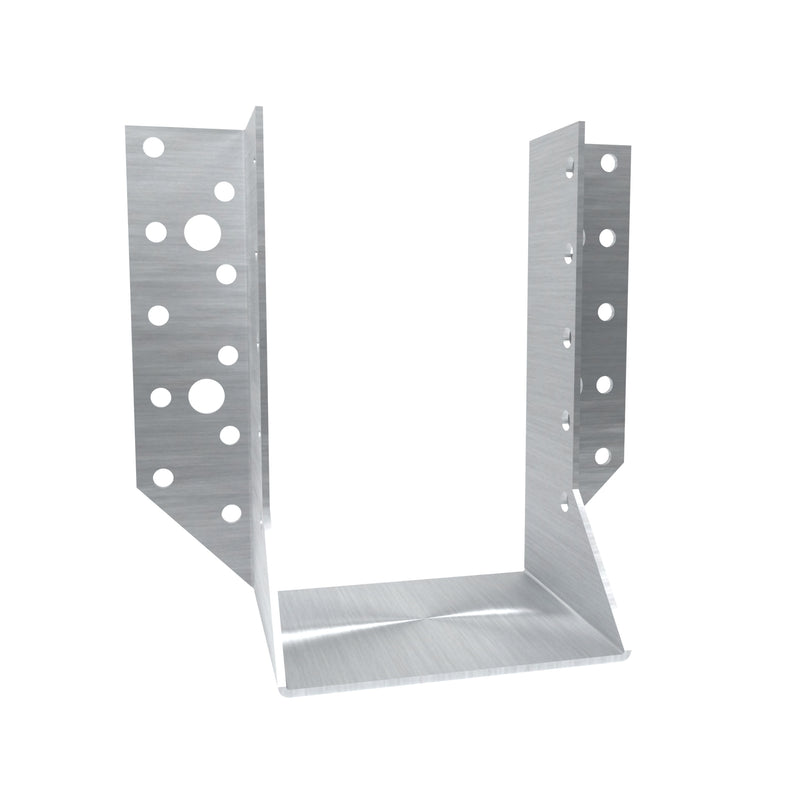
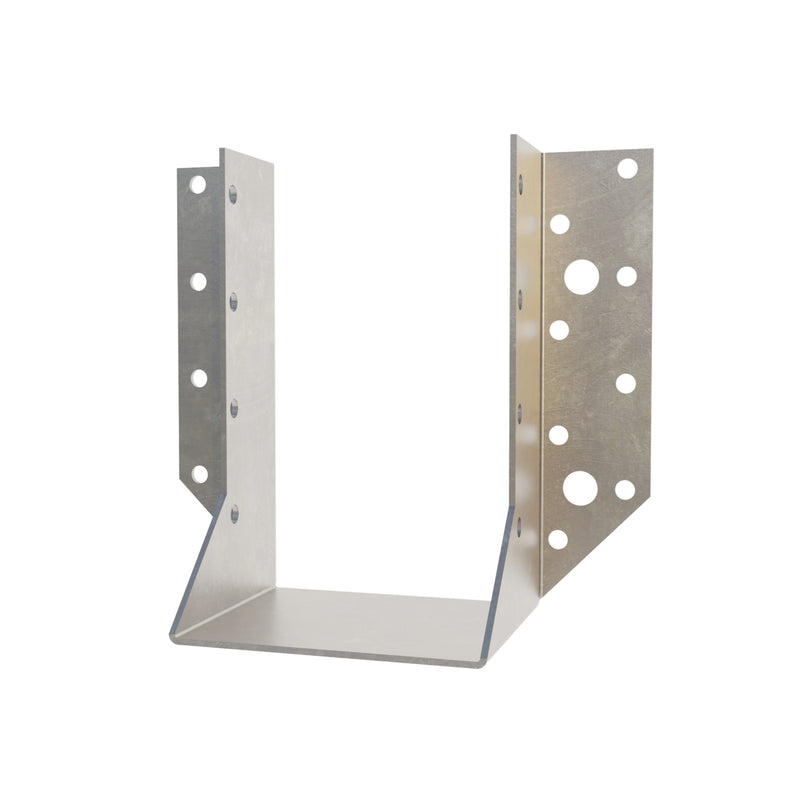
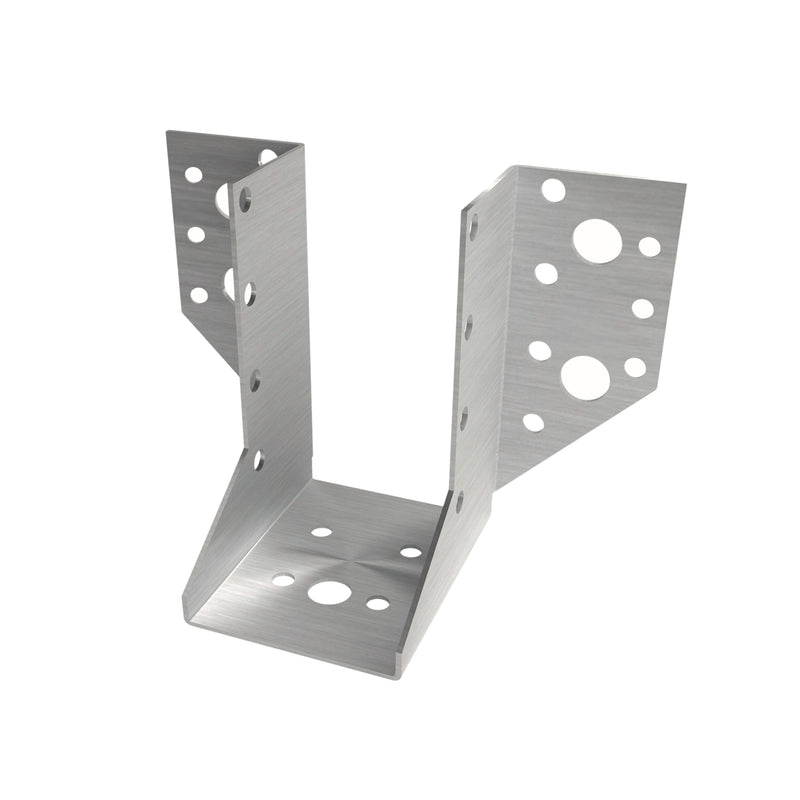
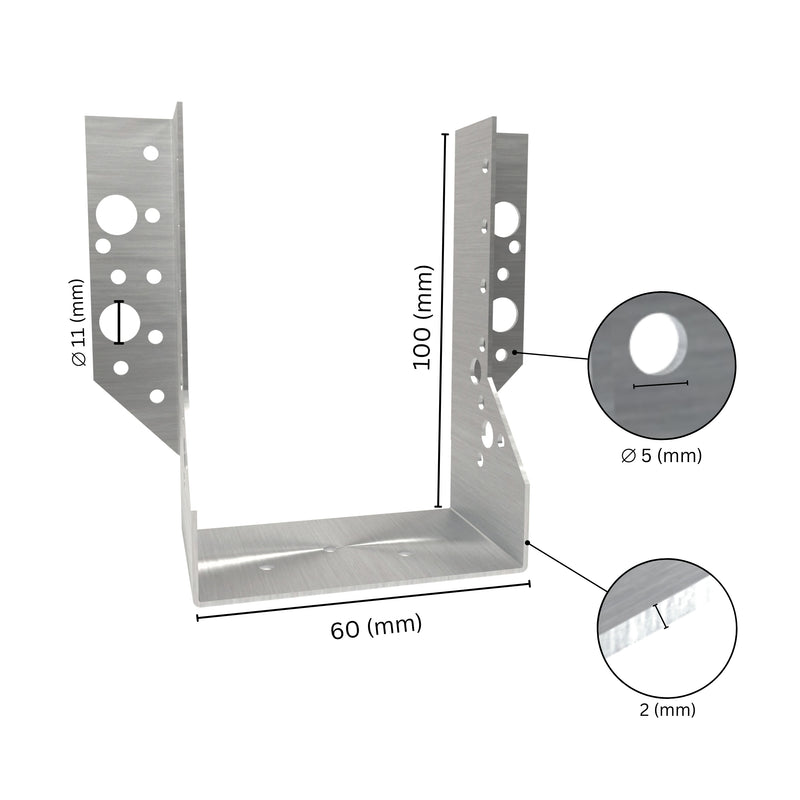
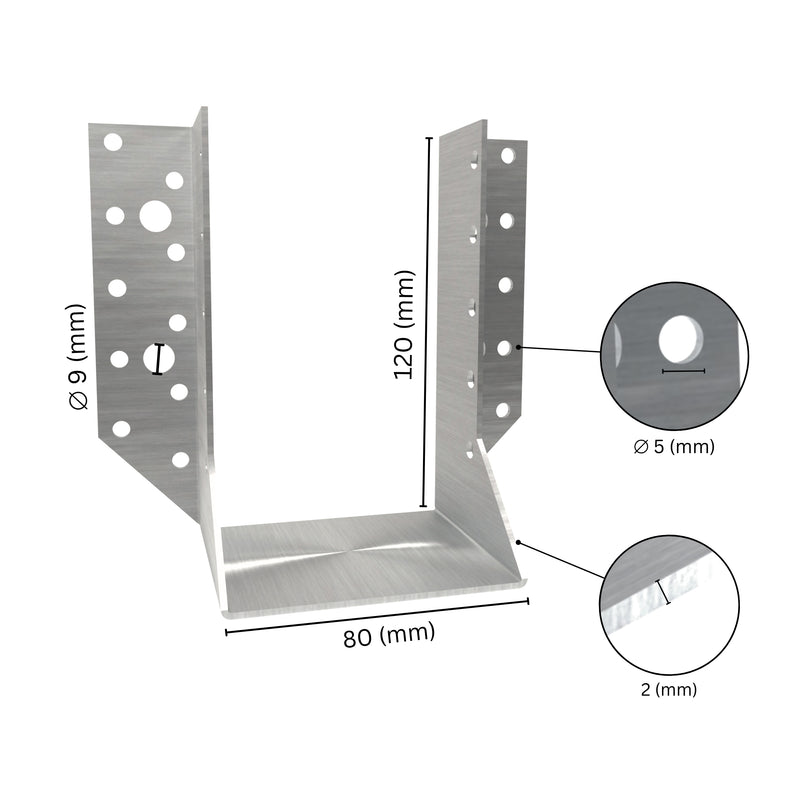
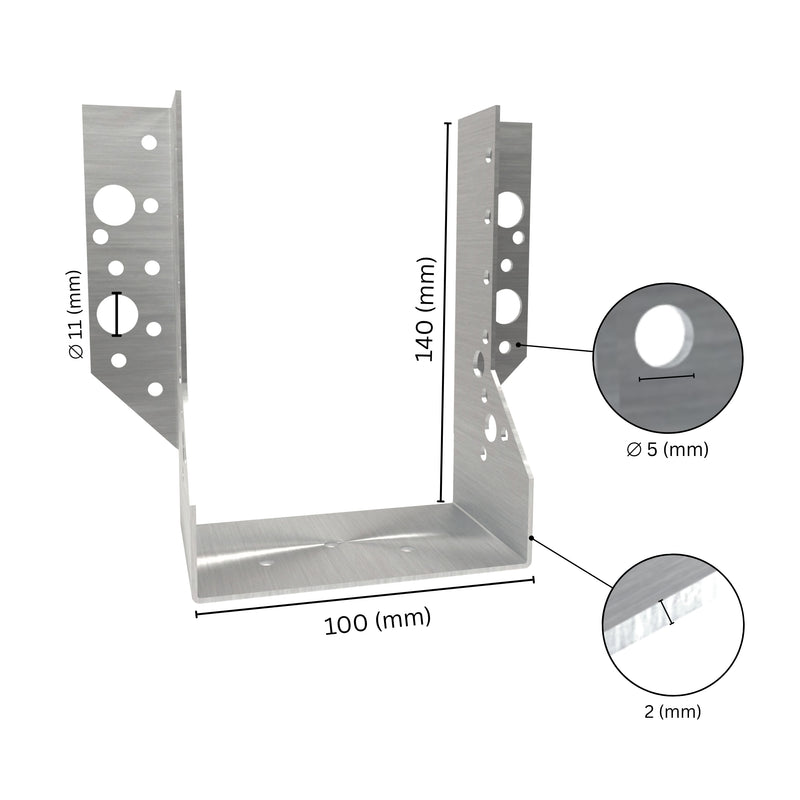
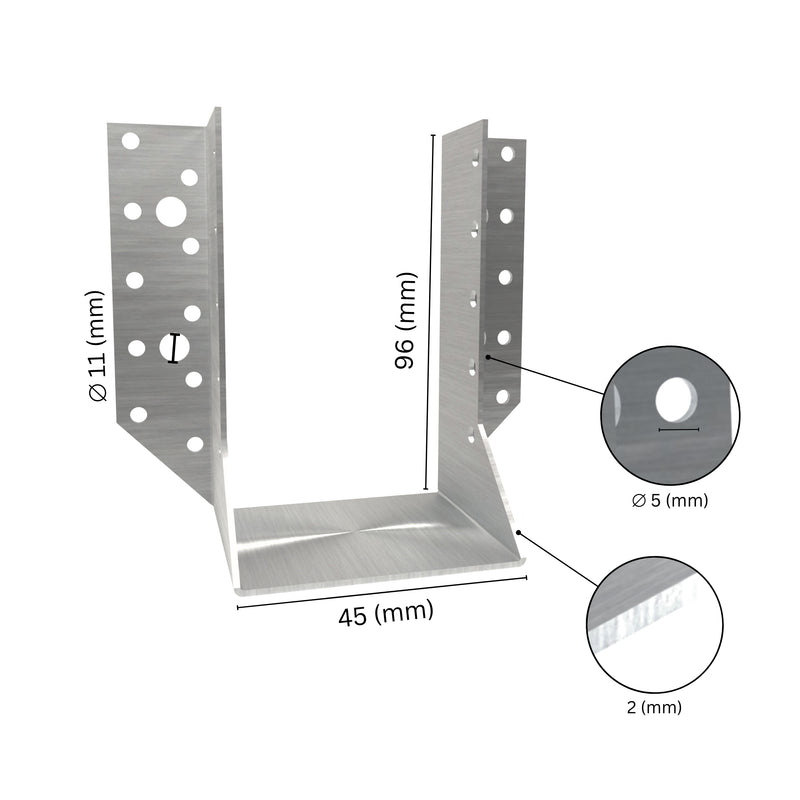
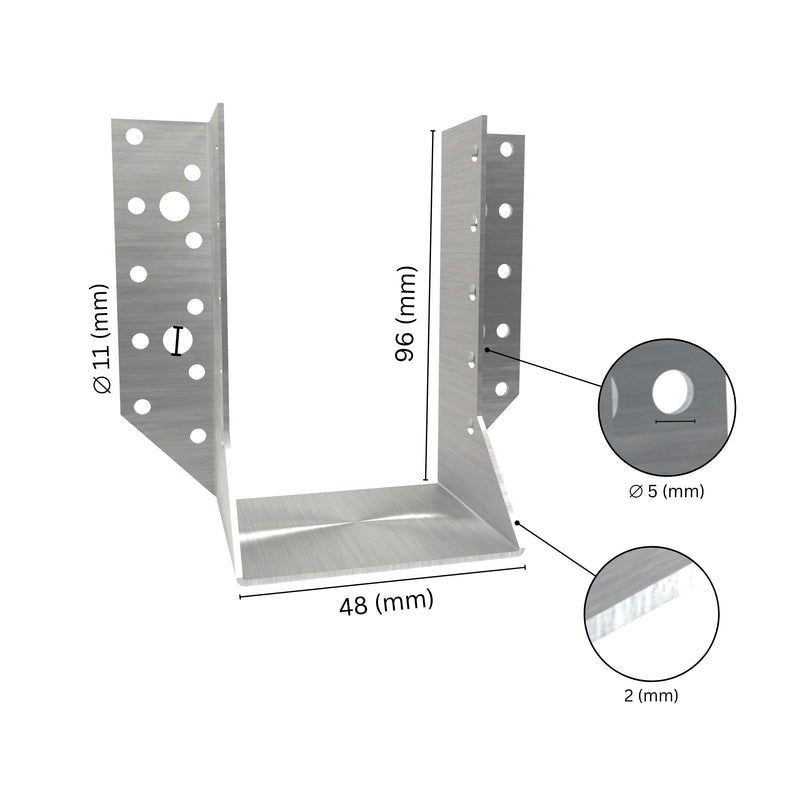
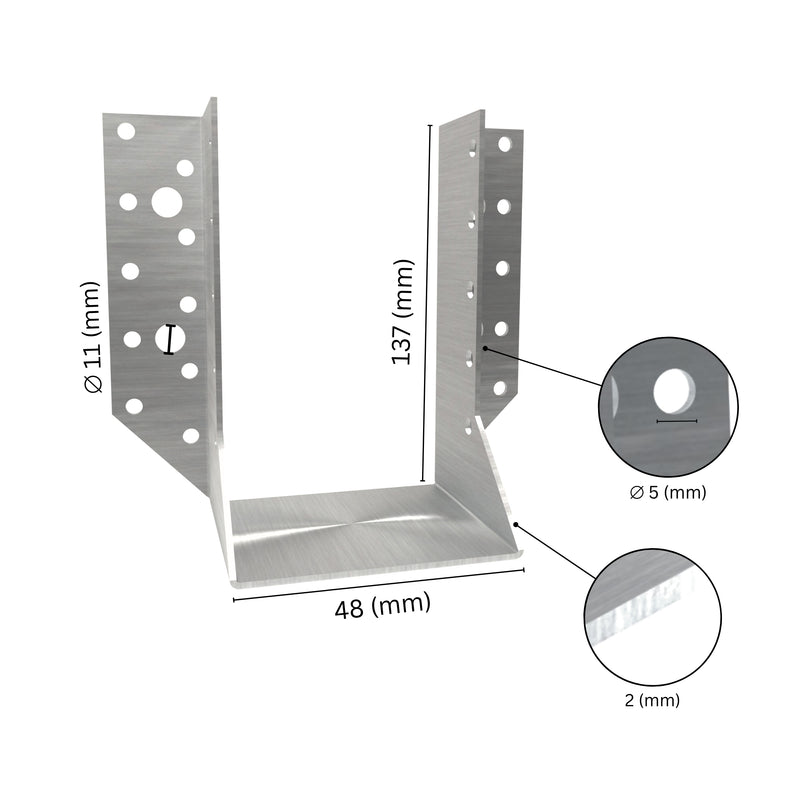
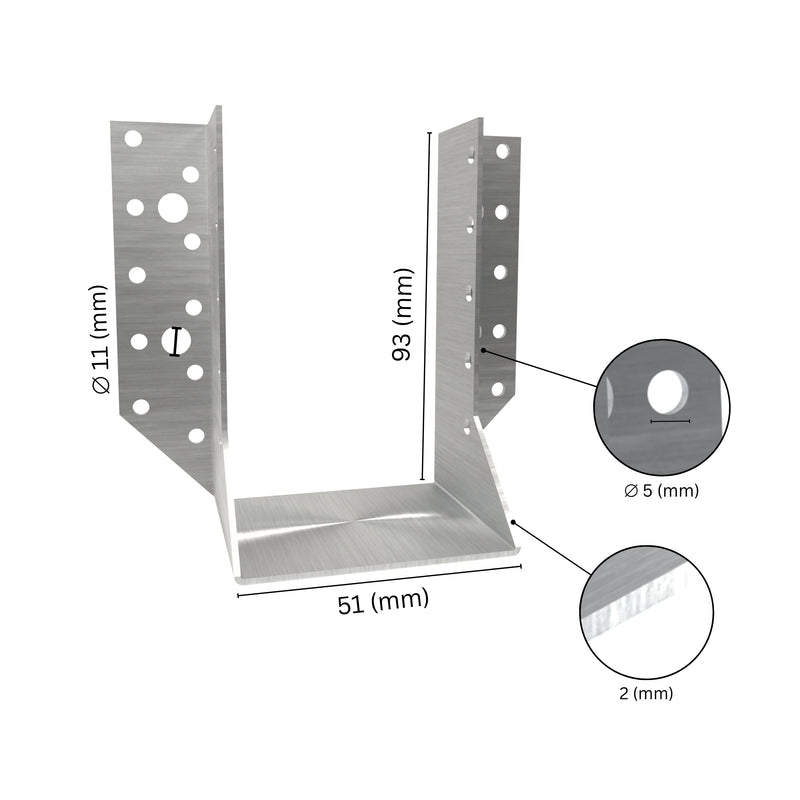
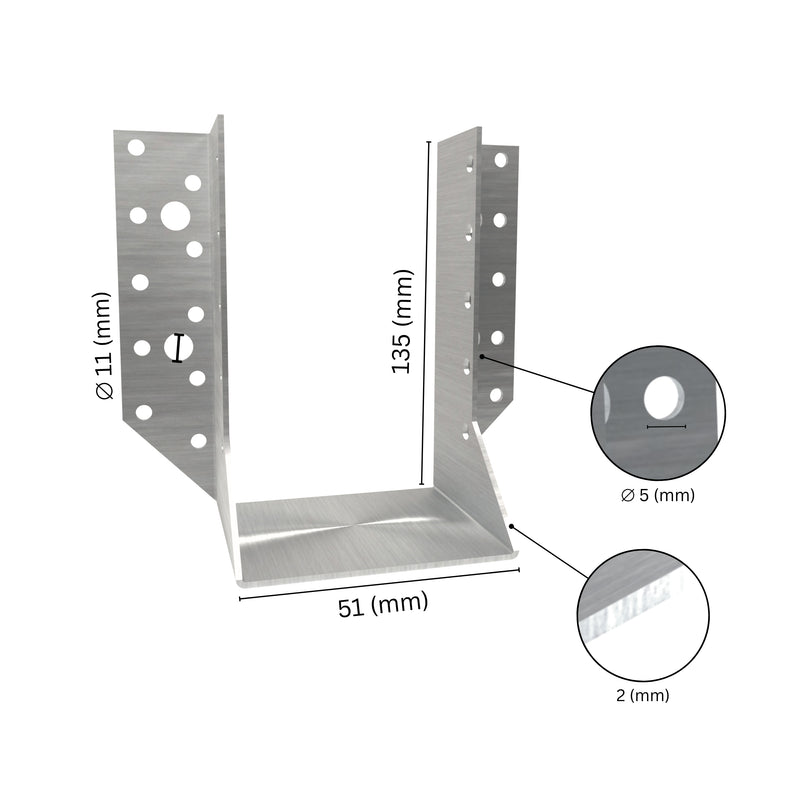
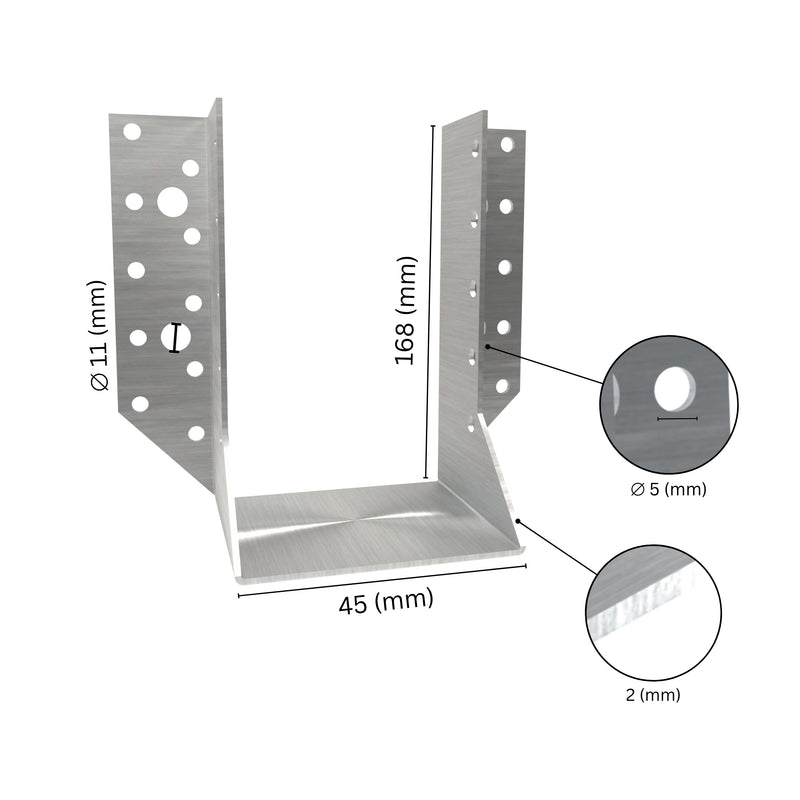
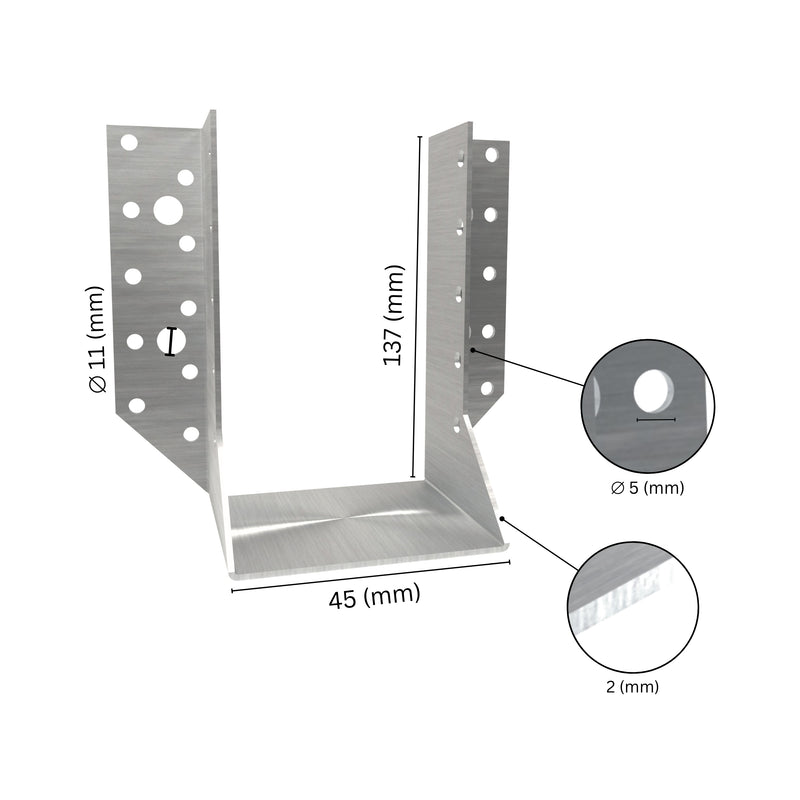
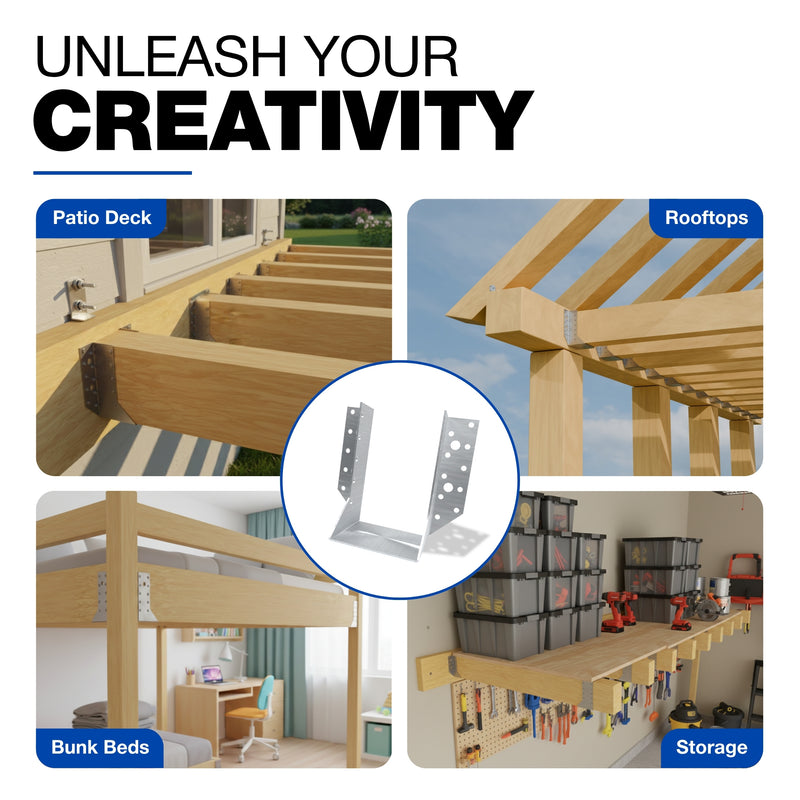
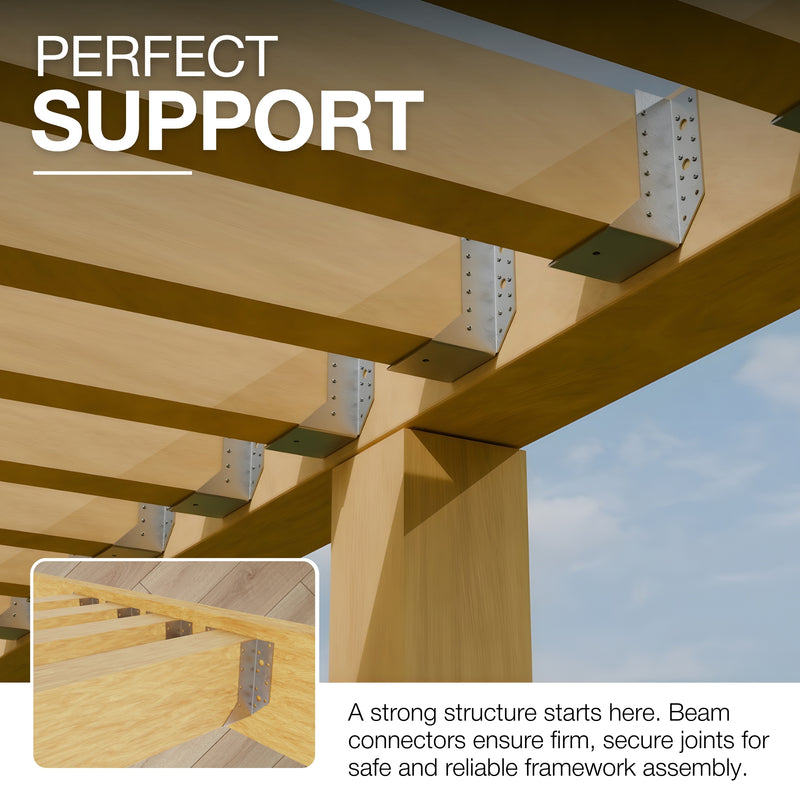
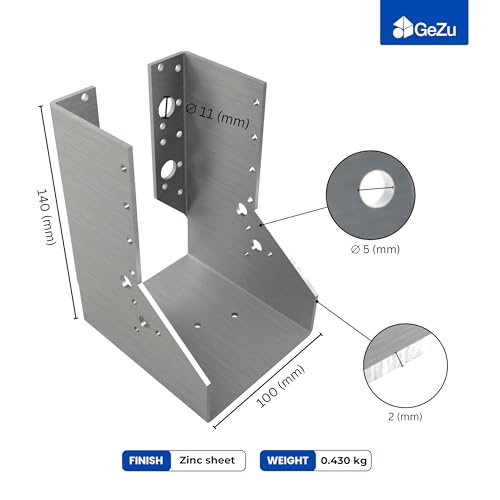
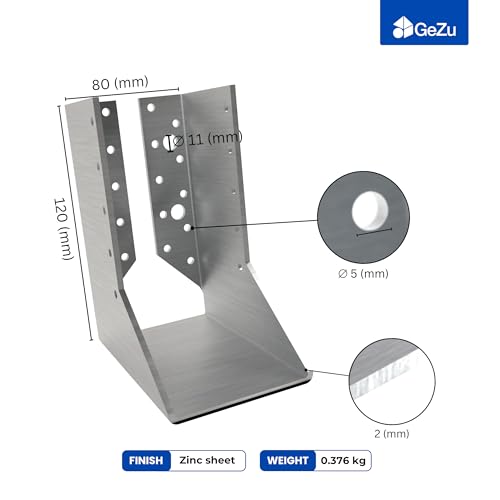
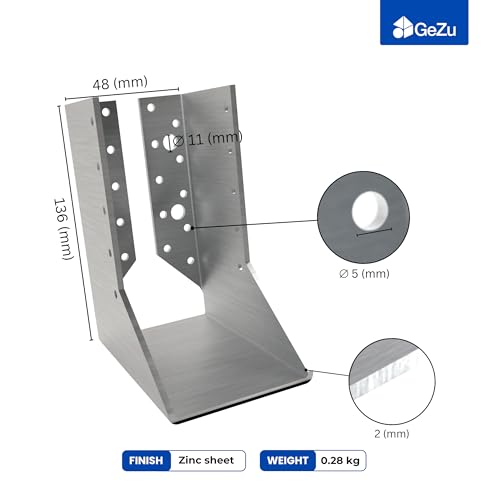
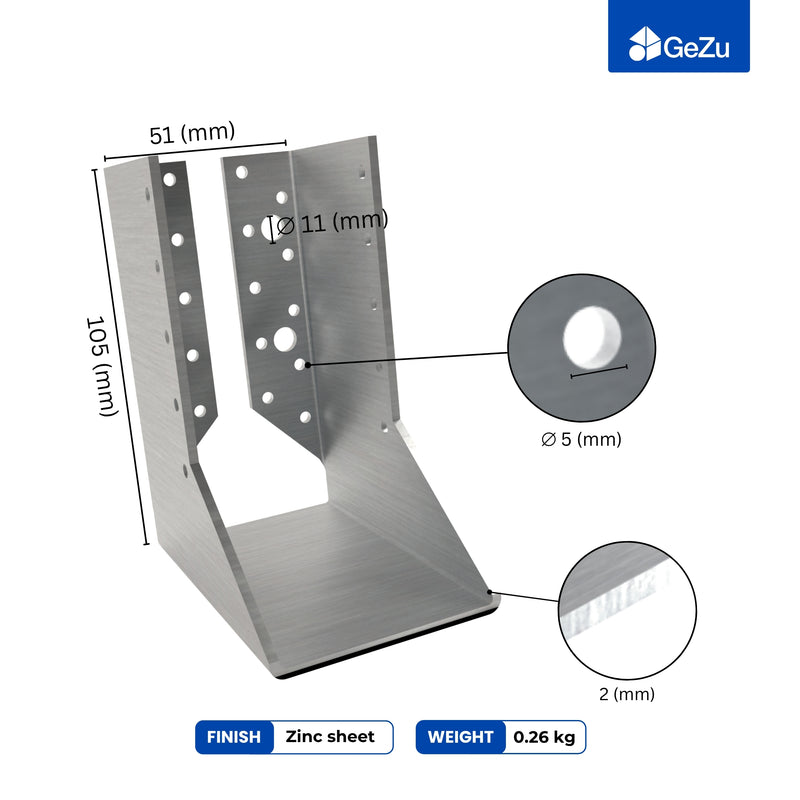
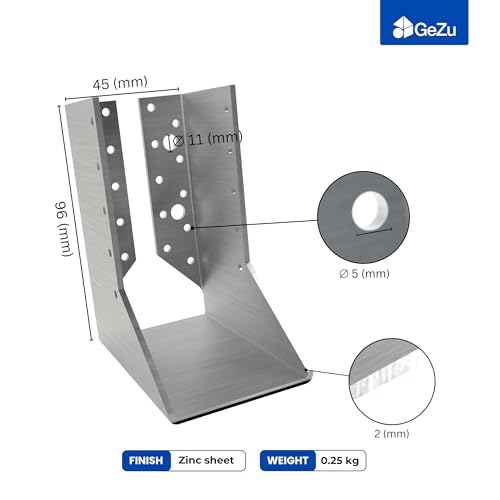
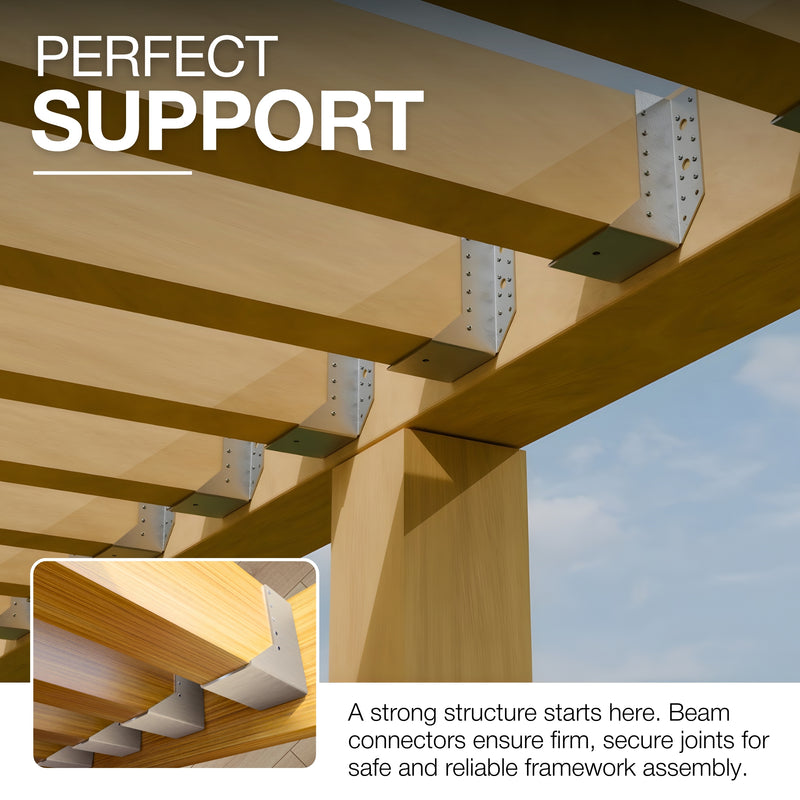
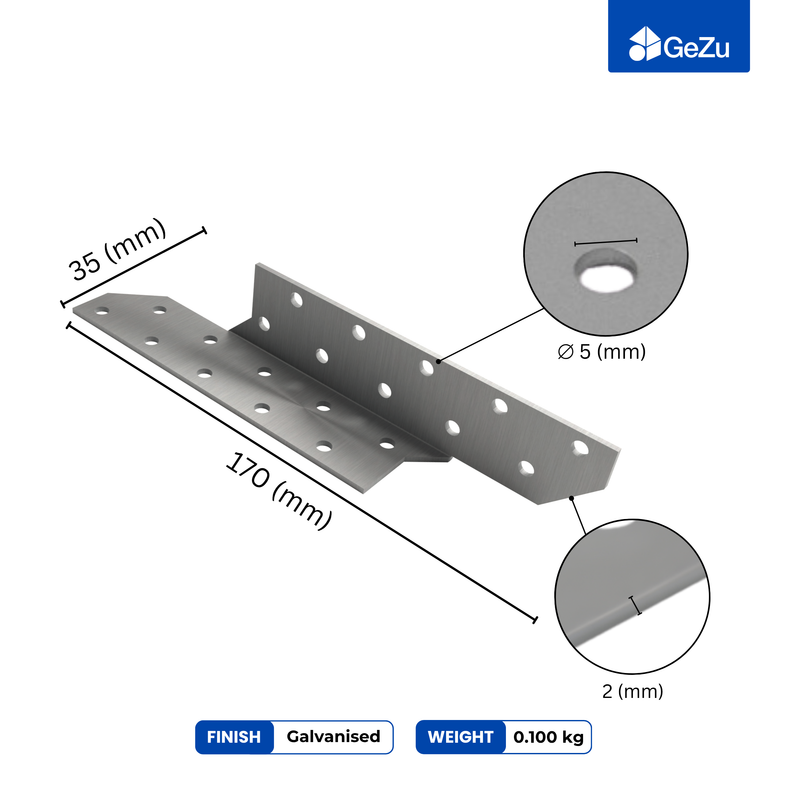
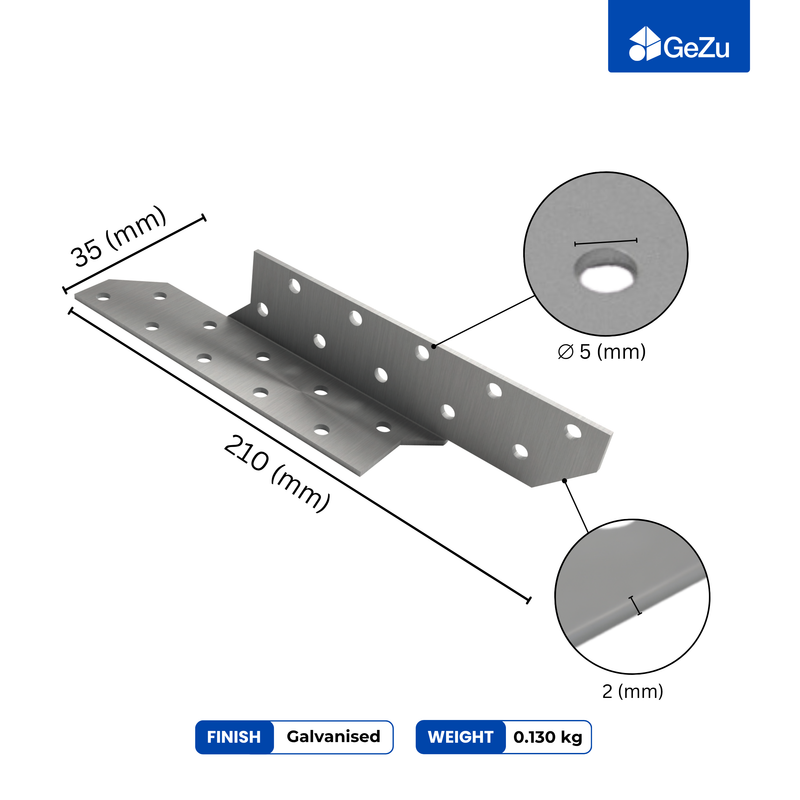
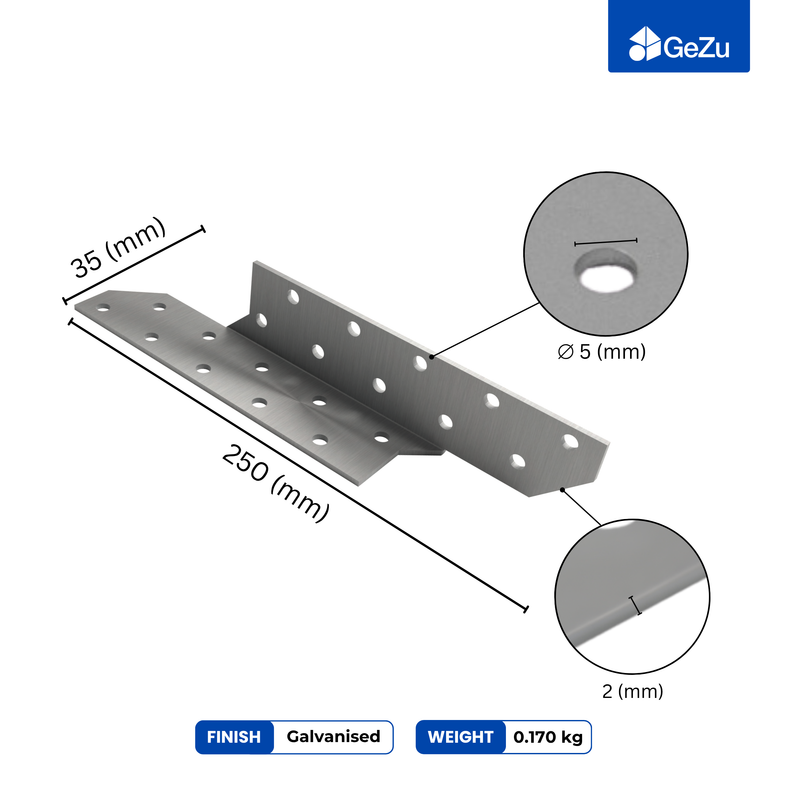
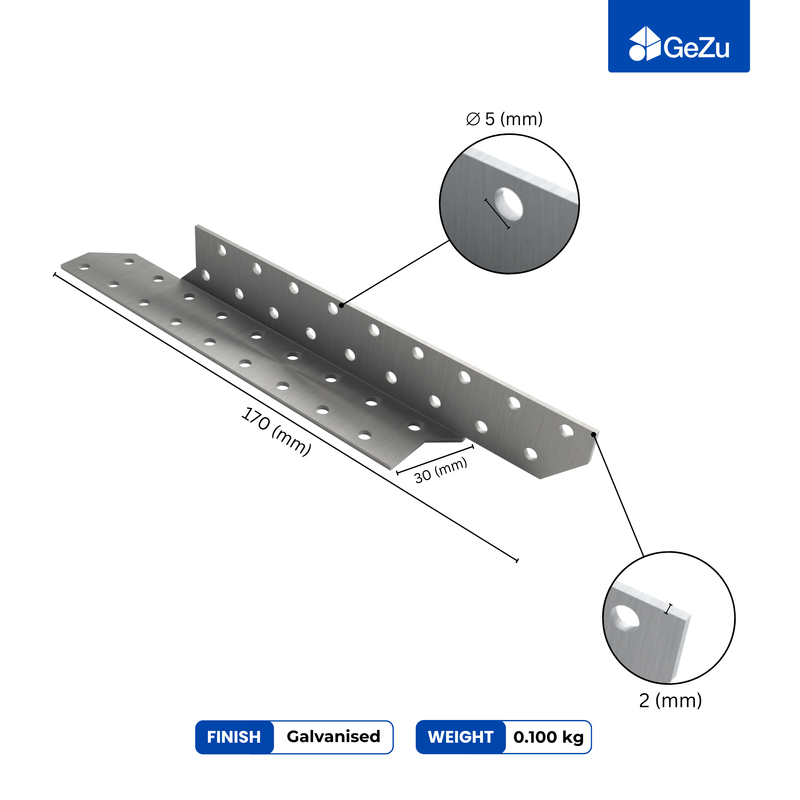
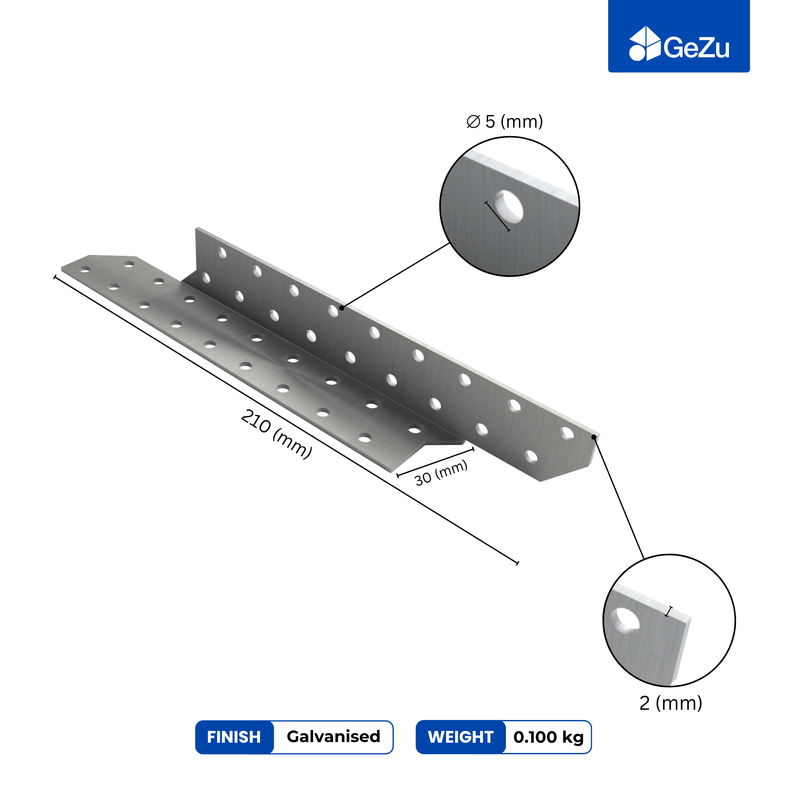
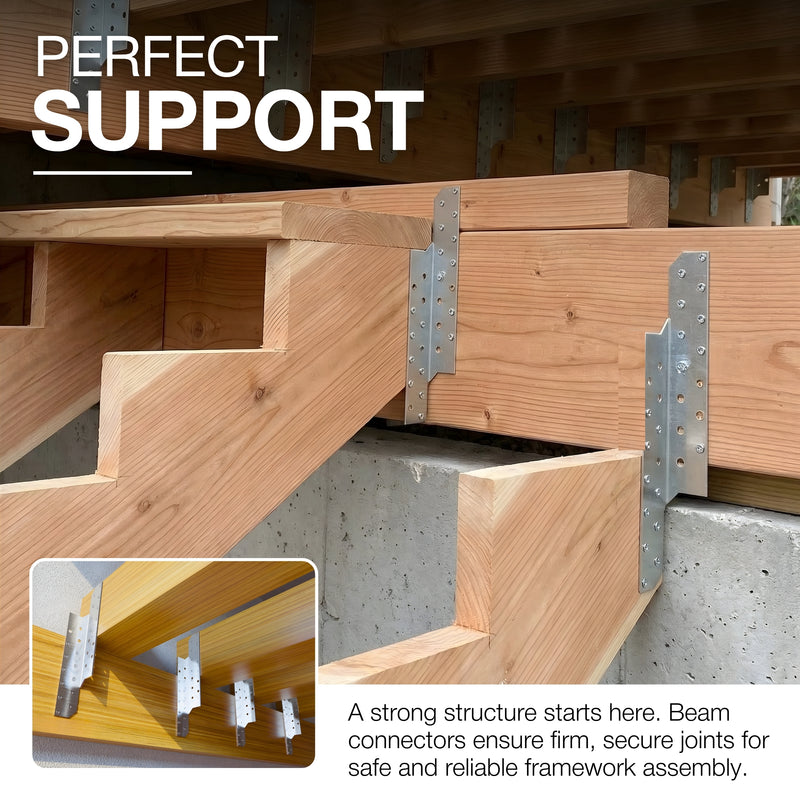
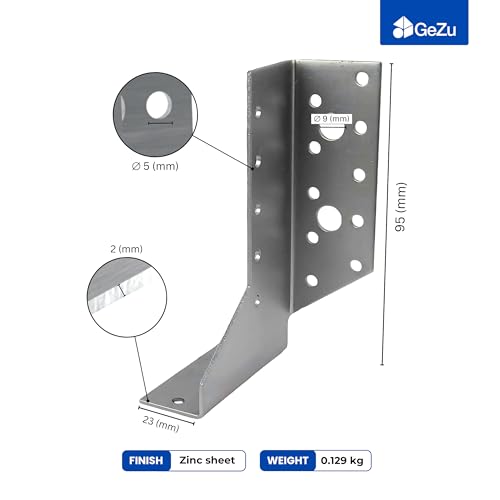
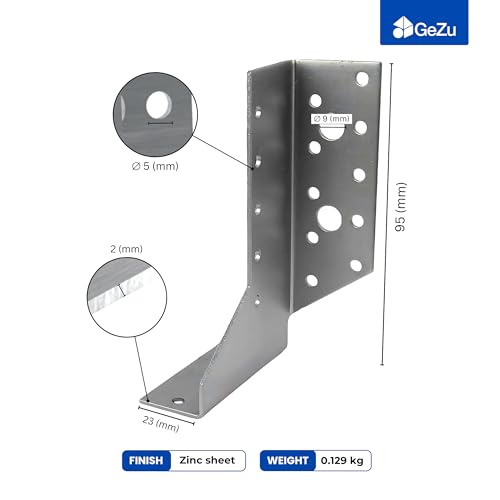
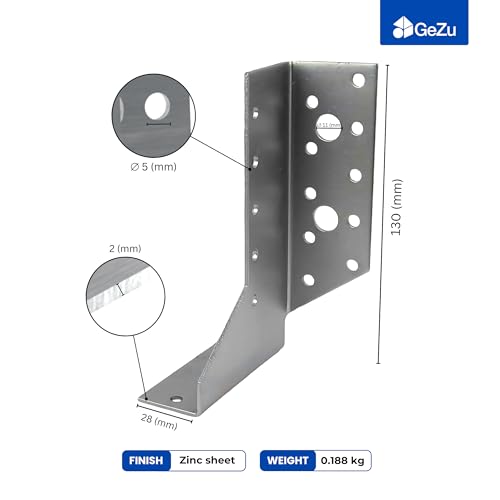
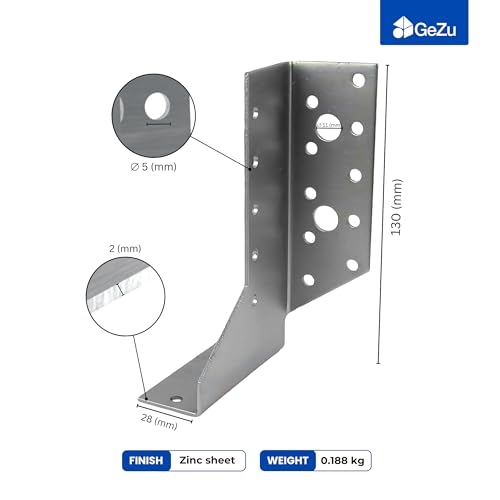
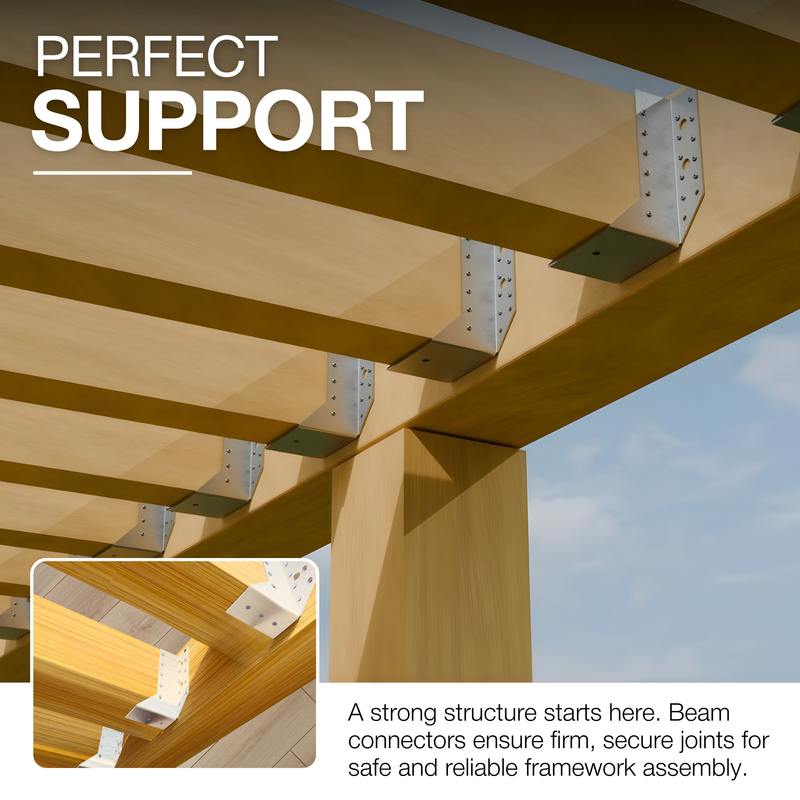
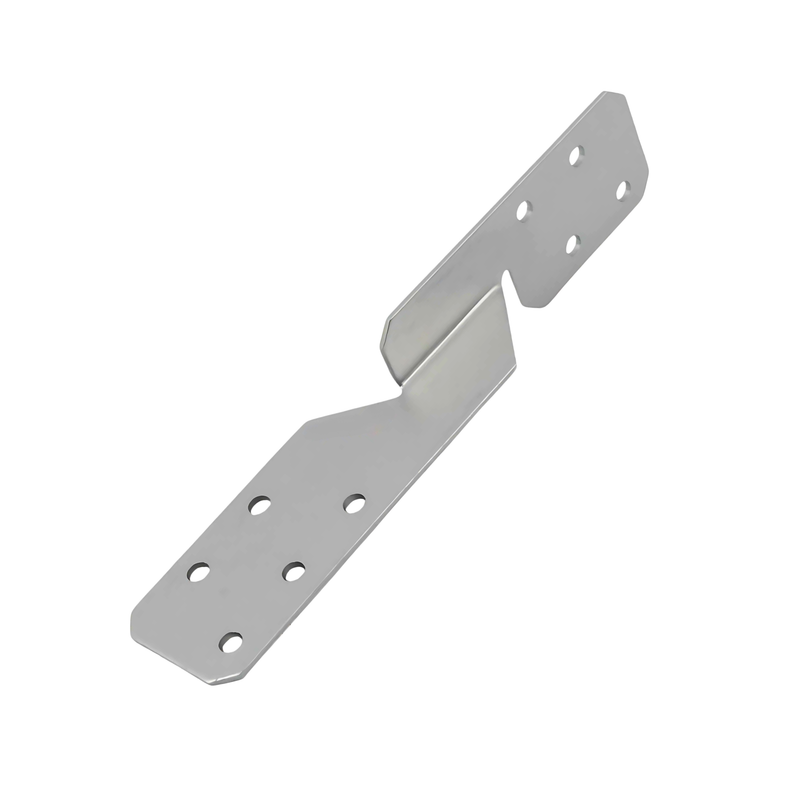
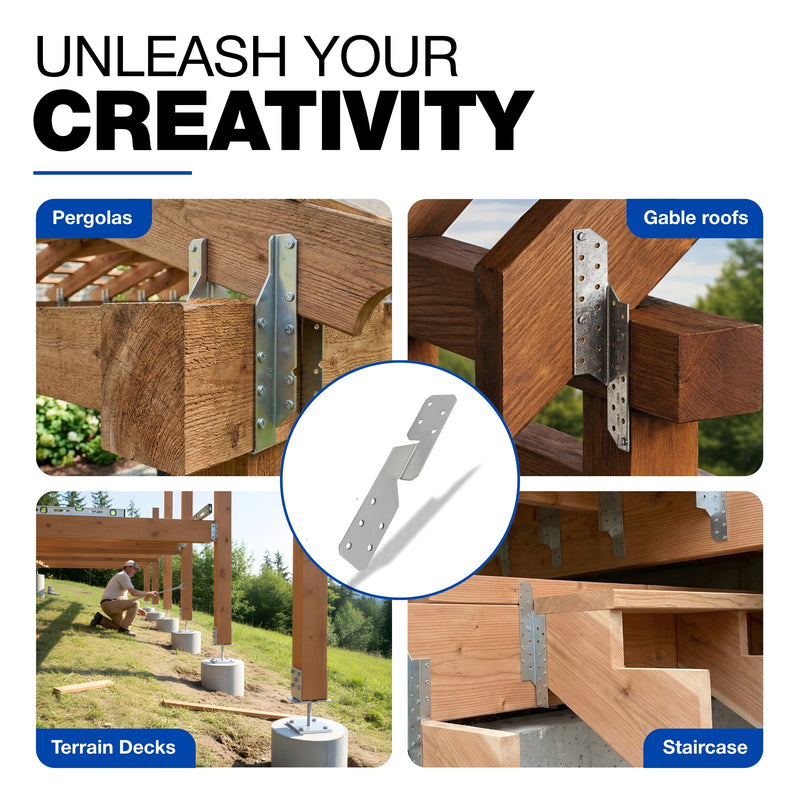
- Post-to-beam corners: an L-shaped post connector such as the Pergola Bracket | Post Connectors L carries the beam into the post face and squares the corner while it fixes it.
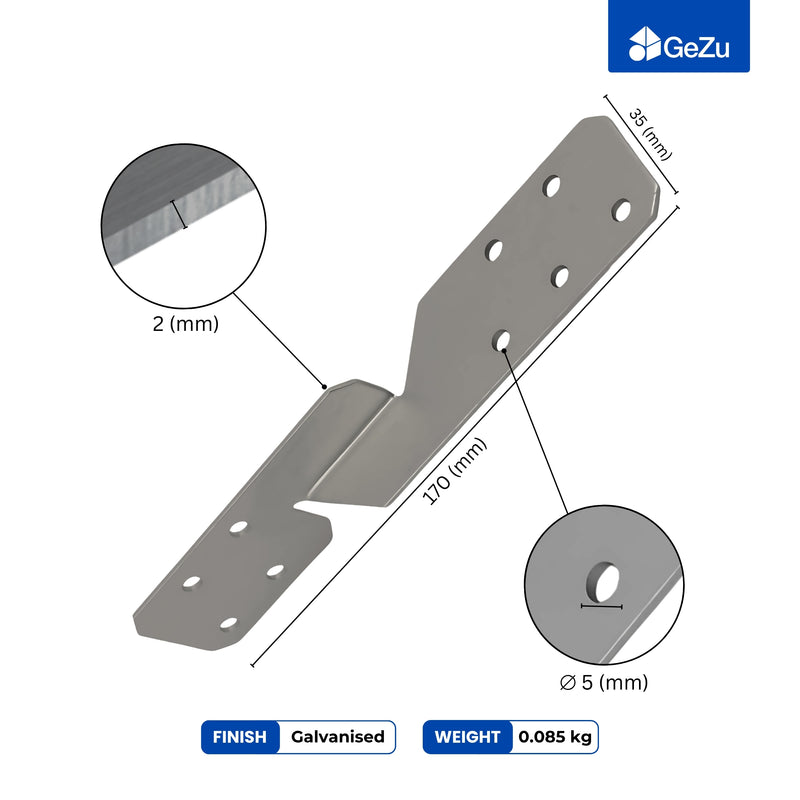
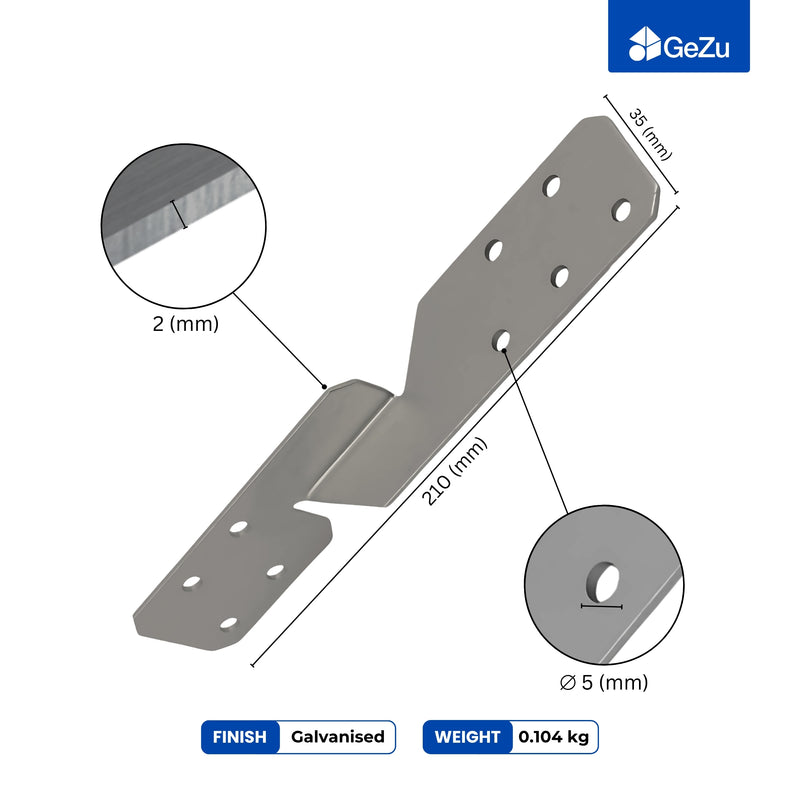
- Three members at one node: where two rafters and a post head meet, a Y-shaped connector spreads load from three directions instead of stacking fixings into one face.
- Post to ground: bolt-down post supports on hard standing, concrete-in supports in new footings.
3. Anchor the posts
A post end sitting on paving or buried in soil rots from the end grain upward — the single most common pergola failure a landscaping company gets called back for. A bolt-down support holds the timber clear of standing water and lets a future crew swap a post without cutting the frame apart.
- Level each base before fixing; a shim now saves a twisted roofline later.
- In soil, concrete-in supports cast a galvanised sleeve into the footing so the post itself never touches the ground.
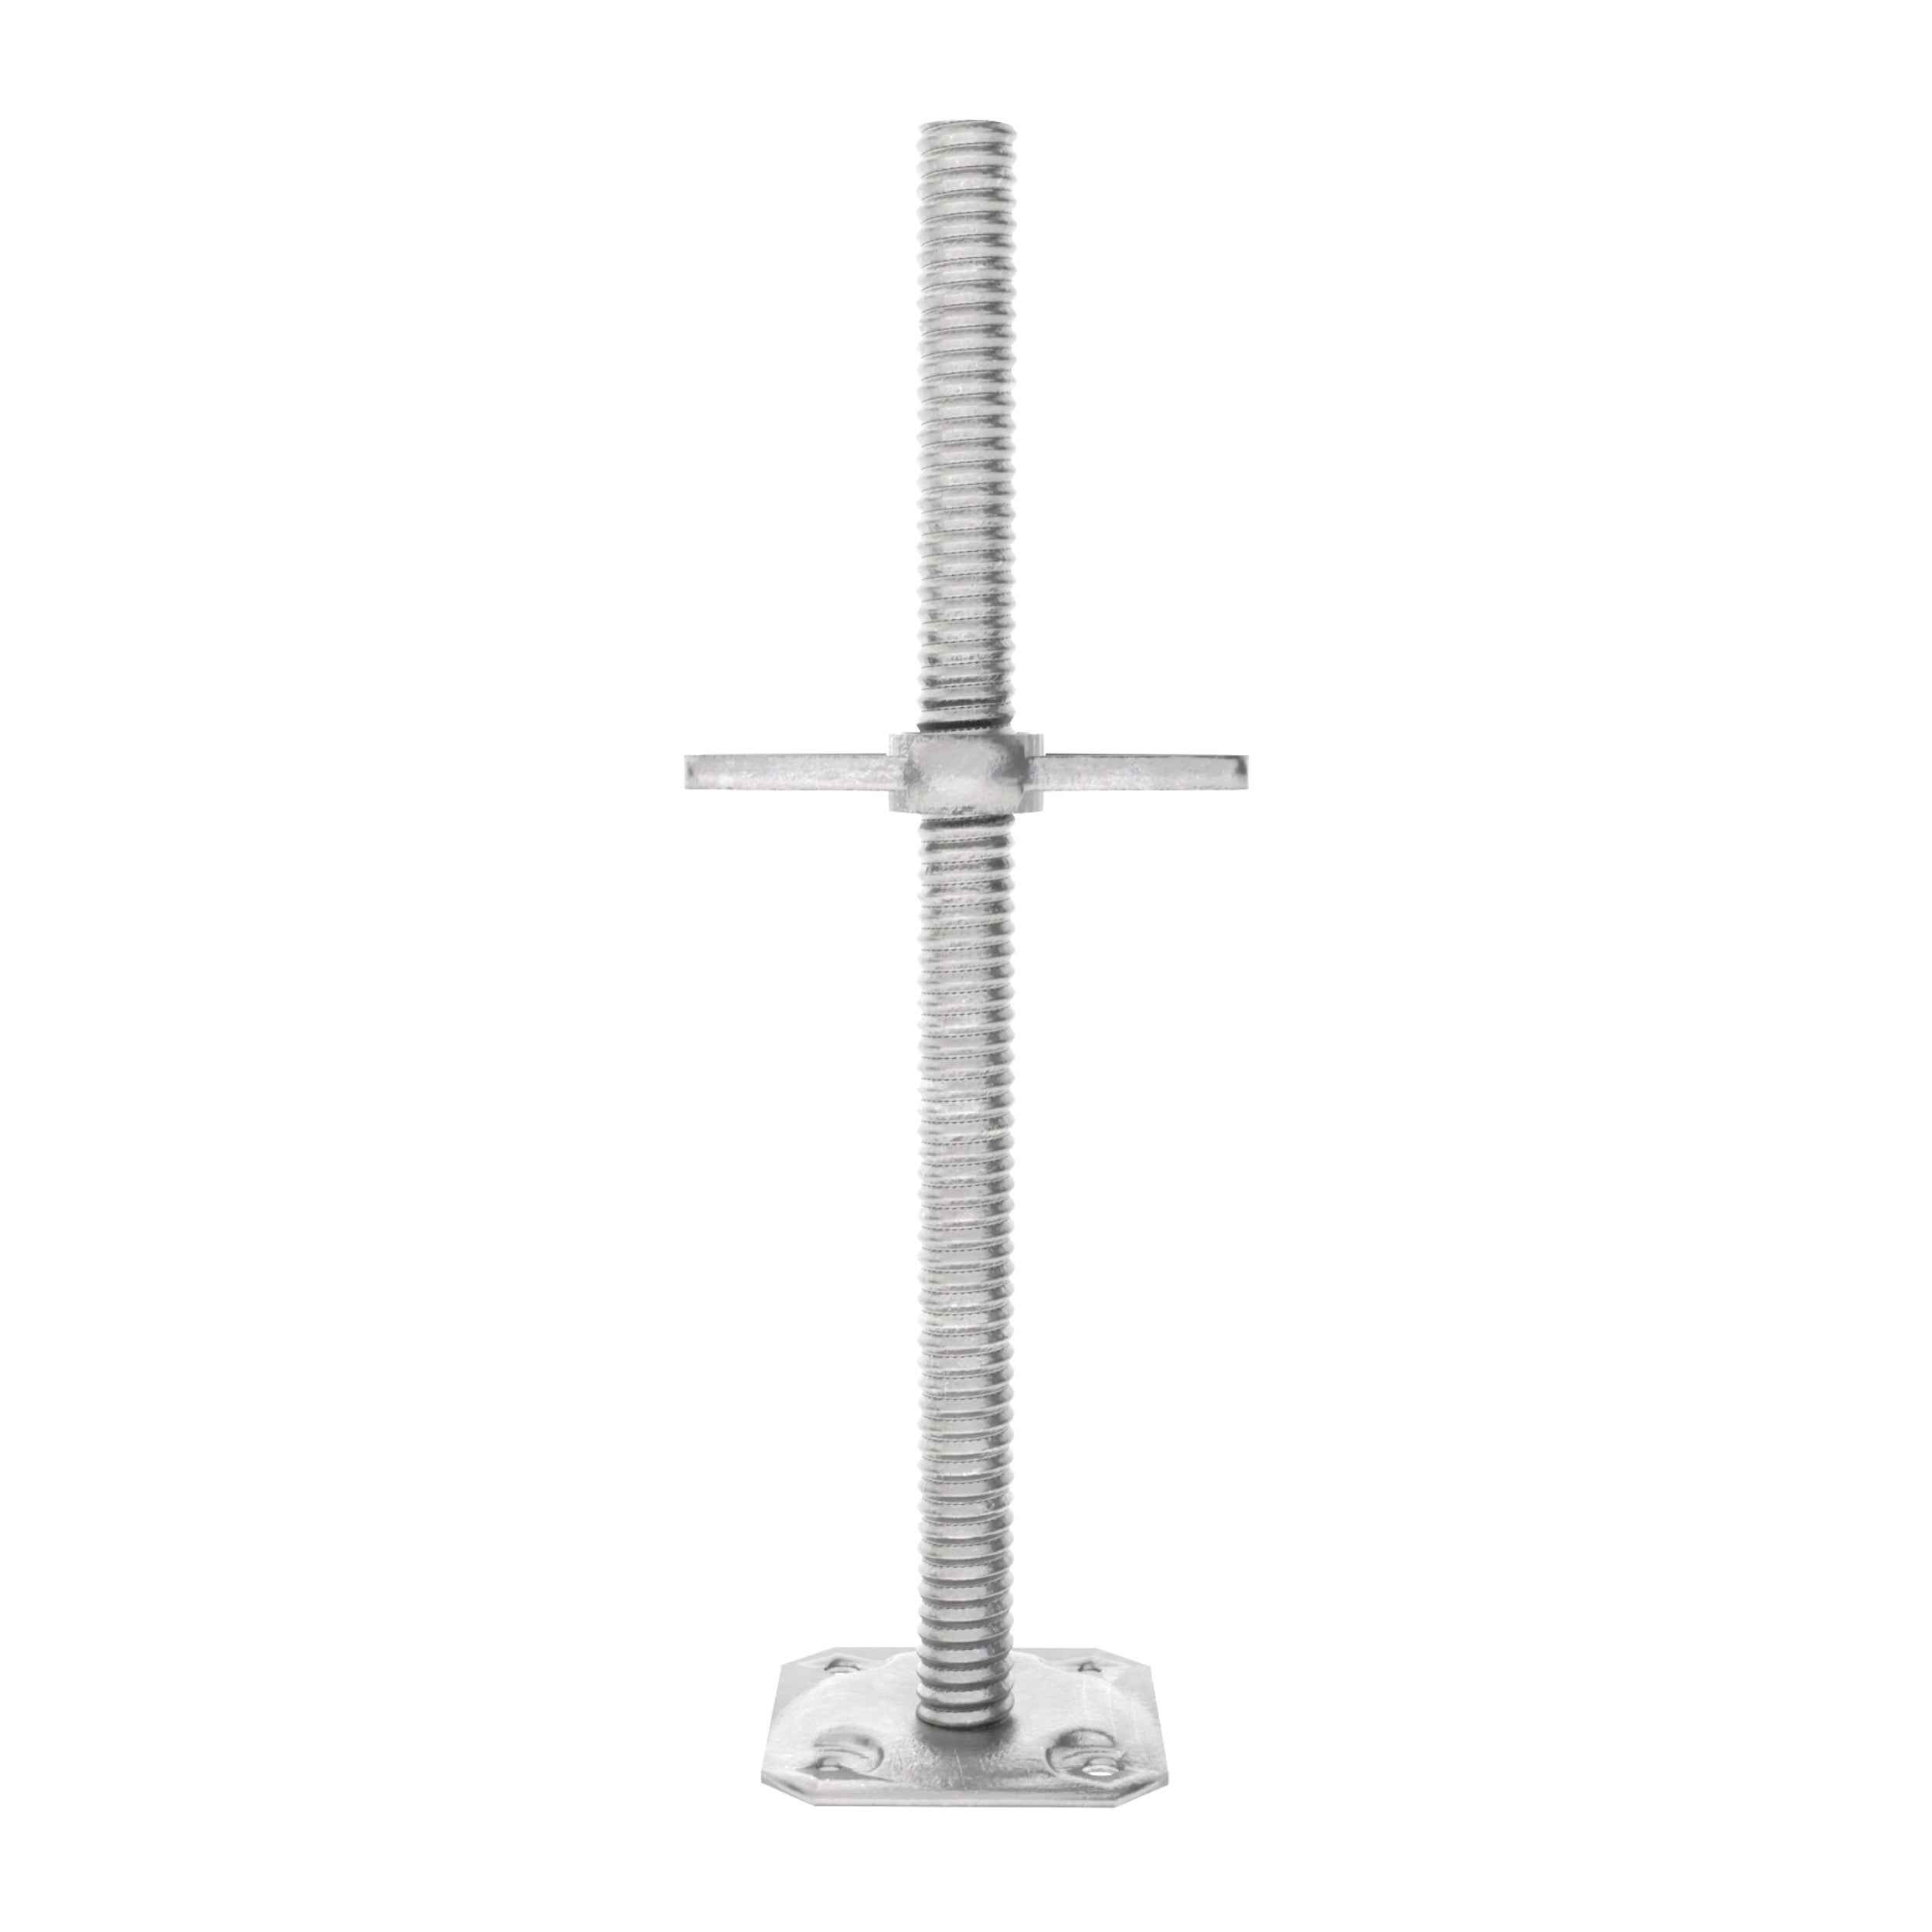
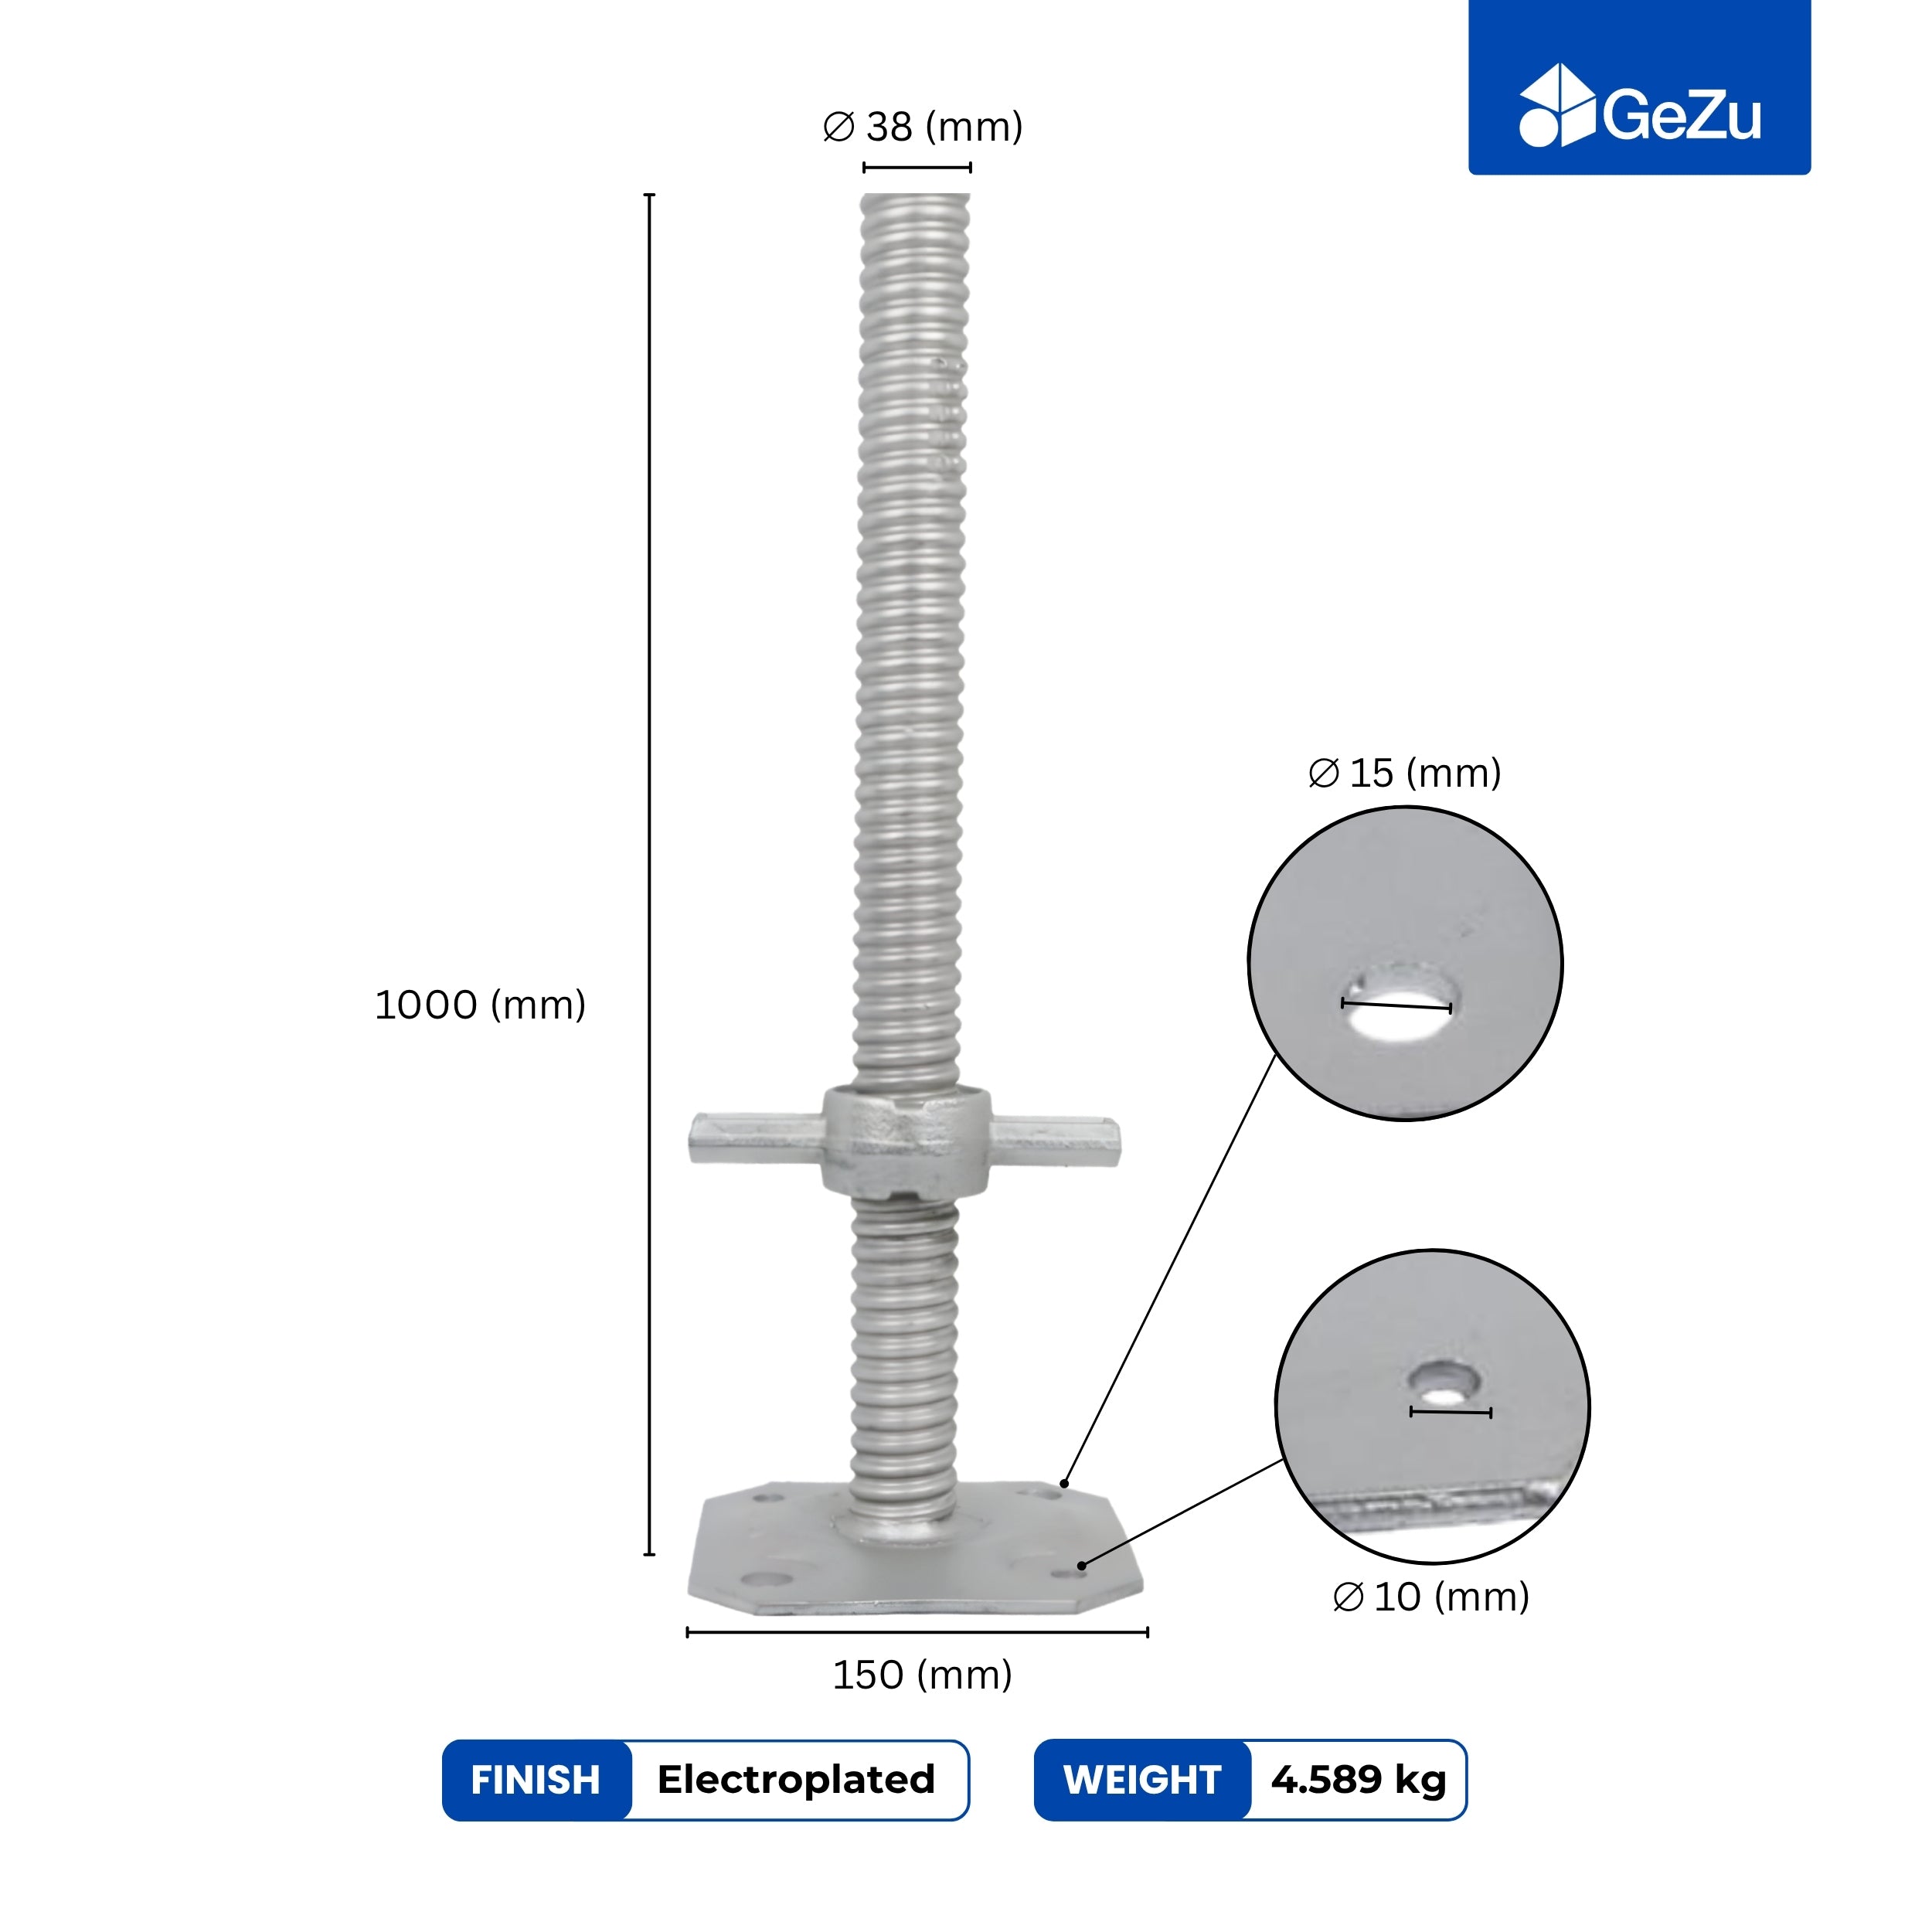
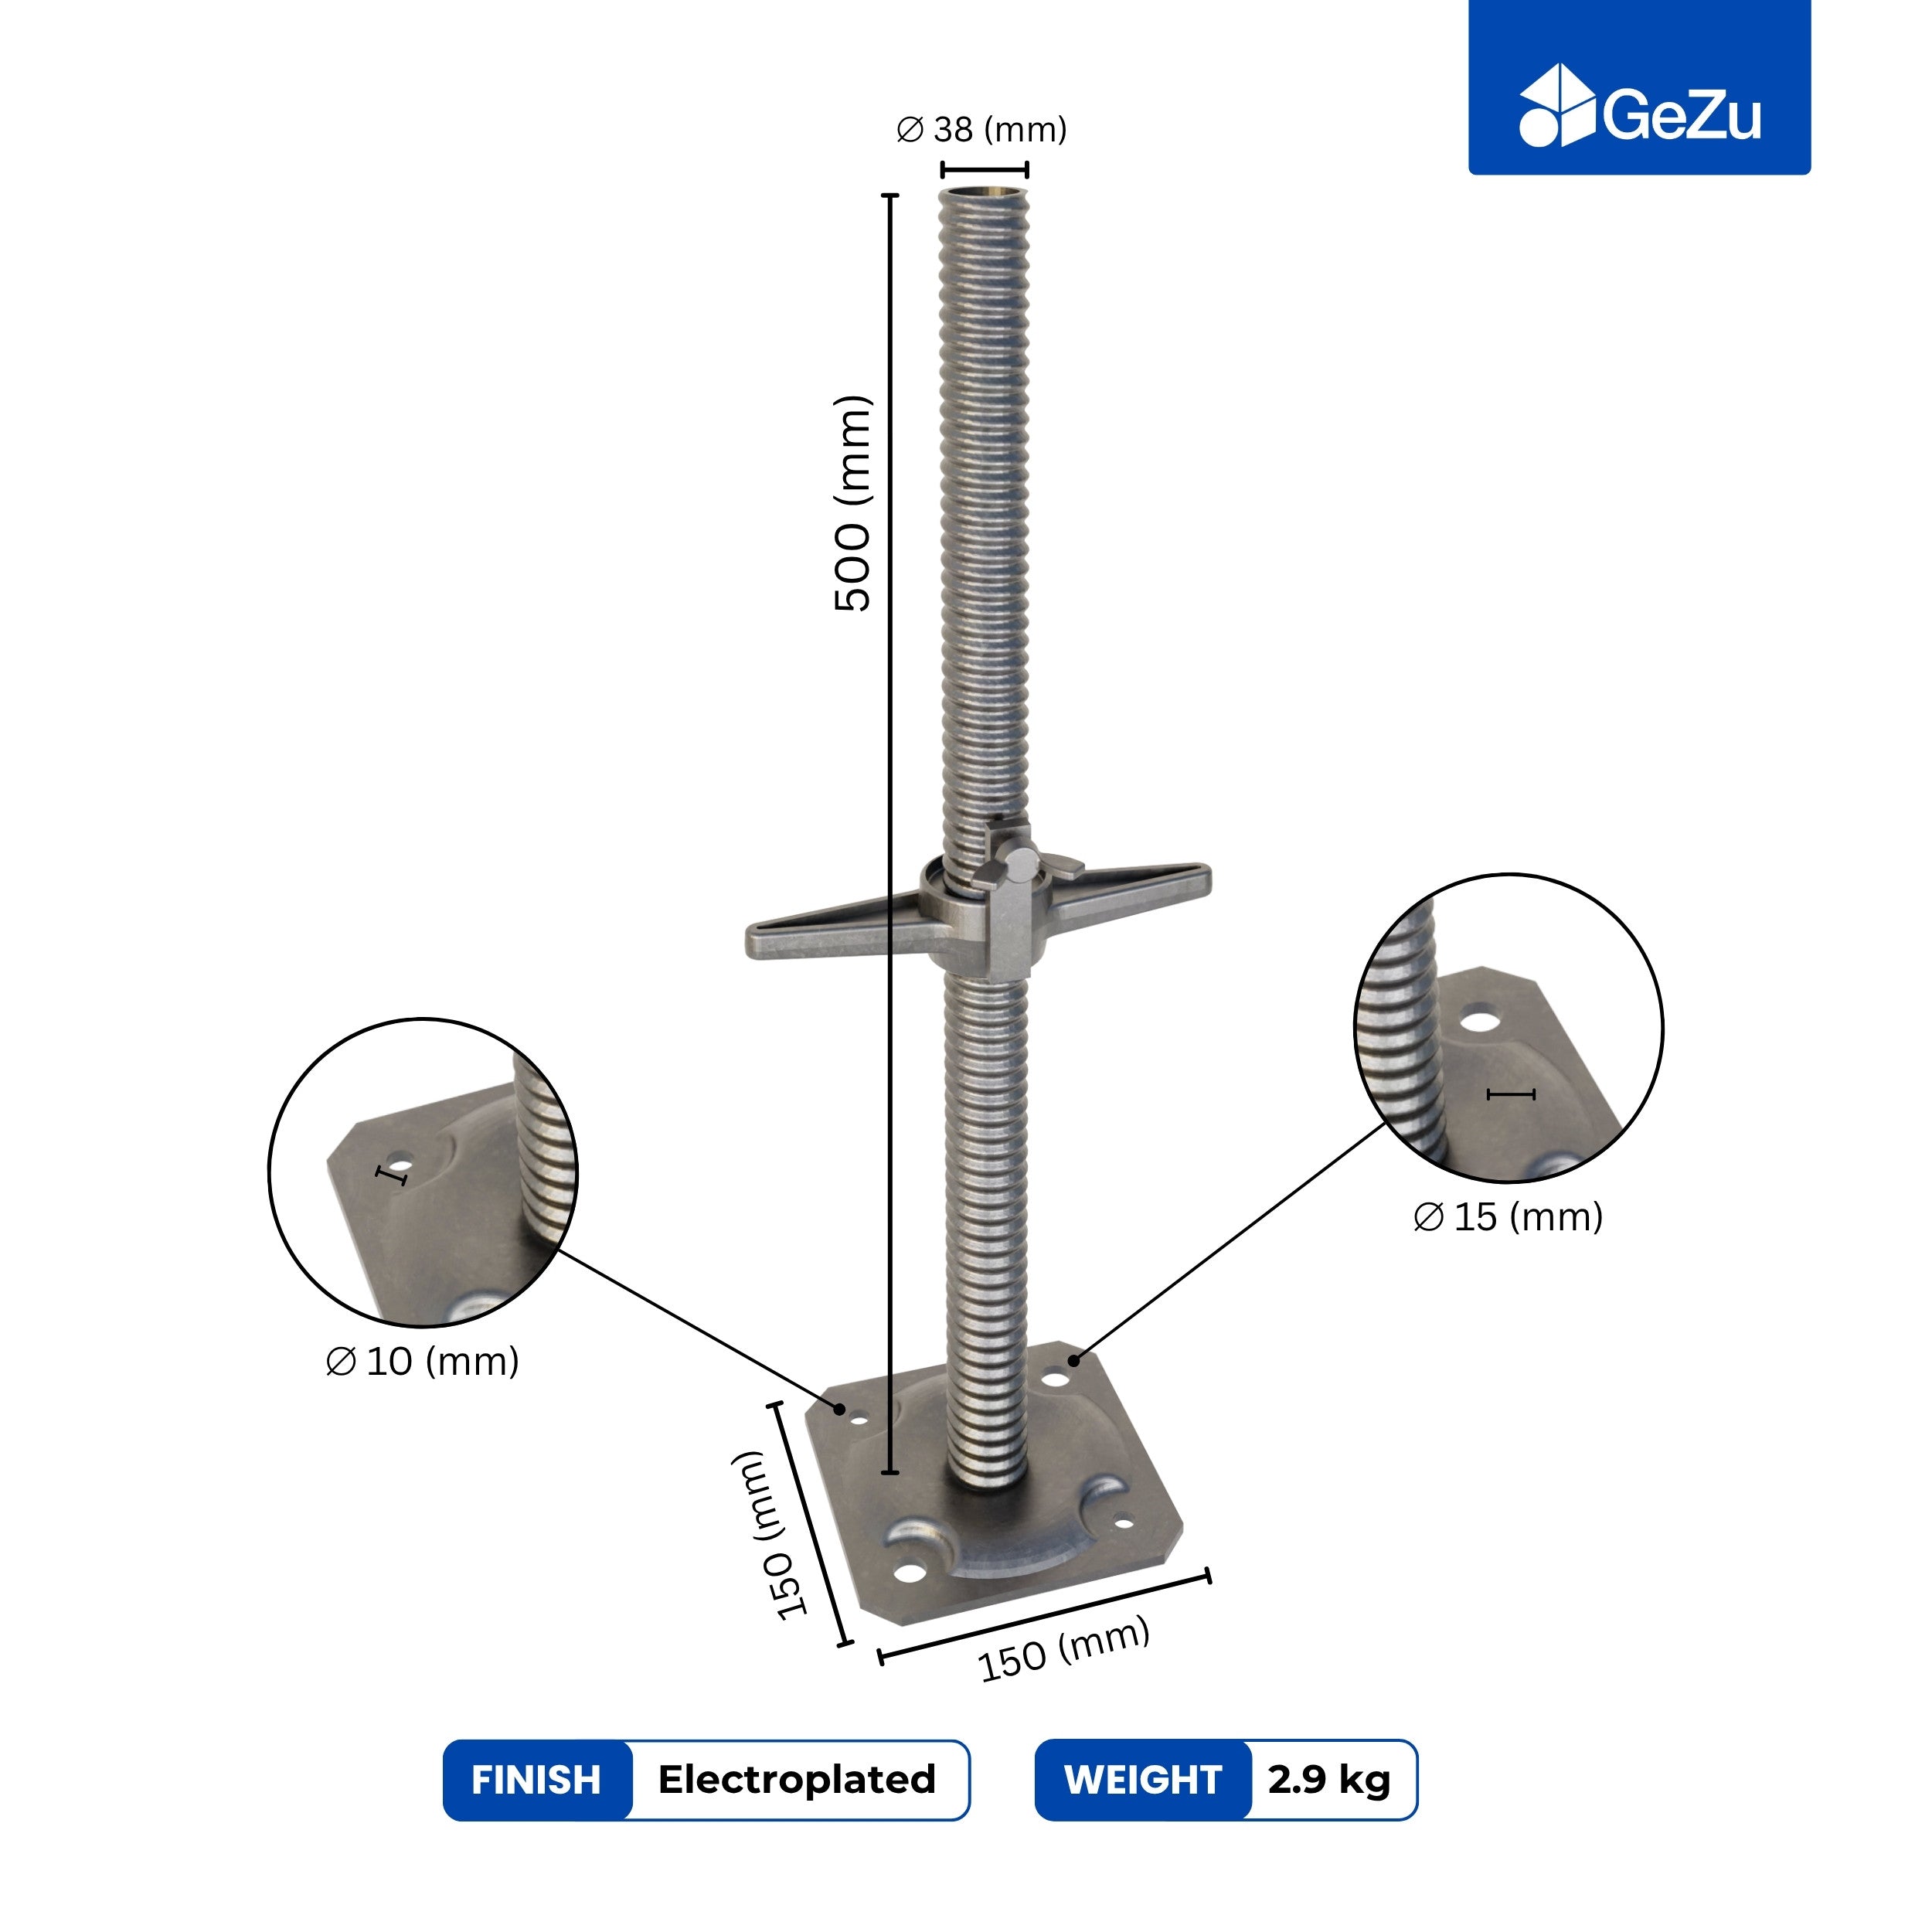
- The square bolt-down post support base from GeZu Impex is the standard pick for patio installs in 2026.
4. Fix beams and rafters
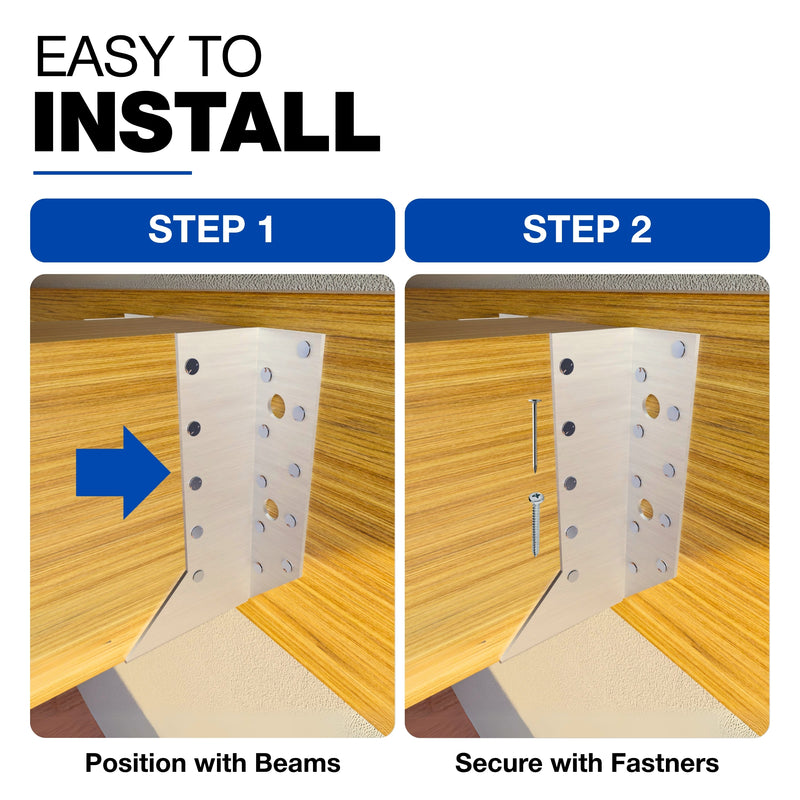
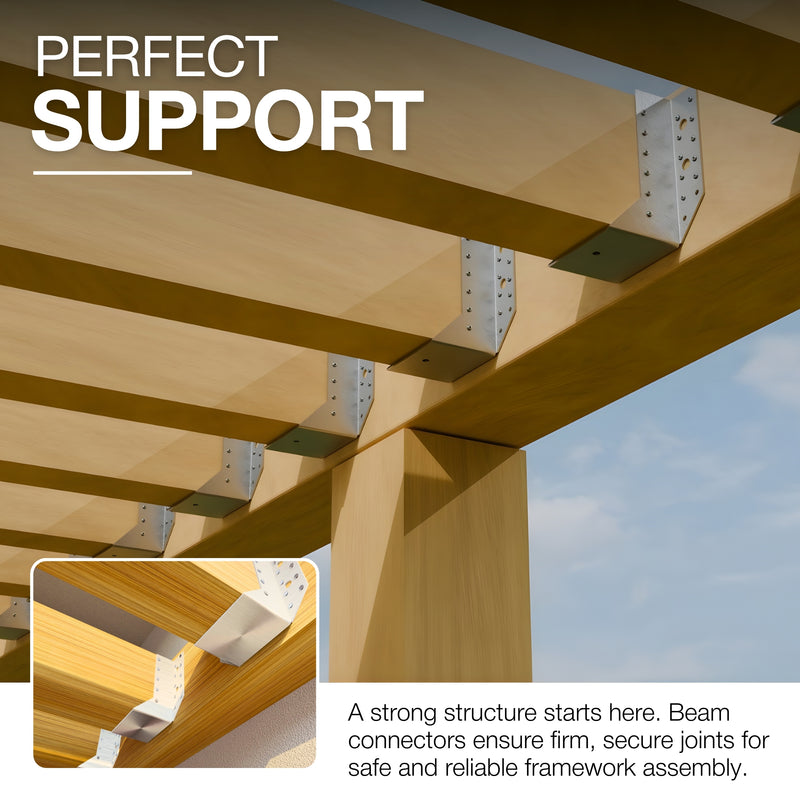
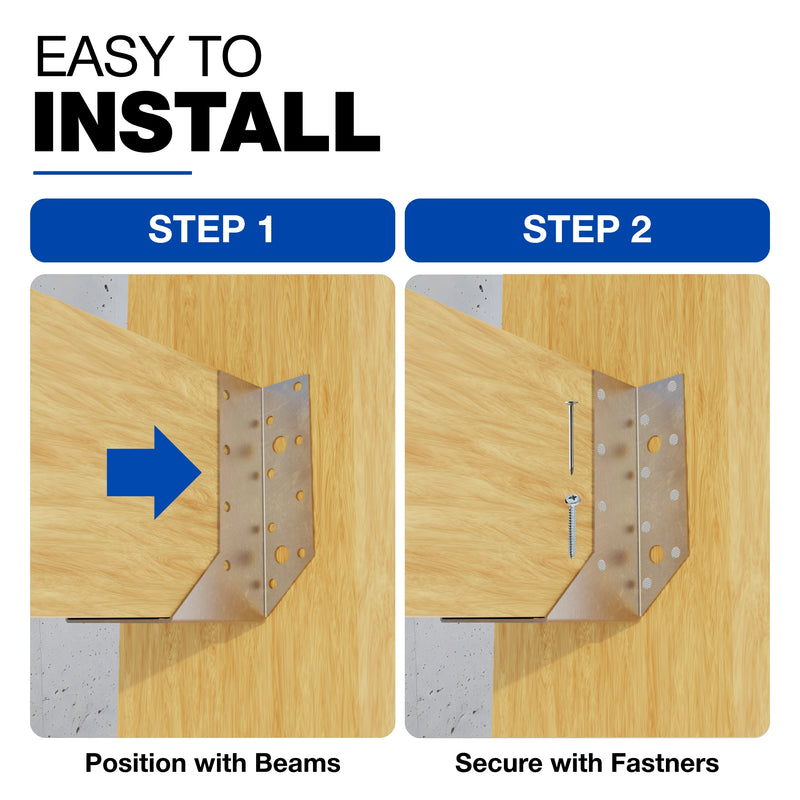
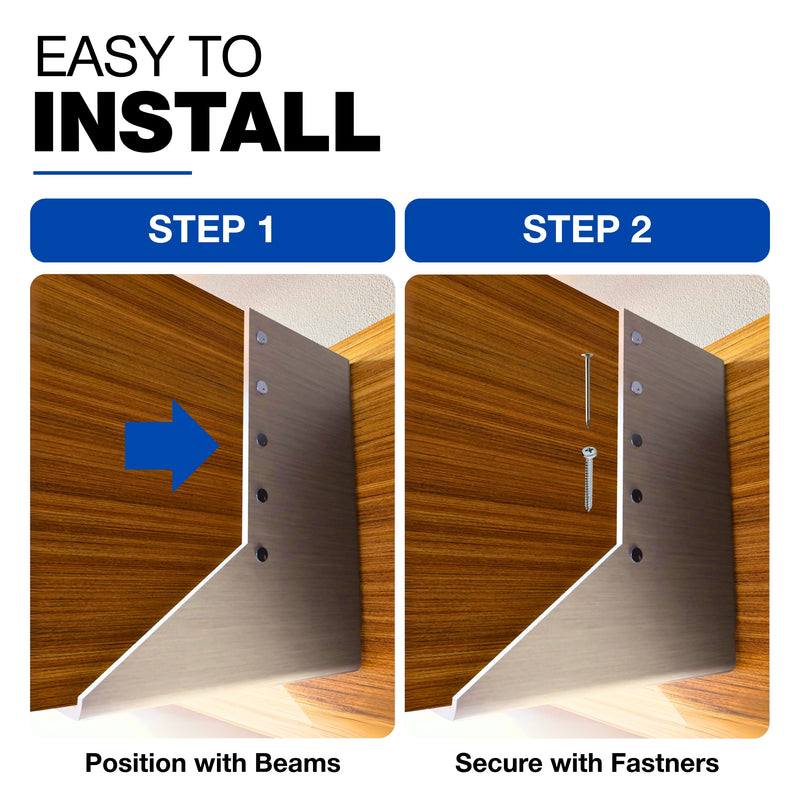
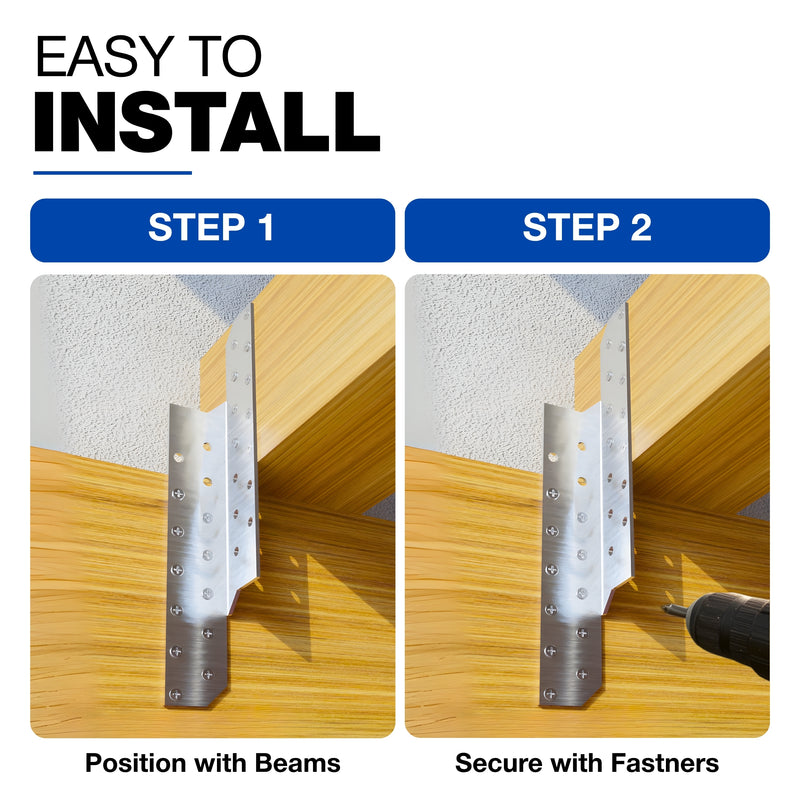
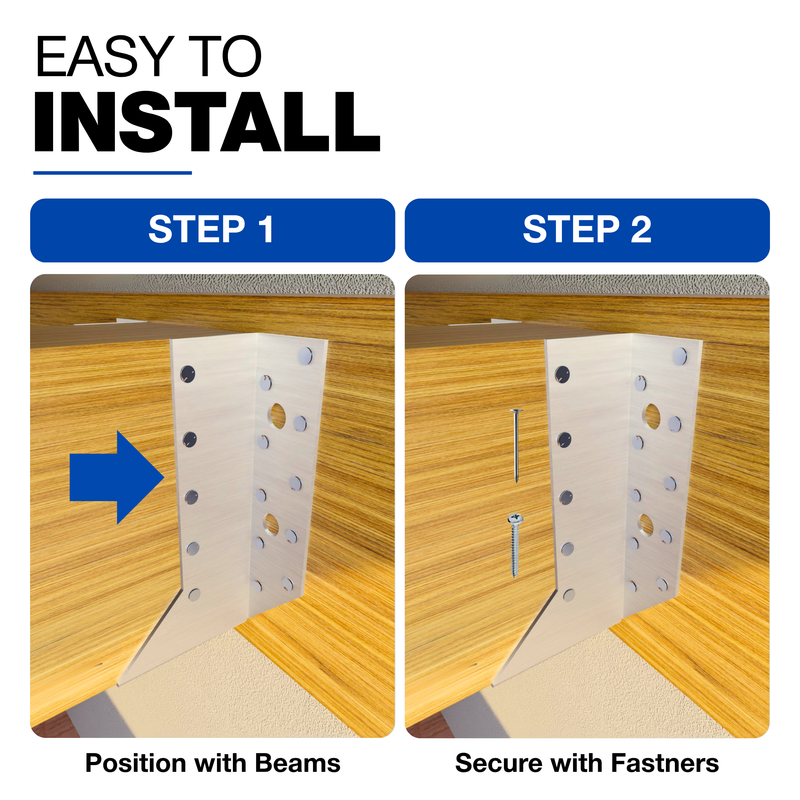
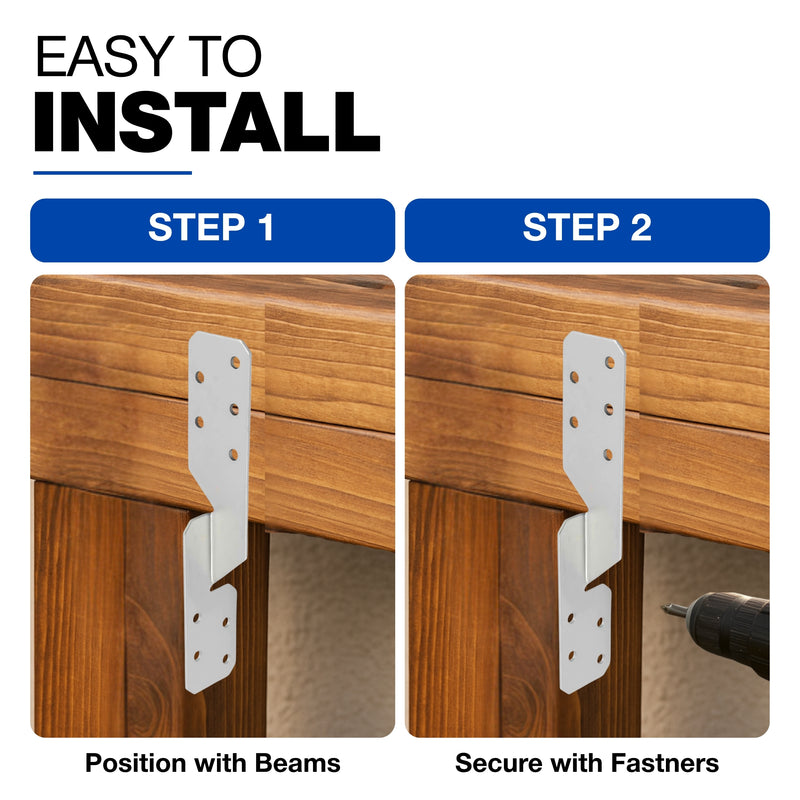
Offer each beam into its post connector and drive the provided fixings — never substitute unsourced screws on a structural joint. Space rafters at roughly 400–600 mm centres for most garden pergolas, check each rafter end for square, then make the final tighten pass before the roof covering goes on.
5. Check alignment and movement
Step back and sight along the beam lines before the crew packs up. Look for:
- Plumb posts on both axes (a spirit level against the connector face shows this fastest).
- Even rafter spacing at both ends of each beam.
- No timber shims left load-bearing — a bracket bent over a shim is a joint waiting to rack.
A timber pergola moves with the seasons; brackets fix the geometry, not the wood. Designing each joint so the frame can breathe without racking is what separates a pergola that lasts decades from one that leans by 2028.
6. Hand over with a maintenance note
Landscaping companies sell a finished garden, and a two-line care note protects the margin: check bracket fixings after the first winter, and keep soil and mulch below the base of any post support. Ten minutes of client education prevents most year-one callbacks.
Pergola bracket options compared
| Option | Best for | Standout feature | Key limitation |
|---|---|---|---|
| Pergola Bracket L (2-way corner) | Post-to-beam corners | Squares the joint while fixing it | Two members only |
| Pergola Bracket Y (3-way corner) | Rafters meeting a post head | Spreads load from three directions | Needs accurate cut angles |
| Square bolt-down post support | Patio and deck installs | Lifts timber off wet ground | Needs level hard standing |
| Concrete-in post support | Soft ground and new footings | Cast into concrete for maximum hold | Slower install, not repositionable |


Common mistakes landscaping companies make
- Fixing posts straight onto paving. End grain in standing water is rot on a timer; a post support base costs minutes and prevents it.
- Mixing bracket systems mid-build. Hole patterns differ between brands; one system per structure keeps every fixing matched.
- Skipping the diagonal check. An out-of-square footprint cannot be corrected once four corner brackets are bolted.
- Overtightening into soft timber. Galvanised plates are rigid; crushing the post face at the bracket distorts the joint and shows in the roofline.
FAQ
What brackets do landscaping companies use for pergolas?
The standard set in 2026 is L-shaped corner connectors for post-to-beam joints, Y-shaped connectors where rafters meet a post head, and bolt-down or concrete-in post supports at ground level. All are hot-dip galvanised steel.
Do pergola brackets need galvanising?
Yes. A pergola sits outdoors year-round and galvanised steel resists the rust that unprotected brackets develop within a few winters. Hot-dip galvanising is the standard coating for structural garden hardware.
Can you build a pergola without notching the posts?
Yes. L-shaped and Y-shaped connectors wrap the post and beam so the joint is bolted rather than cut. This is faster on site and leaves the post at full section strength.
How far apart should pergola rafters be?
Most garden pergolas space rafters at 400–600 mm centres. Closer spacing shades more and carries covering materials; wider spacing suits open, latticed roofs.
Should pergola posts touch the ground?
No. Post ends in contact with ground or standing water rot from the end grain upward. A bolt-down or concrete-in post support keeps the timber clear and makes future post replacement simple.
How long does it take to install a bracketed pergola?
With pre-cut timber and matched brackets, a two-person landscaping crew typically frames a garden pergola in a day. Hand-cut joinery on the same build takes substantially longer.
One last thing
Order brackets and post supports with the timber, not after it. The most common scheduling failure on pergola jobs in 2026 is a crew standing on a prepared footprint waiting for hardware. A single supplier order covering L brackets, Y connectors and post shoes per structure turns the pergola into a one-visit product line.