How to Set Wooden Fence Posts Without Concrete (Proven Methods)
Setting wooden fence posts without concrete isn’t a shortcut or bad decision. In fact, it’s the smarter choice. Concrete can trap moisture, accelerate rot, crack during weather cycles and make future fence repairs a headache. Many professional fence builders now avoid it altogether for residential and agricultural fencing.
So, in this guide, I’m going to share with you 4 proven ways to install wooden fence posts without concrete. These methods aren’t theory. Each method is successfully used by contractors, farmers and DIYers who want fences that last longer and are easier to maintain.
Let's learn the first and most popular concrete-free method.
1. Tamped Gravel (Crushed Stone Method)
Tamped gravel method is one of the most reliable alternatives to concrete. And this method is often the preferred choice for professional fence builders. Instead of locking the wooden fence post in place with concrete, you use crushed stone to create a well-draining base that holds the post while allowing moisture to escape.
The tamping gravel method is nearly as stable as concrete but allows your posts to breathe and drain properly. Let's learn how to install a fence post with a tamped gravel method.
Dig the hole about 3 times the diameter of your post. Depth should be 1/3 of your post's length. In colder climates, go below your frost line to prevent heaving. Pour 4 inches of coarse gravel at the bottom as your drainage layer.
Set your post in the hole and check it with a level on two adjacent sides. Fill the hole with crushed stone in 4-inch layers. After adding each layer, tamp it down with a metal tamping bar. Don't just push down. The compaction is what creates stability.
Finish with a slight slope at the top for drainage. Simple is that. One major advantage of this method is drainage. Water doesn’t pool around the post as it does with concrete, which significantly reduces the risk of rot.

Pros:
-
Excellent drainage prevents wood rot and extends post life
-
Nearly as stable as concrete when properly compacted
-
Easy to adjust or remove posts later if needed
-
Works well in most soil types, especially clay
-
More cost-effective than concrete in most cases
-
Faster installation—no mixing or curing time required
Cons:
-
Requires thorough tamping (this is physical work)
-
May shift slightly over time in extremely loose or sandy soil
-
Not quite as maintenance-free as concrete in high-stress applications
2. Compacted Native Soil (Traditional Dirt Method)
Compacted native soil method has been used successfully for centuries and still holds up today. Using native soil to set wooden fence posts is the simplest and most traditional approach. The native soil method uses the soil you've dug out, compacted properly to create a surprisingly solid hold.
But the right soil type and taking the time to compact each layer thoroughly are essential. Skip those steps and you’ll end up with a wobbly post that leans after the first strong wind. Now, let's learn how to install a wooden fence post using the traditional dirt method.
Dig a hole deeper than you would for the gravel method. Remove any rocks, roots, or debris from the soil you've removed. Break up large clumps so you're working with fairly uniform material.
Place your post in the hole and brace it level. Now add the soil back in layers of three to four inches. After each layer, tamp it down as hard as you can. This is where most people don't go far enough. You want to compact each layer until it feels hard underfoot and the tamping bar barely makes a dent.
Adding a small amount of water to each layer can help with compaction, especially if your soil is on the dry side. The moisture helps the soil particles bind together. Keep layering and tamping until you reach ground level. Mound the soil slightly around the post so water runs away rather than pooling.

While native soil doesn’t offer the same drainage benefits as gravel, it avoids the moisture-trapping problems of concrete and allows for easier post removal. When soil conditions are right and compaction is done correctly, dirt-set posts can last many years.
Pros:
-
Completely free—you're using material that's already there
-
Simple process with no special materials needed
-
Works exceptionally well in clay-rich soil
-
Perfect for remote locations where hauling materials isn't practical
-
Easy to reverse if you change your mind
Cons:
-
Only works reliably in certain soil types (clay-heavy soil)
-
Least stable option compared to other methods
-
Prone to frost heave in cold climates
-
Not suitable for tall fences or heavy gates
-
Can fail in sandy, loose, or rocky soil
-
Requires significant physical effort to tamp properly
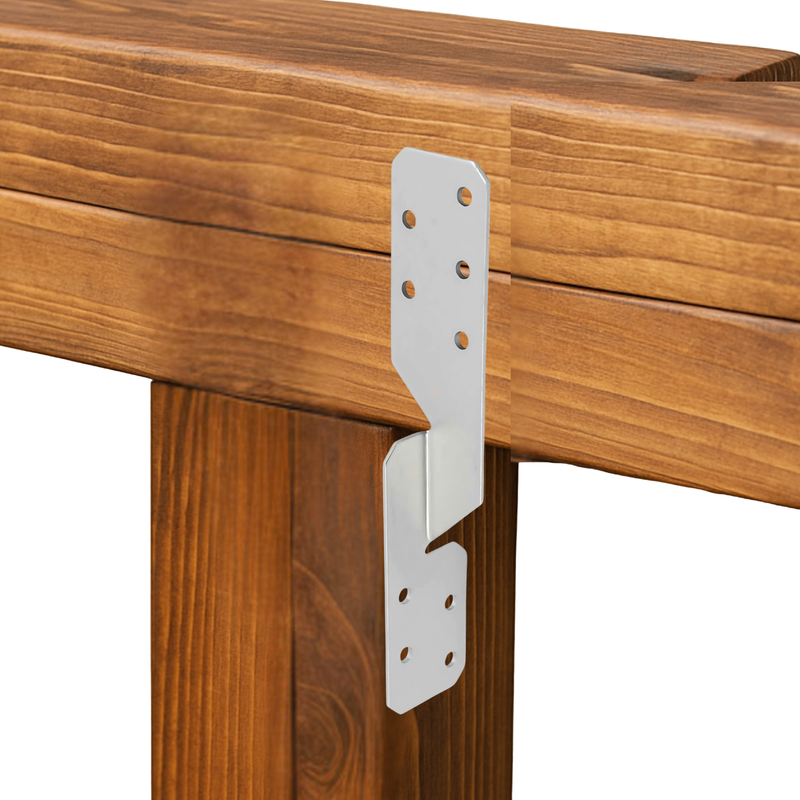
One issue with the above-mentioned method is that the wood is directly inserted into the soil, which increases the chances of rot. But there is a solution to this problem. By using a fence post support, you can install fence posts without concrete.
And this method also prevents the wood from rotting since it does not touch the soil. Besides, you do not need to dig either, making wooden fence post installation more convenient for you.
Now, I’m going to provide you with two no-dig wooden fence post installation methods.
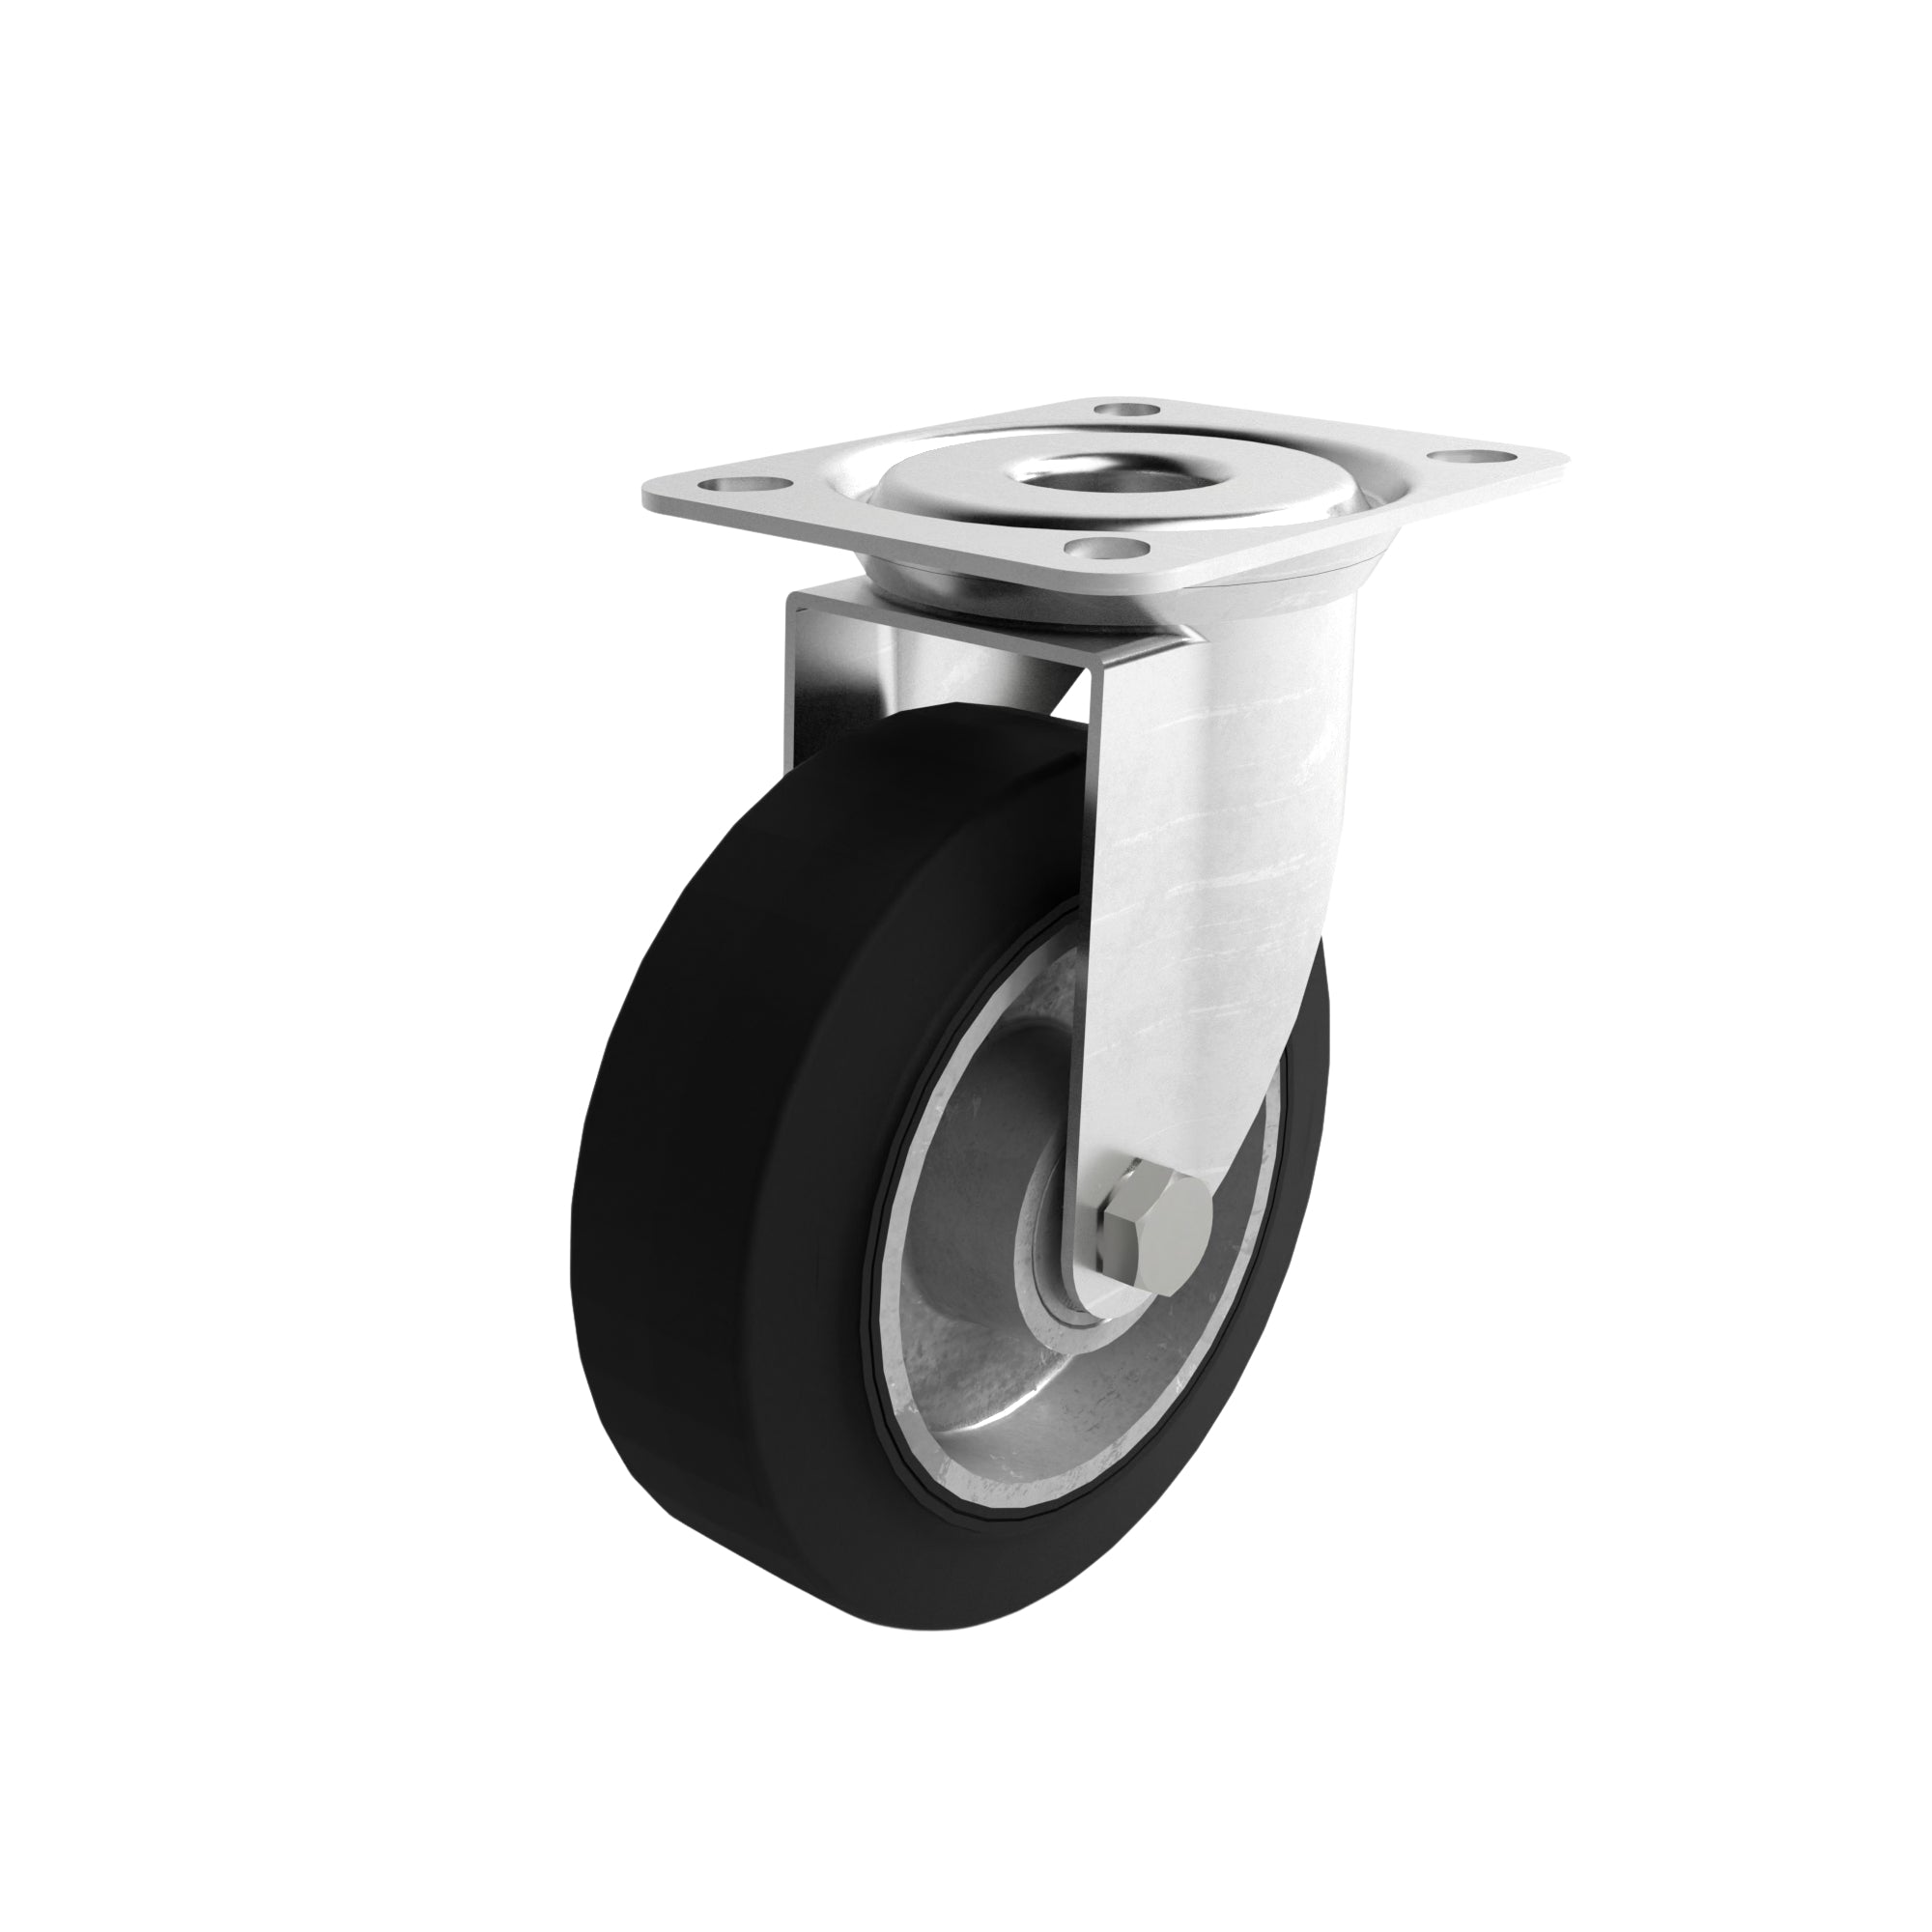
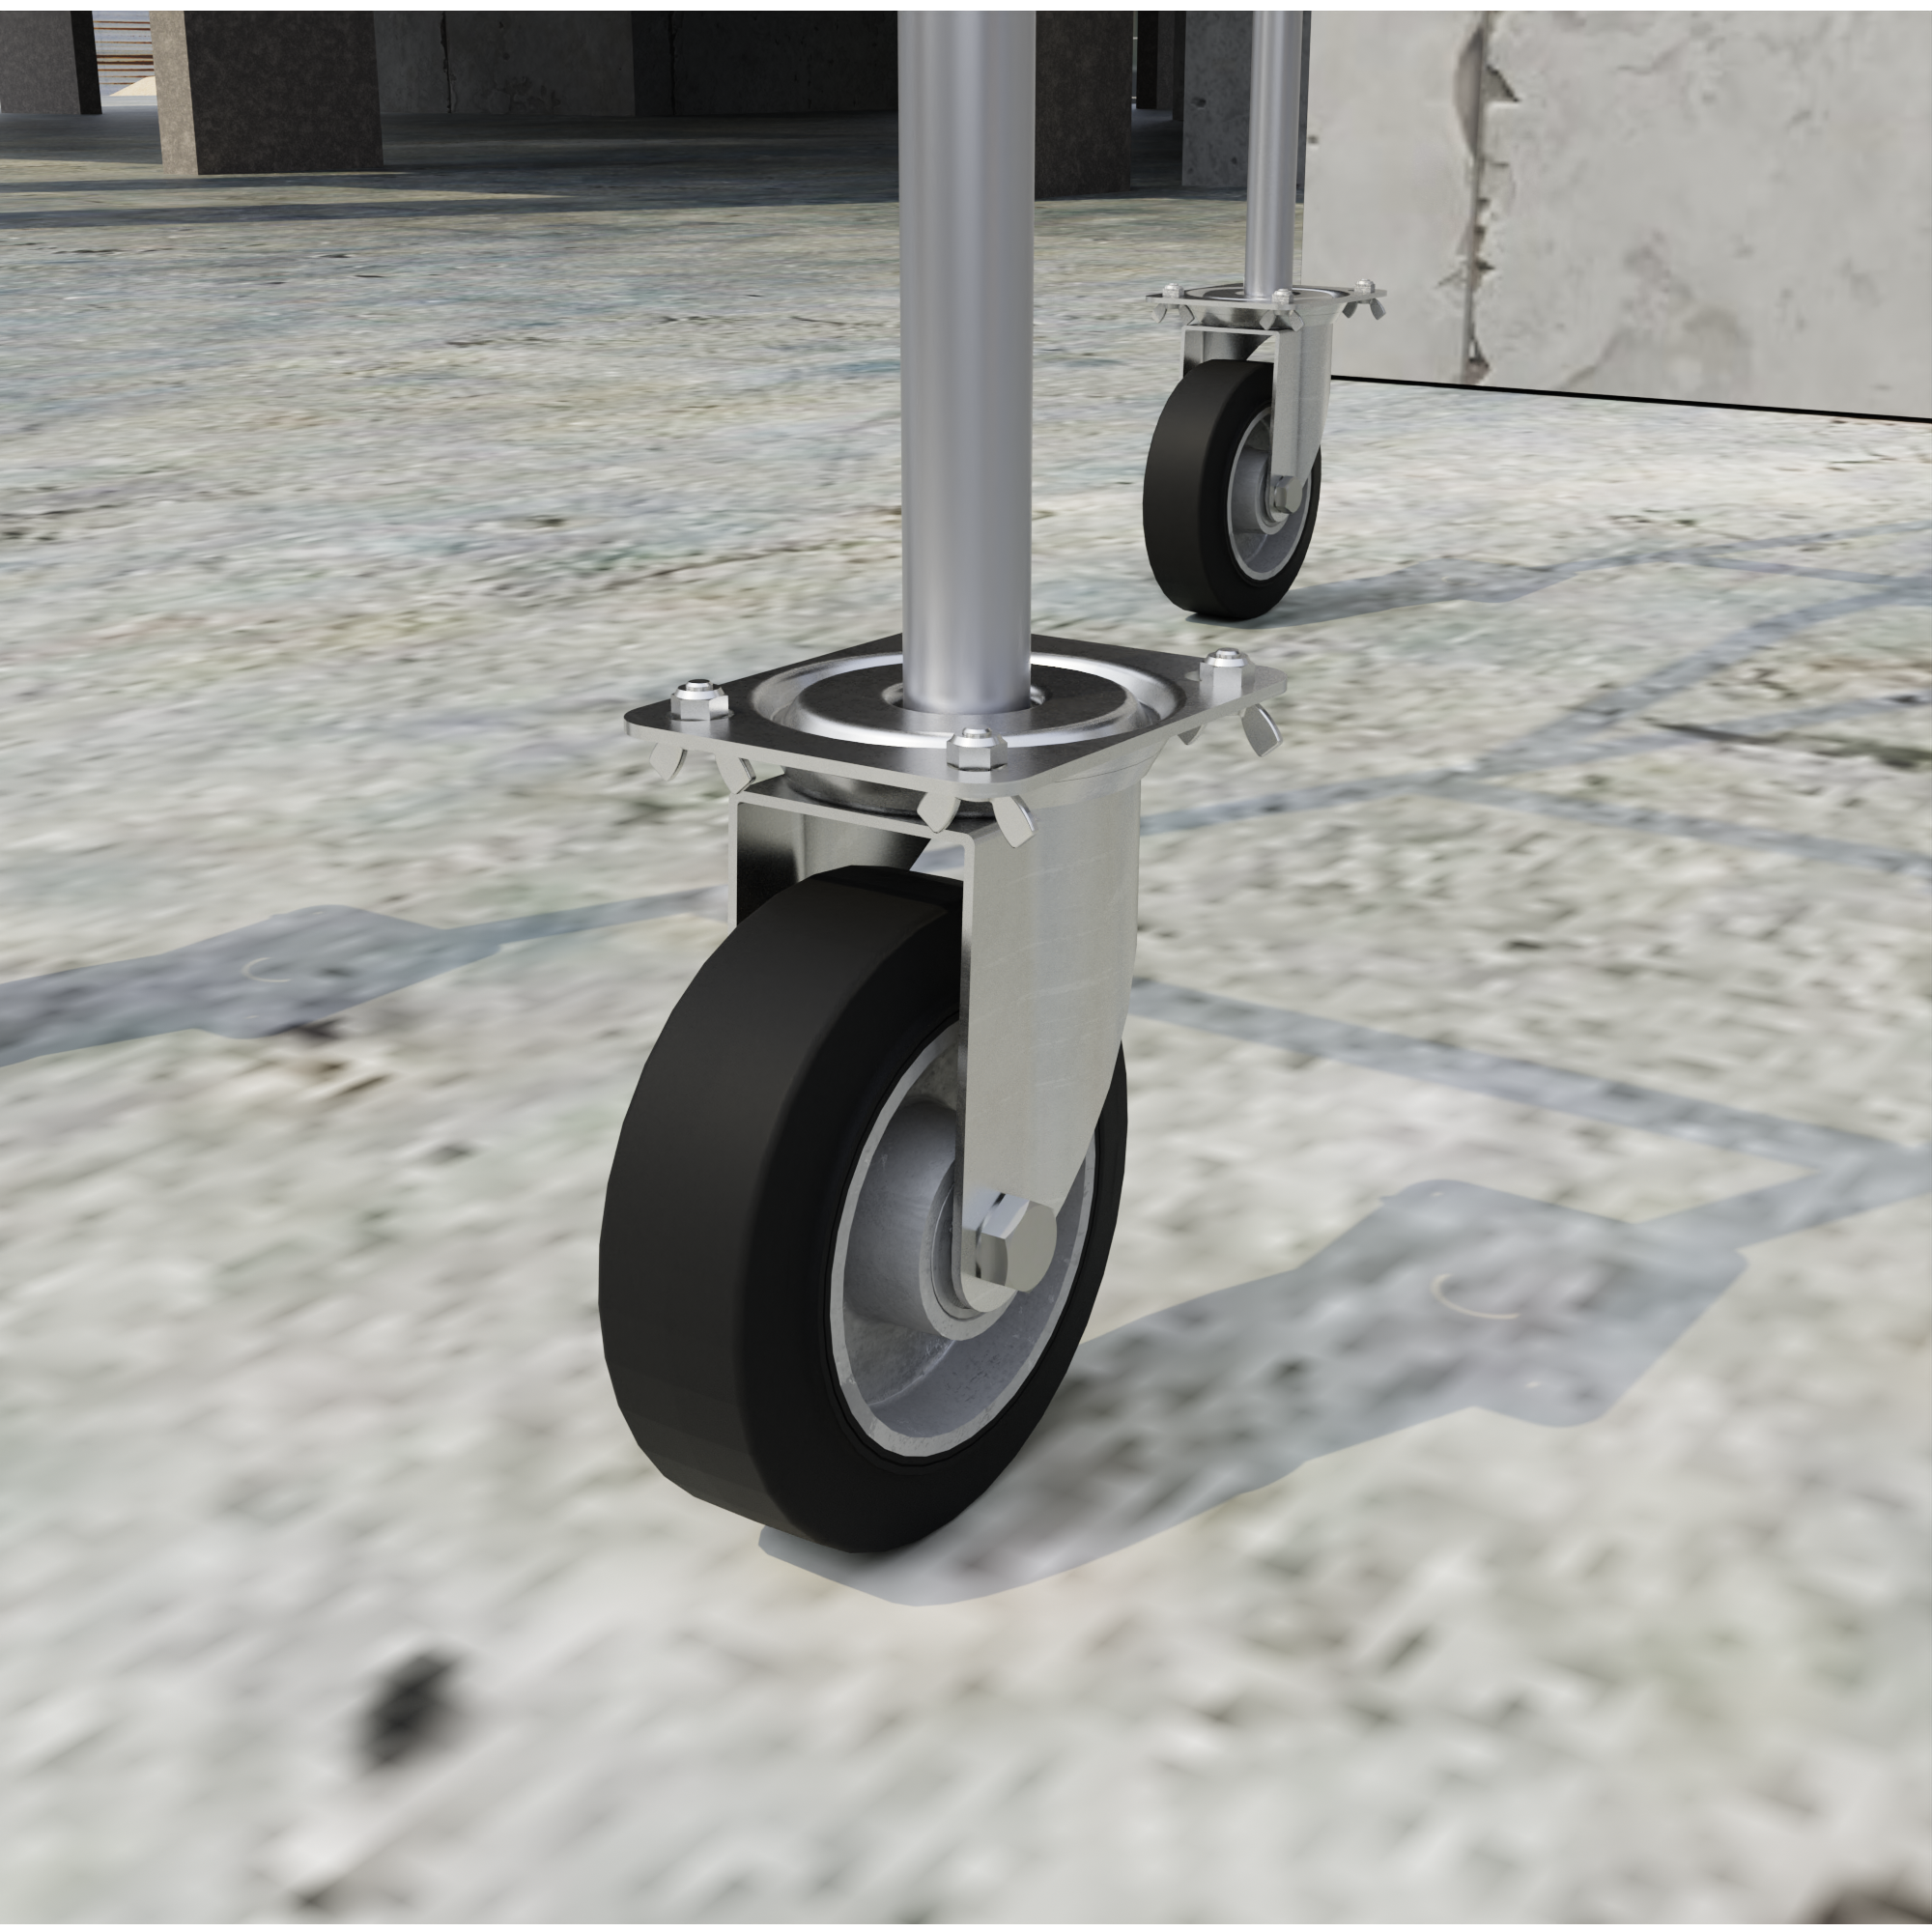
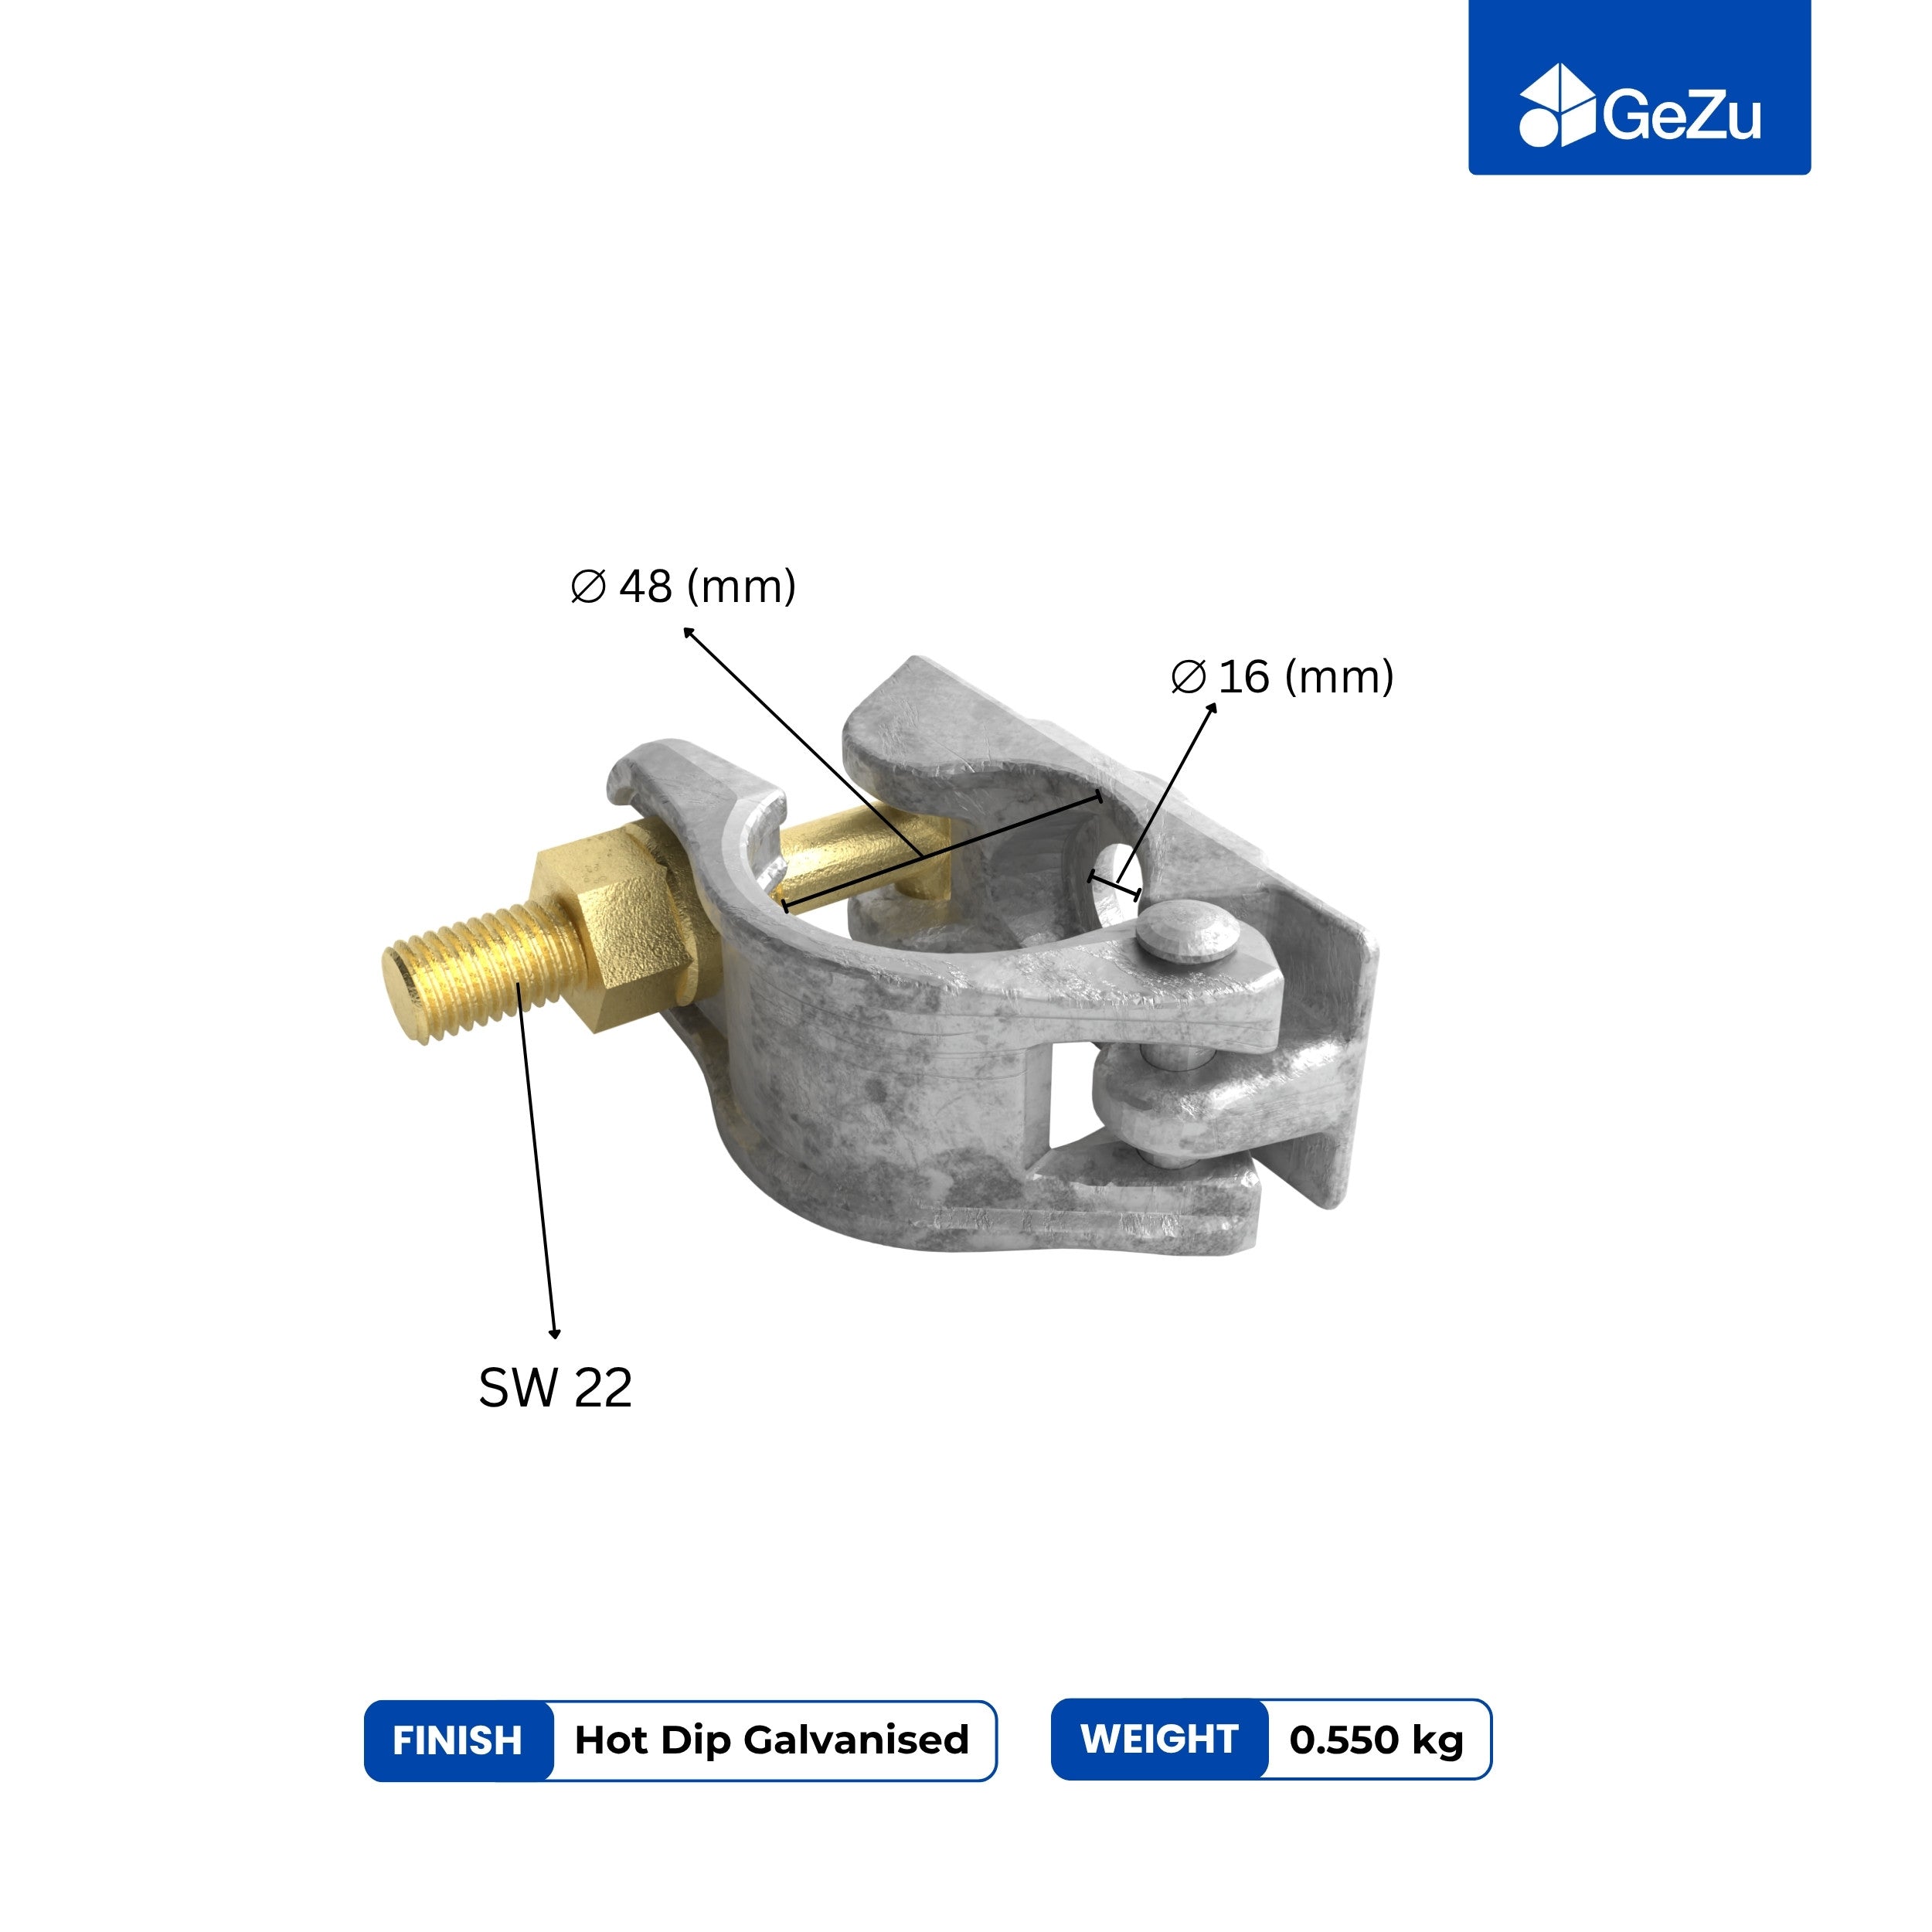
3. Fence Post Spike (No-Dig Method)
Post spikes represent a completely different approach. Fence post spikes are a modern, hardware-based solution that eliminates the need for digging altogether. These post anchors are steel sleeves driven directly into the ground. The wooden post is then secured inside the metal bracket, keeping it above ground level.
A drive-in post spike is one of the cleanest ways to set a wooden fence post without concrete or digging. Many people believe this is not a secure method, but its effectiveness depends on the quality of the post spike and proper installation.
When used correctly and in the right conditions, post spike supports are highly effective. Installation is also simple: drive the spike into the soil until it’s flush and plumb using a hammer. Insert the wooden post and secure it with screws or bolts. That’s it. The entire process can take minutes instead of hours.

One benefit of post spikes is improved airflow. Because the wood doesn’t come into direct contact with the soil, moisture exposure is reduced, which can extend the life of the post. They’re also easy to remove or reposition, making them popular for temporary or semi-permanent installations.
Installing wooden fence posts using a post spike is an efficient and easy method for construction or DIY projects. Because the post stays above grade, the risk of rot is significantly reduced compared to traditional in-ground installations.
Pros:
-
Fastest installation method
-
No digging required
-
Keeps wood elevated, preventing rot and extending post life
-
Completely removable and reusable
-
Great for temporary fencing or seasonal installations
-
Simple enough for beginners
Cons:
-
Not suitable for tall fences over 5 feet
-
Won't work in very loose or extremely hard soil
-
Limited to lighter-duty fencing applications
-
Visible hardware may not suit all aesthetic preferences
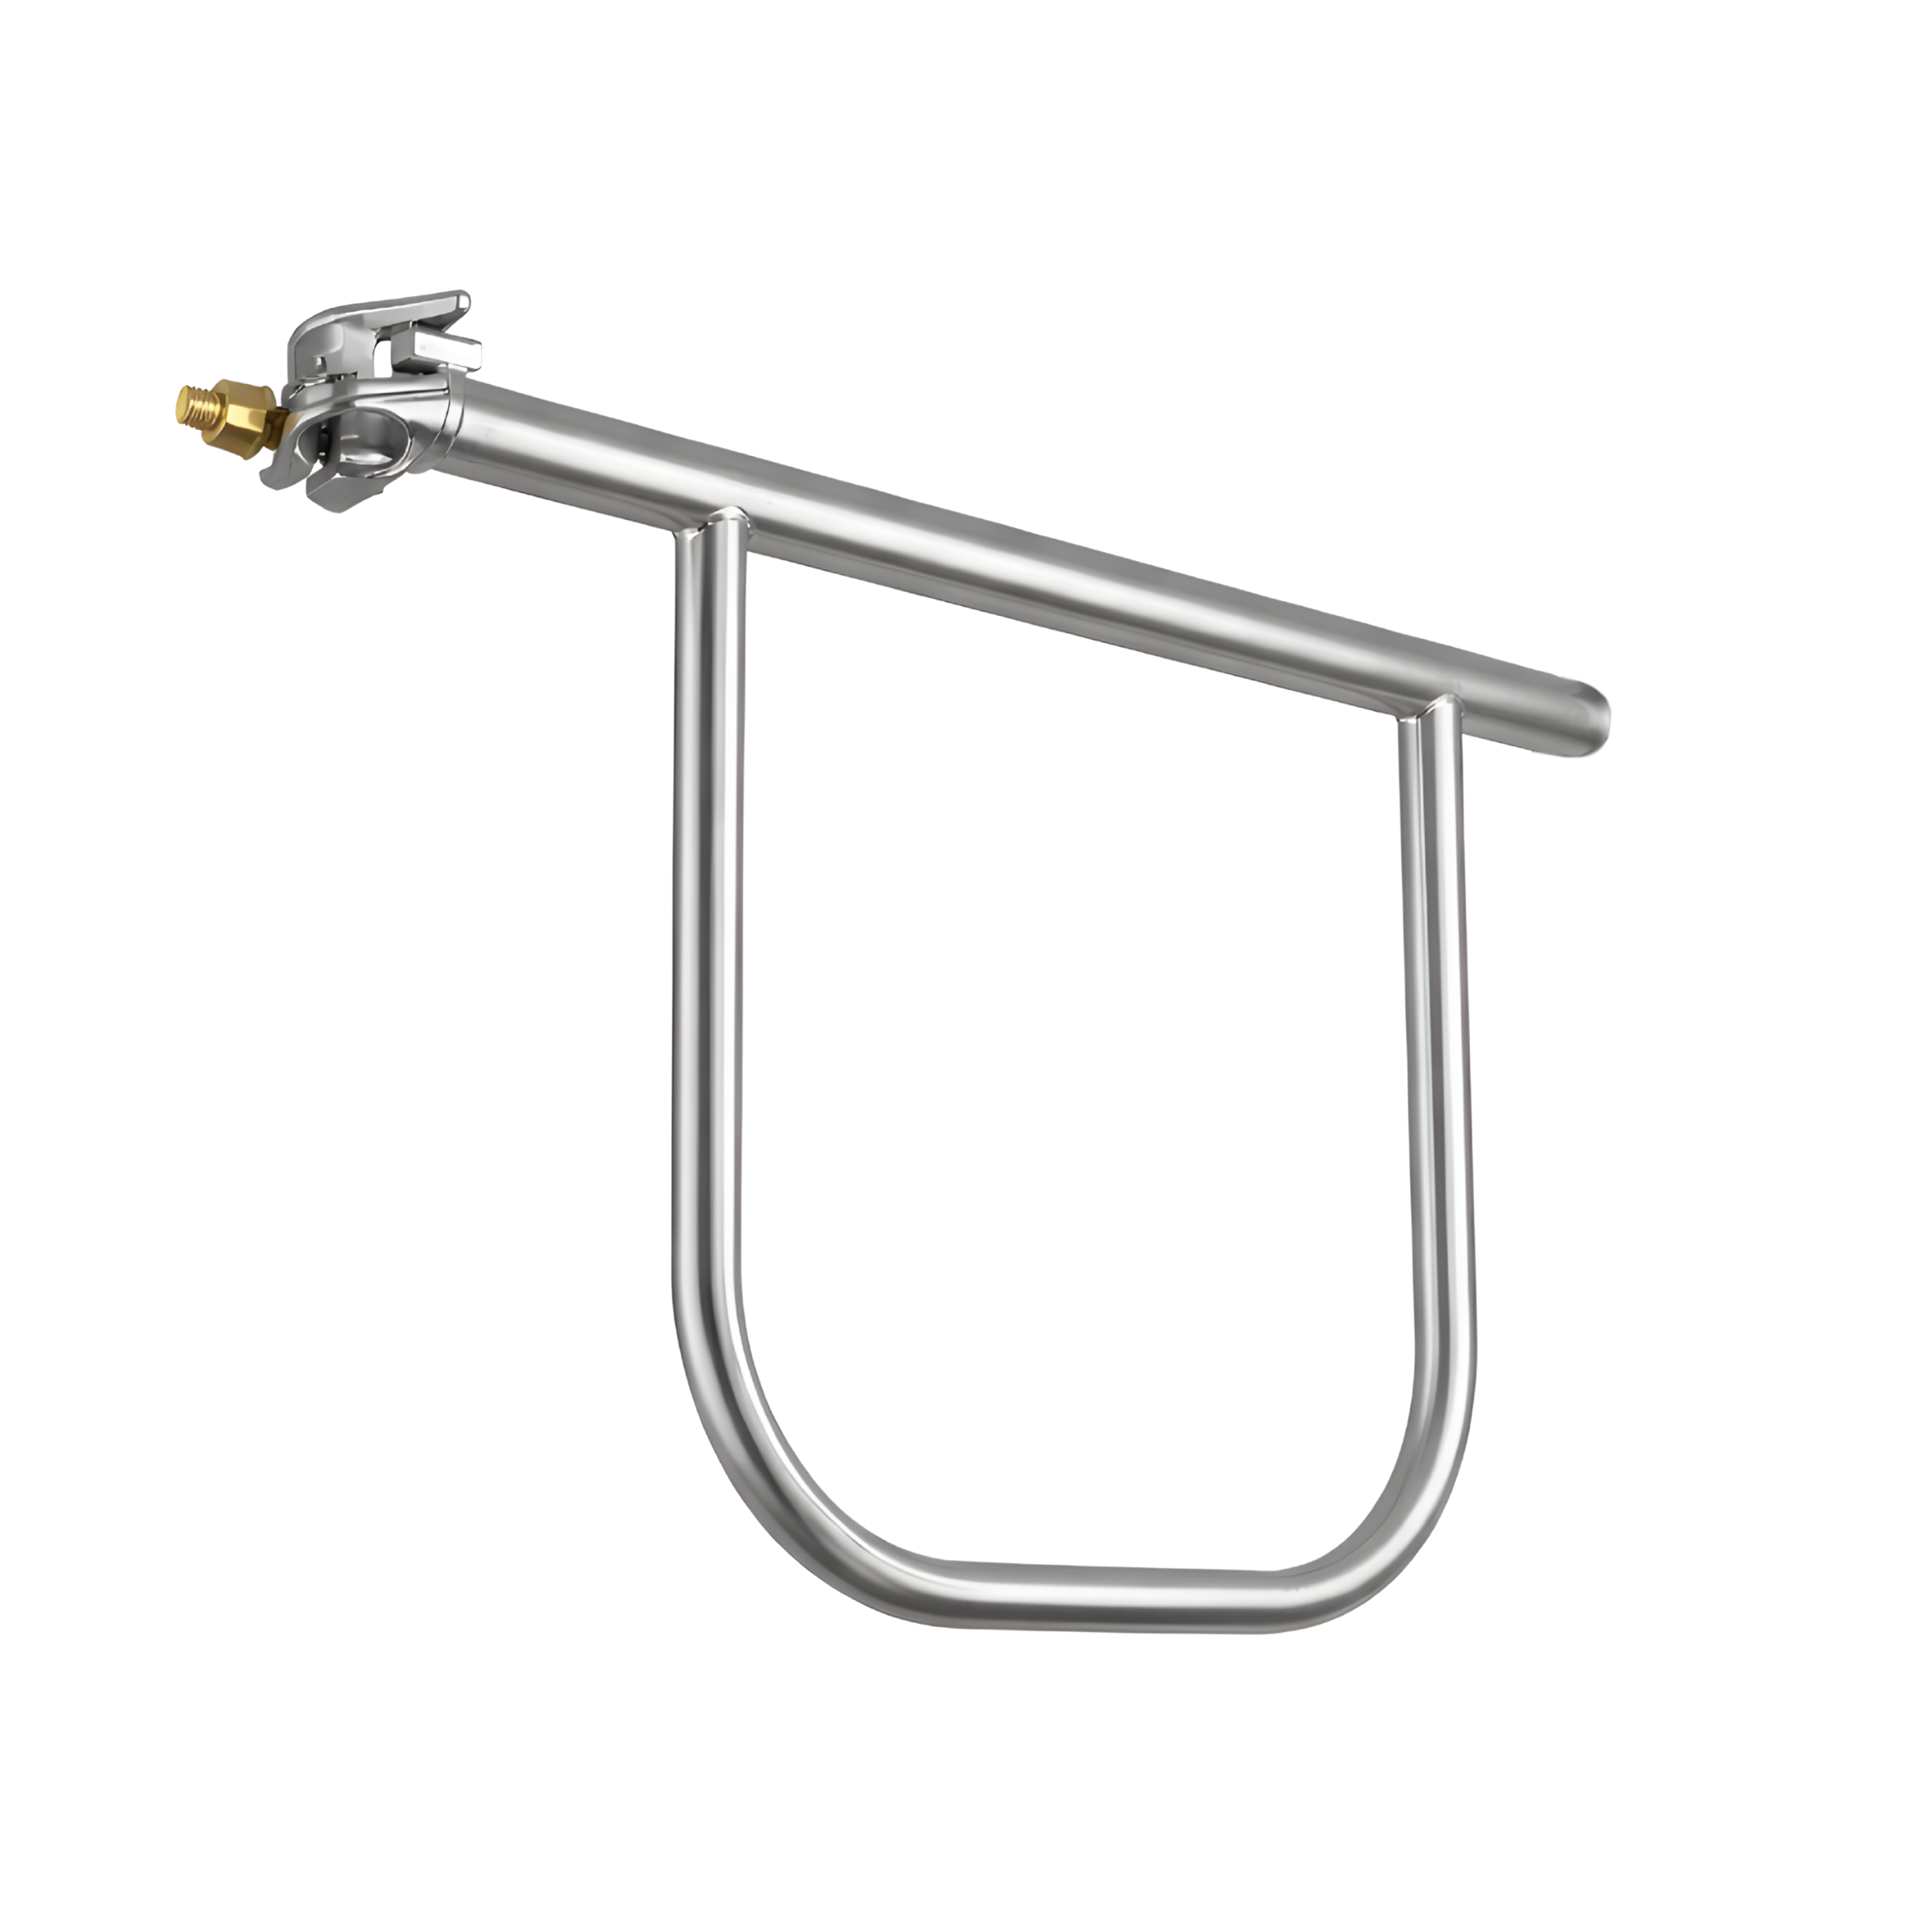
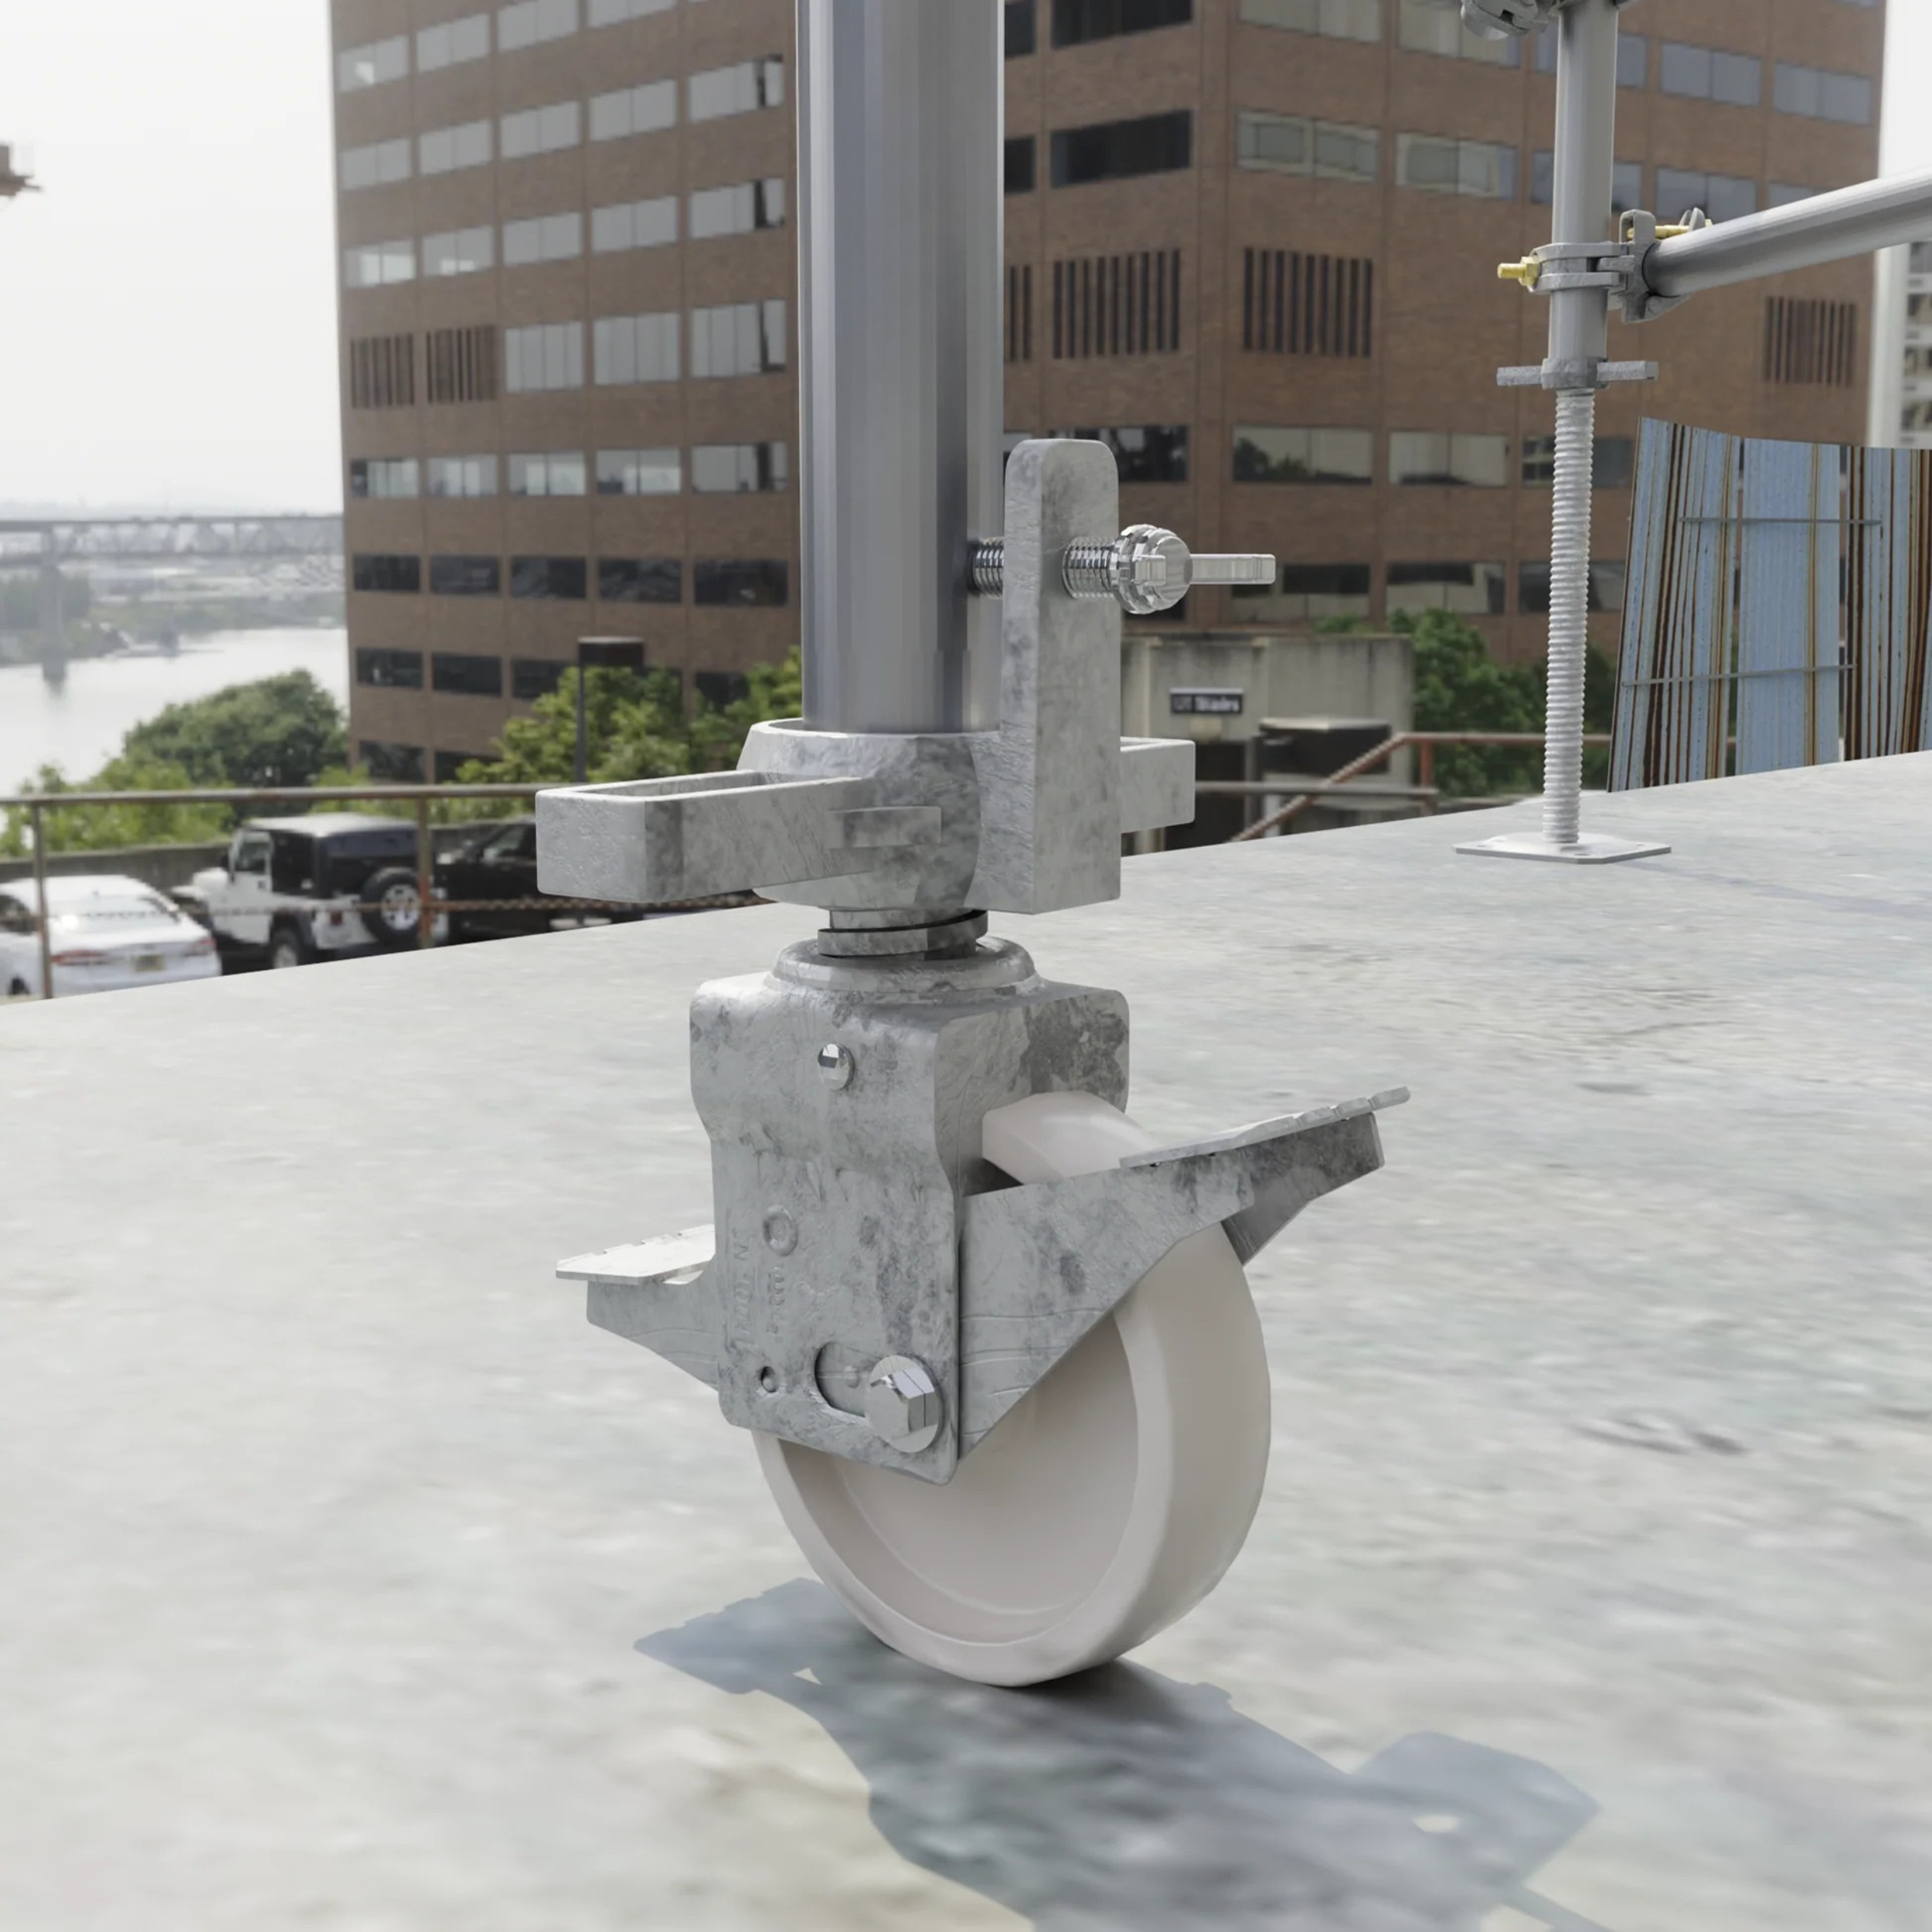
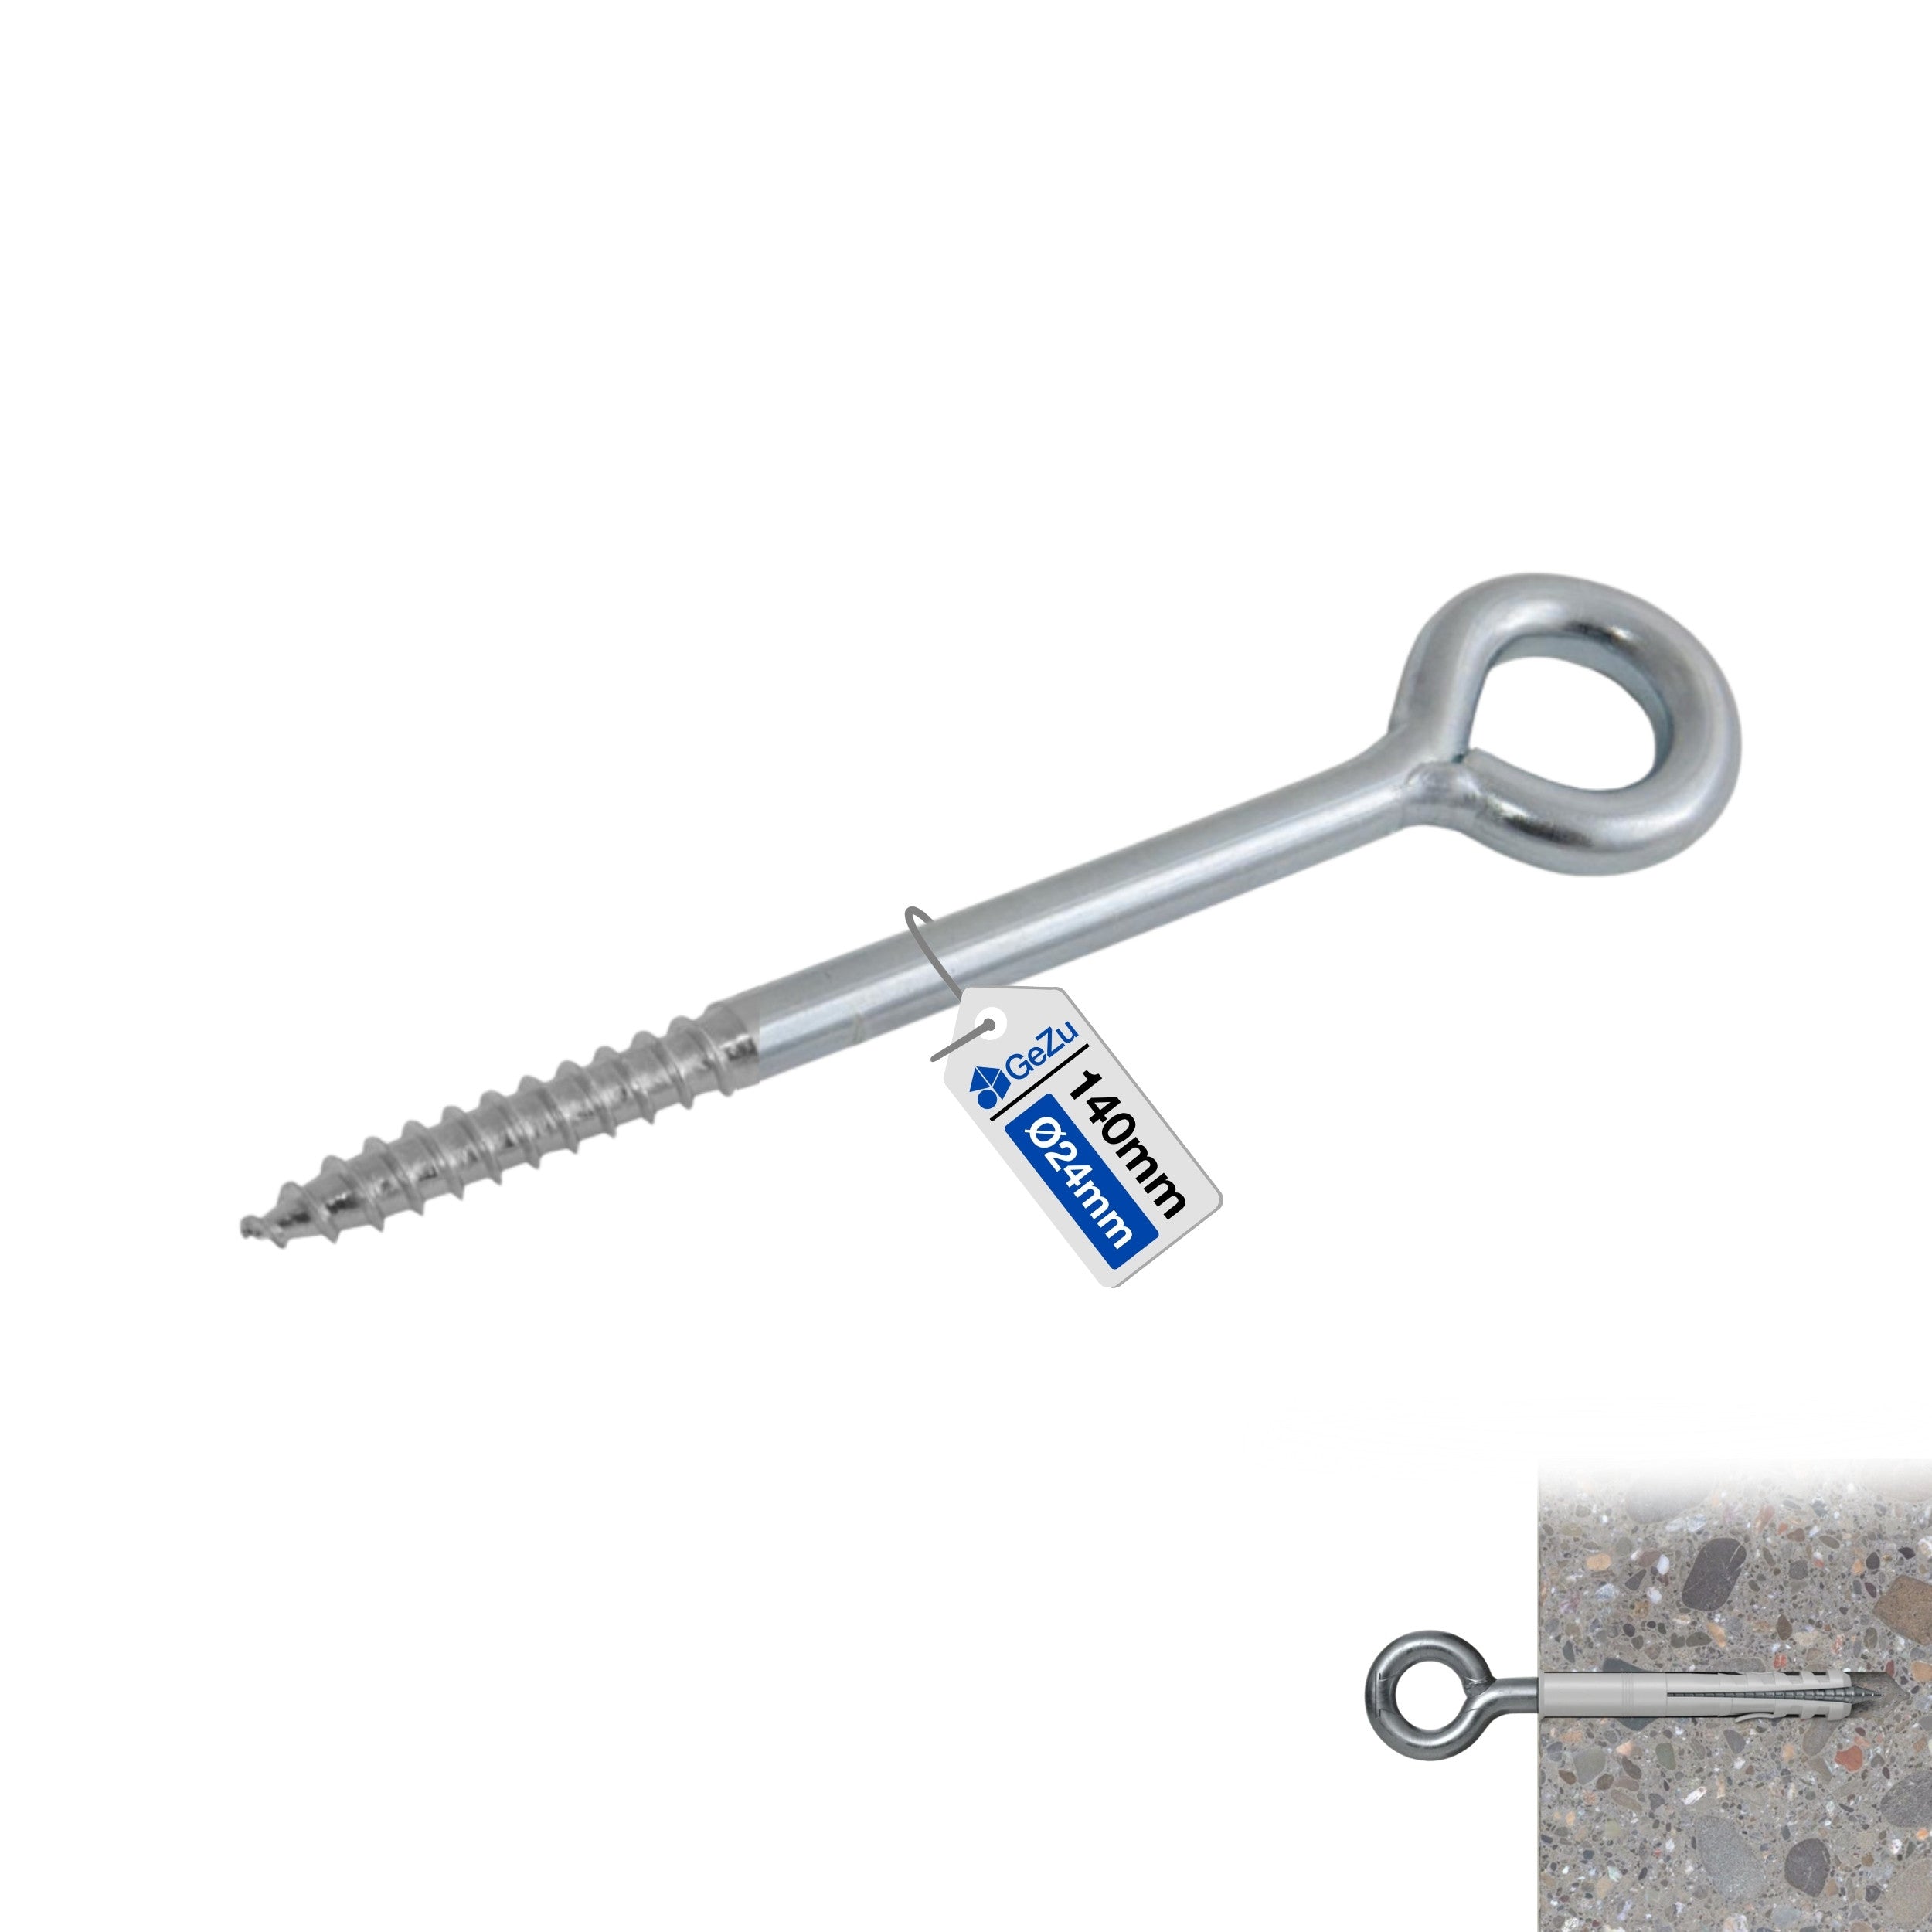
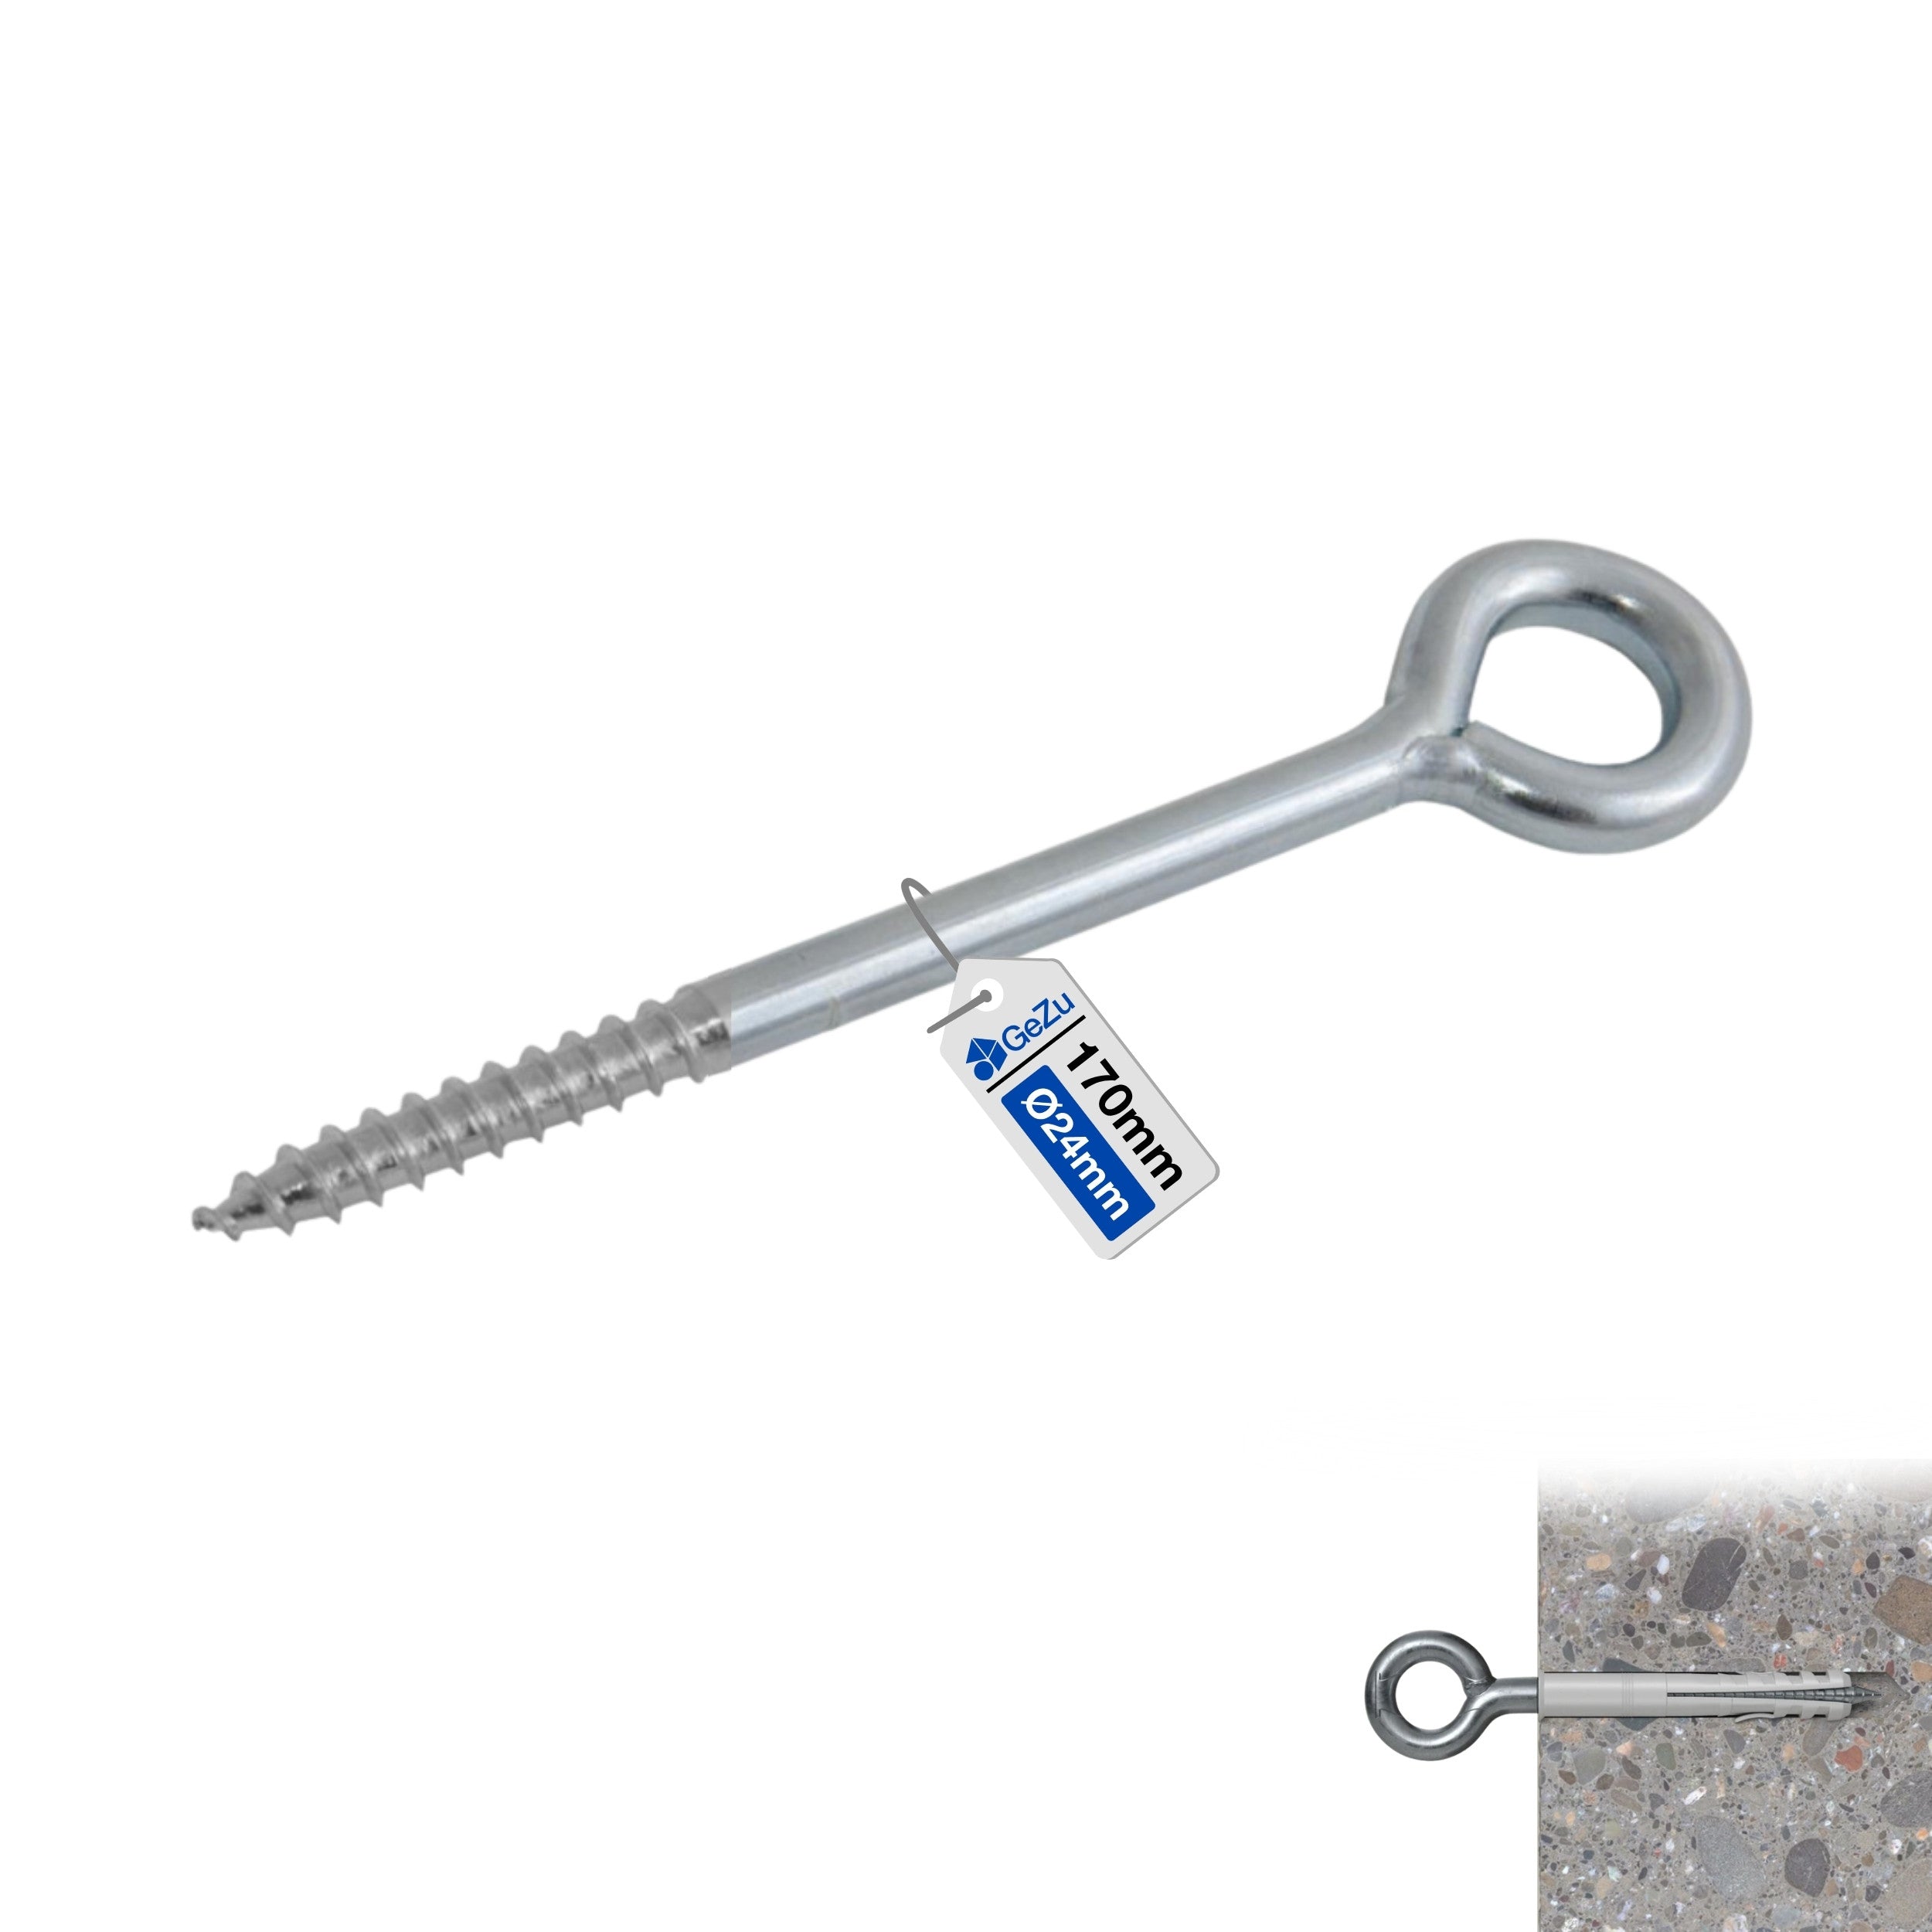
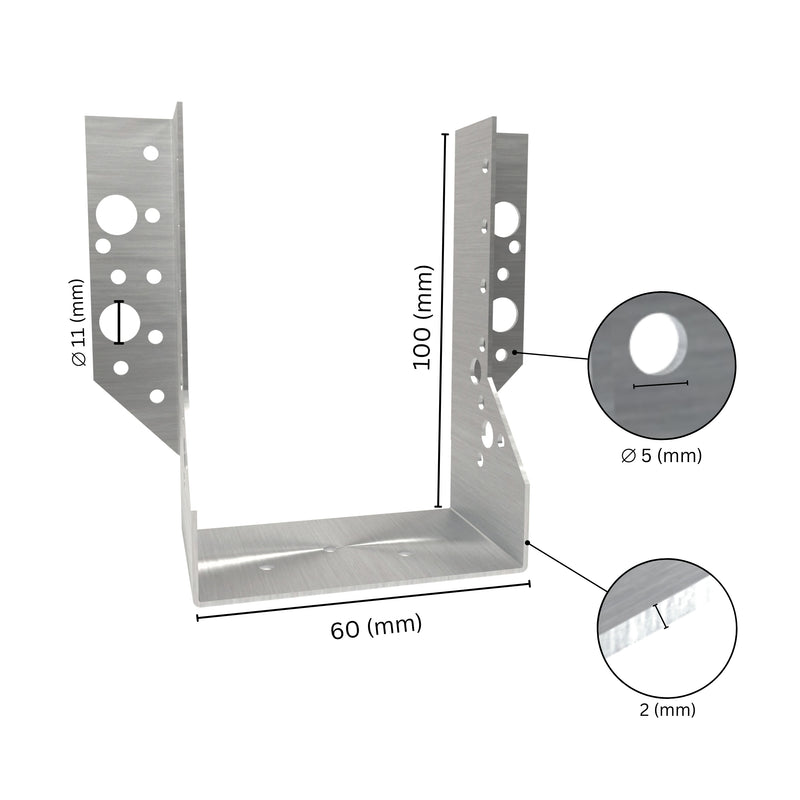
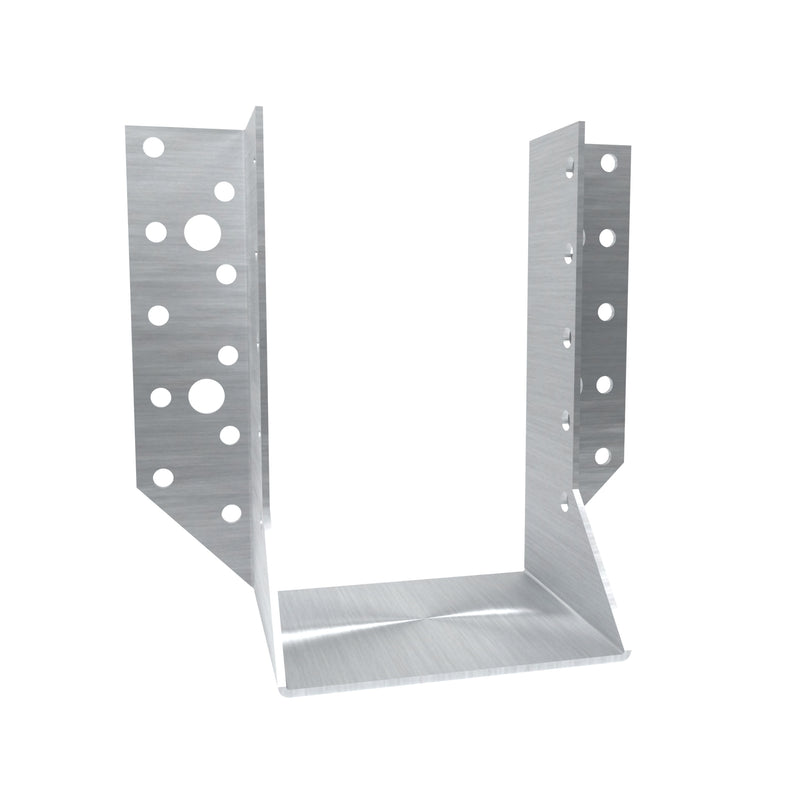
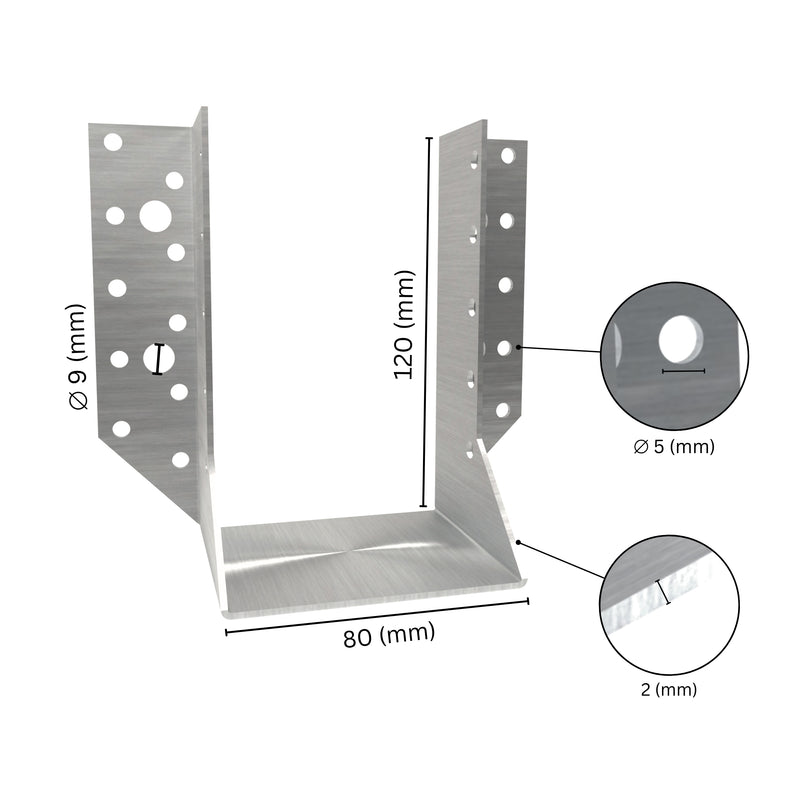
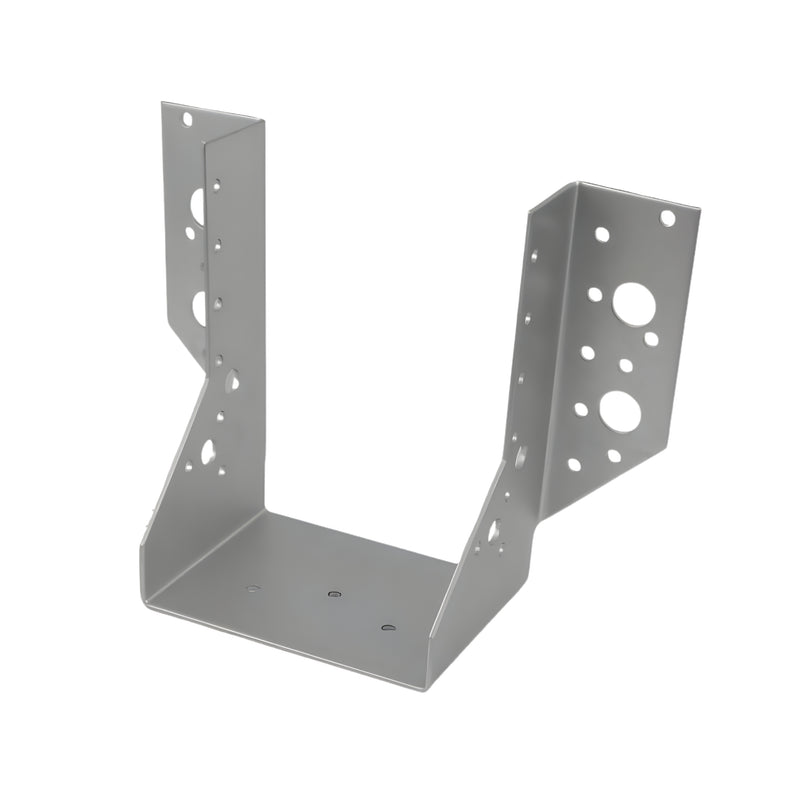
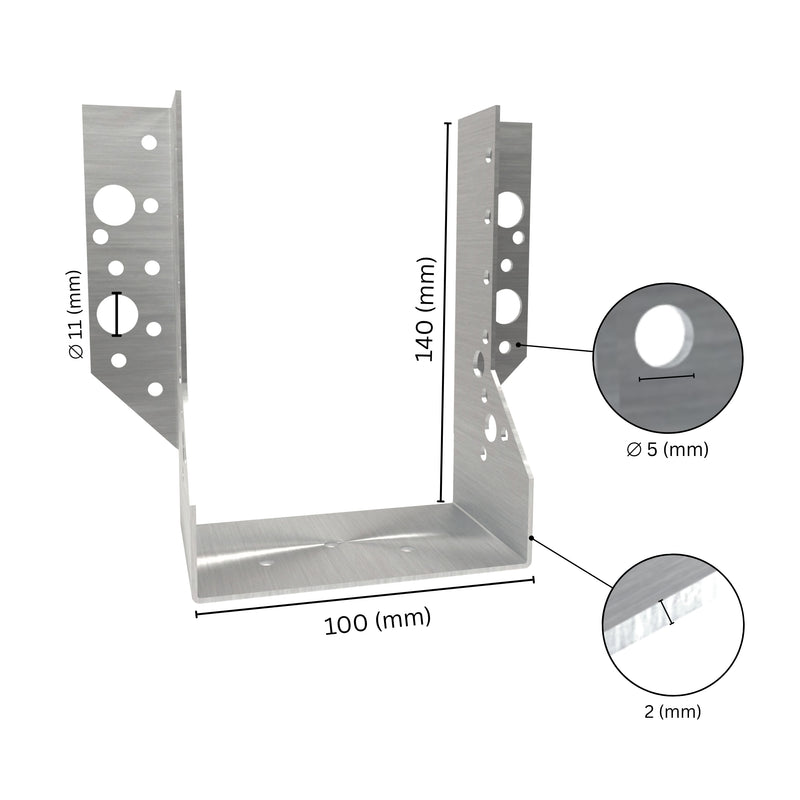
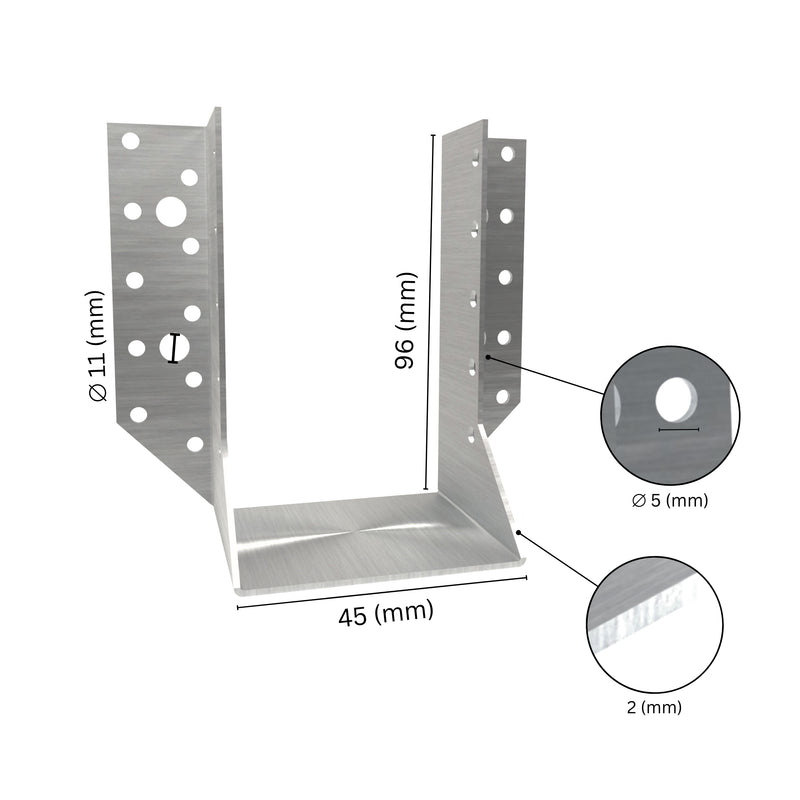
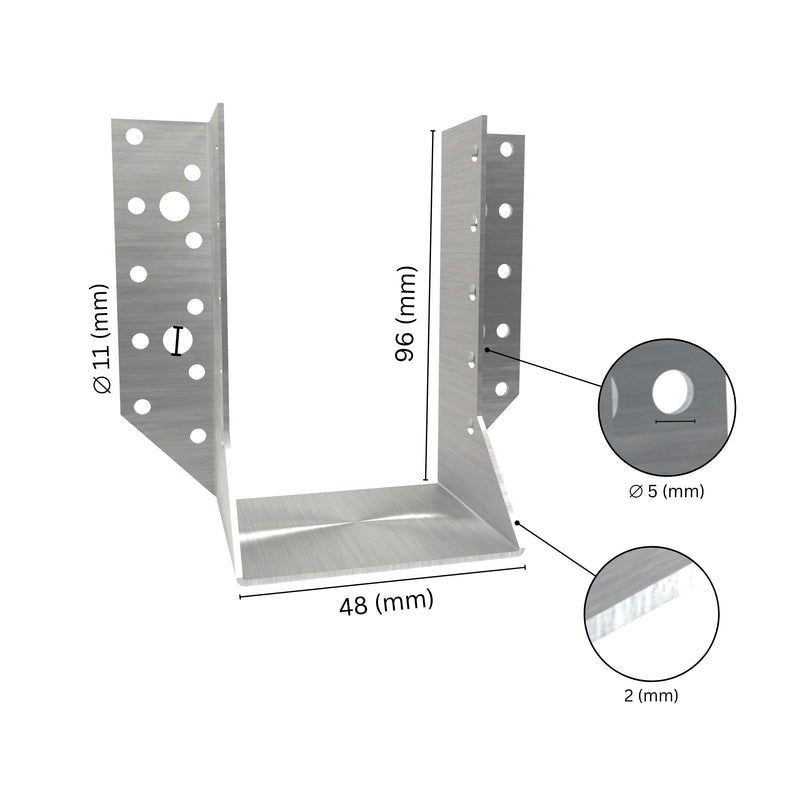
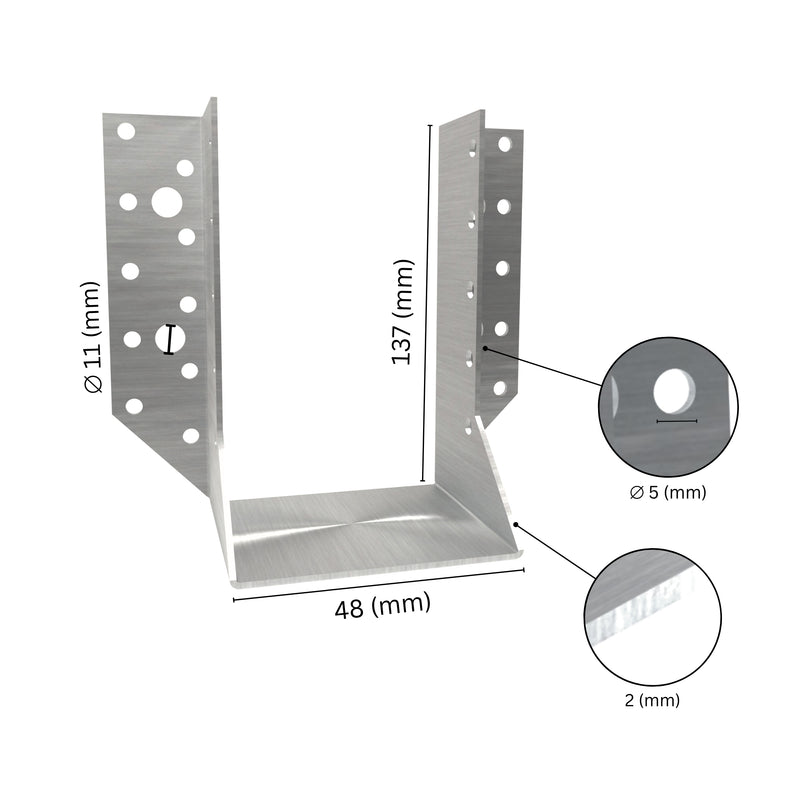
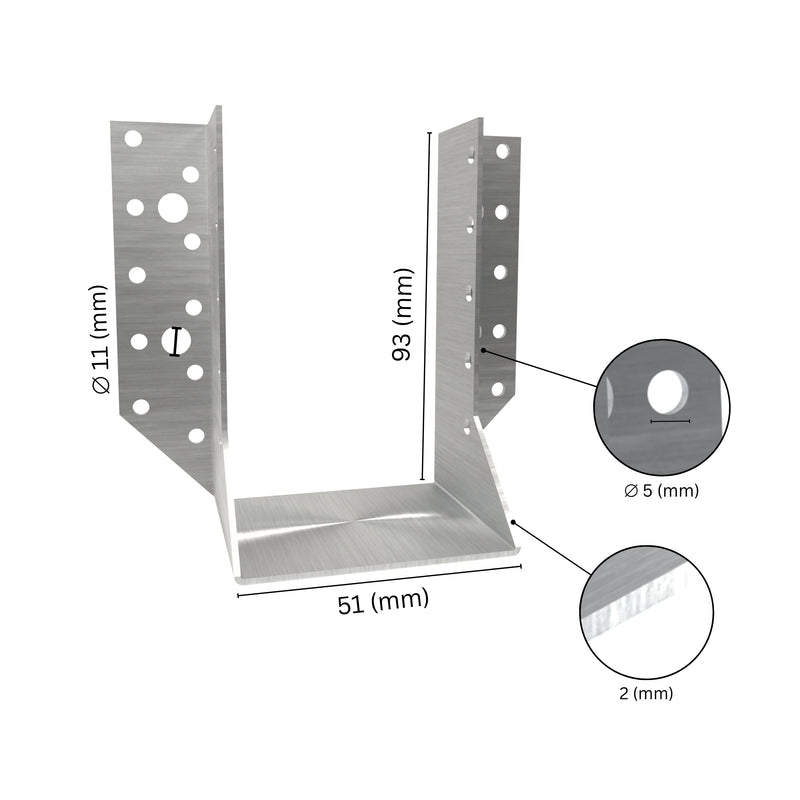
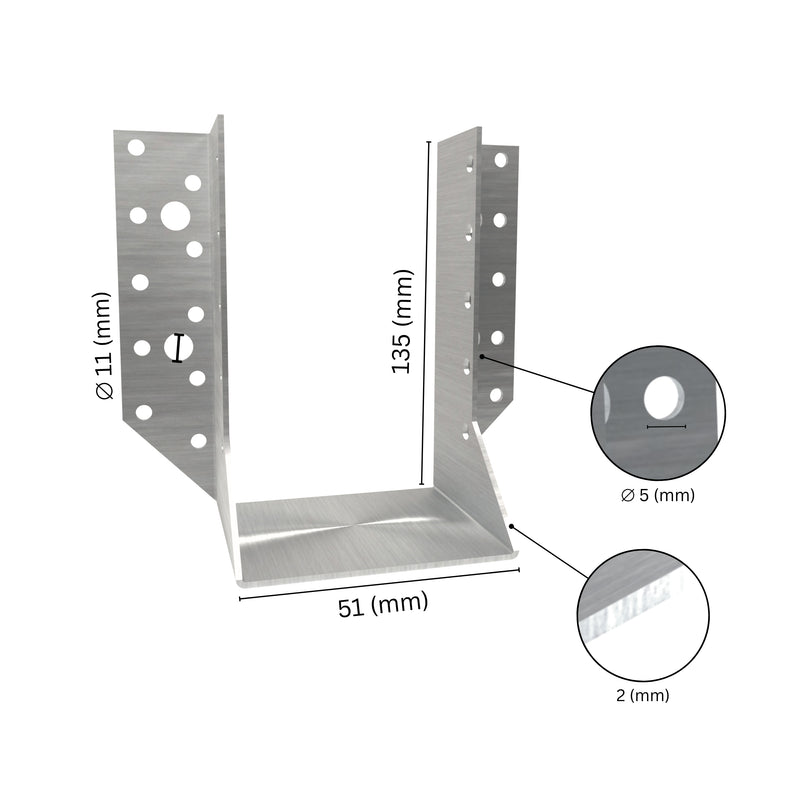
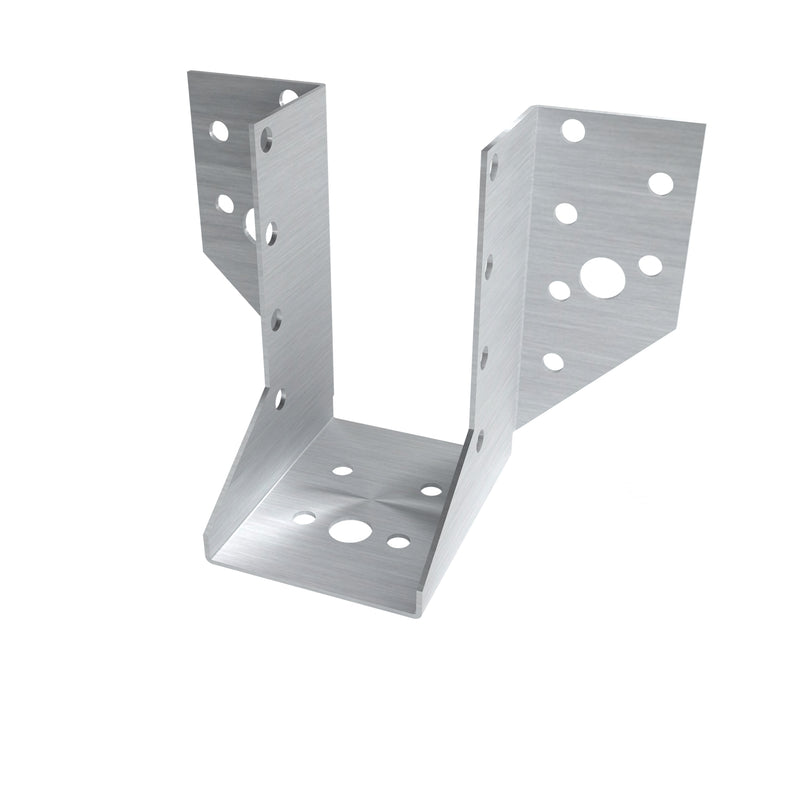
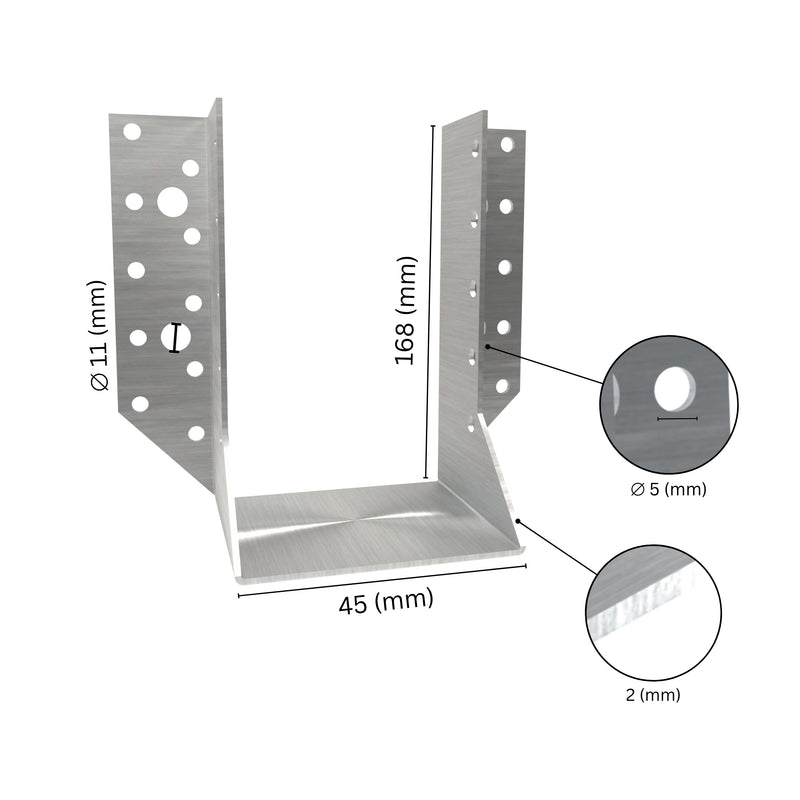
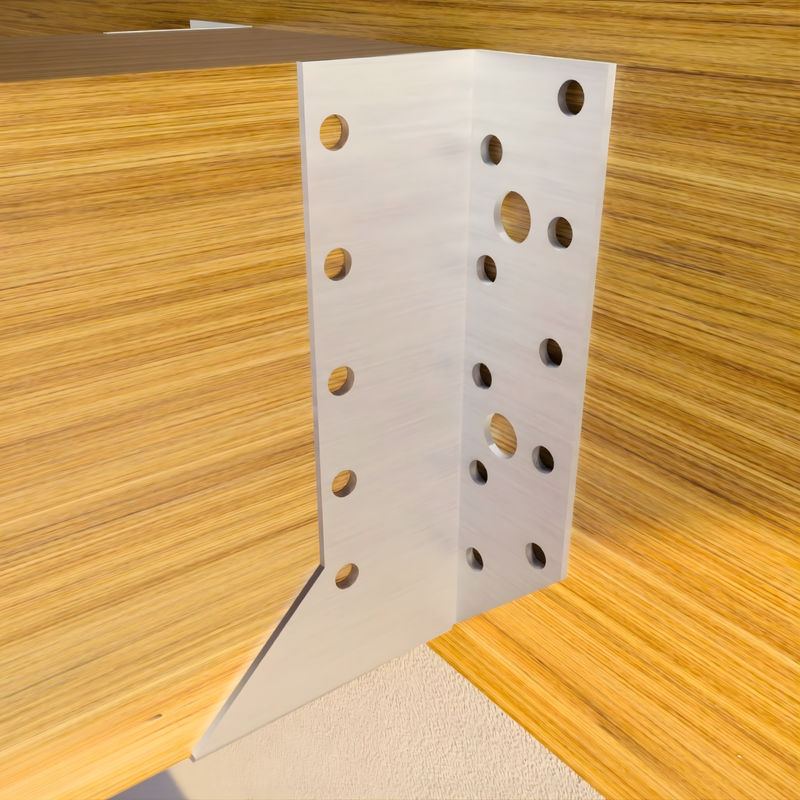
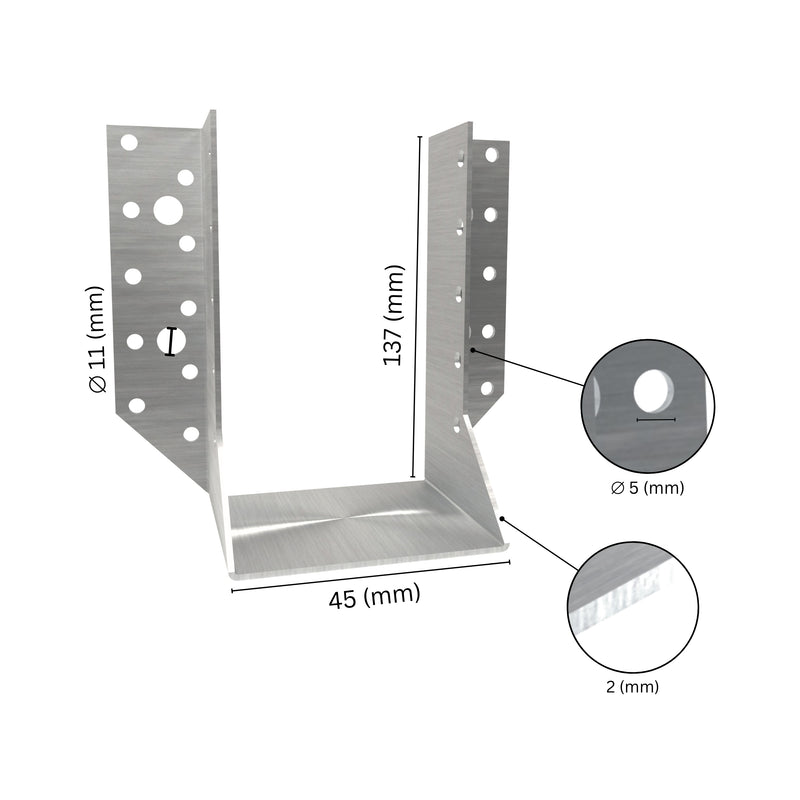
4. Ground Screw Anchor
This method is similar to post spike, as you don’t need to dig. No-dig ground screw anchors are one of the most advanced non-concrete fence post solutions available today. These screw-in fence post spikes are twisted deep into the ground to create a strong foundation.
Ground anchors work in soil conditions where traditional digging fails. They perform exceptionally well in sandy soil and on slopes. Because they don’t rely on curing or compaction, the post is ready for immediate use.
Post support ground anchor is easy to install as well. Select a ground screw anchor for your fence height and post size, as they come in various lengths and bracket sizes. Mark your post location accurately.
Insert a metal bar through the drive hole at the top of the anchor. A strong steel bar works perfectly fine. Begin turning the anchor clockwise. For the first few turns, it feels loose—that's normal. Once the first blade gets buried, it suddenly bites and becomes harder to turn.
Drive it down until the mounting bracket sits at your desired height. Drop your wooden post into the bracket and secure it with bolts through the pre-drilled holes. Tighten firmly. That’s all.

Galvanized U-post support ground anchor resists corrosion and since the wood post never touches soil, rot is significantly reduced. They’re also fully removable and reusable, making them one of the most reliable methods to install wooden fence posts without concrete.
Pros:
-
Exceptional stability and holding power
-
Maximum post longevity (wood never touches soil)
-
Completely removable and reusable in future projects
-
Minimal ground disturbance
Cons:
-
Higher upfront cost
-
Struggles in very rocky ground
-
Difficult to turn by hand in extremely hard clay
-
Requires more effort than some other methods
Key Factors for Success Without Concrete
Regardless of which method you choose, certain principles apply to all concrete-free fence post installations.
Depth matters more without concrete. When you're not using cement, you need to compensate with depth. Going that extra few inches makes a significant difference in long-term stability. Don't cut corners here.
Proper tamping separates amateurs from pros. Most fence posts that fail weren't installed wrong—they just weren't tamped well enough. Your arm should be tired by the time you're done. If you're not compacting until your material barely moves, you're not done.
Know your soil. Spend five minutes doing a simple soil test before you start. The method that works brilliantly in clay might fail miserably in sand. Understanding what you're working with prevents problems before they start.
Drainage determines longevity. Wood and standing water are enemies. Every method should encourage water to move away from your post, not pool around it. This is why gravel-based methods tend to outlast tamped earth in areas with heavy rainfall.
Treat your posts. Even though these methods often provide better drainage than concrete, you should still use pressure-treated posts rated for ground contact. The extra few dollars per post will add years to your fence's life.
Final Thoughts: Concrete Isn’t Required for a Strong Fence
You've now got 4 proven methods for setting wooden fence posts without concrete and each one works great in the right situation. The real secret isn't which method you choose; it's how well you execute it. Take your time with the installation, check your levels constantly and don't skimp on the tamping.
A fence post that's carefully set using any of these concrete-free methods will outlast a rushed concrete job. Besides, you'll enjoy better drainage, easier future adjustments, lower costs and the satisfaction of knowing you did it the right way. So grab your tools, pick the method that fits your project and get building.
Your fence posts will stay straight and strong without a single bag of concrete and you'll have saved yourself time, money and a whole lot of heavy lifting (your back will thank you for skipping the concrete). That's a win in anyone's book.