Pipe connectors to a modular workbench: complete 2026 workflow

A welded workbench is a permanent answer to a moving problem — weld it once and the workshop layout is frozen. Pipe connectors make a modular workbench instead: galvanised tube clamps that bolt standard steel tube into a rigid frame you can level, extend, unbolt and rebuild with a spanner. Start from a complete table frame kit or assemble the frame fitting by fitting — the workflow is the same.
- Tube clamps join steel tube into workbench frames without welding.
- One tube diameter across the whole frame keeps every fitting interchangeable.
- Dry-assemble and square the frame before final-tightening any set screw.
- Tees, crosses and offset crossovers turn a bench into modular furniture.
- GeZu Impex supplies tube clamps, steel tube and complete table frame kits.
Why pipe connectors suit a workbench frame
A welded bench needs a welder, a workshop with power and a schedule. A clamp-built bench needs tube, fittings and an hour of assembly — and it stays adjustable for the life of the workshop: legs re-level on an uneven floor, rails move outward when a project outgrows the bench, and a damaged length of tube unscrews and swaps instead of getting cut out. Adjustable, repairable, rebuildable — those three properties are why 2026 workshop builds start from tube and connectors rather than a welder.
Before you start
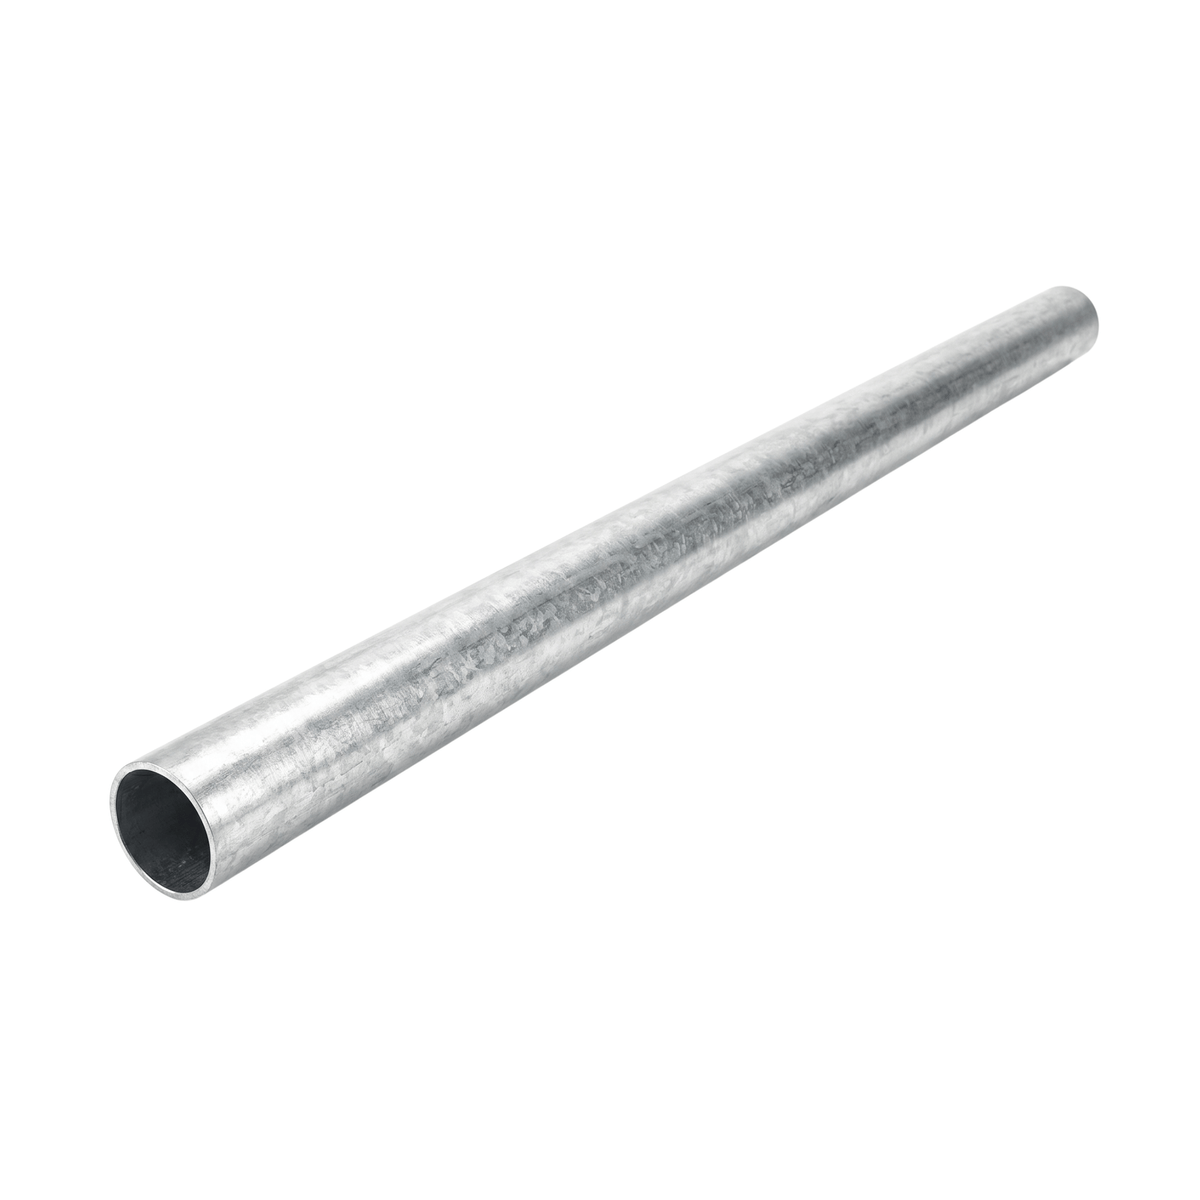
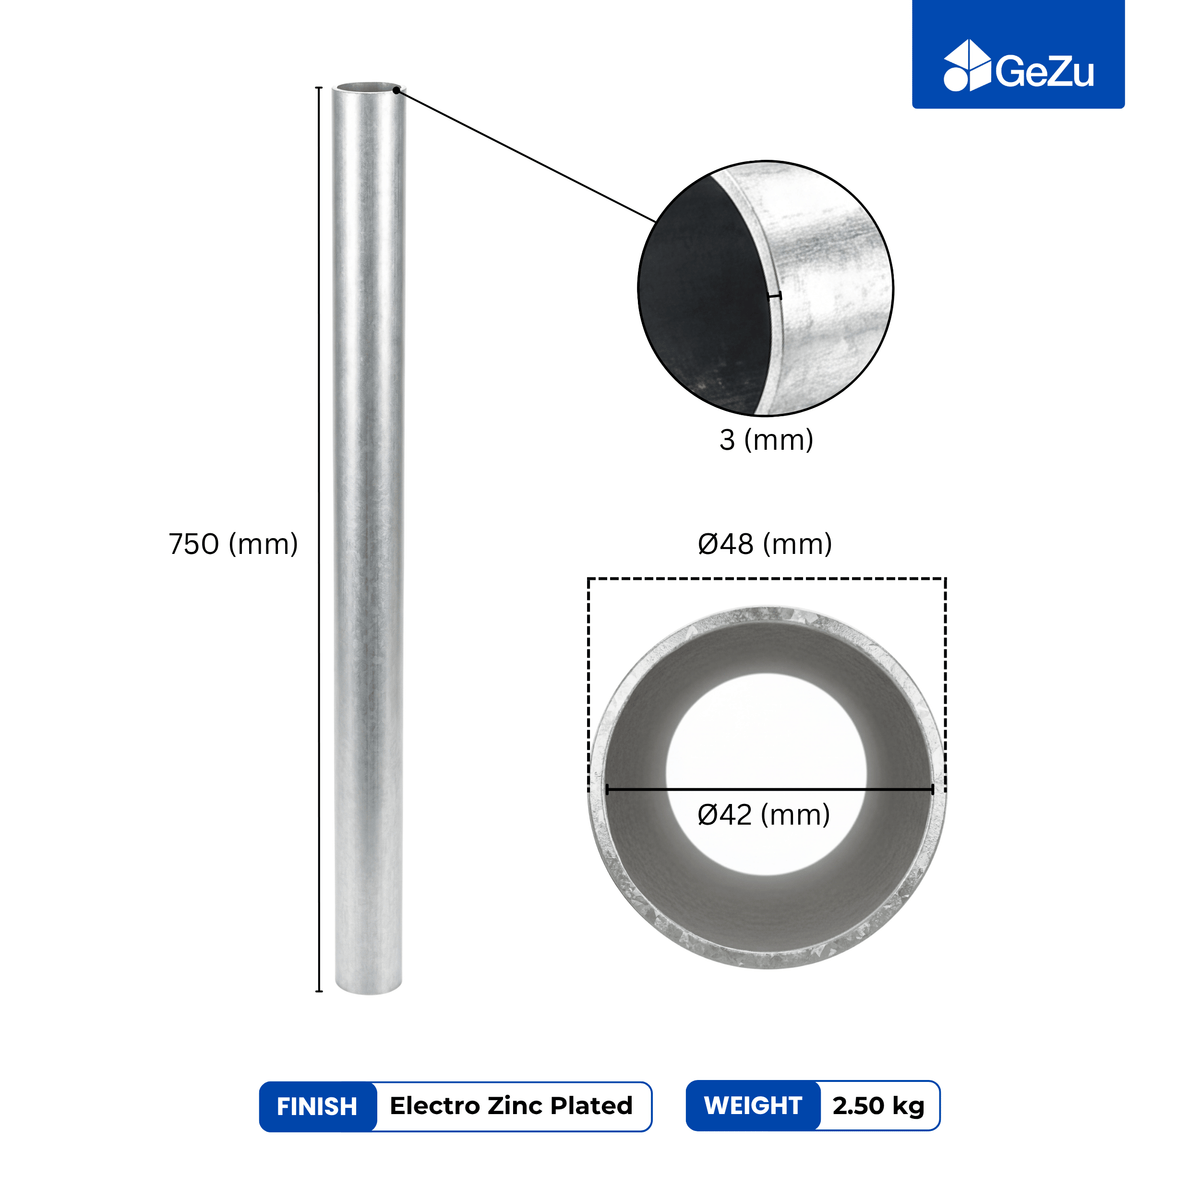
- Tube and fittings in one diameter for the whole frame — clamp systems are size-specific, and mixing diameters strands fittings.
- The set screws or grub screws the fittings specify, plus a hex key or spanner.
- A saw that cuts square (band or abrasive), a deburring tool, tape measure, spirit level and square.
- A clear, flat assembly area — the frame squares most easily on the floor before it stands up.
One check saves the whole build: confirm the tube diameter your fittings are made for before ordering. Tube sizes are not interchangeable between clamp systems — a fitting that slides loosely or jams part-way down is the wrong diameter, and no amount of torque fixes it.
Plan the frame and mark the cuts
- Fix the working height first — common bench heights sit around 850–950 mm, matched to the user's elbow. A depth around 600 mm suits most worktops.
- Sketch the frame: four legs, two long top rails, two end rails, and any mid-rail for a lower shelf. Mark every joint and note which fitting meets it — tee, cross or corner.
- Walk the sketch joint by joint into a cutting list and a fitting list, then order against both lists.
Expected result: a cutting list and a fitting list that match joint for joint, with no orphan tube ends.
Cut, deburr and dry-assemble
- Cut each length square and deburr both ends — a burr under a set screw chews the coating and starts corrosion inside the joint.
- Slide every fitting on finger-tight in its marked position.
- Stand the frame, then check it in this order: level across the top rails, plumb on every leg, and equal diagonals across the top frame.
Expected result: a standing frame that reads level and square with every clamp still loose enough to nudge.
Level, fix and load the frame
- Torque the set screws evenly, working around the frame — an over-torqued screw distorts the tube under the clamp, an under-torqued one lets the tube creep.
- Anchor the feet where the bench stands: a railing base flange bolts down to concrete or decking and spreads the load, while a wall mount bracket steadies the top rail where the bench backs a wall.
- Load-test before the worktop goes on: lean hard on each corner and sit on the edge. Movement means a loose clamp or an unseated tube — re-check before fixing a top on top of it.
Expected result: a frame that takes body weight at any corner without shifting or ringing.
Make the bench modular, not just mobile
The frame is the platform; the fittings are what make it grow. A 4-way cross clamp set into a mid-rail becomes a docking point for a side bench or a shelf frame, and an offset 90° crossover joins a crossing tube without cutting the run it passes over — which is what turns two benches into an L-shaped workstation. Plan those docking points into the first build; adding them later costs nothing, but planning them costs even less.
Troubleshooting a tube-frame workbench
- The frame wobbles after tightening. Check the floor for level before blaming the frame — then re-check every set screw; one loose clamp undoes a whole corner.
- The diagonals will not match. Loosen everything, re-square on the floor, then re-torque — a frame assembled tight-crooked stays crooked.
- The tube creeps under load. The set screw is under-torqued or the tube is not fully seated; slide the tube home and re-torque.
- A clamp will not slide onto the tube. The diameter is wrong for that fitting — never hammer a fitting on; order the correct size.
What to do next


FAQ
Can you build a workbench with pipe connectors without welding?
Yes. Galvanised tube clamps join standard steel tube with set screws alone; the joints stay rigid when torqued, and the frame can be unbolted and rebuilt later.
What tube size do workbench clamps fit?
Clamp systems are diameter-specific. Confirm the diameter your fittings are made for — 27 mm frame kits are one example — before ordering tube or fittings.
How much weight can a tube-clamp workbench carry?
It depends on tube diameter, span, bracing and how the feet are fixed — there is no single figure. Keep spans short, brace the frame and load-test it with real weight before trusting it.
How do I stop the frame from racking side to side?
Torque every set screw after squaring the frame, add a diagonal member where the frame is open, and anchor the feet.
Can I extend or move the bench later?
Yes — that is the point of connectors. Tees and crosses add rails and docking points, and the frame unbolts into tube for a move.
What height should a workbench frame be?
Around 850–950 mm suits most standing work; match the height to the user's elbow and the tools that sit on the bench.
One last thing
Build the frame, then load it before you praise it. A bench that passes the corner-lean test on day one and still reads level a week later will survive every future reconfiguration — and a tube-and-clamp frame will be reconfigured, which is the entire point. GeZu Impex stocks the tube, the fittings and the complete kits.