How to Make a DIY Outdoor Storage Bench: Easy Guide

Garden cushions, tools, blankets, and outdoor accessories can quickly pile up on your patio or in your backyard. You can keep moving them inside whenever you need the space, but that does not solve the storage problem.
You need a practical storage solution. A DIY storage bench is a great option. It provides a spacious compartment for your outdoor essentials while serving as a comfortable garden or patio bench.
In this guide, I'll show you how to make a DIY outdoor storage bench. The design is simple, so you don't need advanced woodworking skills to build it. You can also adjust the dimensions to fit your available space and storage requirements.
What Materials Do You Need to Make a DIY Storage Bench?
Let's start with the materials you need to build this wooden outdoor storage bench. The design features a rectangular storage box with wooden boards, a base, and a hinged lid.
You'll need the following materials:
-
Timber boards: These form the front, back, sides, bottom, and top lid of the storage bench.
-
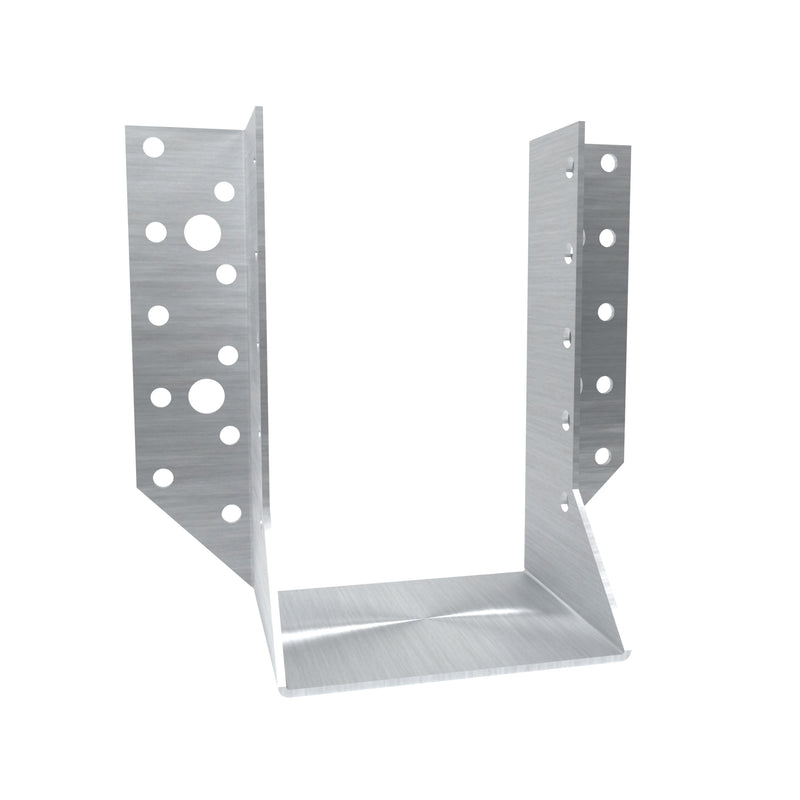
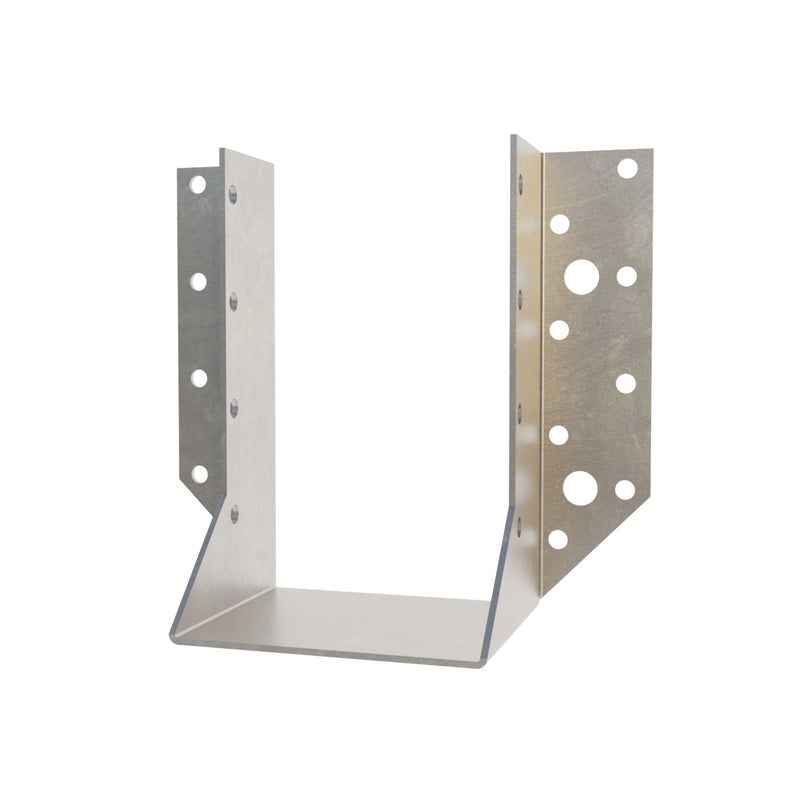
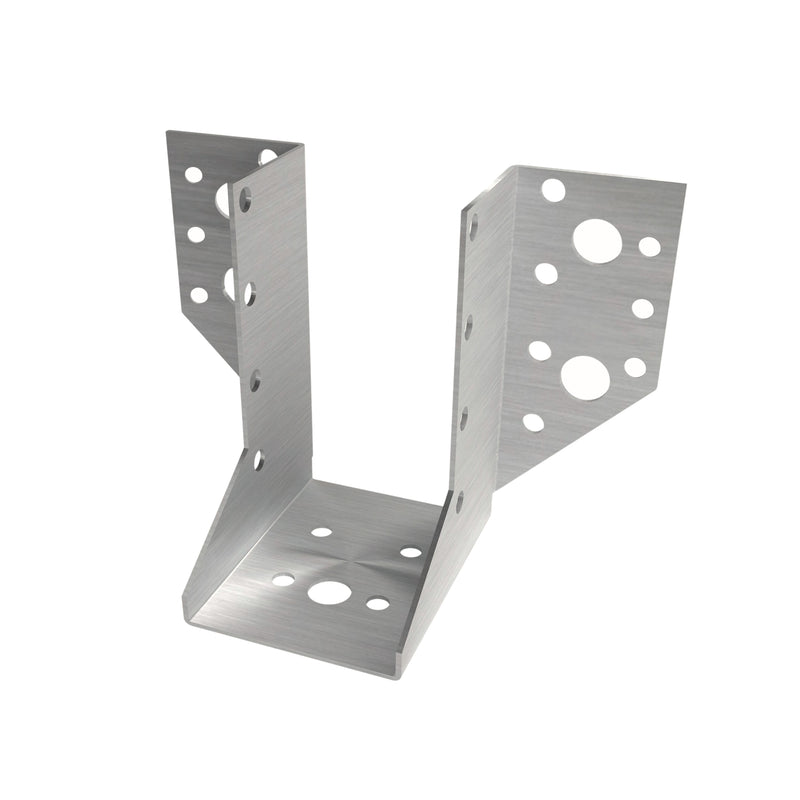
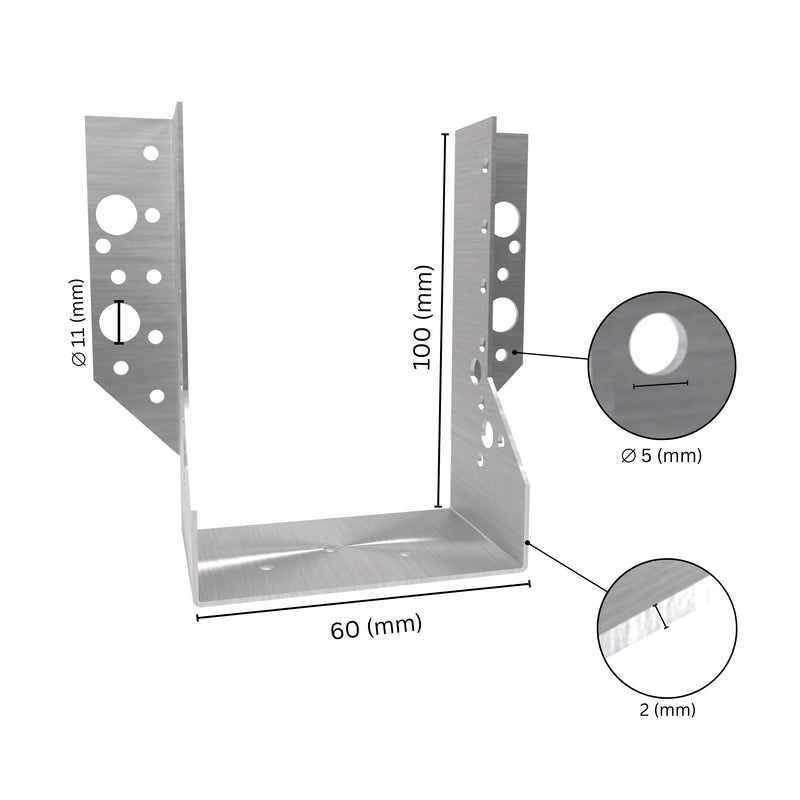
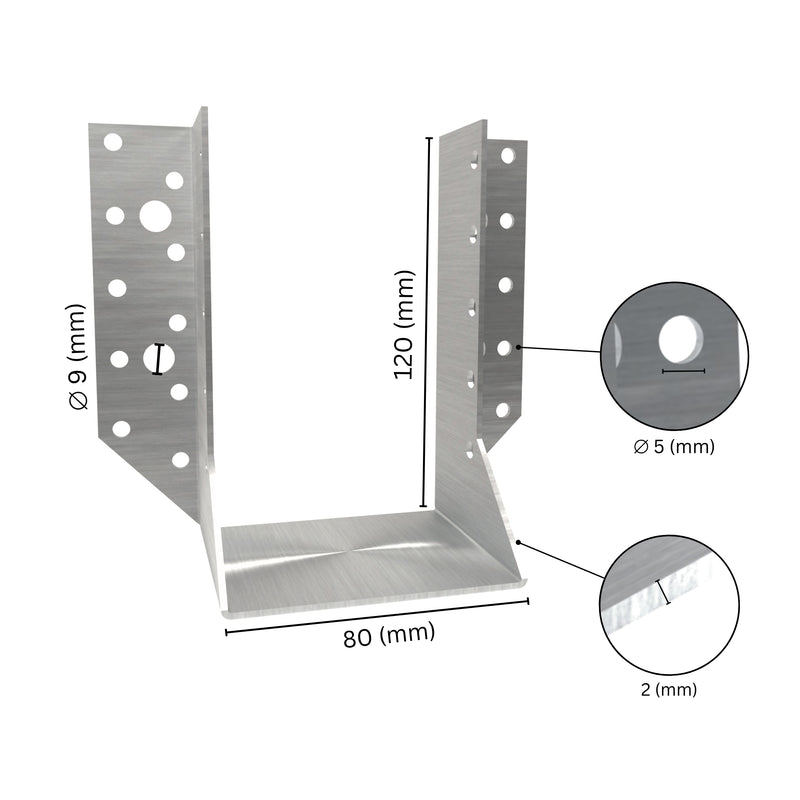
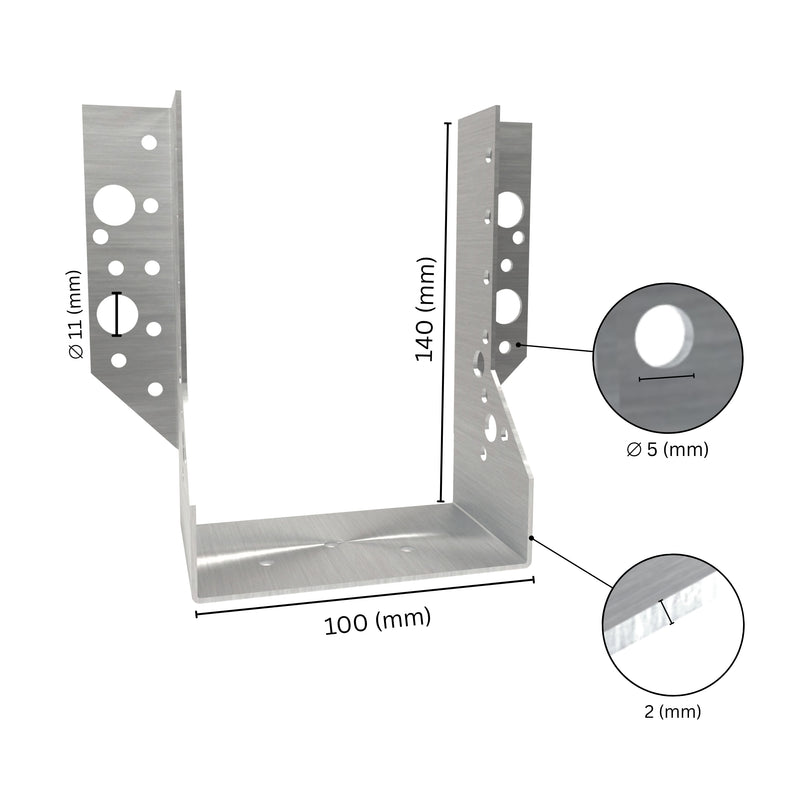
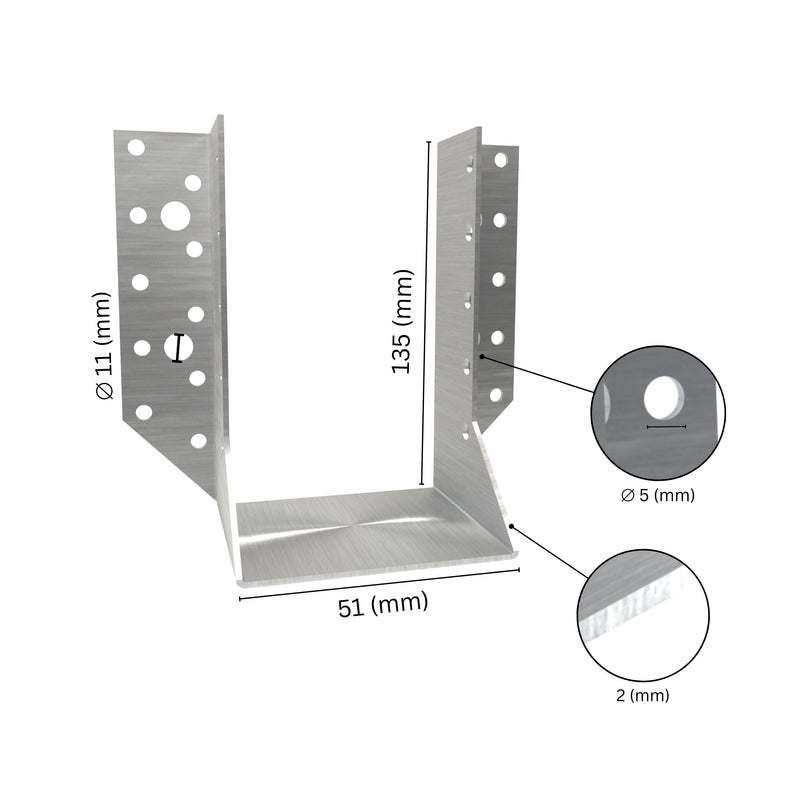
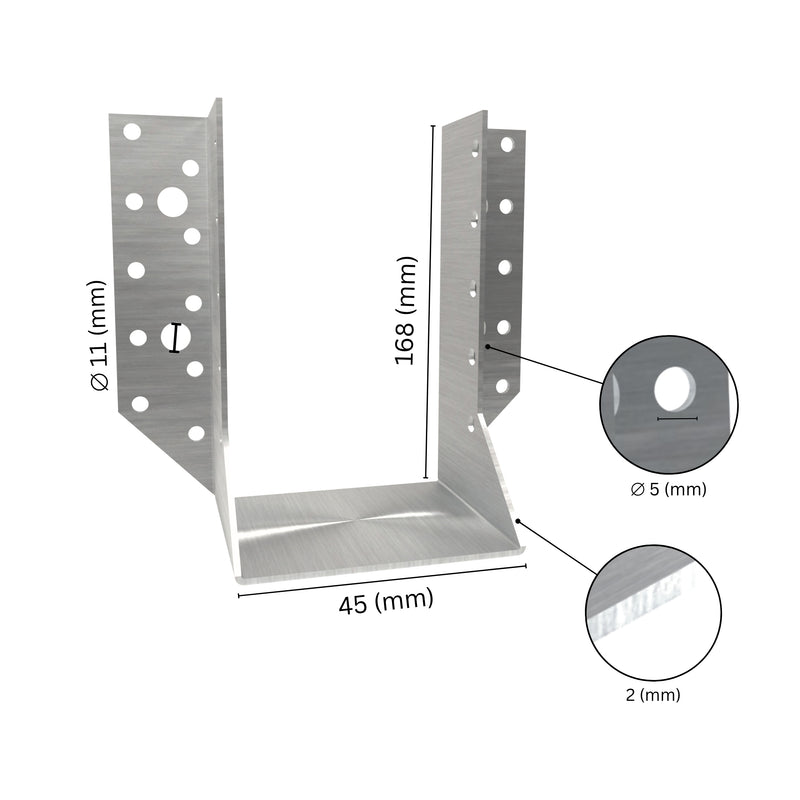
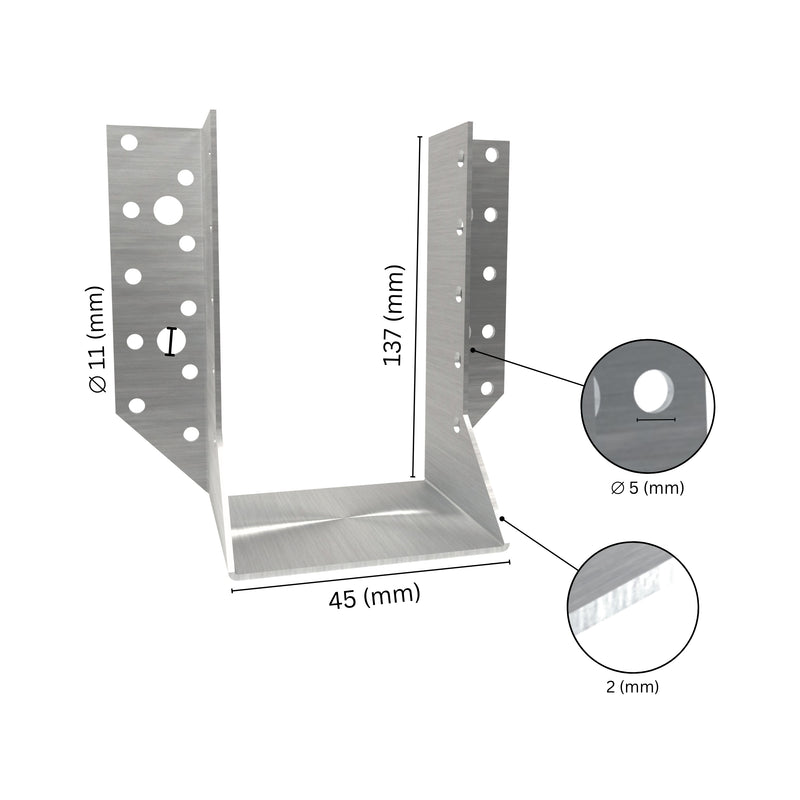
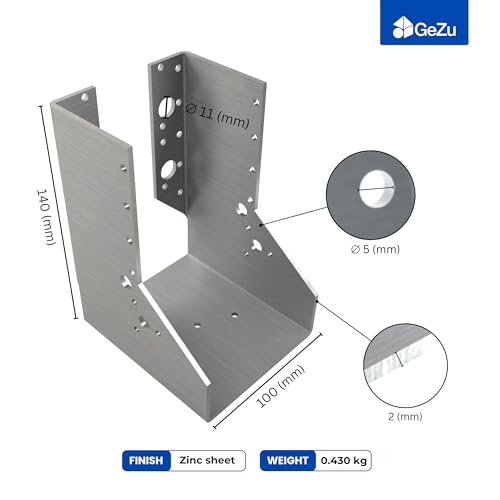
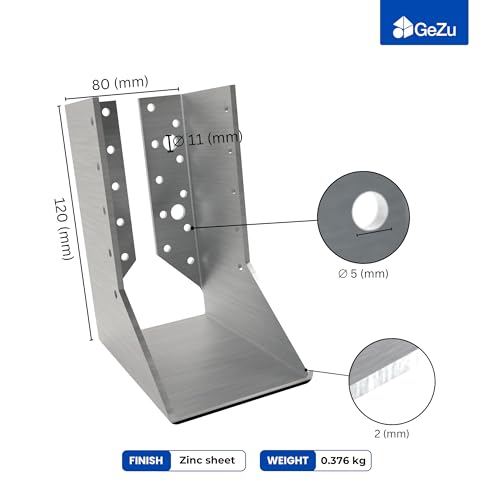
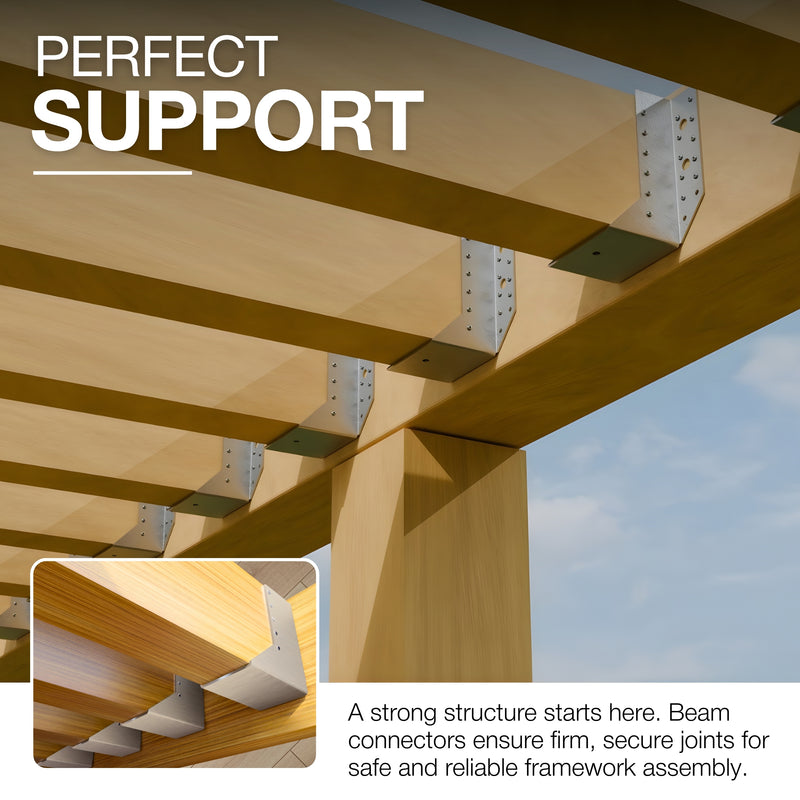
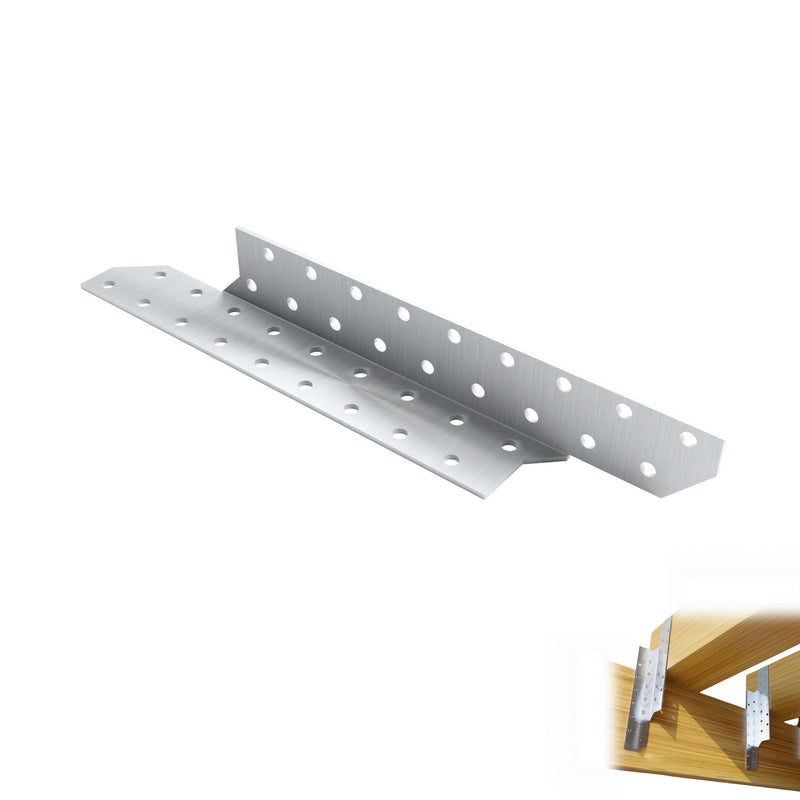
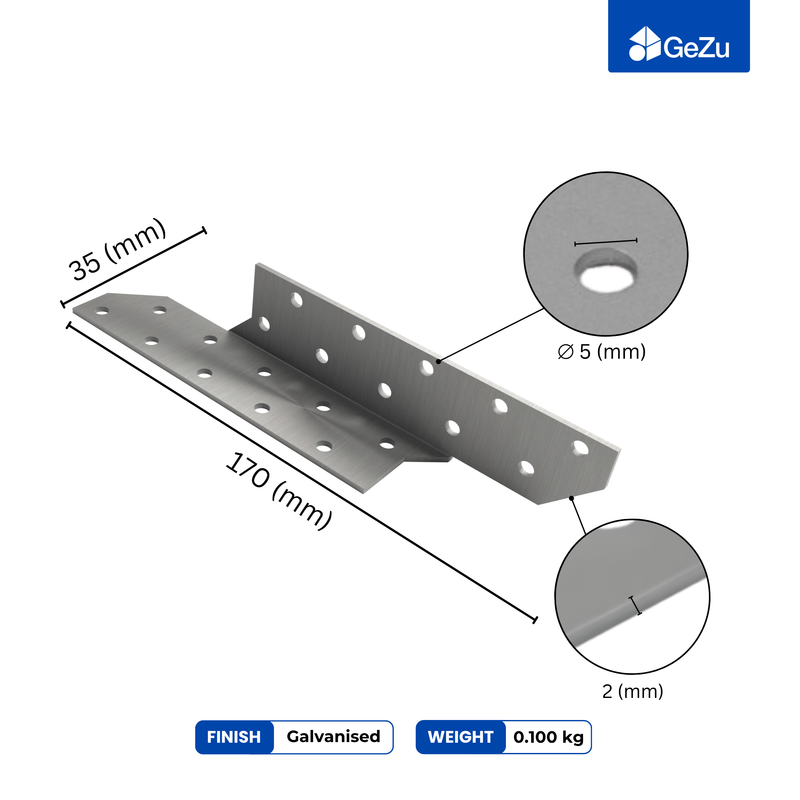
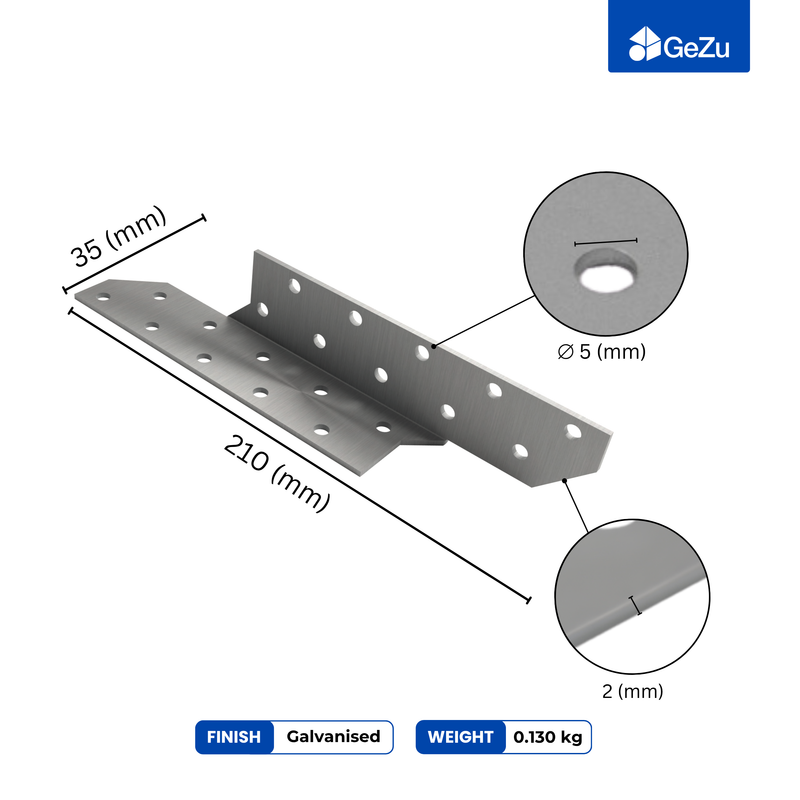
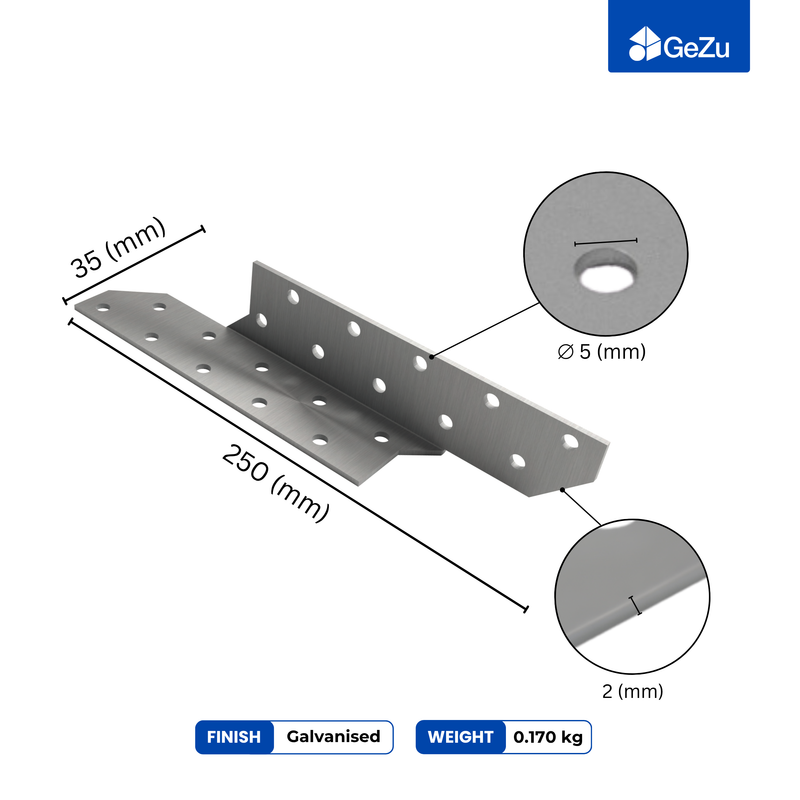
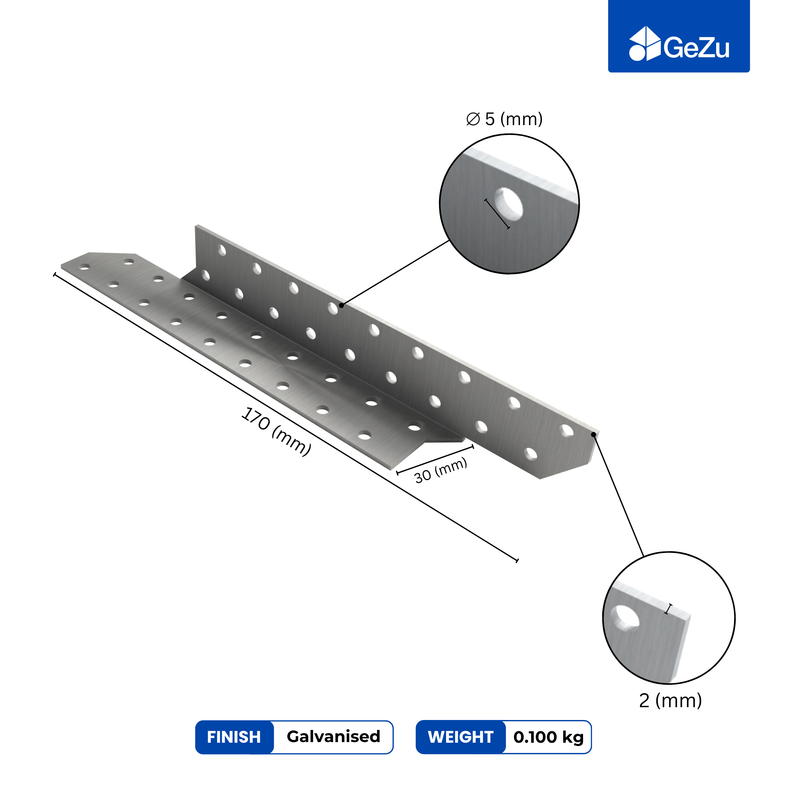
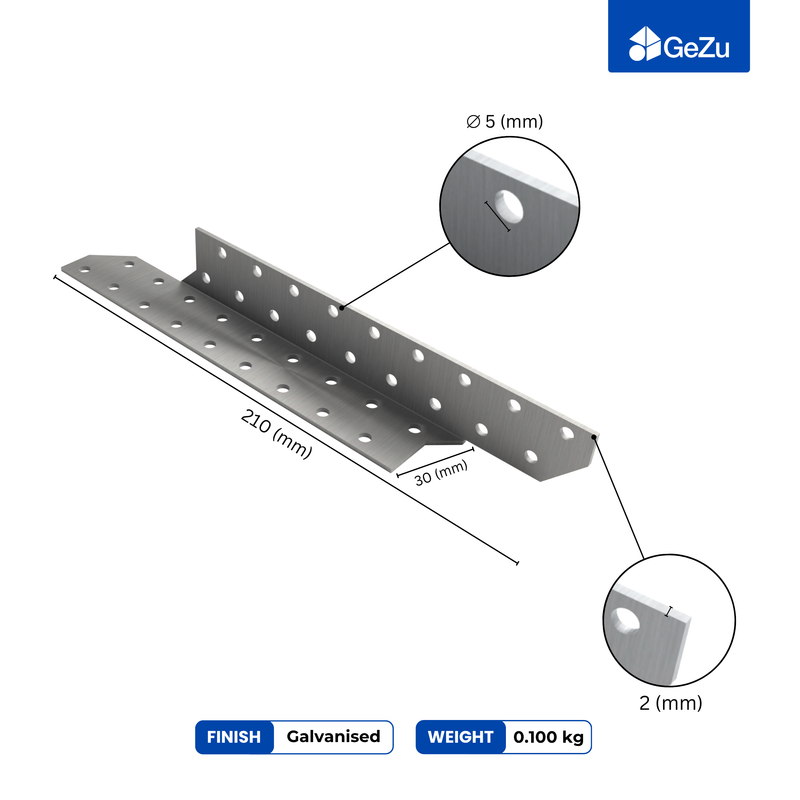
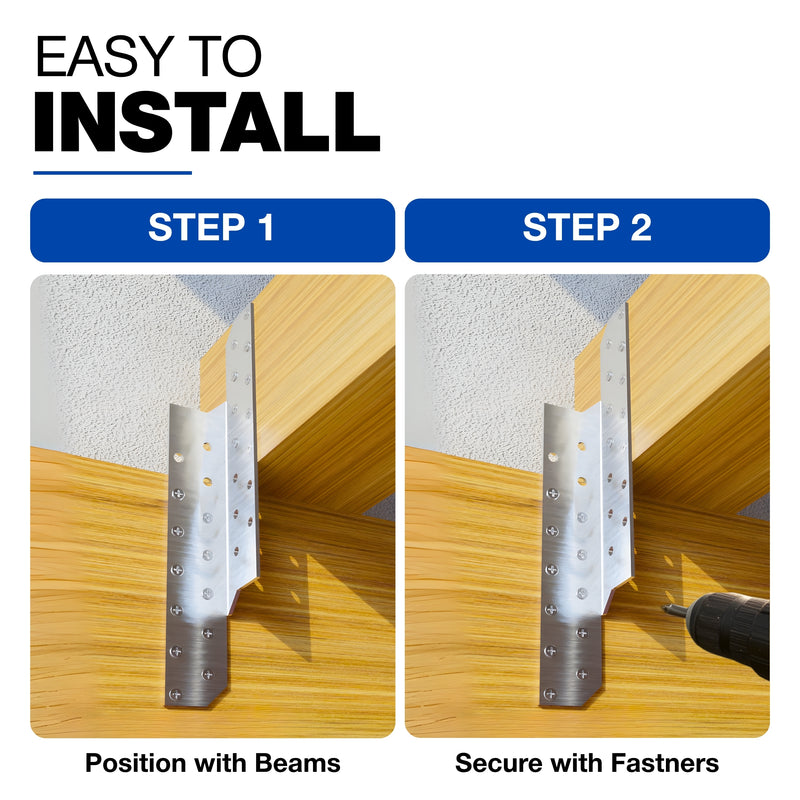
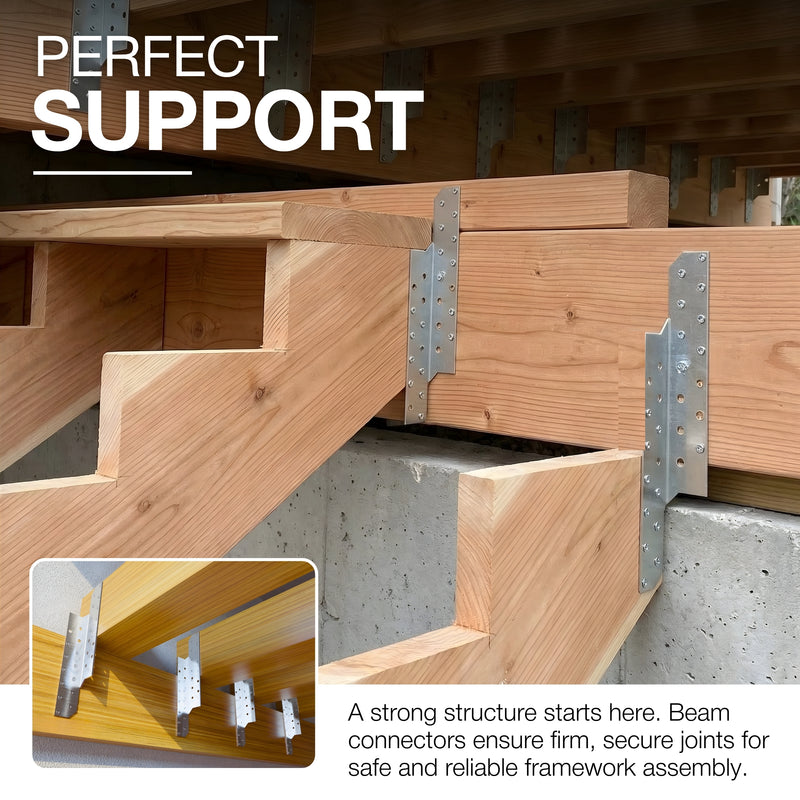
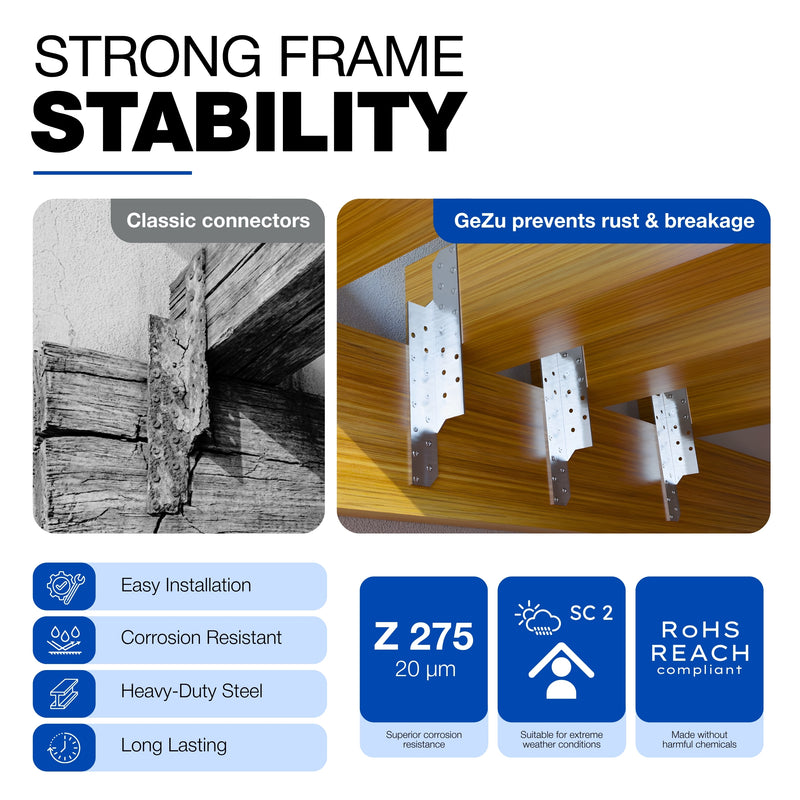
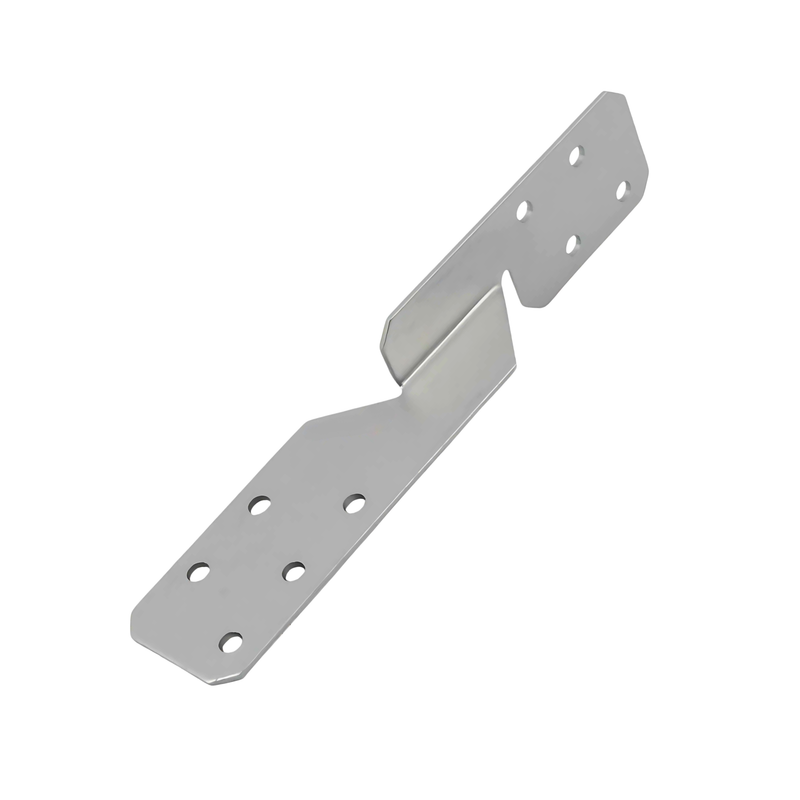
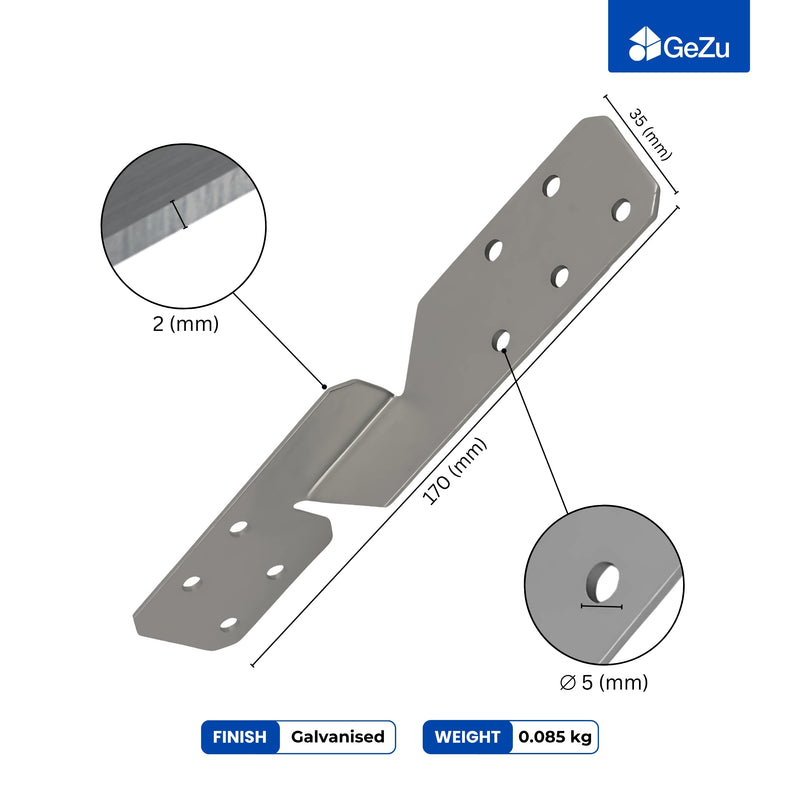
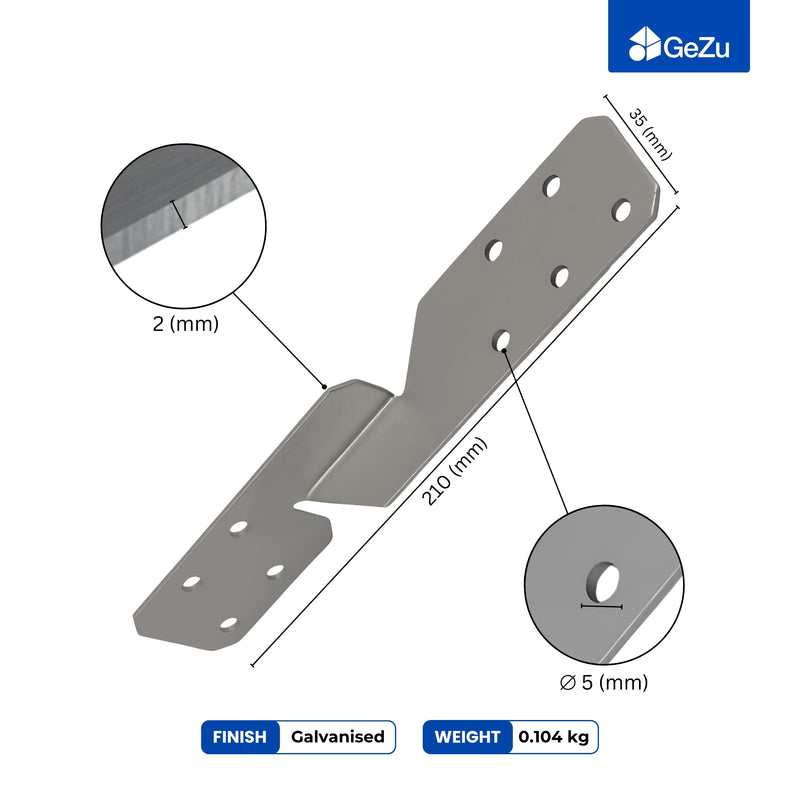
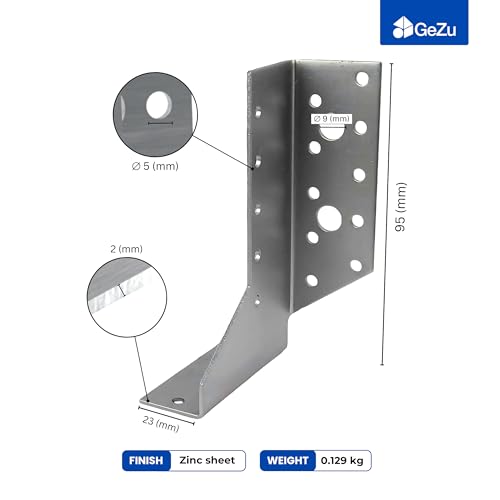
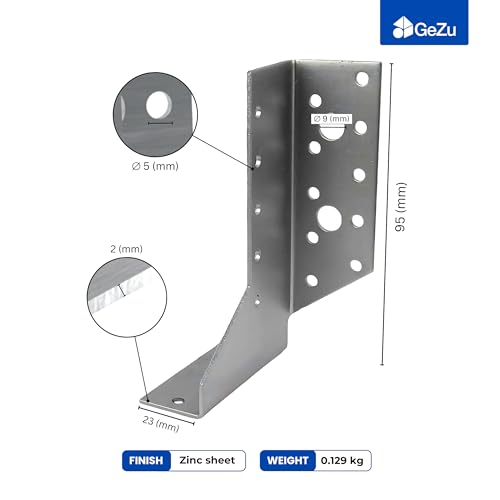
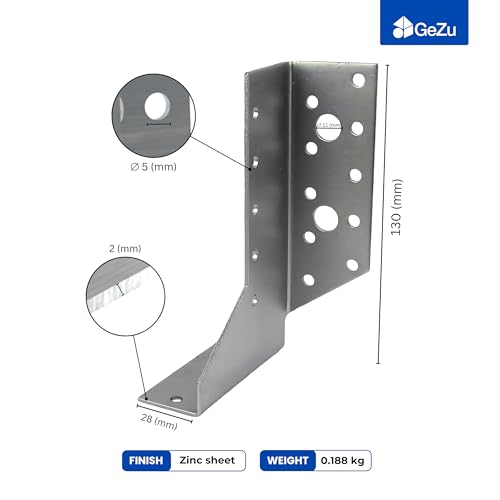
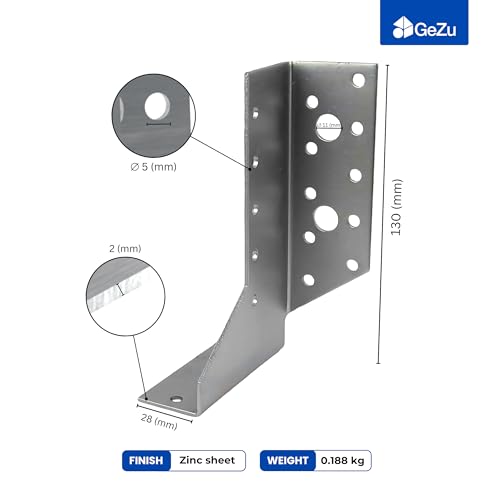
Corner brackets: Metal corner brackets help secure the wooden frame and reinforce the connections at the corners.
-
Butt hinges: Use heavy-duty butt hinges to attach the lid to the back of the storage bench.
-
Wood screws: Choose stainless steel screws to connect the wooden boards and fix the metal brackets.
For the timber, you can use pressure-treated wood, cedar, or another suitable outdoor-grade timber. These options offer better resistance to moisture and decay.
How to Build a DIY Outdoor Storage Bench: Step-by-Step Guide
Once you have all the materials and tools ready, you can start building your wooden storage bench. We'll use a simple box design with large wooden boards, metal corner brackets and butt hinges. This approach requires fewer cuts and makes assembly easier.
Step 1: Measure and Cut the Wooden Boards
First, decide the dimensions of your storage bench. The reference design has an approximate length of 48 1/2 inches and a depth of 23 3/4 inches.
For this project, prepare:
-
2 large boards for the front and back.
-
2 large boards for the left and right sides.
-
1 board or panel for the bottom.
-
1 board for the top lid.
-
4 block pieces for feet.
Measure each section carefully and mark the cutting points with a pencil. Use a circular saw to cut the boards according to your required dimensions.
Step 2: Assemble the Wooden Frame Using Corner Brackets
Start by positioning the two front and back boards with the two side boards to create a rectangular box.
Place the side boards between the front and back boards and align all four corners.
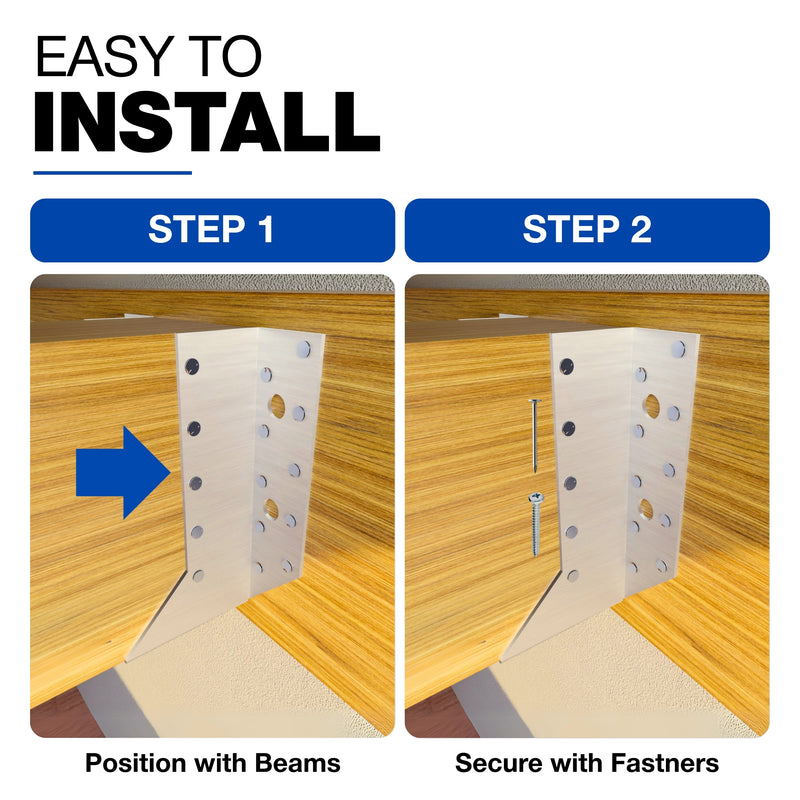
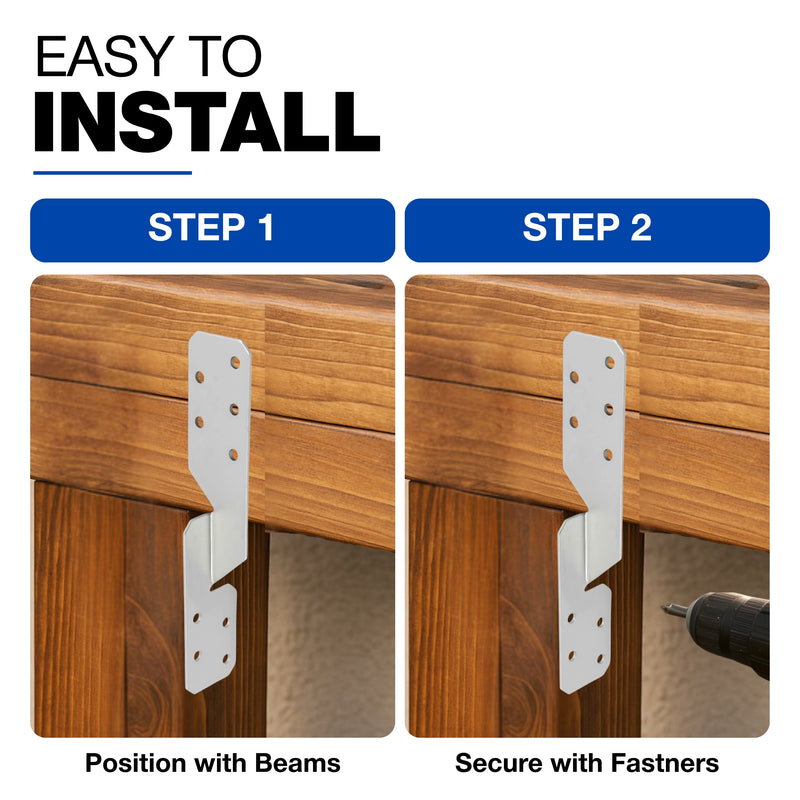
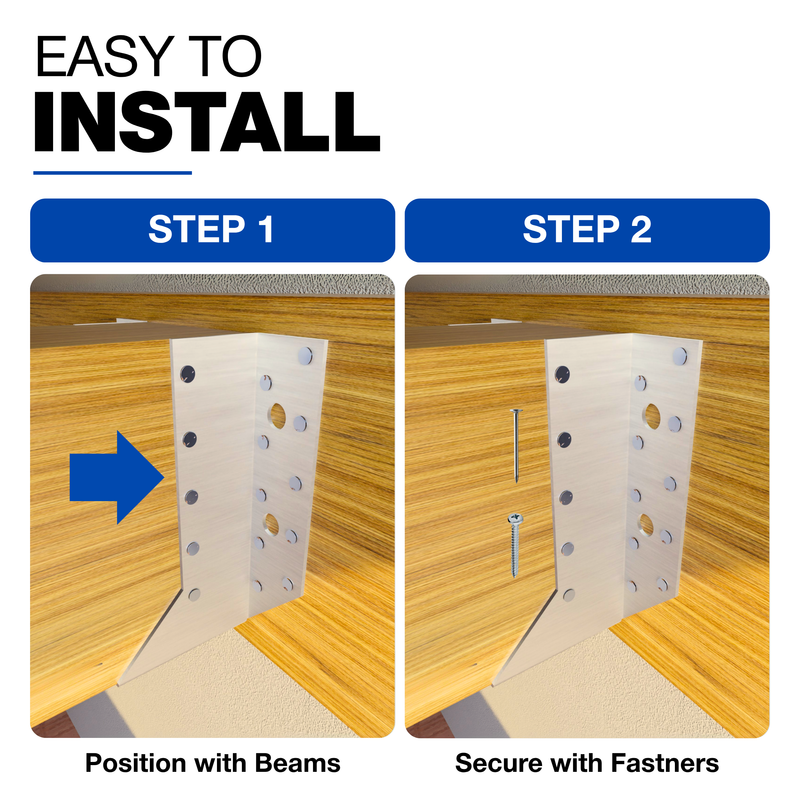
Now, use metal angle brackets to connect the wooden panels. Position the brackets on the inside of each corner and mark the screw holes.
Drill pilot holes where necessary and secure the brackets using suitable wood screws.
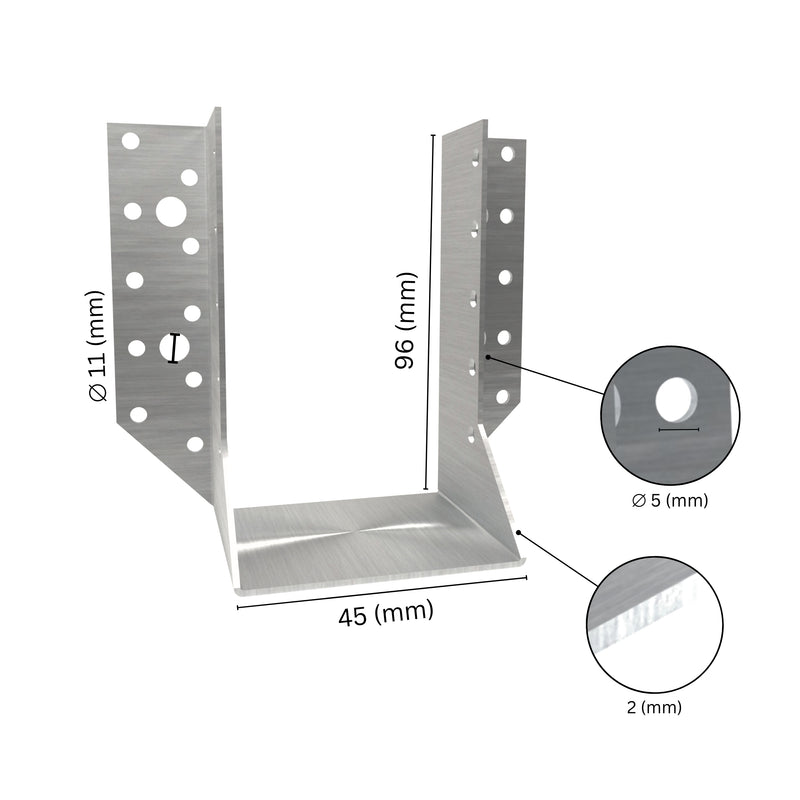
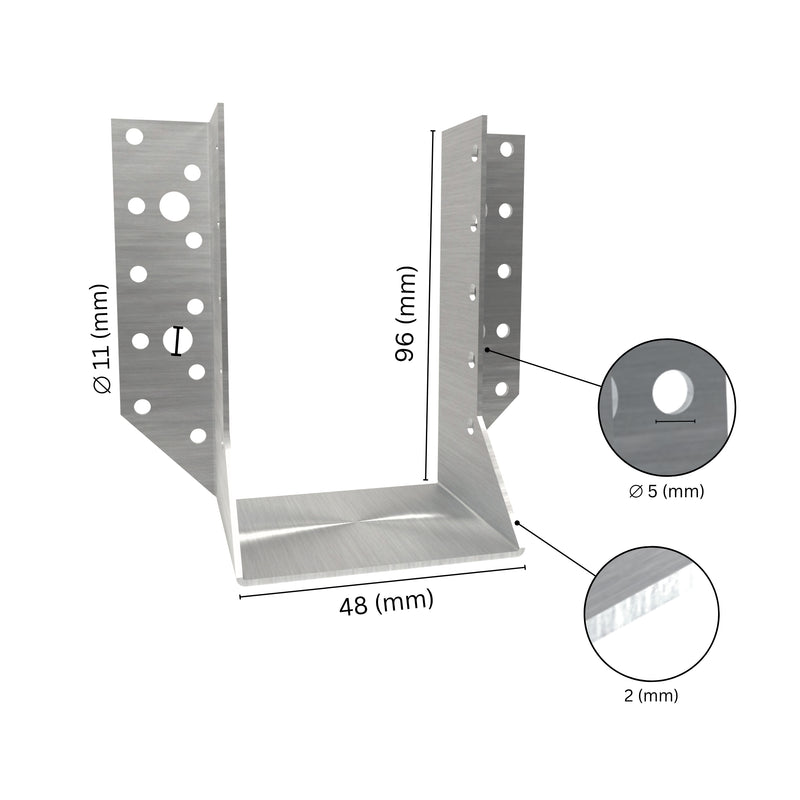
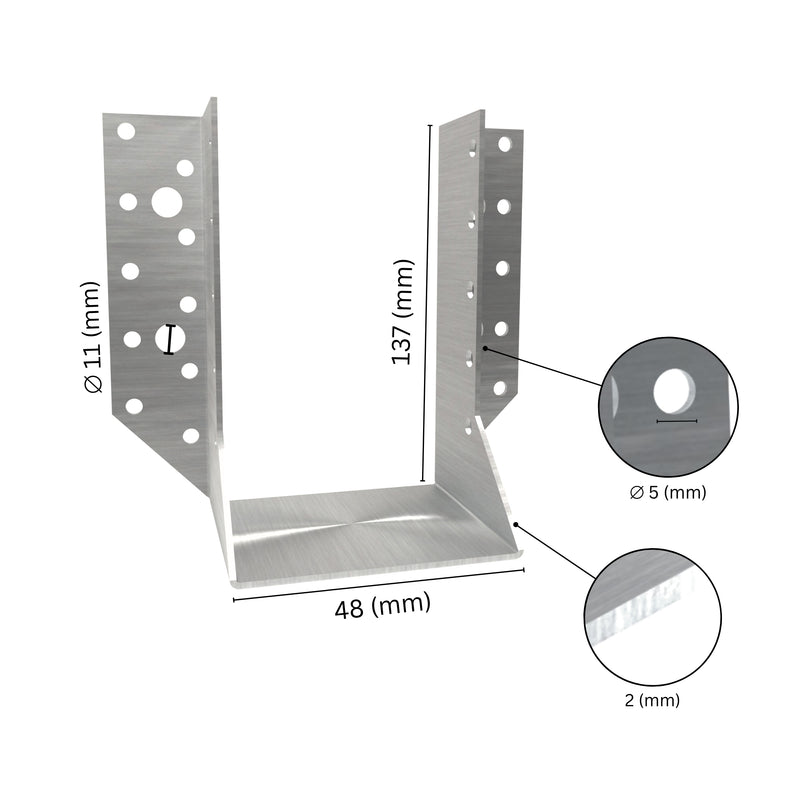
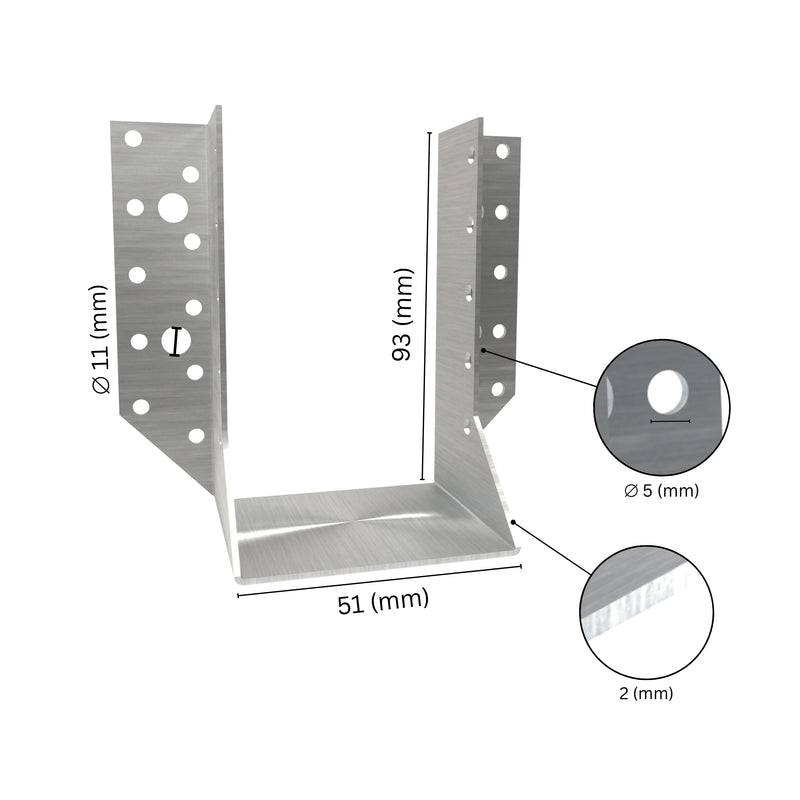
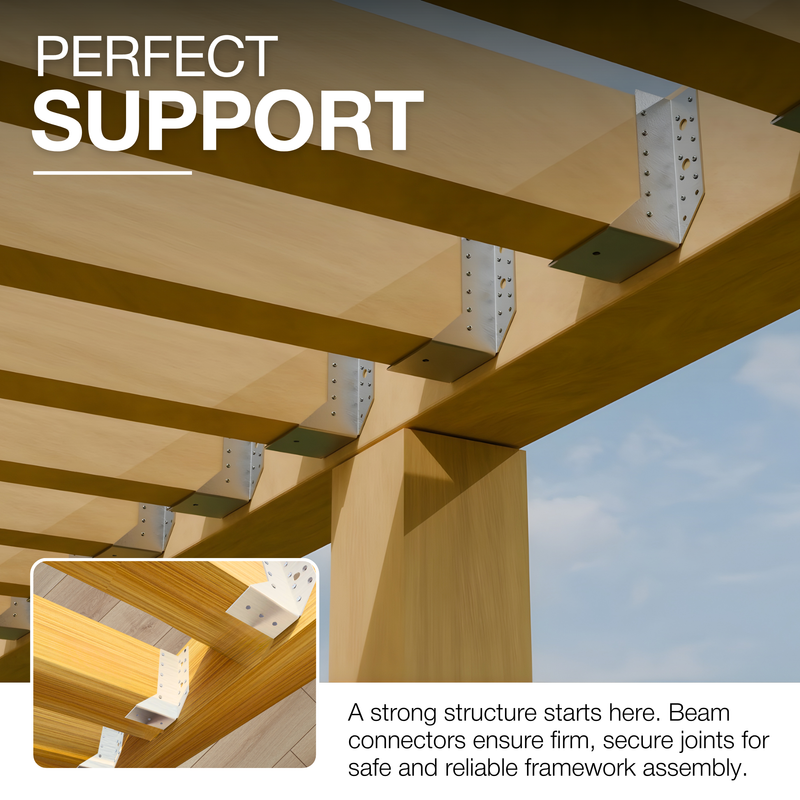
Corner brackets help join the boards at right angles and reinforce the connections. Use brackets of suitable dimensions and thickness for the timber.
Check that the structure is square before tightening all the screws.
Step 3: Attach the Bottom Panel
Measure the inside dimensions of the wooden box and cut the bottom panel accordingly.
Place it inside the frame and secure it to suitable timber support rails using wood screws.
For outdoor use, consider leaving small drainage openings or gaps to prevent water from collecting inside the storage compartment.
You can also add internal support pieces underneath the bottom panel to help carry the stored weight.
Step 4: Attach the Wooden Feet
Cut four small timber blocks to use as feet for your outdoor storage bench. Position one at each corner underneath the base.
Turn the storage box carefully onto its side or upside down. Align each wooden foot with the corners and secure it to the base using suitable wood screws.
Make sure all four feet are level and firmly attached. They help raise the bench above the ground, reduce direct contact with wet surfaces and provide additional support.
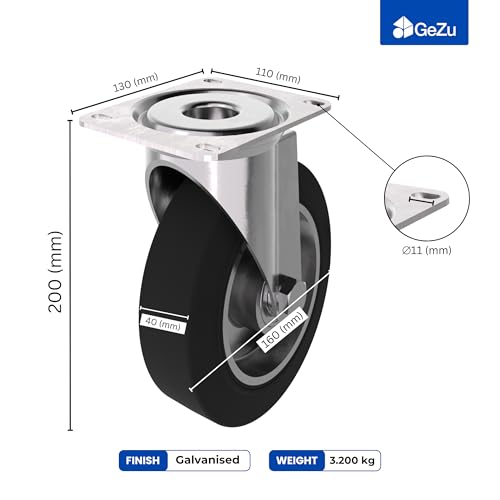
You can also attach heavy-duty castor wheels. Castors make the storage bench easier to move whenever you need to rearrange your outdoor space. Choose swivel castors for better manoeuvrability. If you want the bench to stay in place, opt for castors with brakes.
Step 4: Prepare the Top Lid
The top lid is what makes this a storage bench rather than a regular garden bench.
Now, prepare the lid for your storage bench.
Arrange the wooden boards together to create a flat rectangular top. You can connect them with support battens underneath to keep them aligned.
Make sure the lid fits the top of the storage box. A small overhang can make it easier to lift.
Sand the edges and surface to remove splinters and rough areas.
Step 5: Attach the Lid Using Butt Hinges
Position the lid on top of the wooden box and align its back edge with the rear panel.
Place the butt hinges at suitable intervals along the back edge. Mark the fixing holes on both the lid and the rear panel.
Drill pilot holes and secure the hinge leaves with suitable screws. One leaf attaches to the lid, while the other connects to the back of the storage bench.
Open and close the lid to check its movement. It should lift smoothly without rubbing against the frame.
Step 6: Sand and Finish the Storage Bench
Your wooden storage bench is now assembled.
Sand the entire surface, paying attention to the corners, edges and seating area. Remove dust before applying an exterior wood stain, paint or protective sealant.
Choose a weather-resistant finish to protect the timber against moisture and sunlight.
Allow the finish to dry completely before using the bench.
Finally, check that the corner brackets, butt hinges and screws are secure. Test the bench for stability before using it as seating.
What Can You Store in an Outdoor Storage Bench?
One of the main advantages of a garden storage bench is its versatility. The hidden compartment provides convenient storage for items you regularly use outdoors.
Here are some practical storage ideas:
1. Garden Tools and Accessories
Store small gardening tools, gloves, hand trowels, plant labels and other gardening accessories in one place.
2. Outdoor Cushions and Blankets
Keep patio cushions, seat pads and lightweight blankets inside the storage compartment when they are not in use. Make sure they are completely dry before storing them.
3. Children's Outdoor Toys
You can use the DIY storage box to organise outdoor toys, balls and other play accessories. This makes it easier to keep your garden tidy.
4. Patio Accessories
Store small outdoor decorations, table accessories and other items that you want to keep close to your seating area.
5. Pool Accessories
Use the bench to store suitable poolside accessories, such as goggles and pool toys. Keep wet items separate and allow them to dry before storage.
Final Thoughts
That's all there is to it. Follow these steps, assemble the wooden panels, reinforce the corners with metal brackets, and attach the hinged lid using heavy-duty butt hinges. With this easy guide, you can make a DIY outdoor storage bench at home.
The best part is that you don't need complicated woodworking techniques to make this bench. With basic tools, you can build a useful piece of garden furniture yourself.
So, if your patio or garden needs extra storage, this DIY wooden storage bench is a practical solution. It gives you a dedicated place to keep outdoor essentials while providing additional seating whenever you need it.
Frequently Asked Questions
What is the best wood for an outdoor storage bench?
Pressure-treated timber, cedar, and redwood are popular choices for outdoor storage benches. They offer better resistance to moisture and decay than untreated indoor wood.
What hinges should I use for a DIY storage bench?
Heavy-duty butt hinges are a suitable option for attaching the wooden lid to the storage box. Choose corrosion-resistant hinges that can support the weight and size of your lid.
Why use corner brackets when building a storage bench?
Corner brackets reinforce the connections between wooden panels and frame sections. They help improve the stability of the storage box and provide additional support at the corners.
How do I protect a wooden storage bench from rain?
Apply an exterior-grade wood sealant, stain, or paint. Also, use corrosion-resistant hardware, allow proper drainage, and keep the bench slightly elevated above wet ground.
Can I use a DIY storage bench indoors?
Of course. You can use the DIY storage bench for an entryway, bedroom, or hallway. Simply adjust the dimensions and choose a finish that matches your indoor furniture.