How to Build a Pergola With Post Connectors (No Joinery Needed)

You don't have to cut a single mortise to build a pergola that still stands straight in twenty years. Buy steel post connectors sized to your timber, bolt them on, and the right angles take care of themselves. For a standard four-post frame on flat ground, that's a weekend of work and roughly €120–€180 in hardware.
We pack these connectors in Eindhoven and answer the emails about them, so this guide is written around the questions that actually come in: what size to order, how deep the posts go, what to do when the patio is already paved.
What a bracket-built pergola actually is
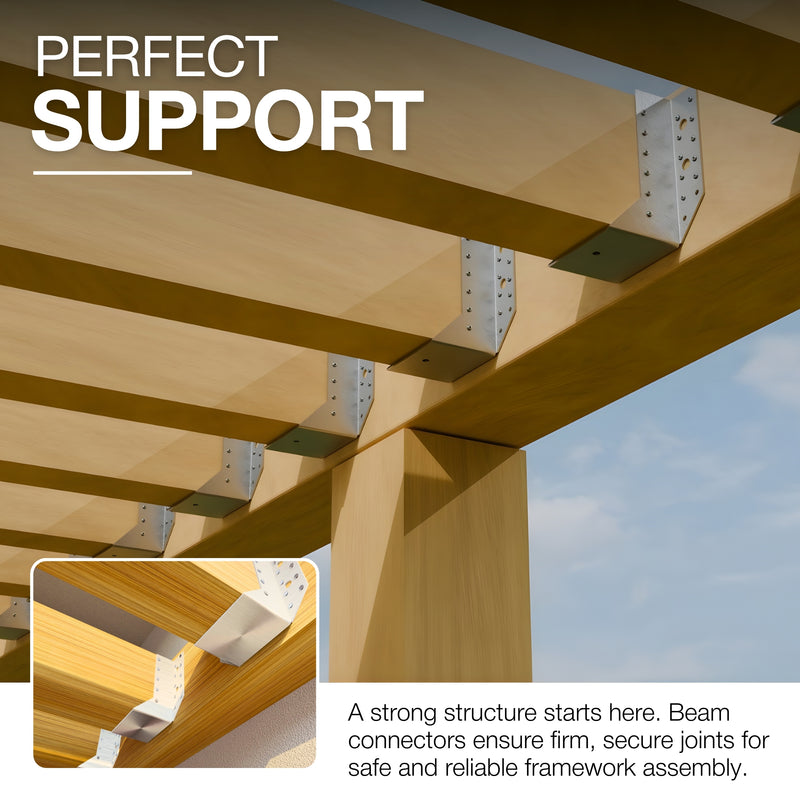
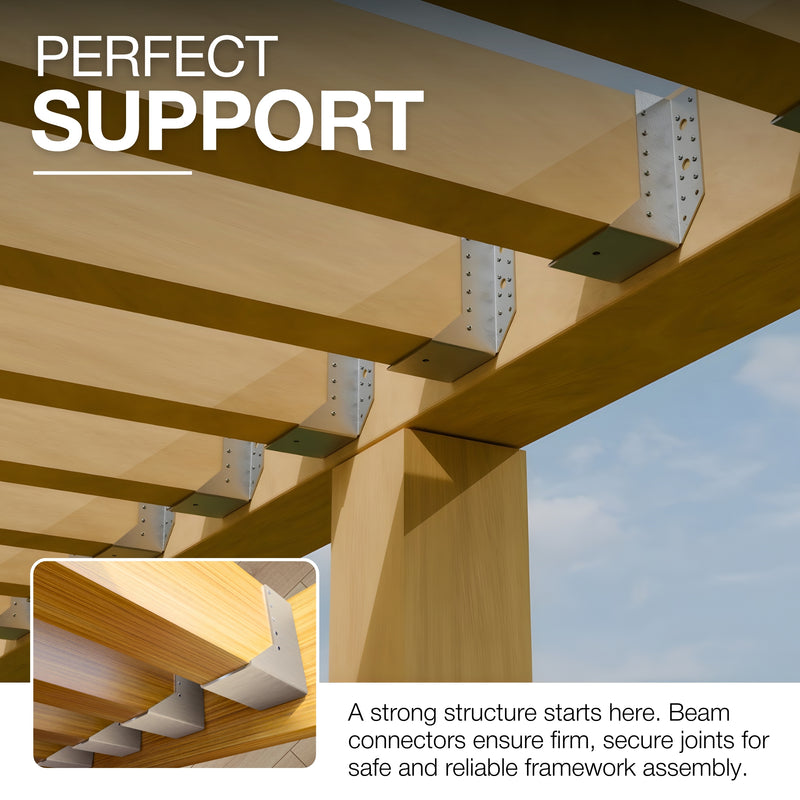
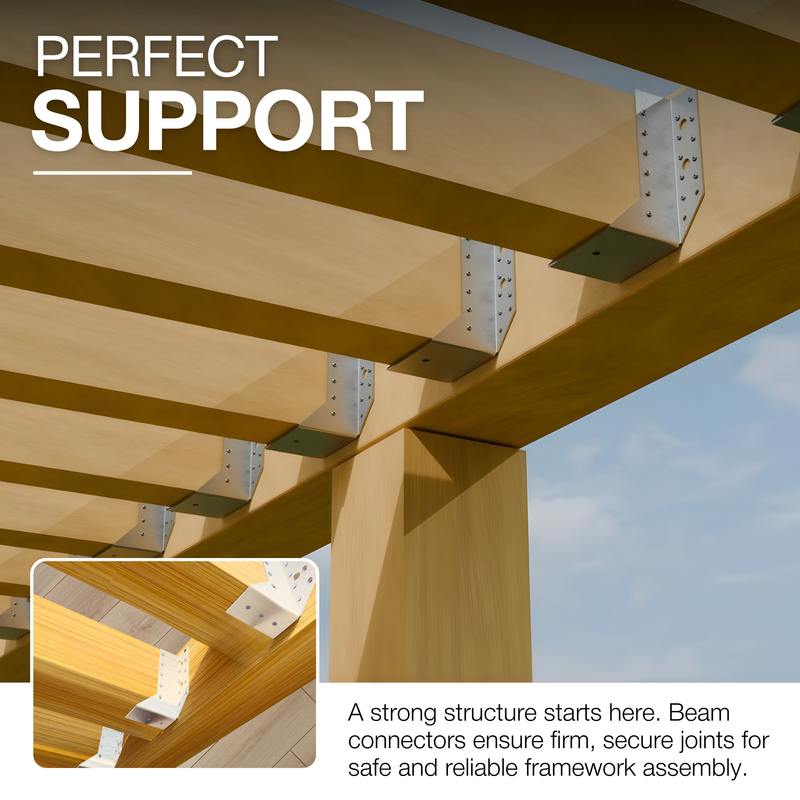
Four (or six) vertical posts. Two long beams sitting on top of them. A set of rafters running across the beams at even spacing. That's the whole structure.
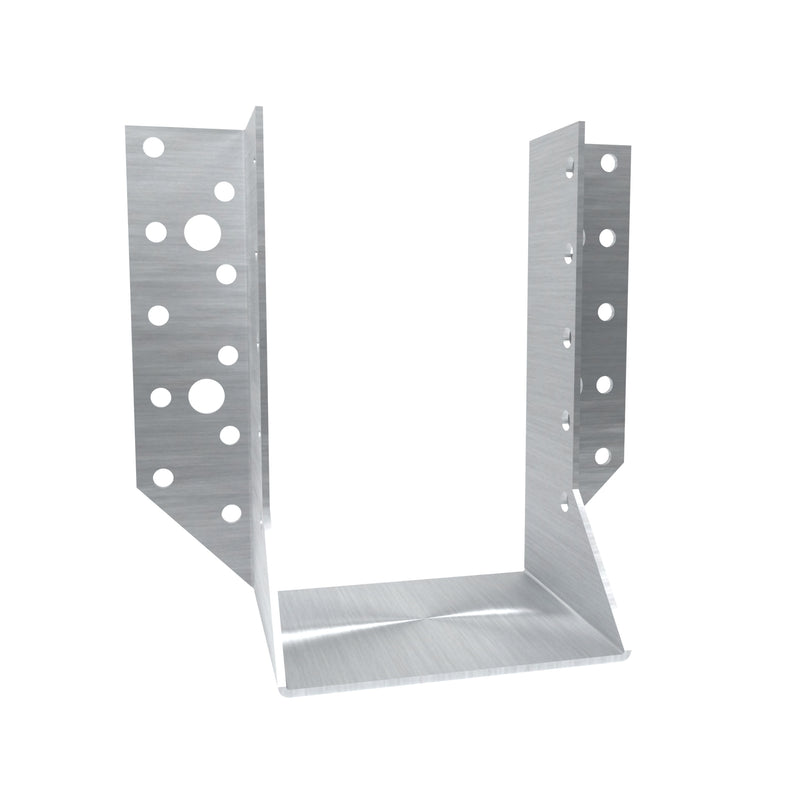
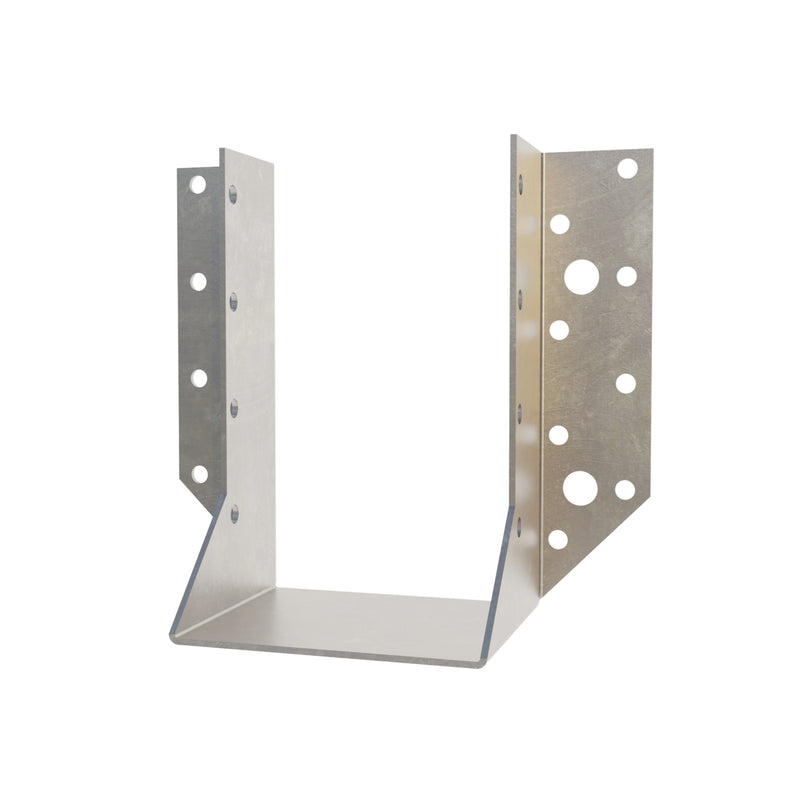
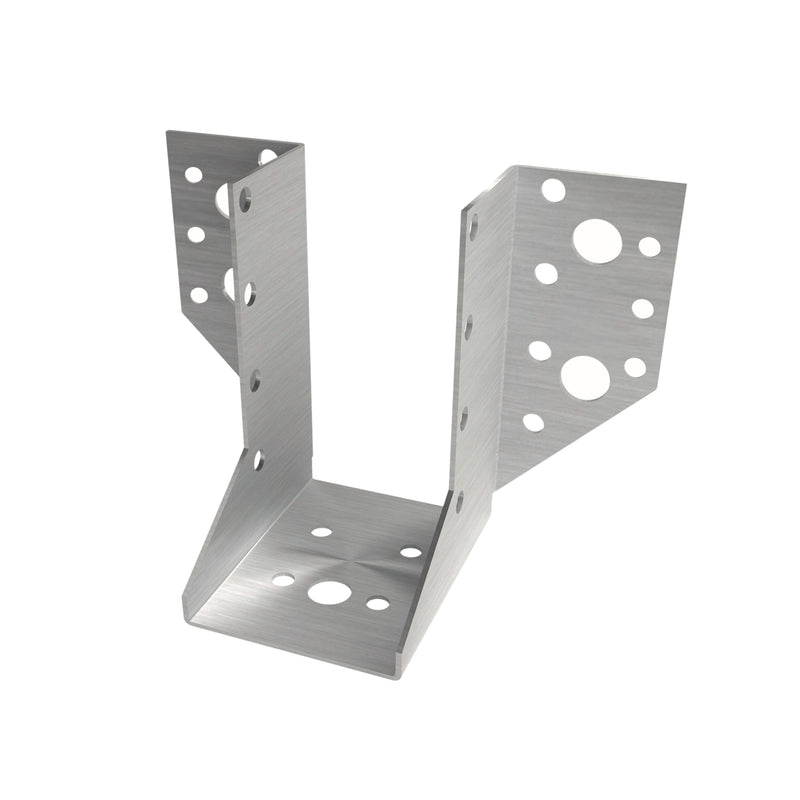
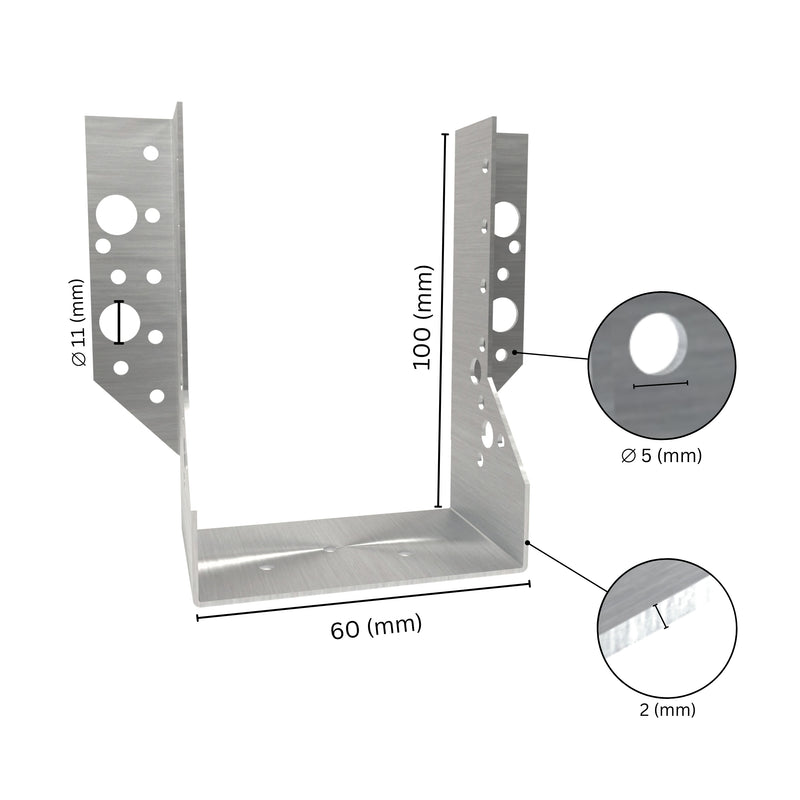
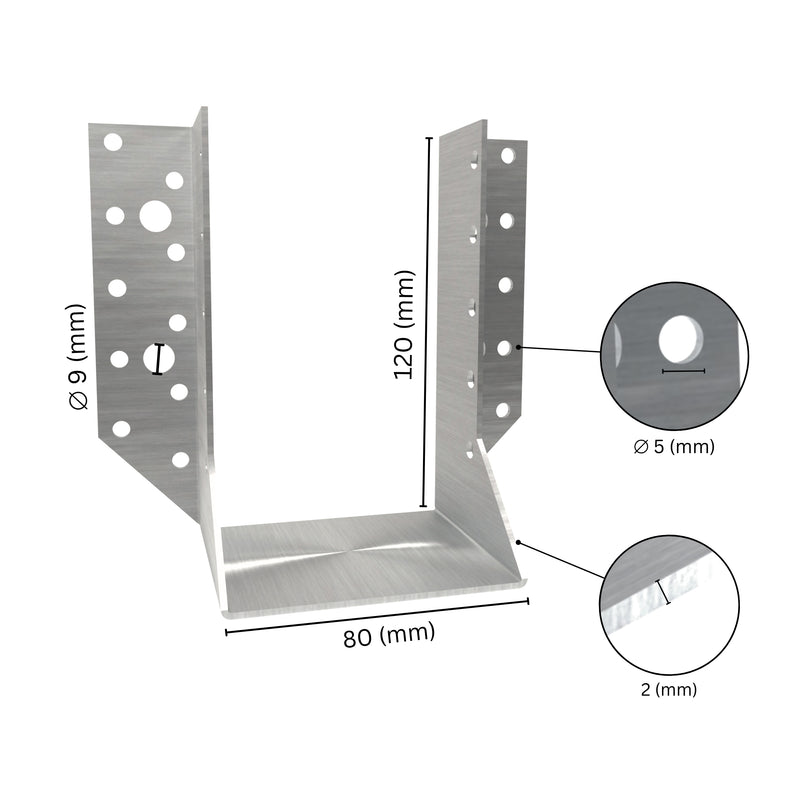
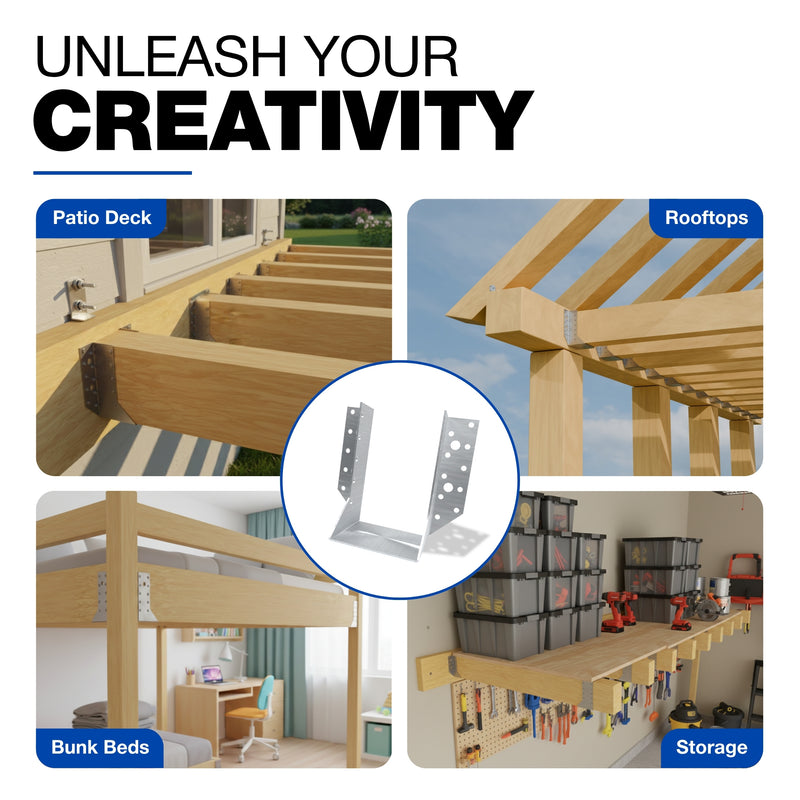
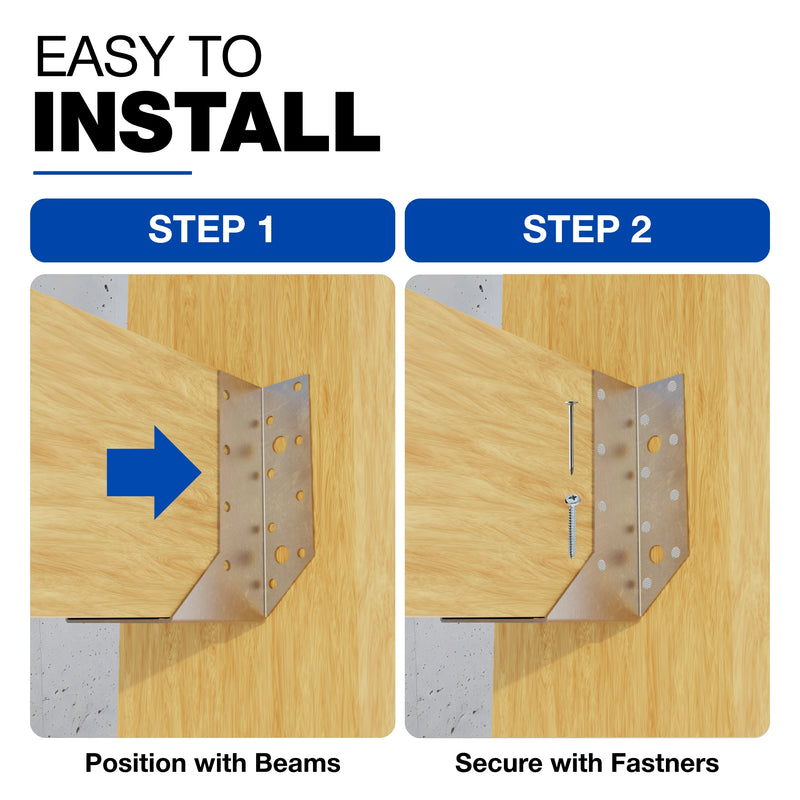
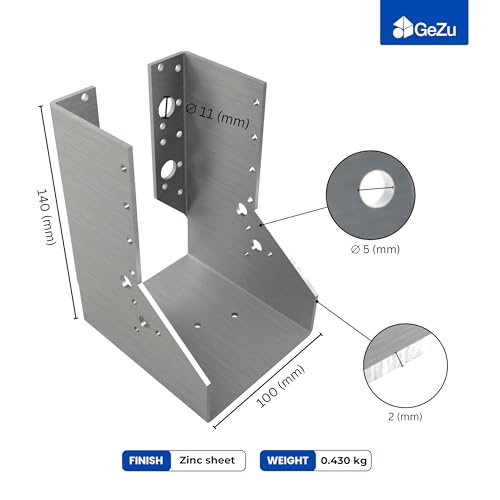
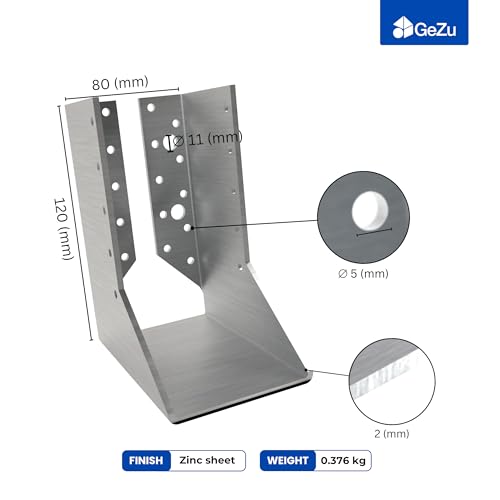
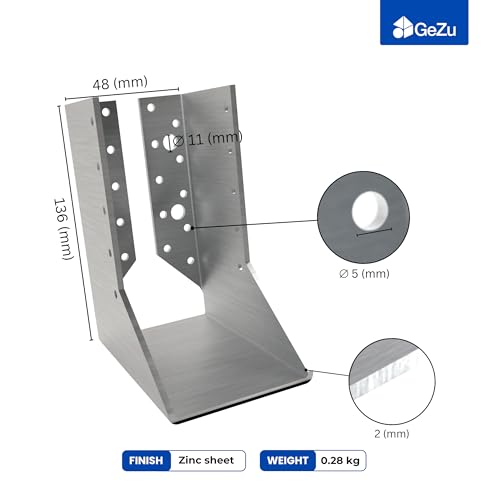
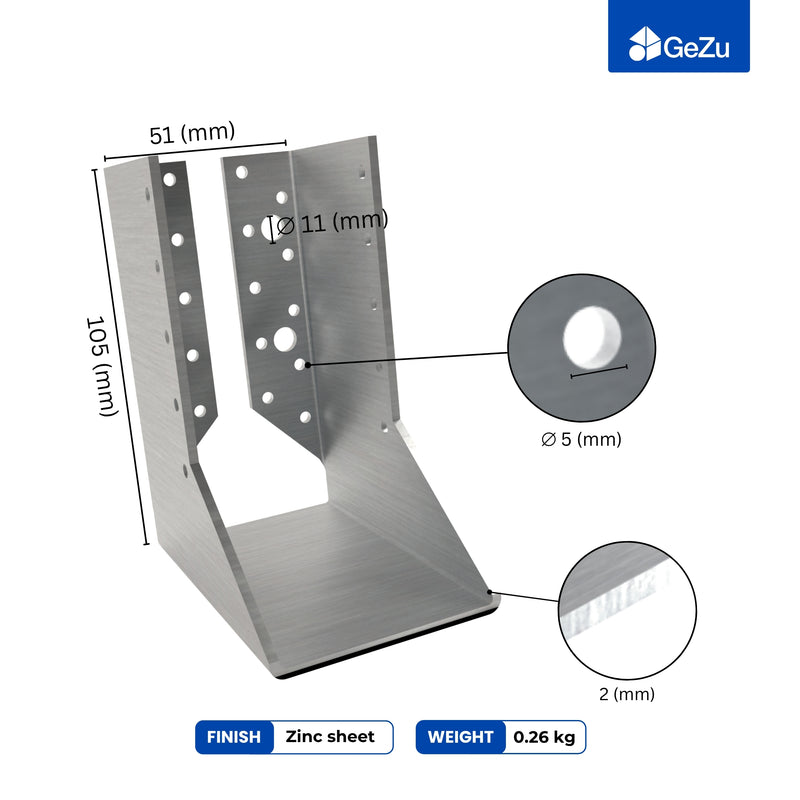
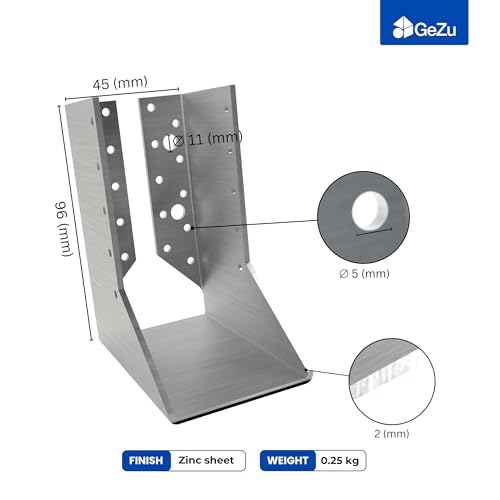
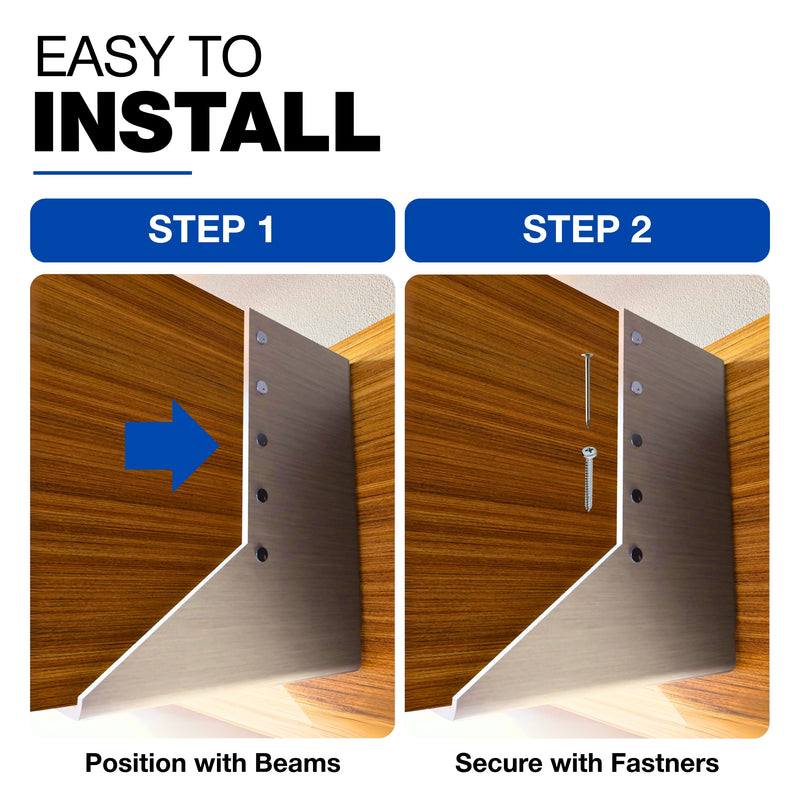
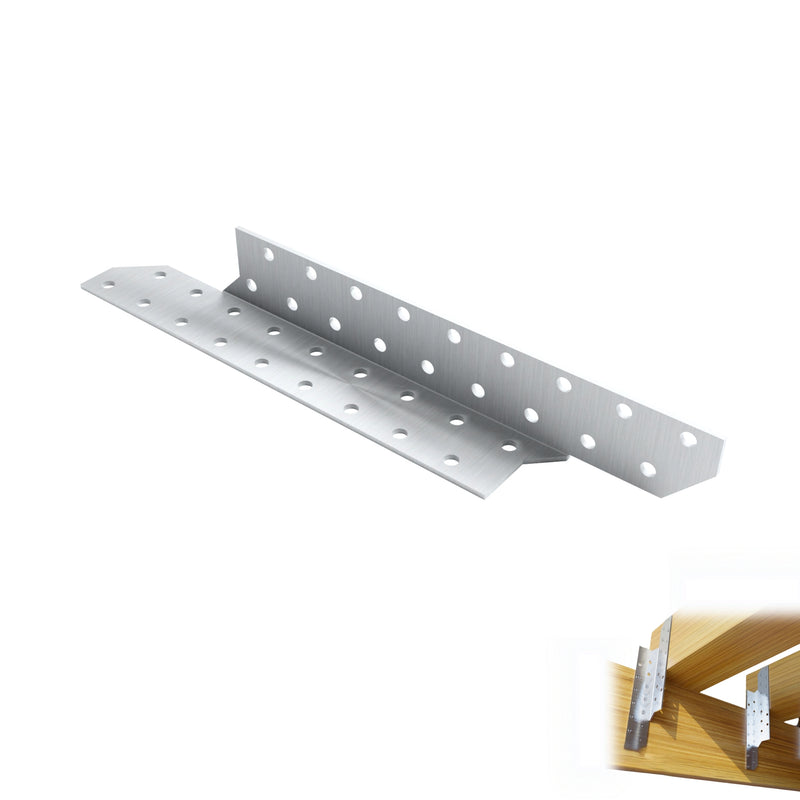
Traditional builds join those pieces with cut notches and half-laps, which is fine if you own a good saw and enjoy the practice. The bracket approach replaces every joint with a folded or welded steel sleeve that the timber slides into. You drill, you bolt, you move on. Nothing has to be cut to a fraction of a millimetre, which is the part that stops most people from starting.
The trade-off is honest: you can see the steel. Some people want that industrial look and pick anthracite grey or black on purpose. If you want a pergola where no metal is visible, this isn't your method.
Pick your post size first, because everything follows from it
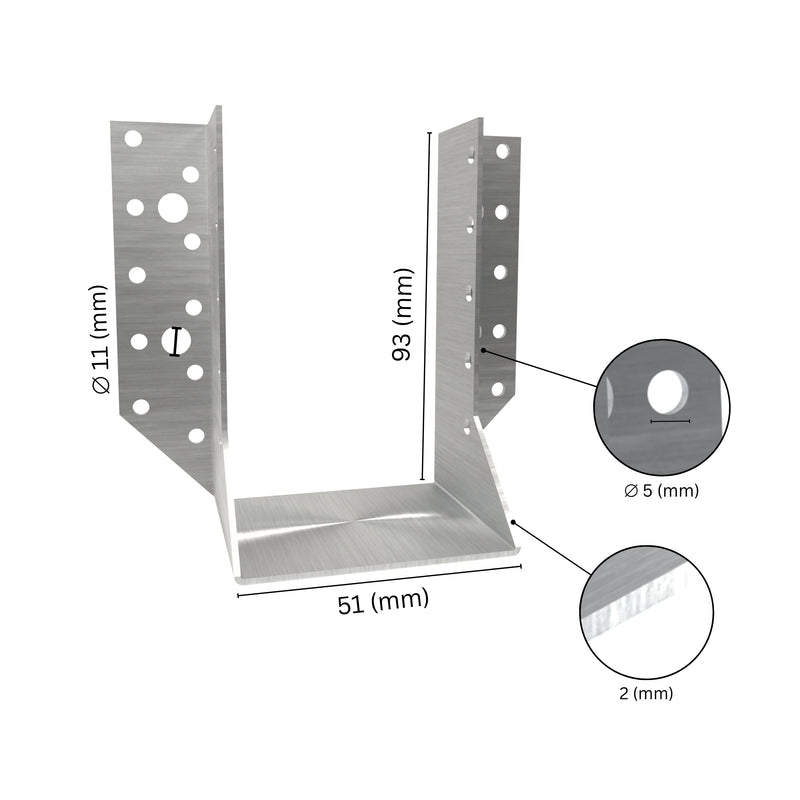
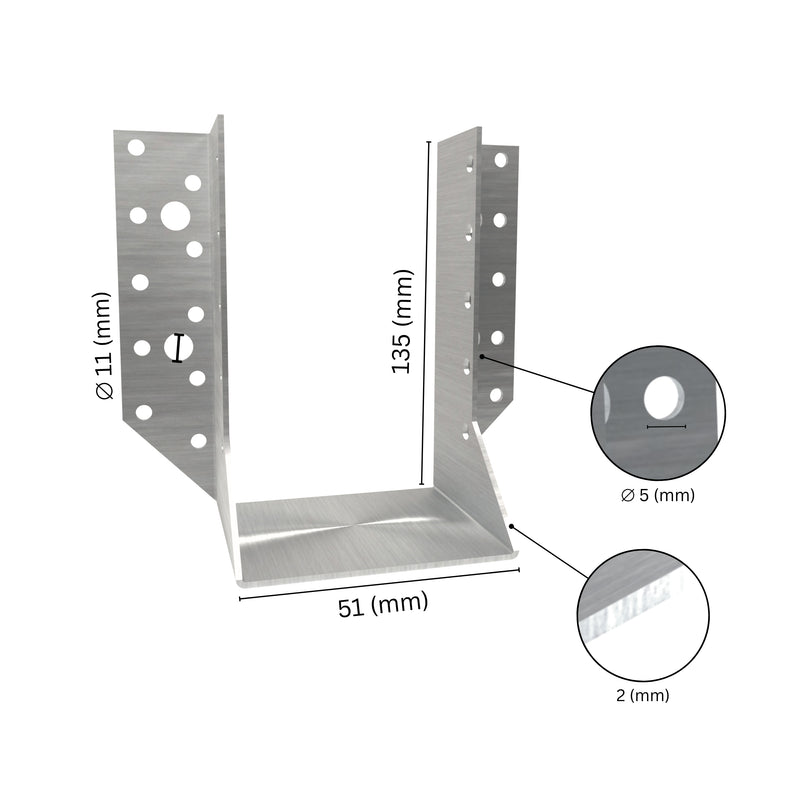
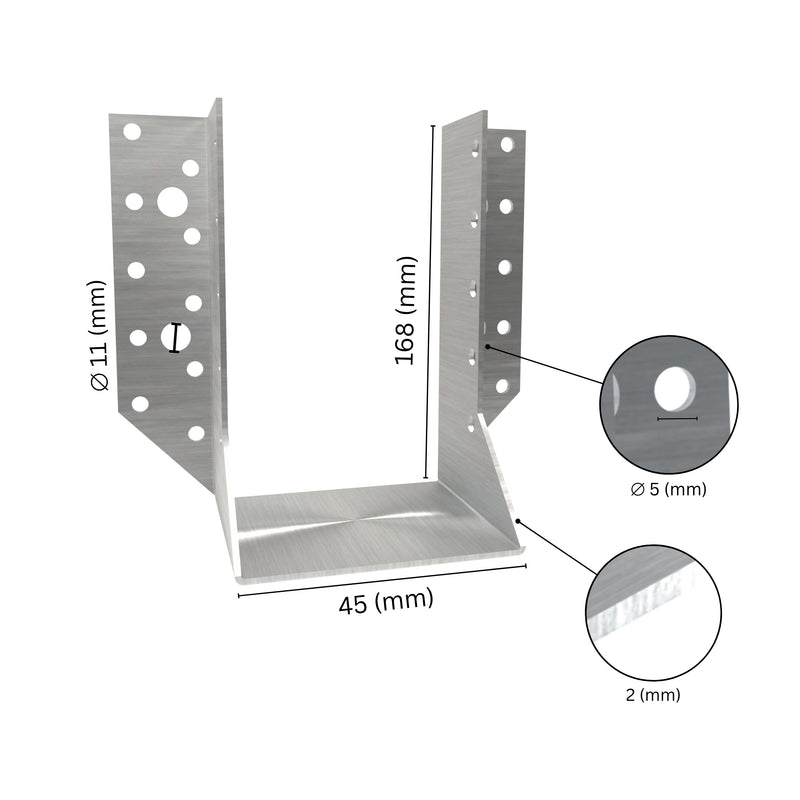
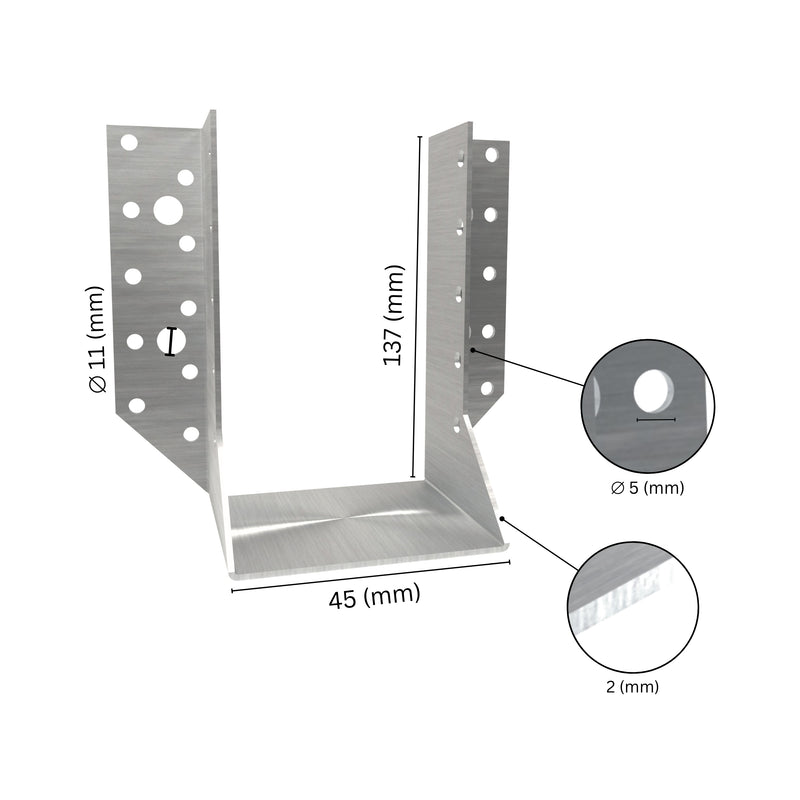
This is the decision that determines every other part you buy. Our pergola fittings come in fixed sleeve sizes, and each one fits exactly one post dimension.
| Connector size | Post it fits | Where people use it |
|---|---|---|
| 71 × 71 mm | 70 × 70 mm planed post | Light shade frames, planters, small patio covers |
| 81 × 81 mm | 80 × 80 mm planed post | The middle ground; common on 3 m spans |
| 91 × 91 mm | 90 × 90 mm planed post | Most garden pergolas, anything carrying a climbing plant |
| 121 × 121 mm | 120 × 120 mm post | Carports, heavy roofed structures, long spans |
The email we answer most often is some version of "why does it say 71 and not 70?" That extra millimetre is deliberate clearance. Steel doesn't stretch and timber swells when it's wet, so a sleeve cut to exactly 70 mm would fight you on installation day and split the post in a wet November.
Which brings up the thing worth doing before you order anything: measure your actual timber with calipers or a decent tape. Rough-sawn stock sold as "9x9" can land anywhere between 86 and 92 mm depending on the mill and how dry it is. Planed stock is much more consistent. If your post measures 88 mm, a 91 × 91 sleeve will rattle slightly until it's bolted, and that's normal. If it measures 93 mm, you need the next size up or a few minutes with a plane.
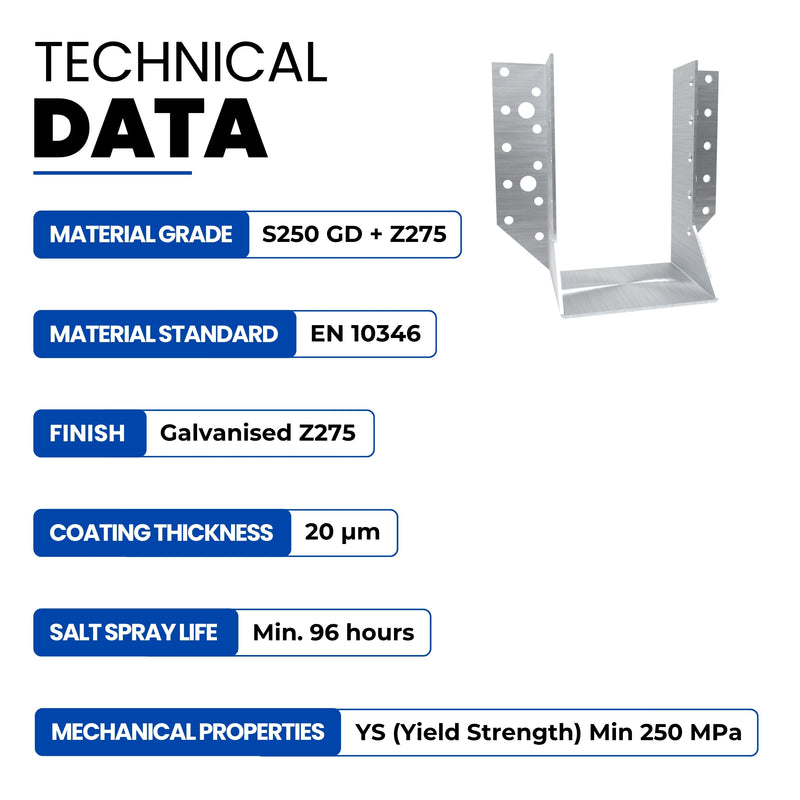
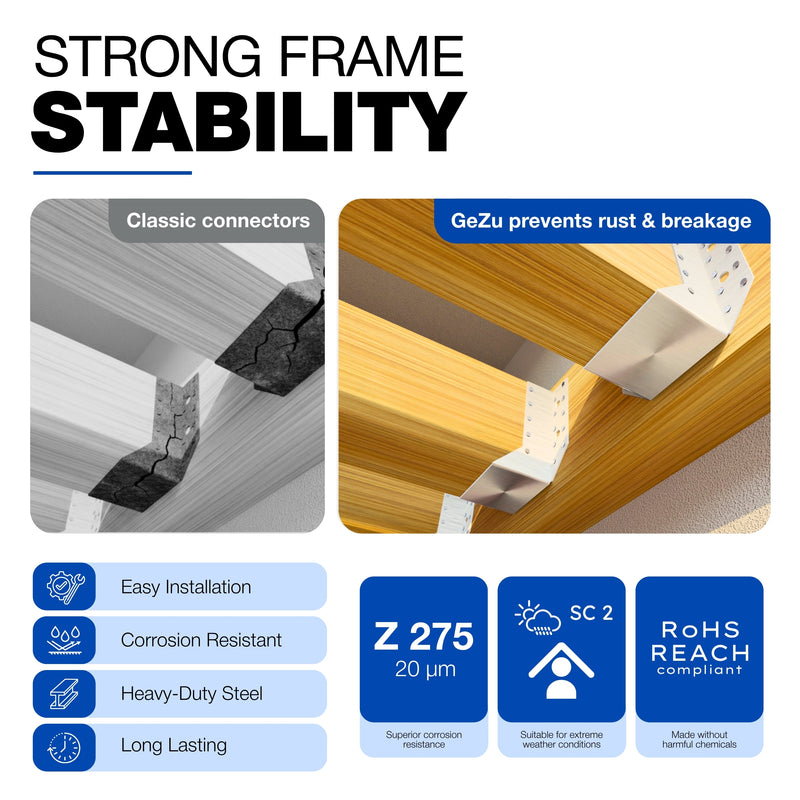
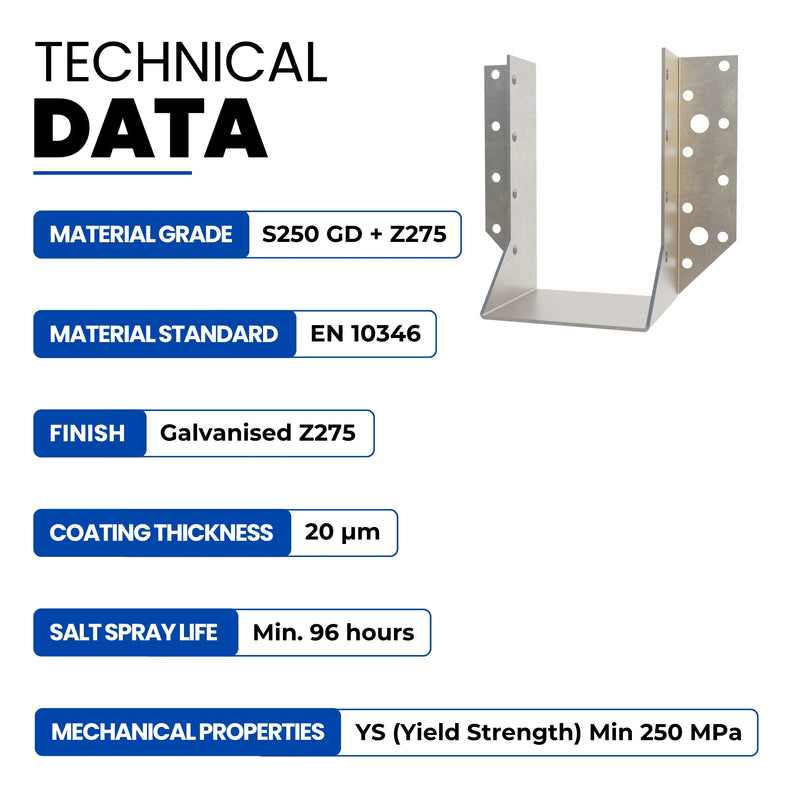
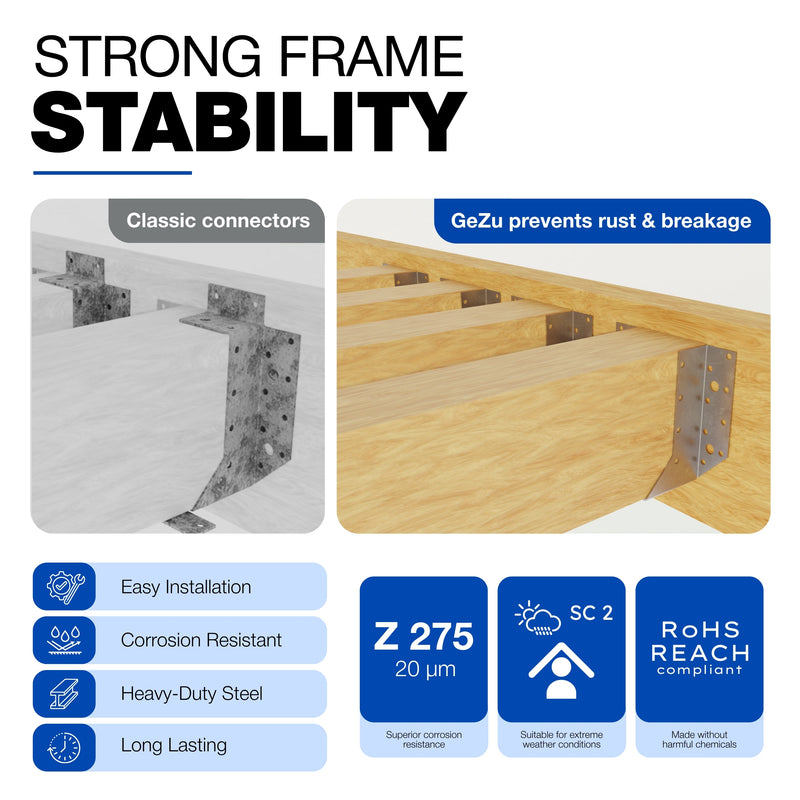
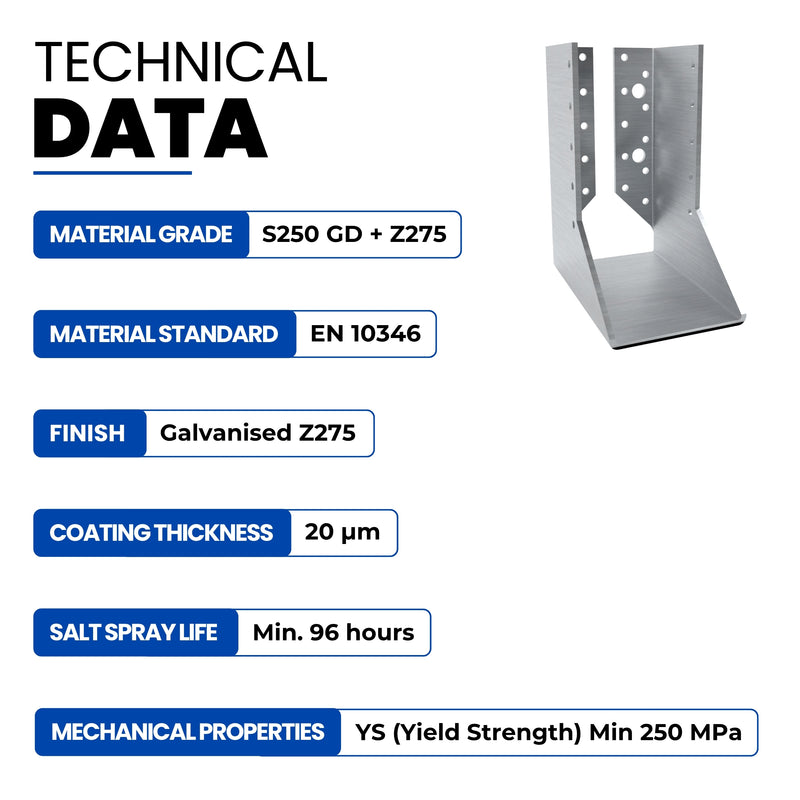
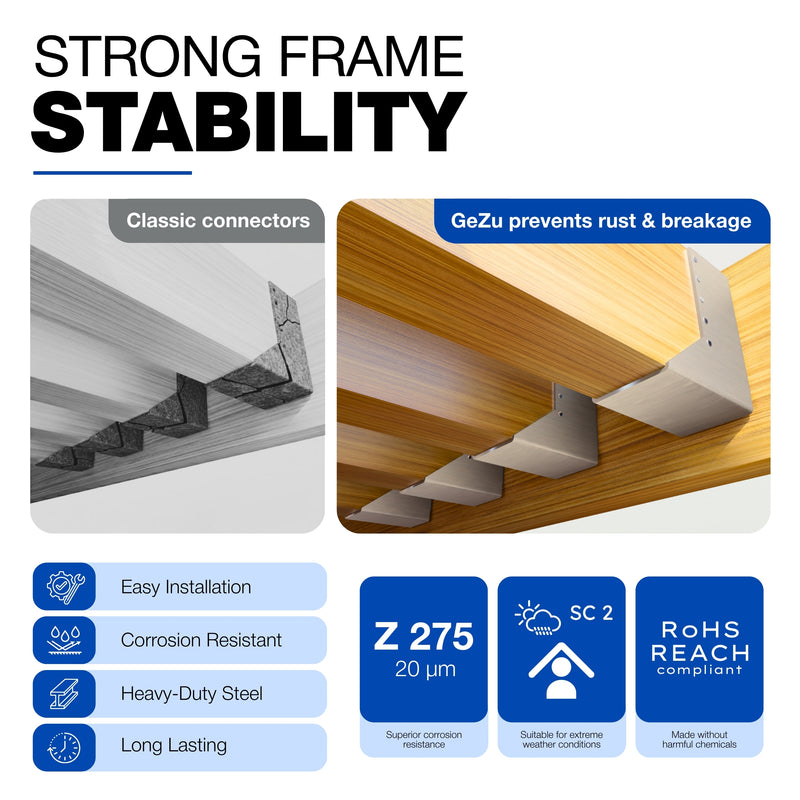
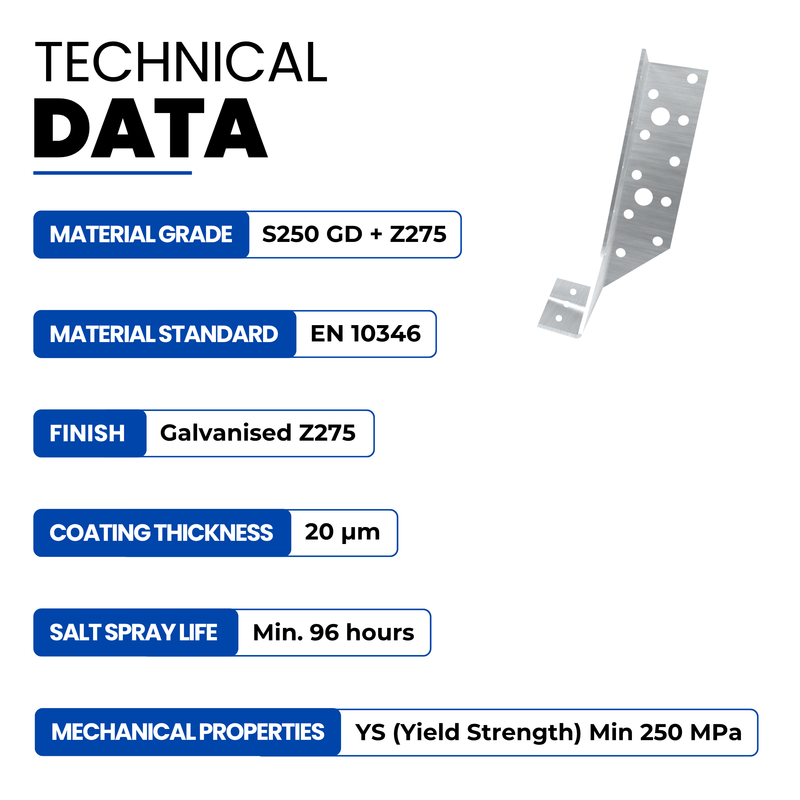
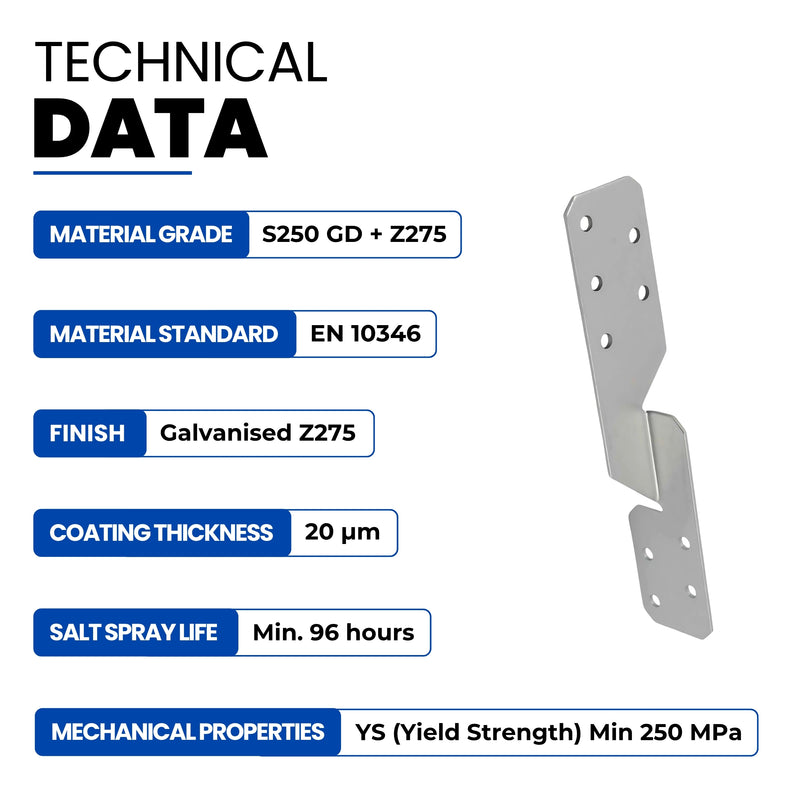
Finish matters too, and not only for looks. Hot dip galvanised is the default for anything outdoors and unpainted. Black and anthracite grey are powder coated over galvanising, so they hold up fine but will chip if you drag a post across them during assembly. Stainless is available on some of the post support range and is worth it within a few kilometres of the coast.
Getting the bases right
The base is where pergolas fail. Not the joints, not the timber. The base.
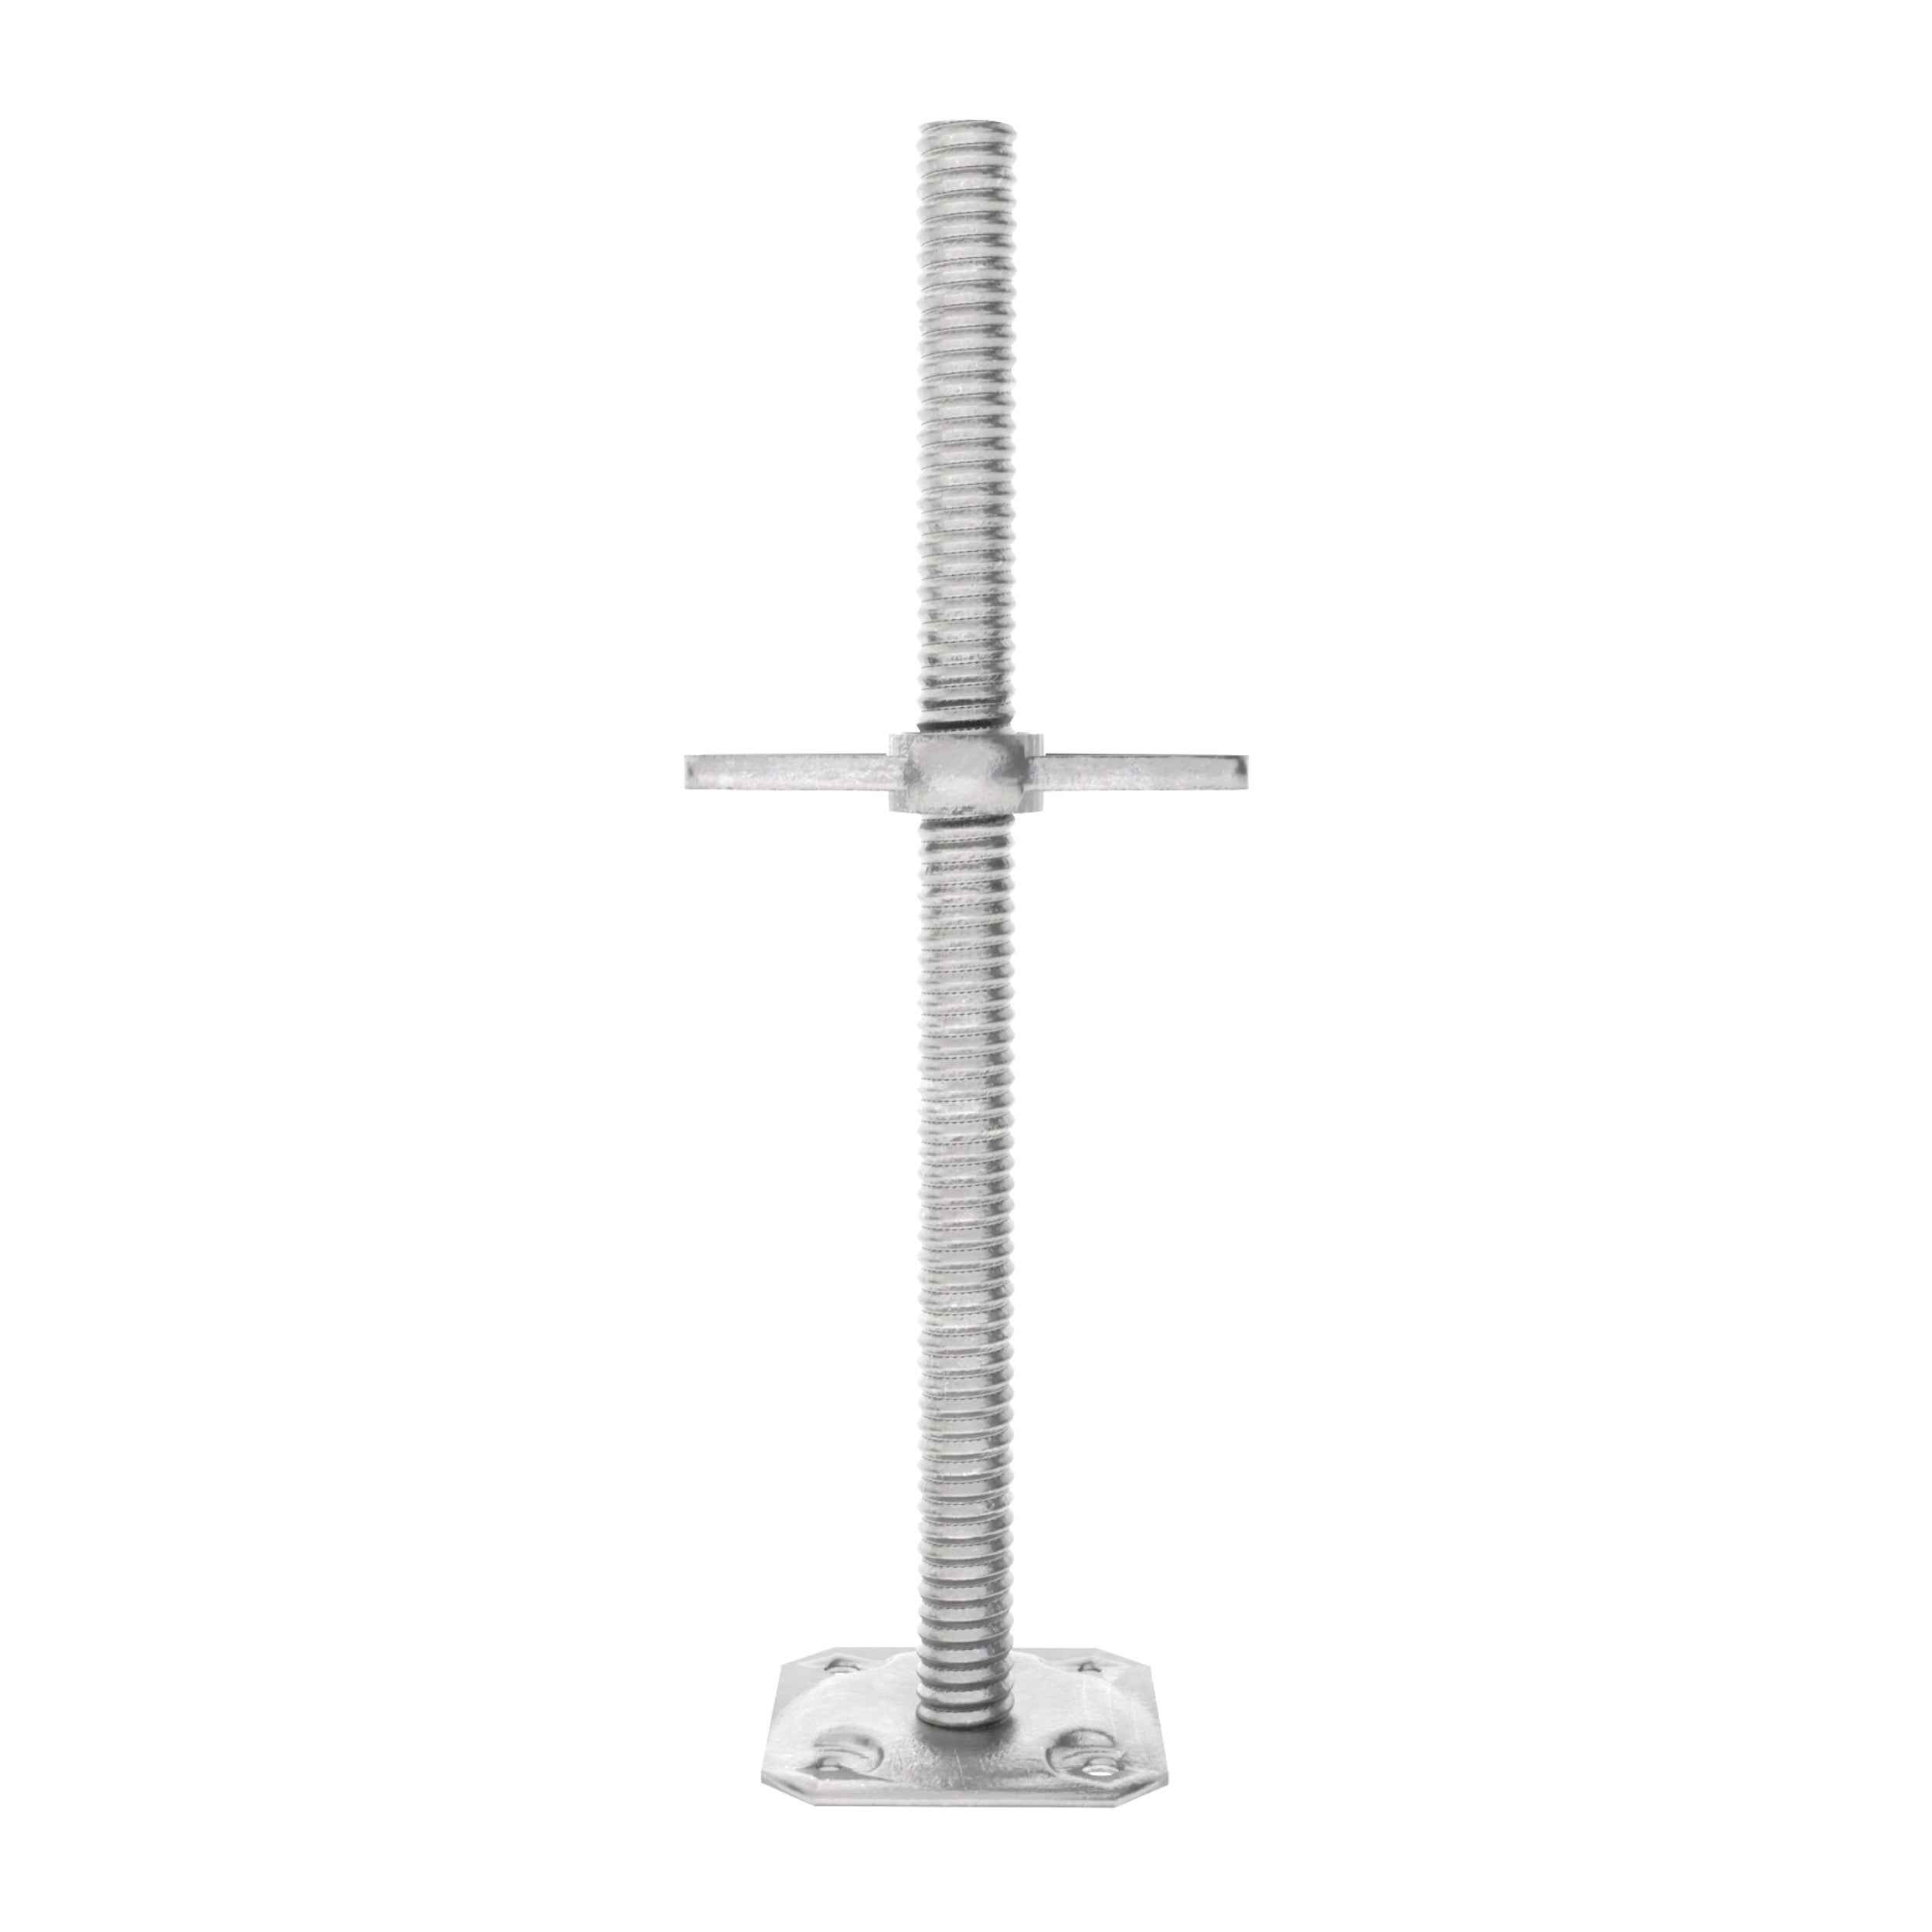
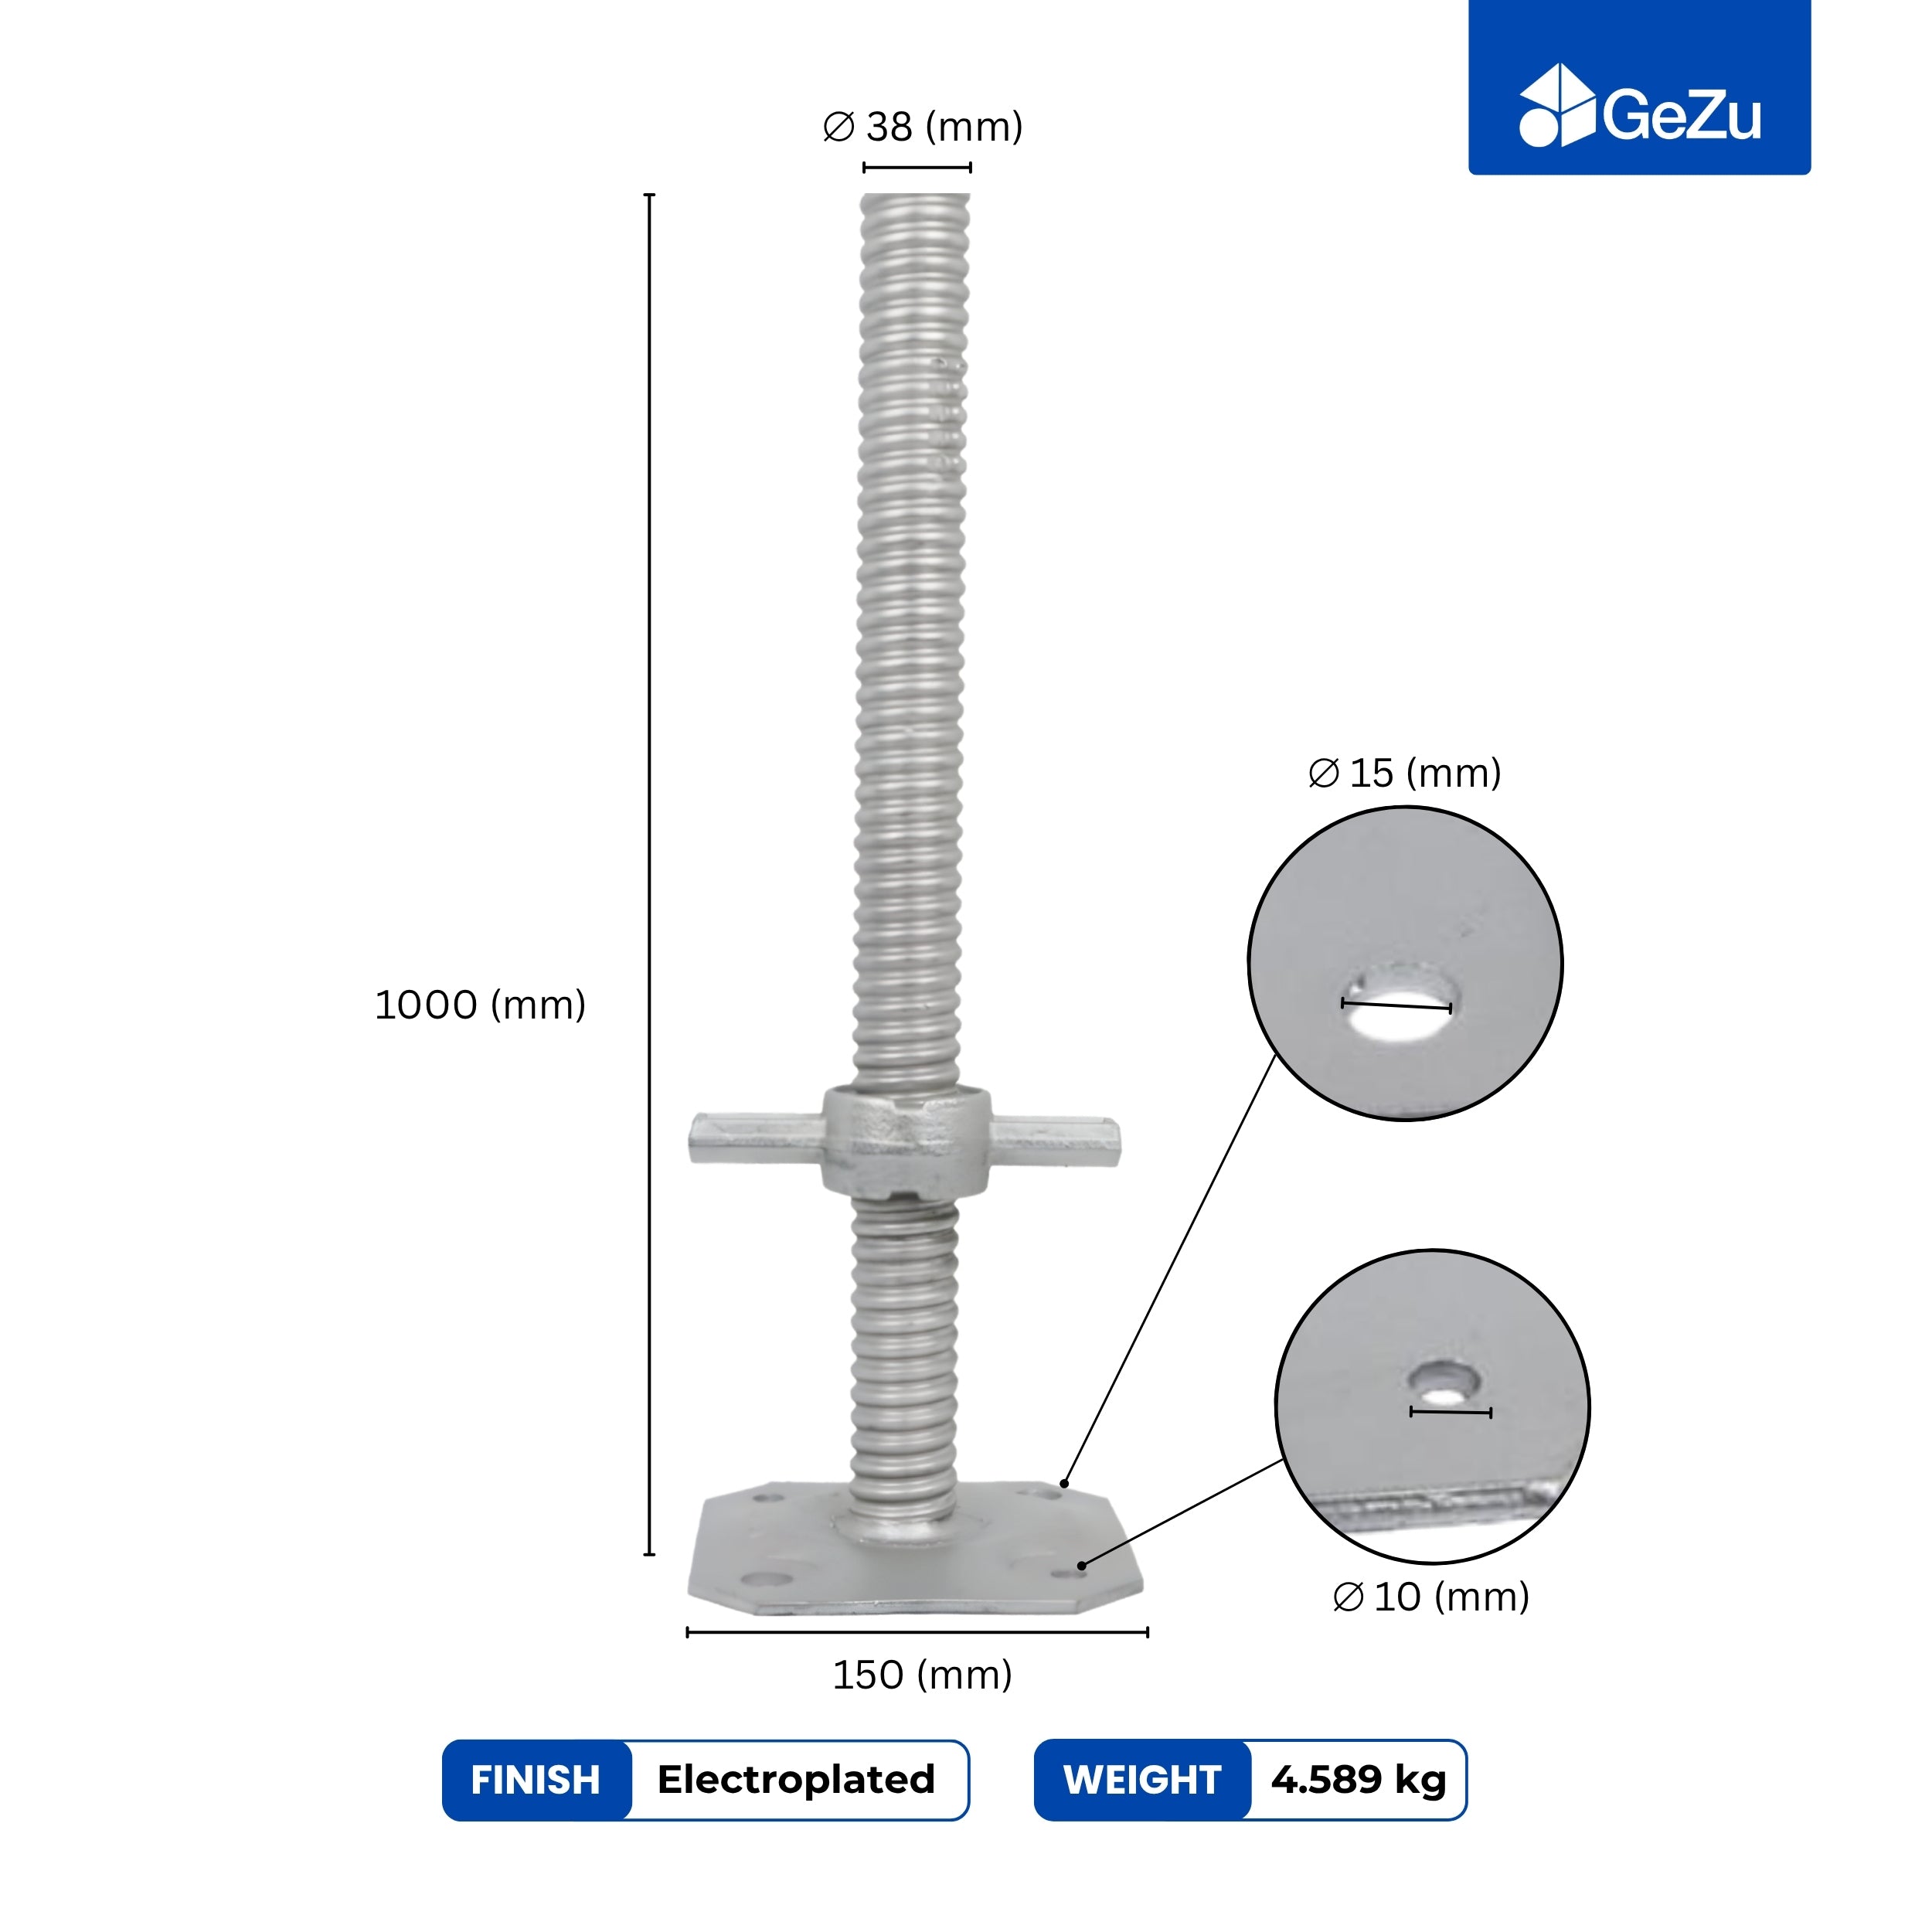
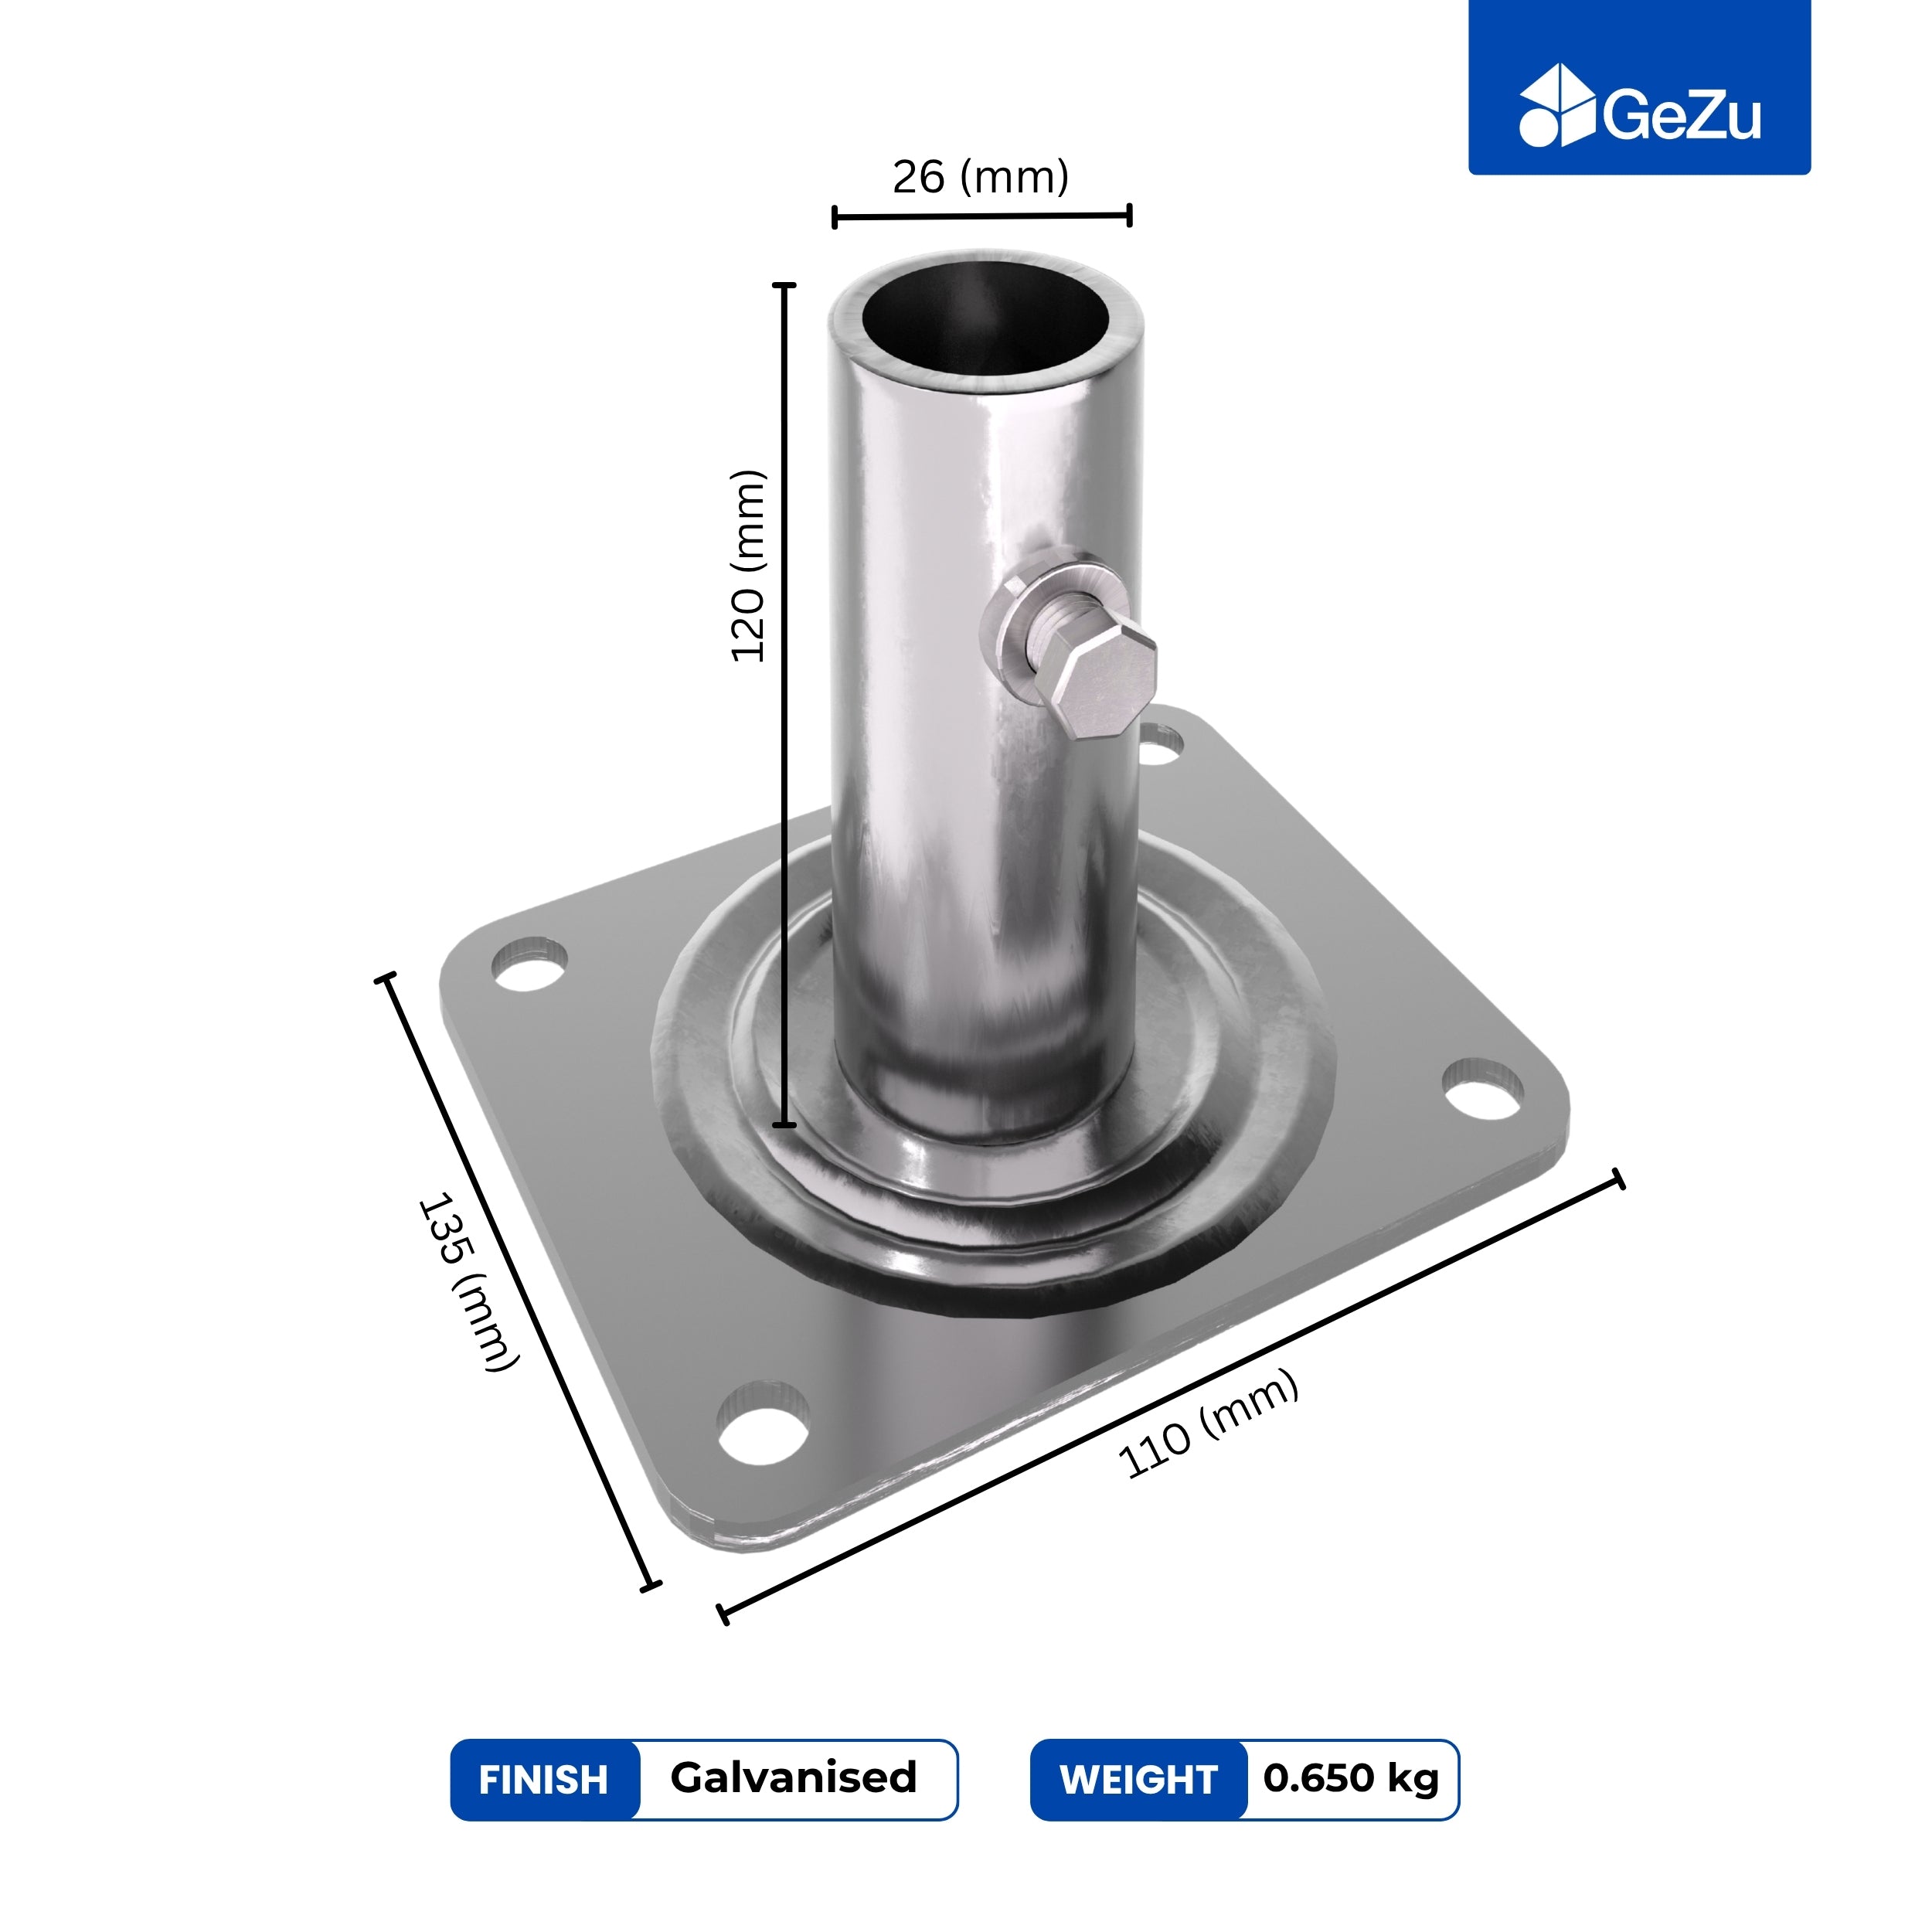
You have two situations. Either you're working on bare ground, in which case you want concrete-in post supports set into a footing, or you already have a concrete slab, paving or a deck, in which case you want bolt-down post shoes fixed to the surface.
For the concrete-in route, standard Dutch practice is a hole around 50 cm deep, wider at the bottom than the top, filled with a rapid-set post mix. The old carpenter's rule of a third of the post buried doesn't apply here because the steel anchor is what's buried, not the wood. That's the entire point: the timber ends up sitting above ground level, on a bit of steel, where it can dry out. Buried timber rots from the inside within about eight years no matter how well it's treated.
For the bolt-down route, check the slab first. It needs to be at least 100 mm of real concrete, not a paver bedded in sand. A bolt-down shoe on a loose tile will pull out the first time a storm catches the roof, and it will take a chunk of your patio with it. If the slab is thin, cut it out and pour a proper pad. Annoying, cheaper than rebuilding.
Bolt-down bases start around €4.74 in the smaller sizes, so this isn't the part of the build to economise on.
The build, step by step
- Mark the footprint. Set out your four corners with string and pegs, then measure both diagonals. They must match. If they don't, your pergola is a parallelogram and no amount of bracket adjustment will fix it later.
- Set the bases. Concrete-in anchors go into the footings and get checked for plumb while the mix is still wet, then left overnight. Bolt-down shoes get marked, drilled with a masonry bit and fixed with expansion or chemical anchors. Do not stand posts in wet concrete and hope.
- Stand and brace the posts. Slide each post into its base, plumb it in both directions with a spirit level, and hold it with two temporary diagonal battens screwed to stakes. Leave the braces on until the beams are up. This is the step people skip and regret.
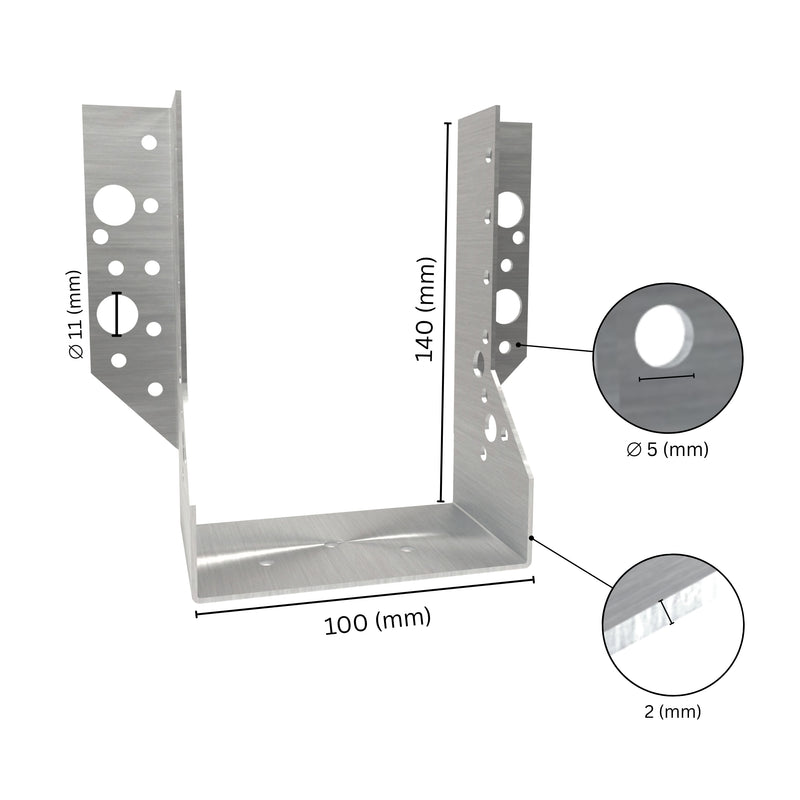
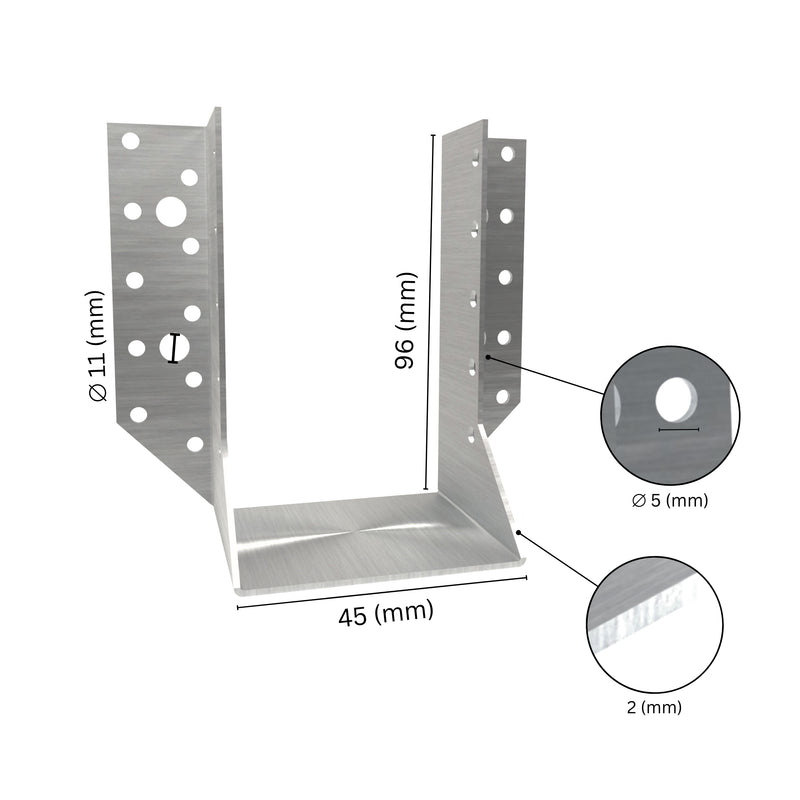
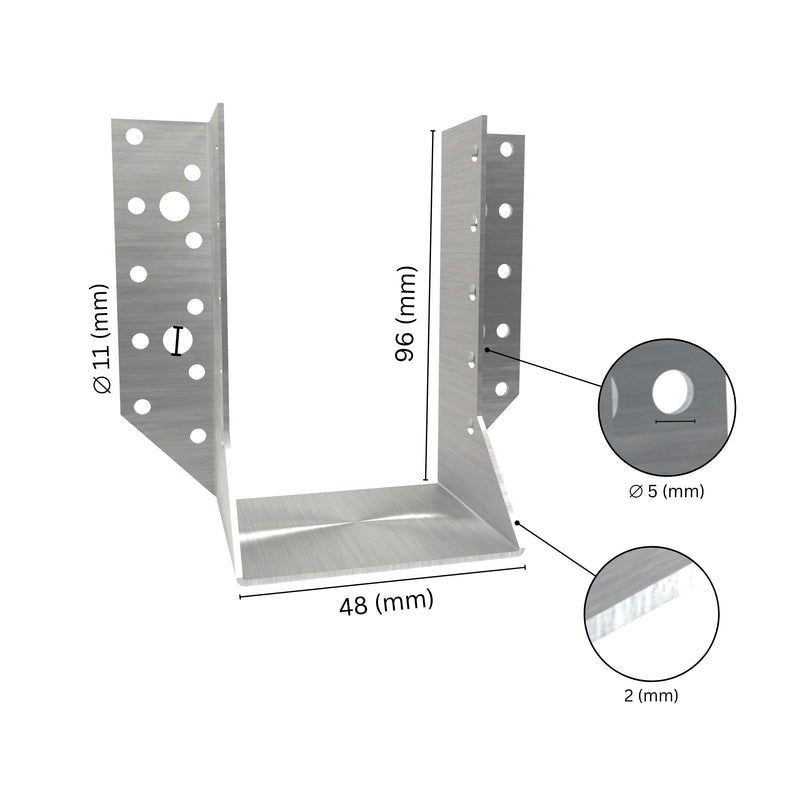
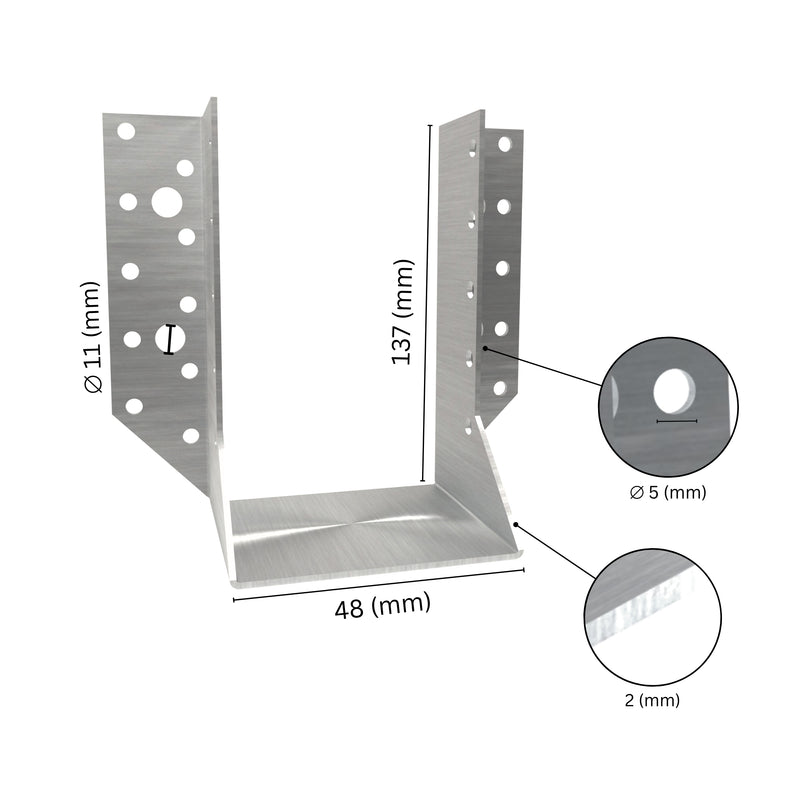
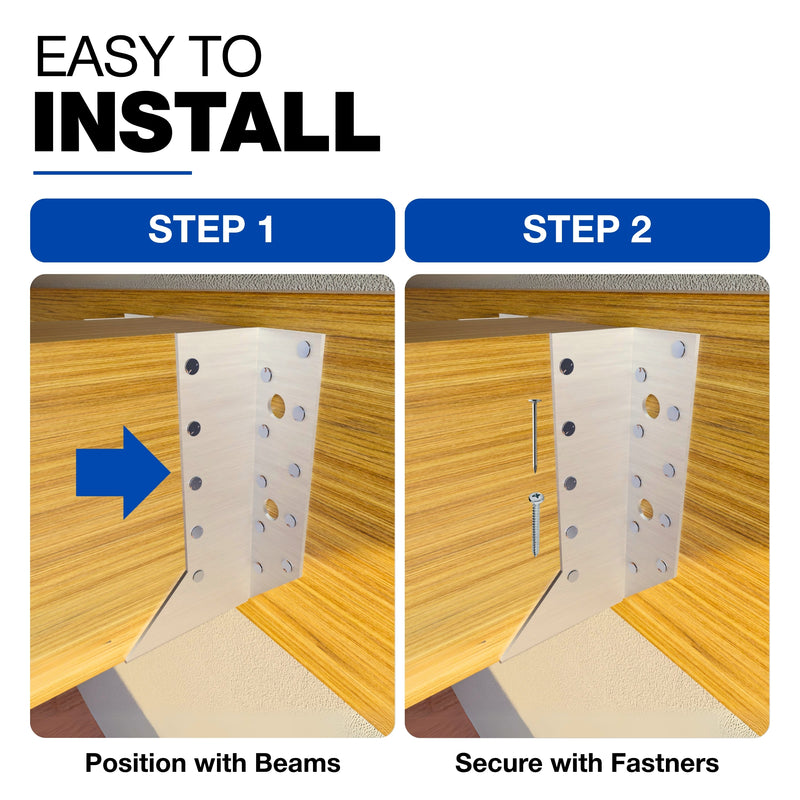
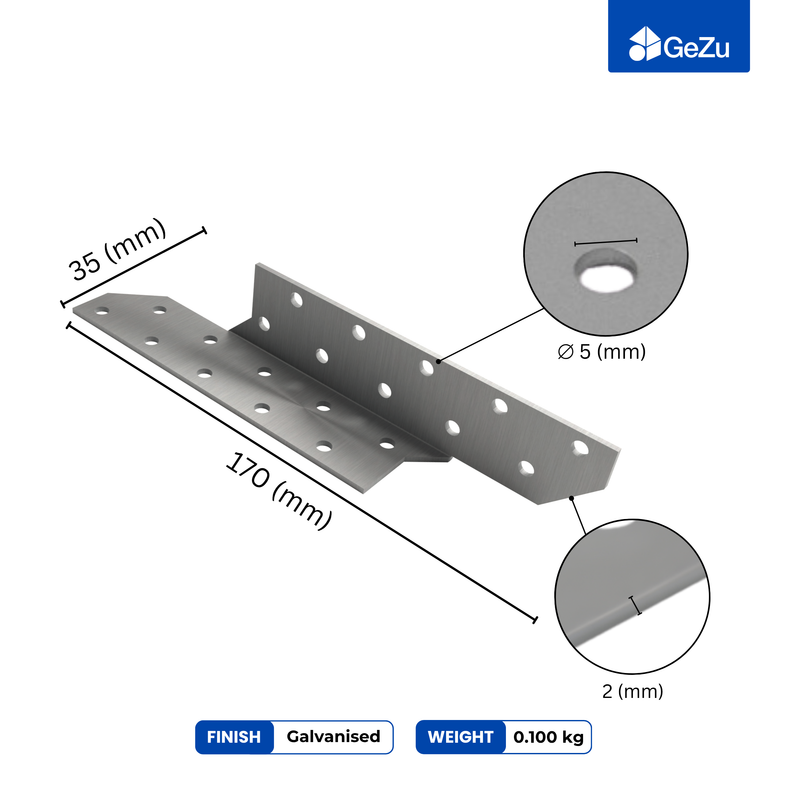
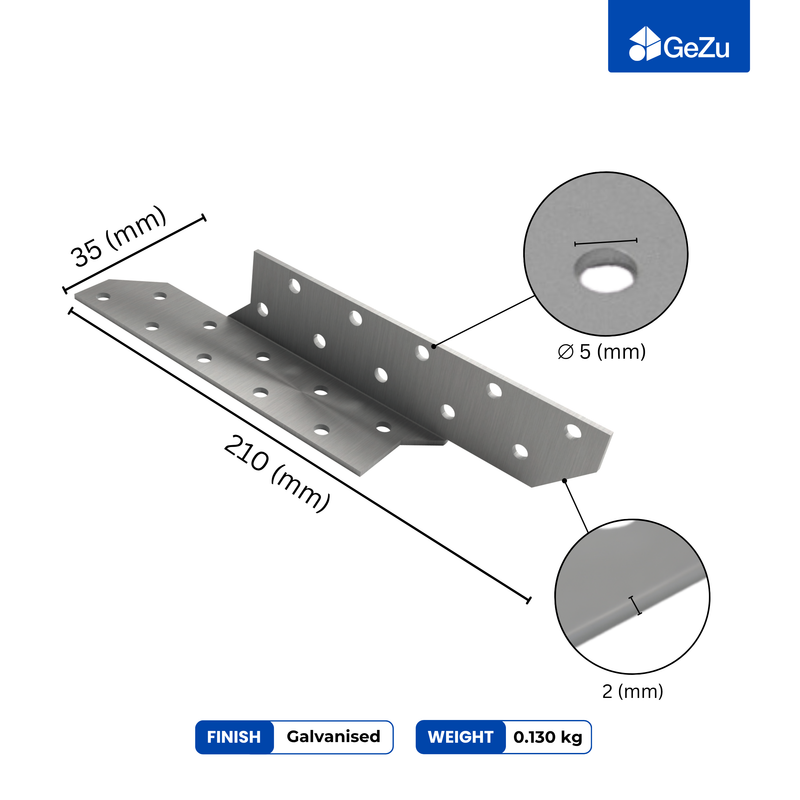
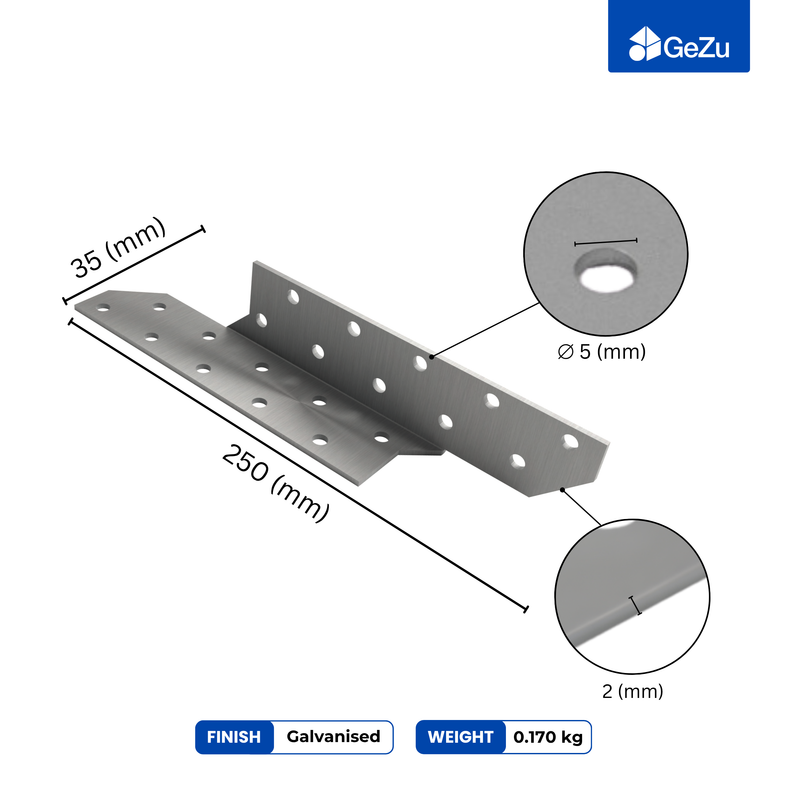
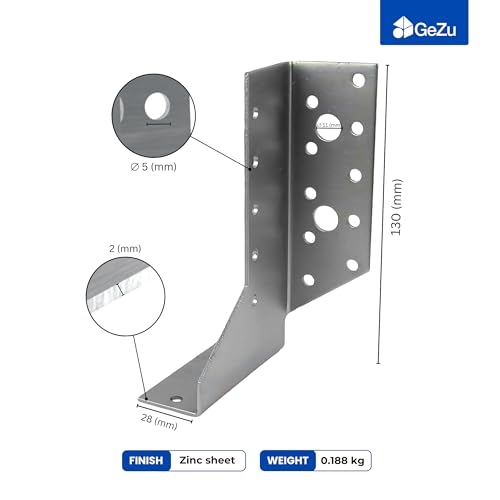
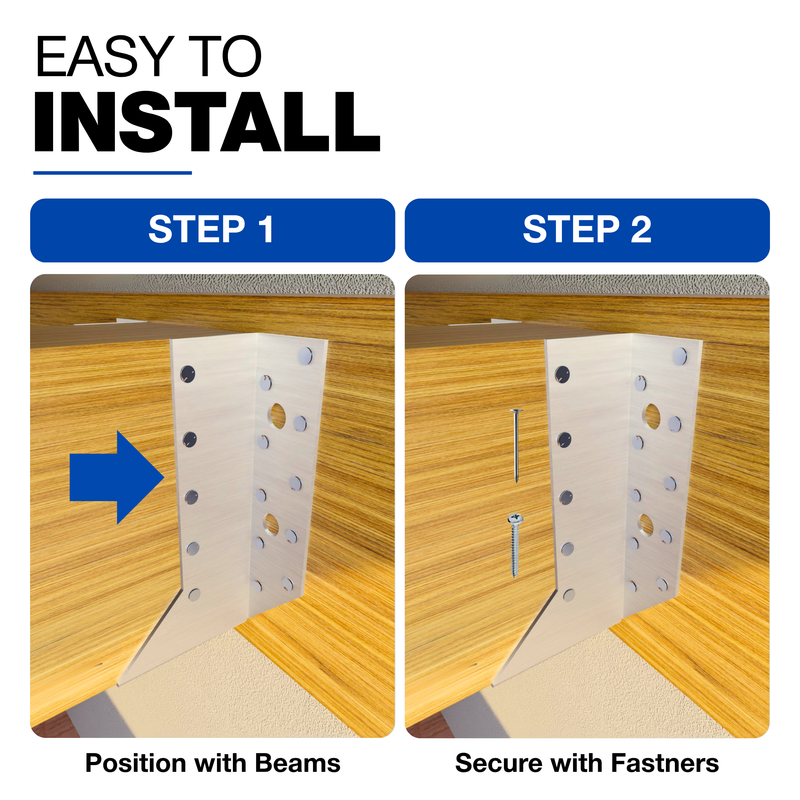
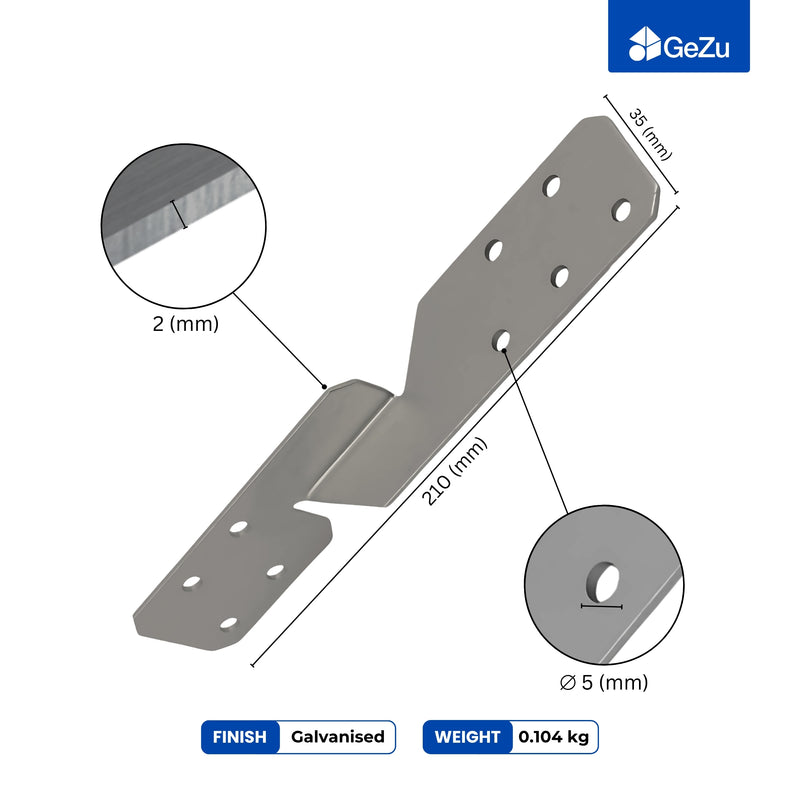
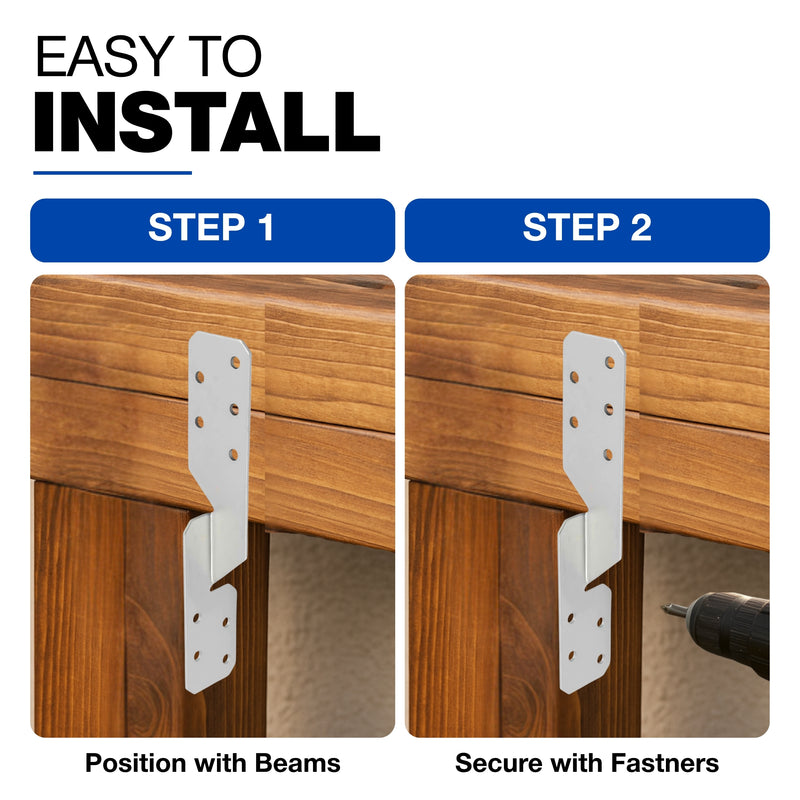
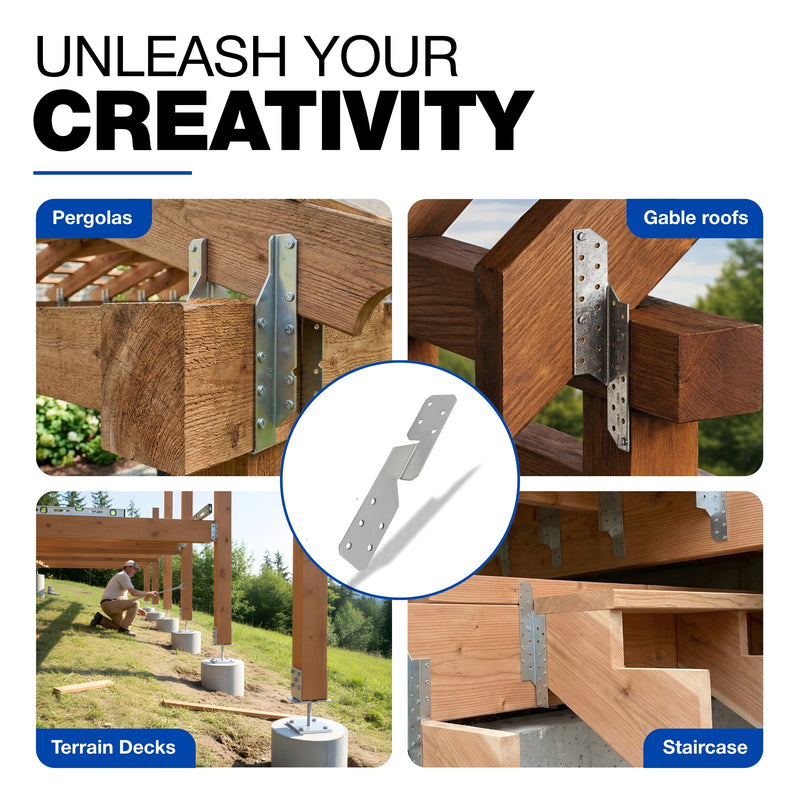
- Fit the corner connectors. Slip an L connector onto each corner post top, a T connector where a beam runs past a post, and an X or Y where several members meet. Bolt through the pre-drilled holes with coach bolts and washers. Snug, not fully tight.
- Drop the beams in. They sit in the open channels of the connectors. Check level along the full run, pack with a thin shim if a post is a millimetre short, then tighten everything down properly.
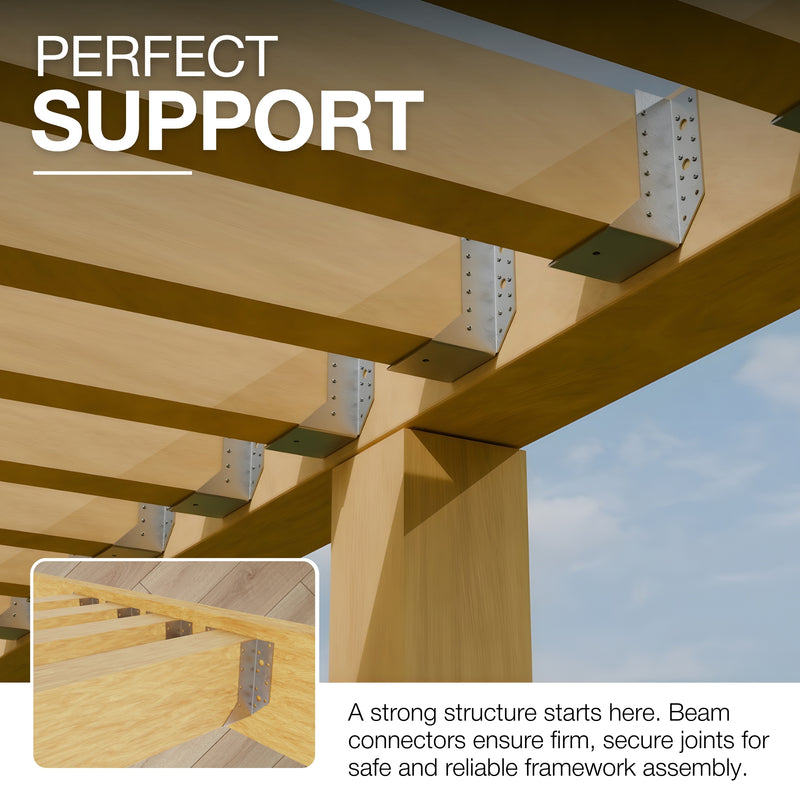
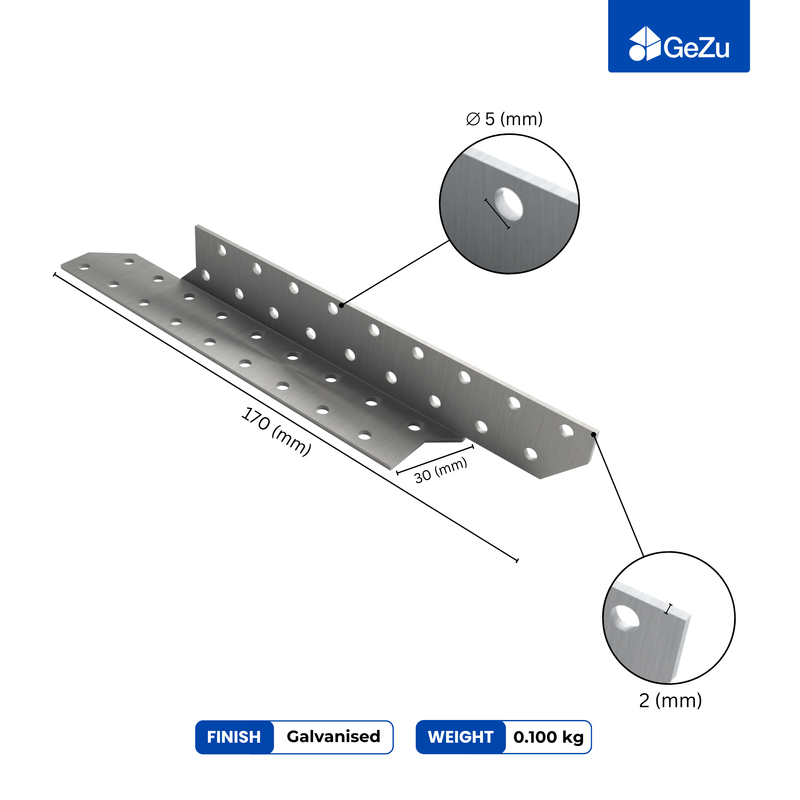
- Add the rafters. Space them 400 to 500 mm apart, centre to centre. Closer gives more shade and more weight. Fix them with rafter and purlin anchors from around €0.84 each, or joist hangers if you want the rafters flush rather than sitting on top.
- Finish. Cut post tops square, add post caps if any end grain is exposed to the sky, and treat the timber. Then take the braces off.
Two hours of that is measuring and standing around waiting for concrete. The bolting is fast.
Spans, spacing and when to stop guessing
Keep the distance between posts under about 3 metres for typical 90 × 90 posts with a doubled beam. Under 2.5 metres if the beam is a single 45 mm board. These are rules of thumb from ordinary garden builds, not engineering figures.
Once you go past 3 metres, or you're planning to sit a solid roof panel on top, or the structure attaches to your house, the loads stop being a guessing game. Snow sitting on a polycarbonate roof is a real load and it's much heavier than people expect. Get a structural opinion. It costs less than a collapse.
Rafter spacing is more forgiving. Consistency matters more than the exact number, because uneven gaps are the first thing anyone notices when they look up.
Common questions
Can I use these connectors with round posts?
No. The sleeves are square and rely on flat faces for the bolts to clamp against. Round timber needs a different approach entirely.
Do I need to treat the timber if it's already pressure treated?
The bulk of it, no. But every cut you make exposes untreated wood, so brush end-grain preservative on any sawn end, especially the tops. That's where water sits.
What bolts should I use?
M8 or M10 coach bolts with washers under the head and nut, in a finish that matches the bracket. Mixing bare zinc bolts with galvanised steel outdoors sets up a slow corrosion problem at exactly the point carrying your load.
Can I build this on my own?
The posts and bases, yes. Lifting a 3 metre beam into two connectors at head height while keeping it level is a two-person job. Ask someone.
Where to start
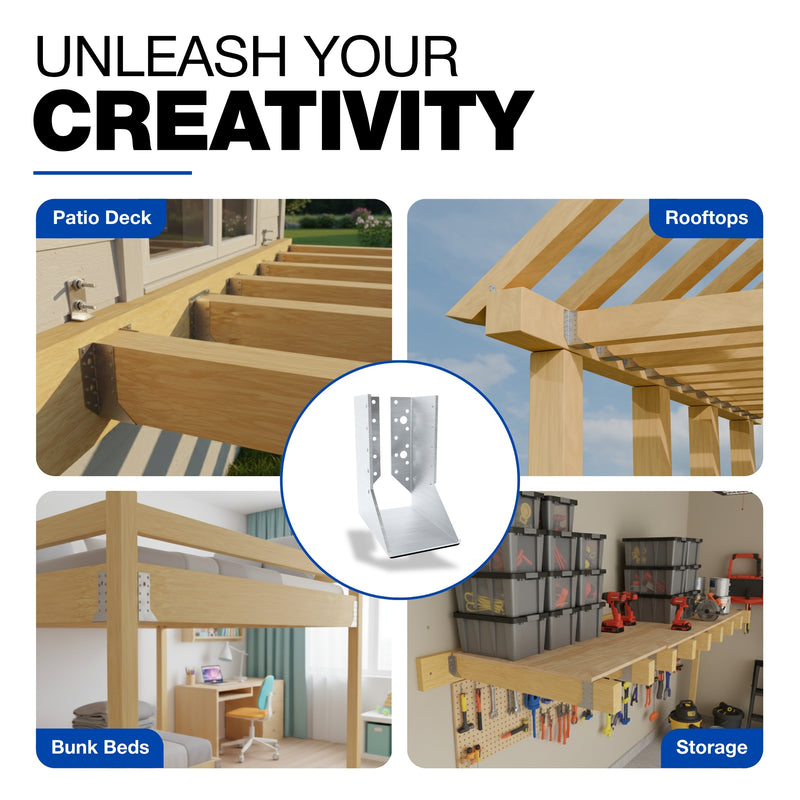
Work out your post size, then order the base and the connectors together so the finishes match. Everything you need for the frame is in our pergola fittings collection, and if you'd rather not calculate anything, the wood connectors range includes pre-matched kits for planters, benches and carports that use the same system.
Measure your timber before you order. That one habit prevents most of the returns we process.