How to Size and Install an Adjustable Post Support (So You Only Do It Once)

An adjustable post support lets you set the final post height after the concrete has cured, instead of guessing while it's still wet. The height-adjustable ones ride on a threaded rod and nut and give you between 30 mm and 480 mm of travel depending on which size you buy. The width-adjustable ones open and close their side flanges to grip timber that isn't quite the size the sawmill said it was.
Both exist because ground and timber are never as square as the drawing. What follows is how we size them, what hole to dig, and the two mistakes behind most of the supports that come back to us.
Two different things get called "adjustable"
Worth separating, because people order the wrong one.
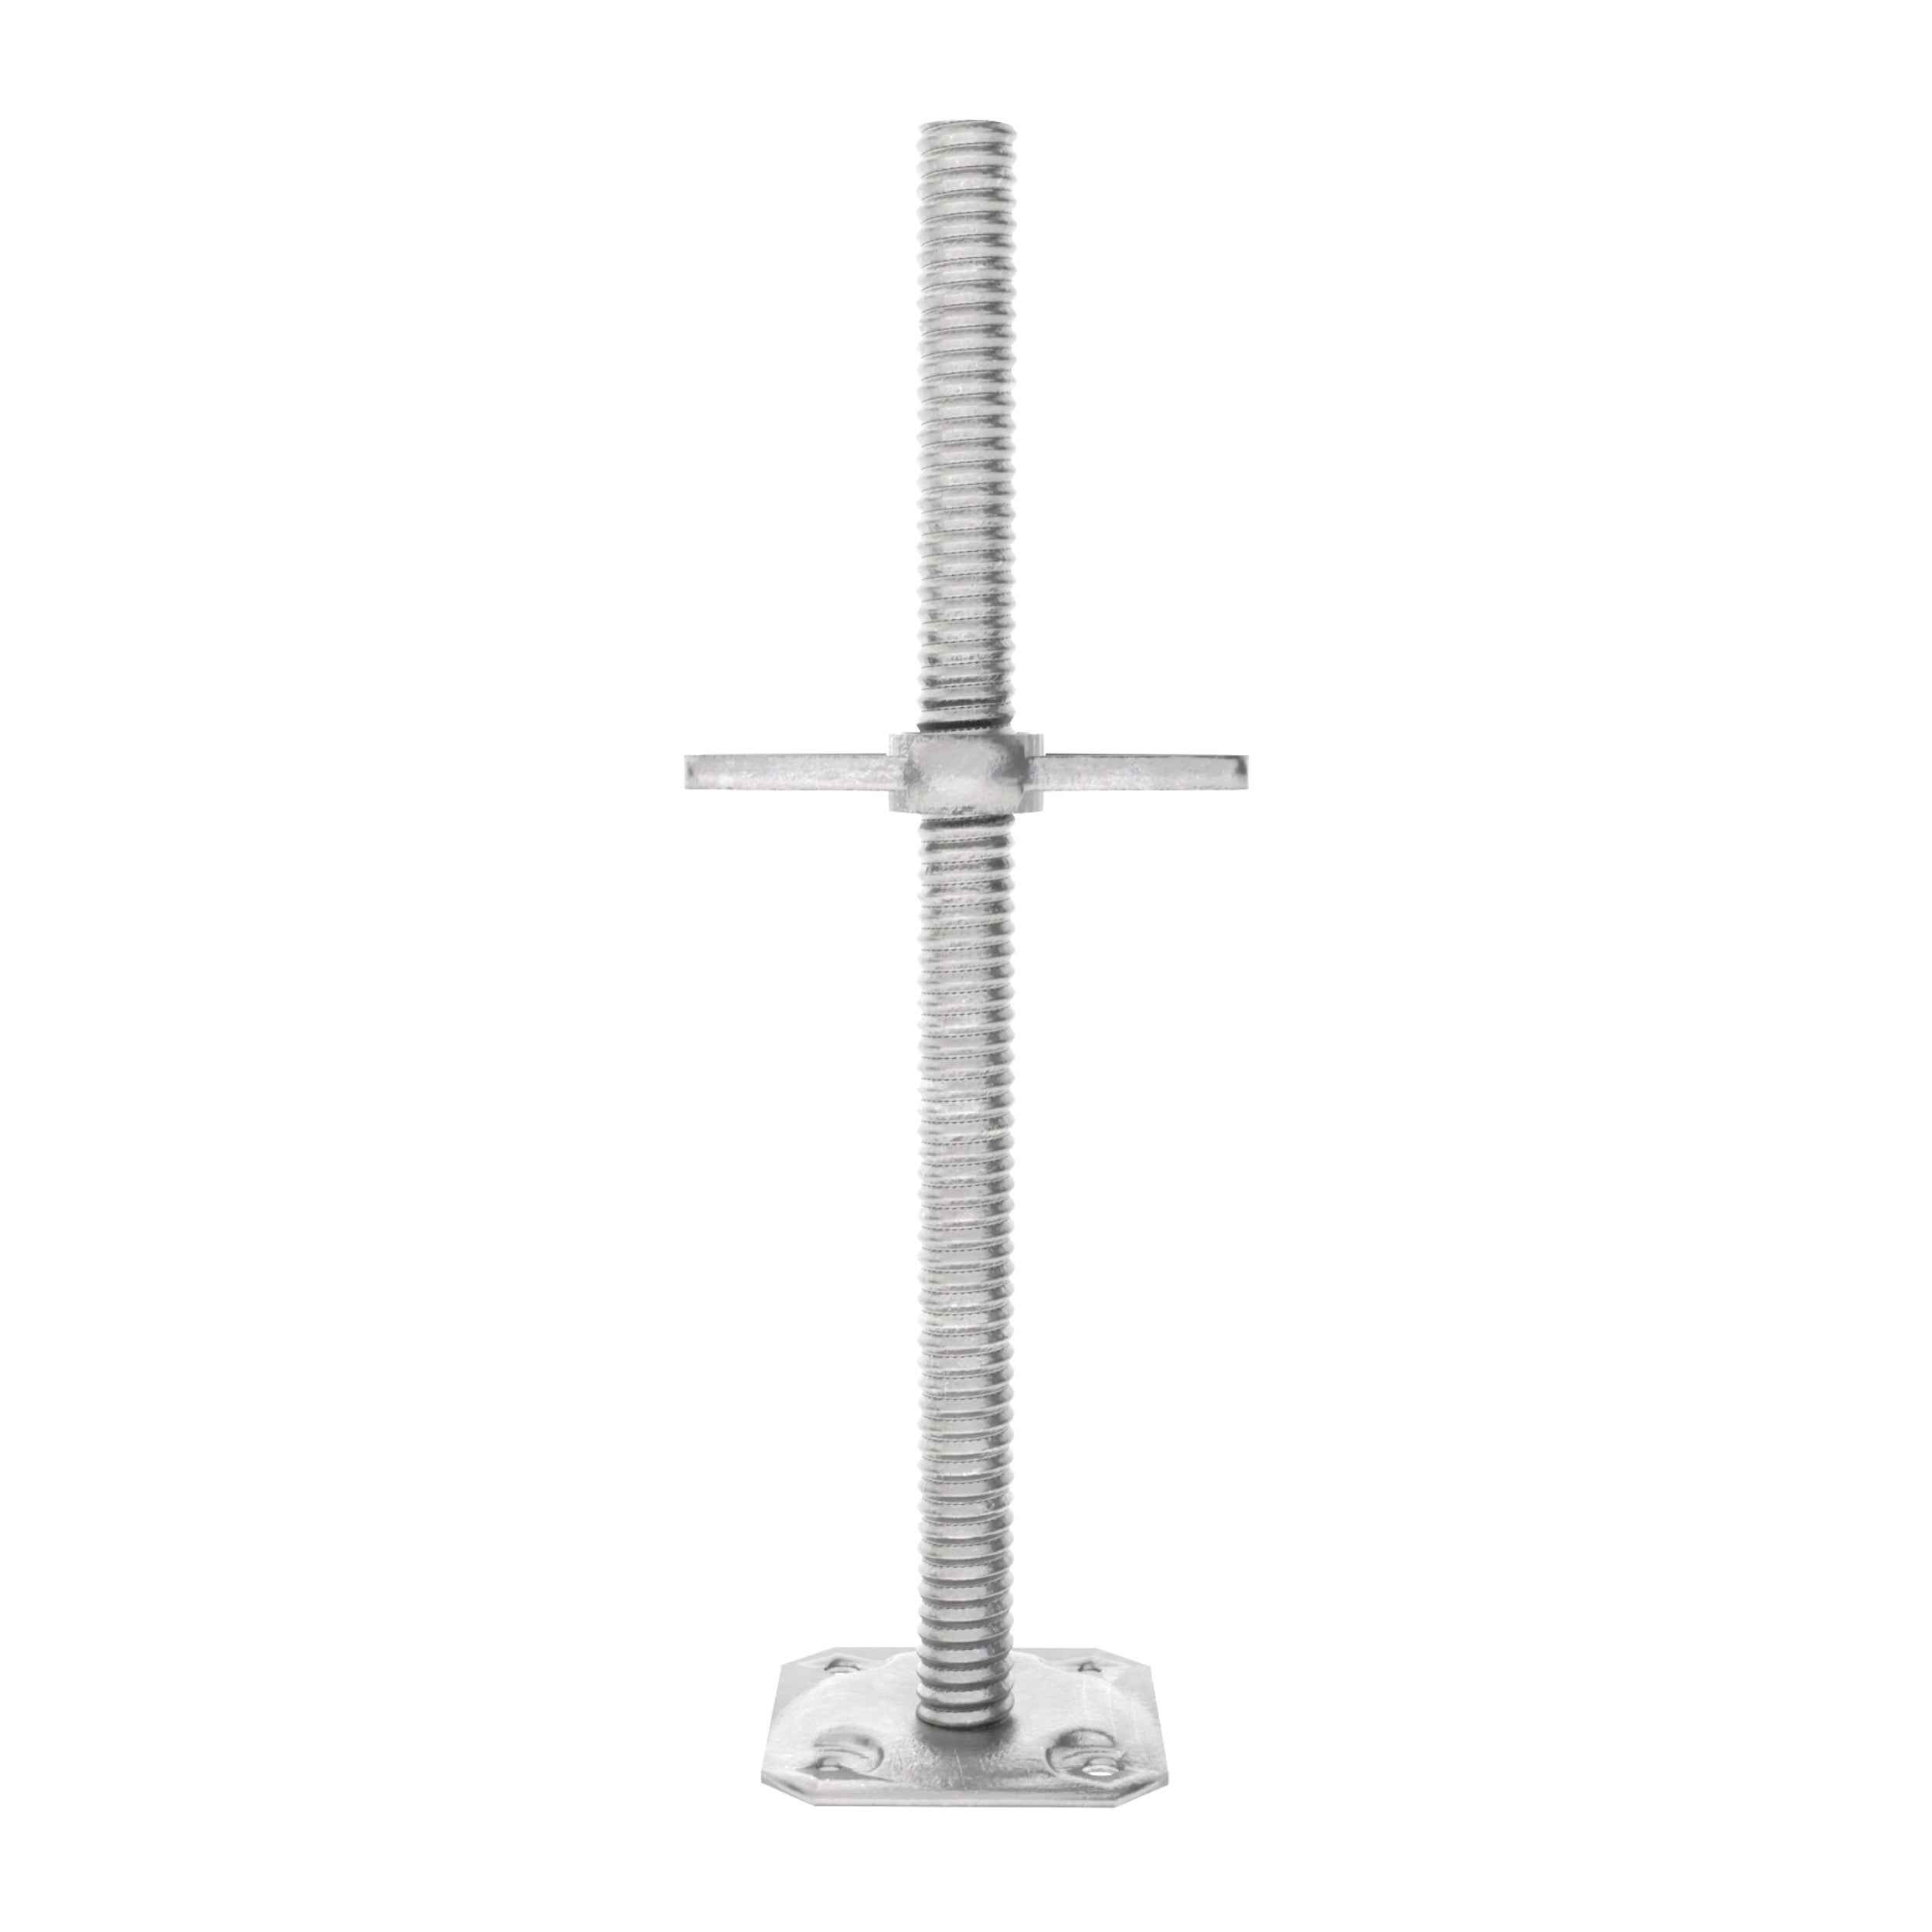
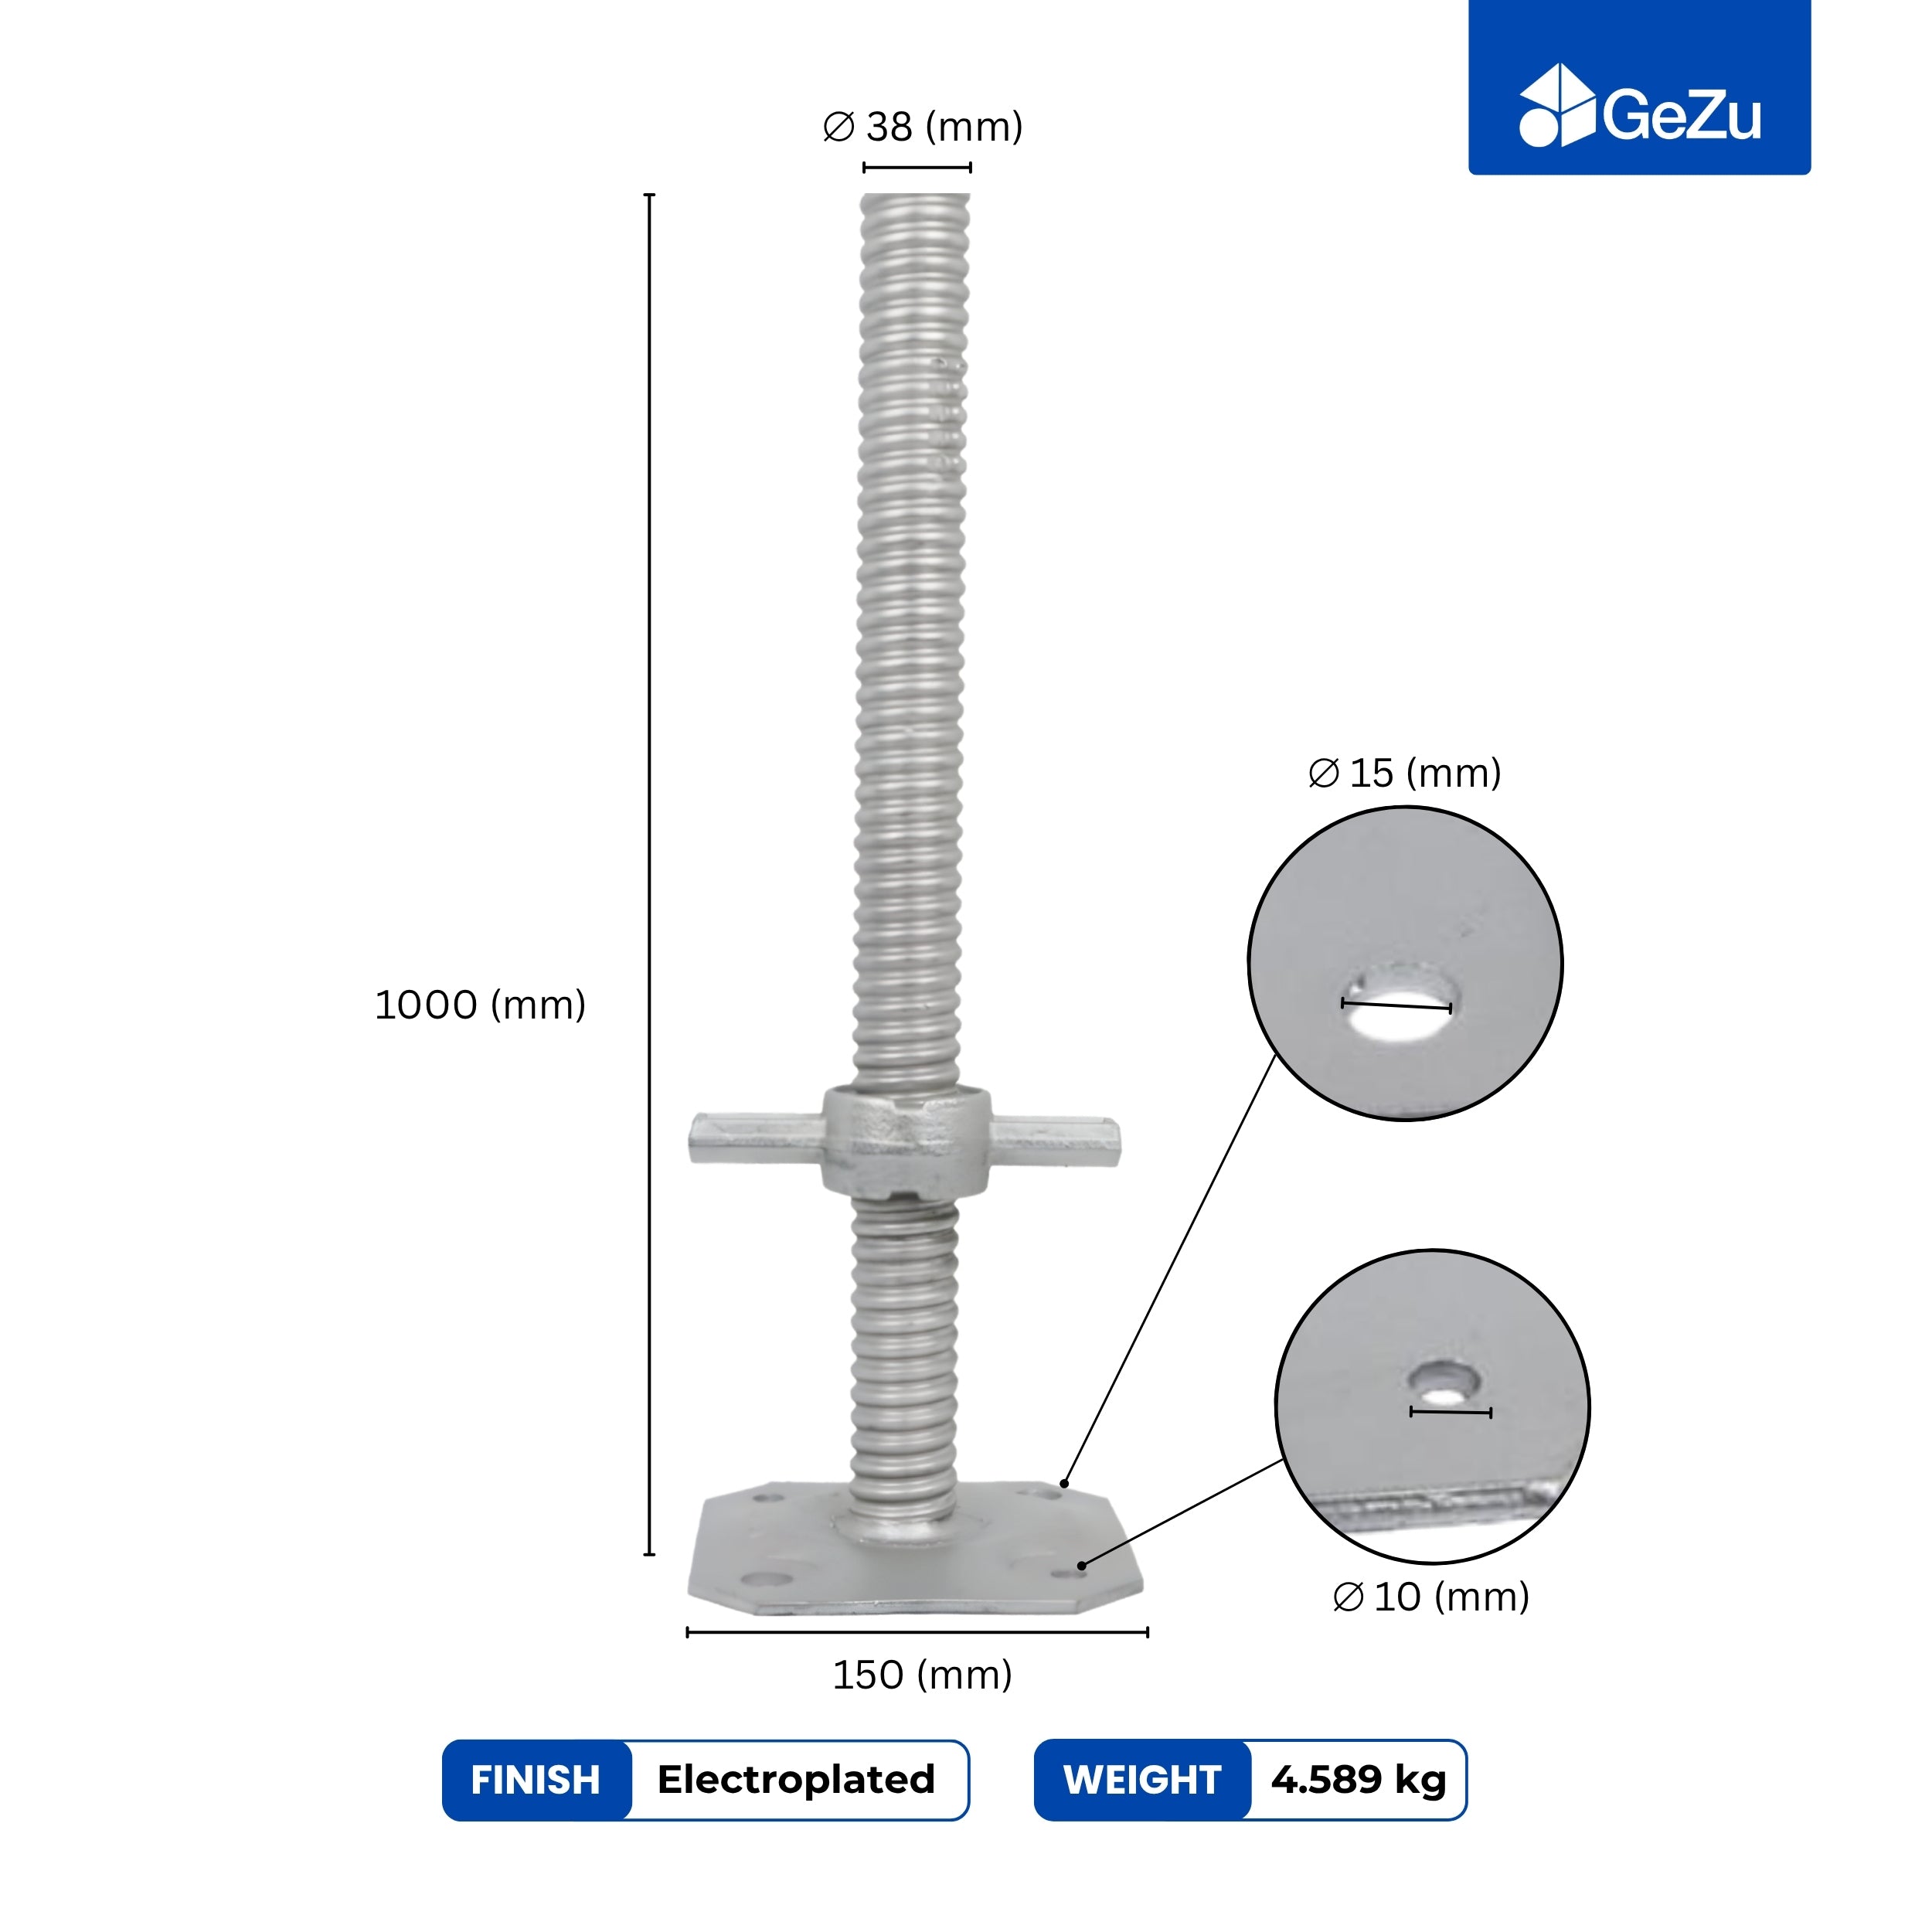
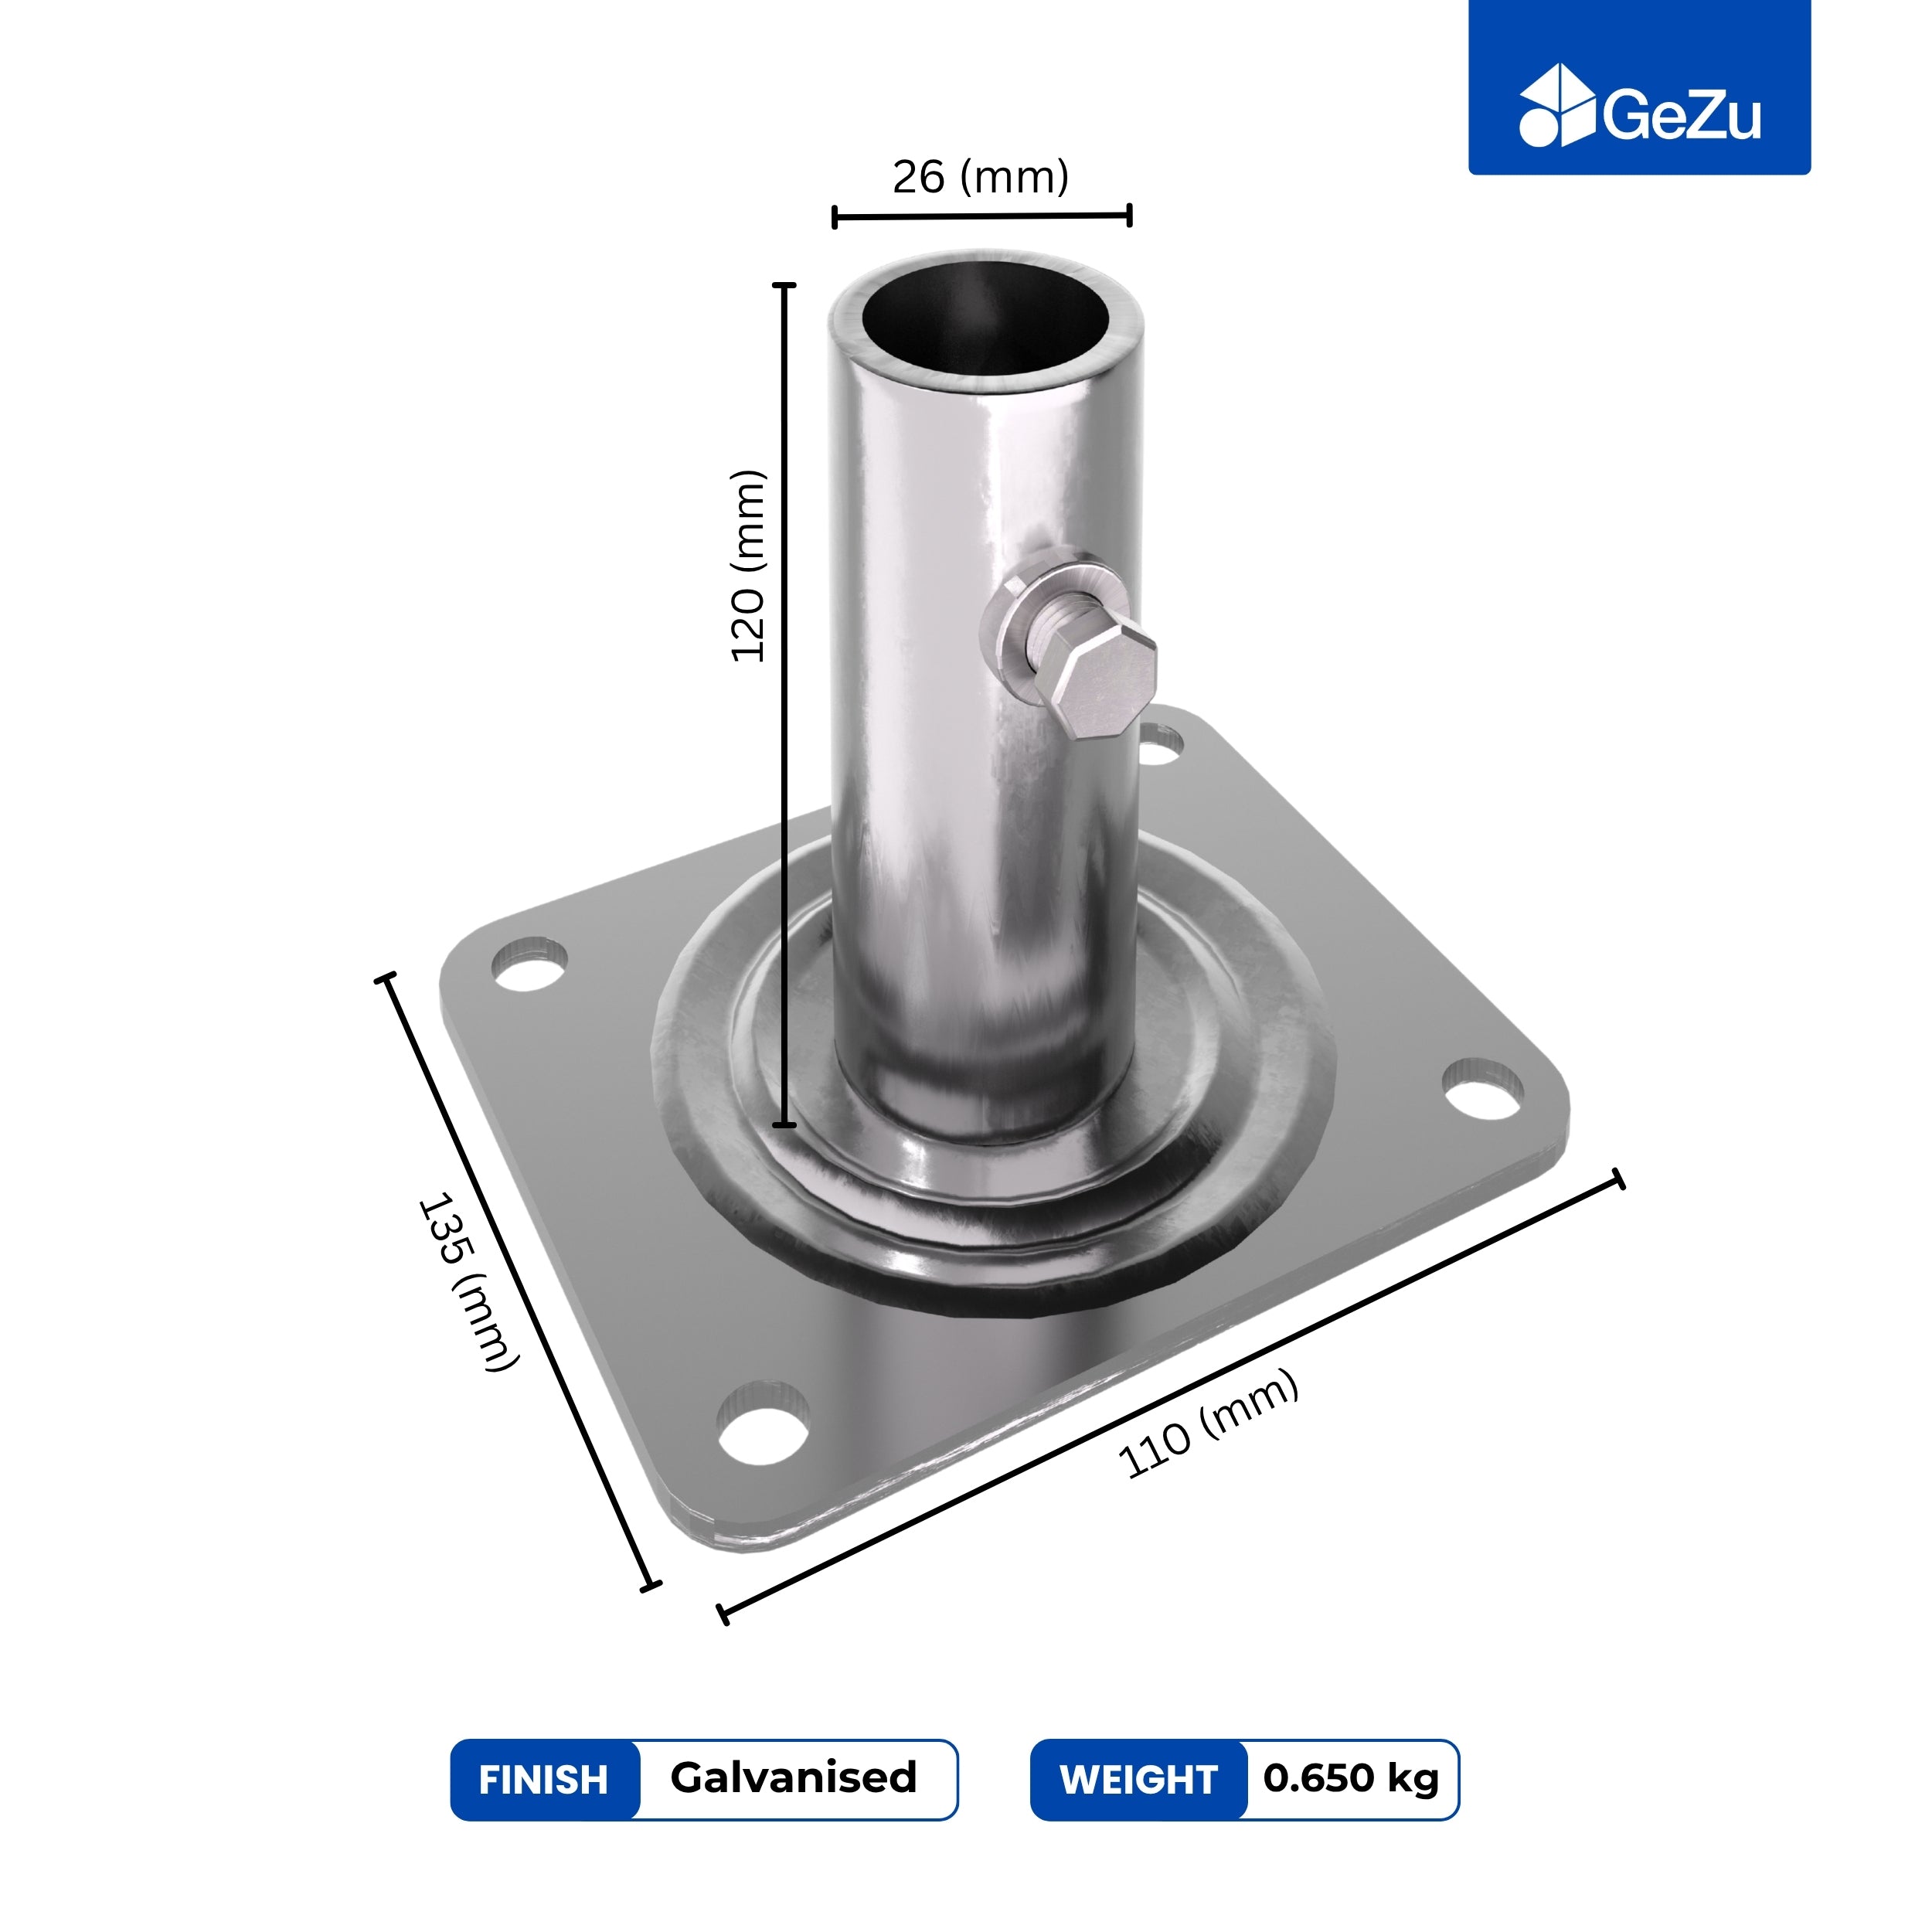
Height-adjustable means a threaded rod through the base plate with a nut under the post holder. Wind the nut, the post rises or drops. That's what you want on a sloping patio, a settled slab, or any job where four posts have to finish dead level. Our height-adjustable bolt-down supports run from a 50 × 50 mm socket with 30–80 mm of travel up to a 100 × 100 mm socket with 50–480 mm, roughly €3.85 to €17.29 depending on size and finish.
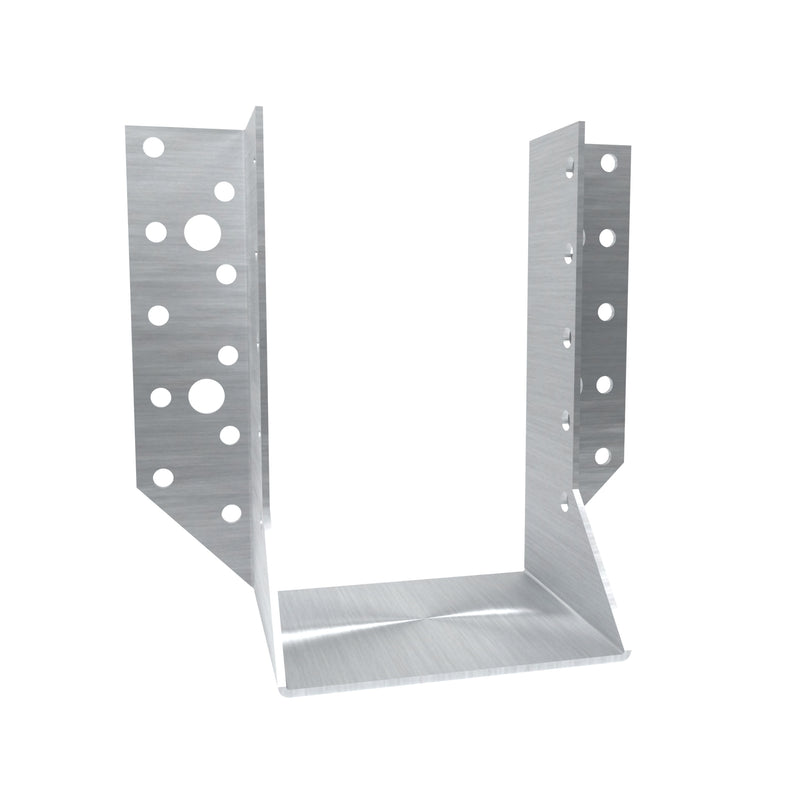
Width-adjustable means the U-shaped flanges slide in and out on bolts and close onto the post. Height is fixed. This is the one for reclaimed or oddly-sized timber.
A few models give you both. Building a pergola on an uneven terrace, that's usually the right answer.
Size from the post you actually have
The email we get most often, by some distance: someone orders a 100 × 100 mm support for a post sold as 100 × 100, and it turns up with the post rattling around inside it.
Planed timber loses a few millimetres per face. A "100 × 100" post commonly measures 95 to 98 mm once it's been through the planer. Rough-sawn goes the other way and can measure 102. Neither is a fault. It's just how timber is sold, and the bracket doesn't know what the label said.
So measure the post. Steel rule across both faces, near the end that goes in the bracket. Order to that number, not the one on the invoice.
| Measured post section | Socket / fork size to order | Support type that suits it |
|---|---|---|
| 48–50 mm | 50 × 50 mm | Bolt-down height-adjustable, light trellis and screen posts |
| 68–71 mm | 70 × 70 mm socket or 71 mm fork | Bolt-down or concrete-in, fence and gate posts |
| 78–81 mm | 80 × 80 mm socket or 81 mm fork | Either; the common garden-structure size |
| 88–91 mm | 91 mm fork | Concrete-in H anchor |
| 95–101 mm | 100 × 100 mm socket or 101 mm fork | Pergola and carport posts |
| 100 × 155–160 mm beam | 100 × 160 mm | Elevated adjustable base for glulam beams |
Concrete-in H anchors are sized by fork width rather than socket, and the widths look deliberately odd for exactly this reason: 71, 81, 91, 101, 111, 116, 121 and 141 mm. Pick the one just above your measurement. They come in 400, 600 and 800 mm anchor lengths, €5.95 to €15.39.
Bolt down, or set it in concrete?
Bolt down when there's already sound concrete to bolt to. A patio slab, a garage floor, an existing footing. It's faster, there's no curing to wait for, and you can lift the whole thing later without breaking anything.
Set it in concrete when there isn't. Anything carrying a roof, anything catching wind, anything on soil. The concrete-in range buries a rod or a long anchor leg so the load goes into the footing rather than into four expansion bolts.
The dividing line most people get wrong is wind, not weight. A pergola weighs very little. A pergola with a slatted roof in an exposed garden pulls hard on its bases, and bolt-down on a 60 mm patio slab won't hold that.
If you're weighing the two methods for U-shaped brackets specifically, our side-by-side look at bolt-down and concrete-in U supports helps you pick.
Setting a concrete-in support
- Mark out and dig. For a garden structure on sand, a hole 30 × 30 cm and about 65 cm deep is what we quote. Bigger post, bigger roof, bigger hole.
- Check your frost depth first. In the Netherlands the frost-free depth runs 60–80 cm on sand, 80–100 cm on clay and 100–120 cm on peat, with 80 cm used as the general rule of thumb. Footings that stop above it get lifted and dropped every winter until something goes out of plumb.
- Put 5 cm of gravel in the bottom. Drainage. Water sitting under a footing is what turns a small frost problem into a big one.
- Pour, then set the anchor. Wet concrete, anchor pushed in, not the other way round.
- Plumb in two directions and brace it. One spirit level reading tells you nothing. Check two adjacent faces, then brace so it can't drift while it sets.
- Wait. Leave it a couple of days before you hang any load on it. This is the step people skip and then wonder why the base has tilted.
- Then adjust. Post in, wind the nut, level across all four posts, lock it off.
The whole point of an adjustable base is that step 7 fixes the small errors from steps 1 to 6. You don't have to be perfect with a shovel.
Bolting down onto an existing slab
Three things to check before you drill.
Slab thickness. You want at least 100 mm of sound concrete for a structural post base, and you want to know it's not a 50 mm screed over sand. Drill a test hole somewhere that won't show.
Edge distance. Anchors too close to a slab edge will spall the concrete out sideways when you torque them. Keep 100 mm or more from any free edge where you can.
Standoff. Every decent post base holds the timber clear of the surface rather than letting it sit in a puddle. That gap is the single reason a post base is better than screwing a post to a slab, so don't fill it with sealant when you're tidying up.
Which finish to buy
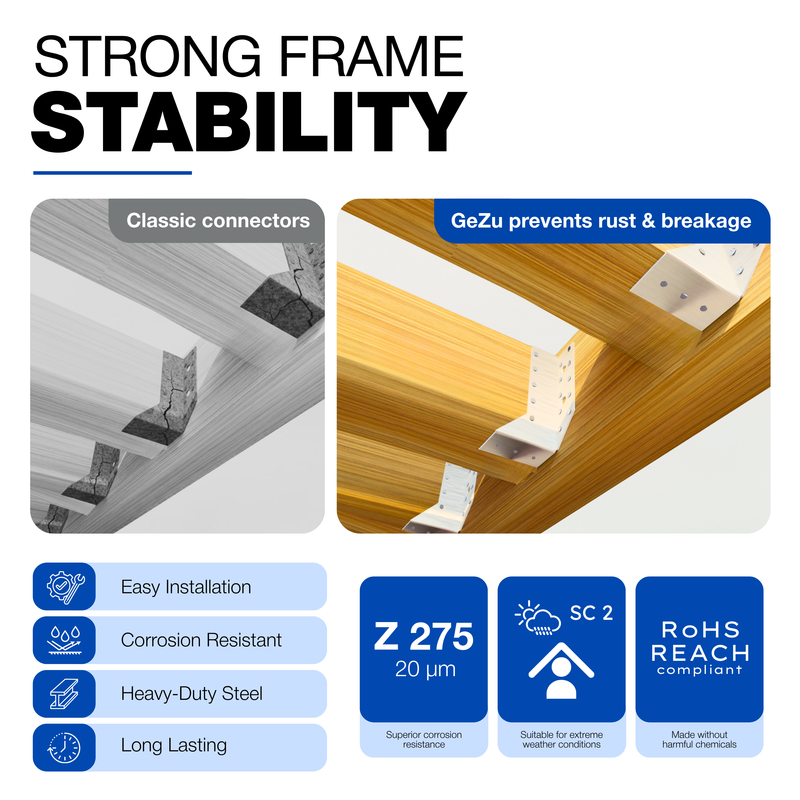
Hot-dip galvanised is the default for anything outdoors or set in concrete. Thick zinc, takes the knocks of installation, lasts.
Zinc flake and electroplated are thinner coatings. Fine under cover, fine for indoor and semi-exposed work, cheaper. Not what we'd send someone burying a base in wet ground.
Ground contact and standing water are what kill these parts, so the finish decision follows the location rather than the budget.
The mistakes we see
- Ordering to the label rather than the measurement. Covered above, still the number one.
- Setting the base flush with the paving so water pools around the timber. Sit it slightly proud, or slope the surface away.
- Using indoor screws and bolts on an outdoor base. The bracket outlasts the fixings and the whole thing works loose.
- Loading it before the concrete is up to strength.
- Buying a 30–80 mm adjustment range for a job that needs 200 mm of correction, then shimming the gap with whatever's lying around.
FAQ
How much height adjustment do I actually need?
For a level slab, 30–80 mm is plenty. For a sloping terrace, measure the fall across the whole footprint and buy a range that covers it with something to spare. A 5 m terrace with a 2 cm/m fall needs 100 mm of correction end to end.
Can I use an adjustable post support on a wooden deck?
Yes, for bolt-down types, provided you land the base plate over a joist or a doubled-up bearer rather than on the deck boards. Boards alone won't hold the fixings.
Do I need to concrete every post?
No. Fences and screens on firm ground do fine on drive-in or bolt-down supports. Anything with a roof over it should go into concrete.
Will an adjustable base rust where the thread is?
The thread is the part that collects water, so it's the part to keep an eye on. Hot-dip galvanised holds up well; a smear of grease on the thread at install makes it easier to adjust in three years' time if you ever need to.
Getting the right one
Measure the post first, then pick the adjustment range from the ground you're building on. Those two numbers decide the order.
Everything discussed here is in our adjustable post support range, and if you want to see the fixed and drive-in options alongside them, the full post support collection is the place to look. Not sure which fork width matches your timber? Send us the measurement and we'll tell you which one fits.